replacing a failed windows xp mode … · replacing a failed "windows xp mode" virtual...
TRANSCRIPT

REPLACING A FAILED "WINDOWS XP MODE" VIRTUAL MACHINE
IN "WINDOWS VIRTUAL PC" IN "WINDOWS 7"
Summary: Even though "Windows XP Mode" is a virtual computer, it can catch viruses or other malware. It can be the victim of "zero-day" malware attacks like any real, physical "Windows.." computer. "Windows XP Mode" can fail for a lot of other reasons. If your "Windows XP mode" virtual machine fails for any reason, you can delete it and create a new one.
DELETE A FAILED "WINDOWS XP MODE" VIRTUAL MACHINE
You need to delete a failed "Windows XP Mode" virtual machine before creating a new one. To delete the failed, corrupted, or virus-infected "Windows XP Mode" virtual machine, do the following: Step 1: Click on the Windows "Start" button. Step 2: Click on "All Programs". Step 3: Click on "Windows Virtual PC".

Step 4: Click on "Windows Virtual PC" again. ("Windows Virtual PC" appears as a submenu item also.) Step 5: Locate the unwanted virtual machine.
Step 6: Use the right mouse button to perform a right click on the "Virtual Machine Shell Information" file of the unwanted virtual machine. Step 7: A pop-up context menu will be displayed:

Step 8: Click on "Delete" in the pop-up context menu:

Step 9: A "Delete File" box will be displayed:

Step 10: Click on the "Yes" button of the "Delete File" box. Step 11: Now, you need to make "Windows Explorer" show hidden files, folders, and drives as follows: Click once on the Windows "Start button". Step 12: Click on "Control Panel". Step 13: Double-click on "Folder Options":

Step 14: A "Folder Options" box will be displayed. Step 15: Click once on the "View" tab:

Step 16: Look for the "Show hidden files, folders, and drives "radio button" option:

Step 17: Select the "Show hidden files, folders, and drives" option:

Step 18: Click on the "Apply" button. Step 19: Then click on the "OK" button.

Step 20: Start or go to "Windows Explorer", you will now see a folder called "AppData" folder inside C:\Users\<username>\
Step 21: Go to C:\Users\<username>\AppData\Local\Microsoft\Windows Virtual PC\Virtual Machines and delete the the rest of the files for the failed "Windows XP Mode" virtual machine.

CREATE A NEW "WINDOWS XP MODE" VIRTUAL MACHINE
Step 22: Click on the Windows "Start" button. Step 23: Click on "All Programs". Step 24: Click on "Windows Virtual PC".
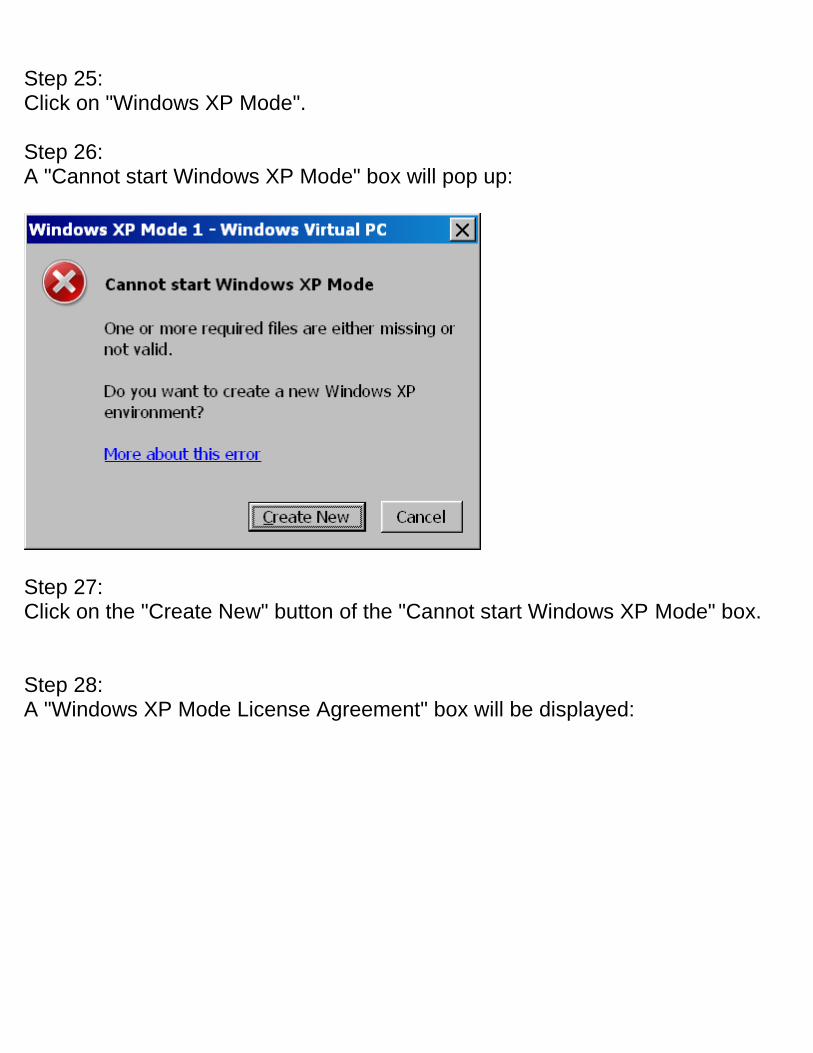
Step 25: Click on "Windows XP Mode". Step 26: A "Cannot start Windows XP Mode" box will pop up:
Step 27: Click on the "Create New" button of the "Cannot start Windows XP Mode" box. Step 28: A "Windows XP Mode License Agreement" box will be displayed:

Step 29: Place a checkmark to the left of "I accept the license terms":

Step 30: Click on the "Next" button of the "Windows XP Mode License Agreement" box. Step 31: An "Installation Folder and Credentials" box will be displayed:

Step 32: Your default username for the "Windows XP Mode" virtual machine will be "XPMUser". You cannot change this at this time. Step 33: Type in the desired password twice:

Step 34: Click on the "Next" button. Step 35: A "Help Protect Your Computer" box will be displayed.

Step 36: Select the "Not right now" option button.

Step 37: Click on the "Next" button: Step 38: A "Setup will share the drives on this computer.." box will be displayed:

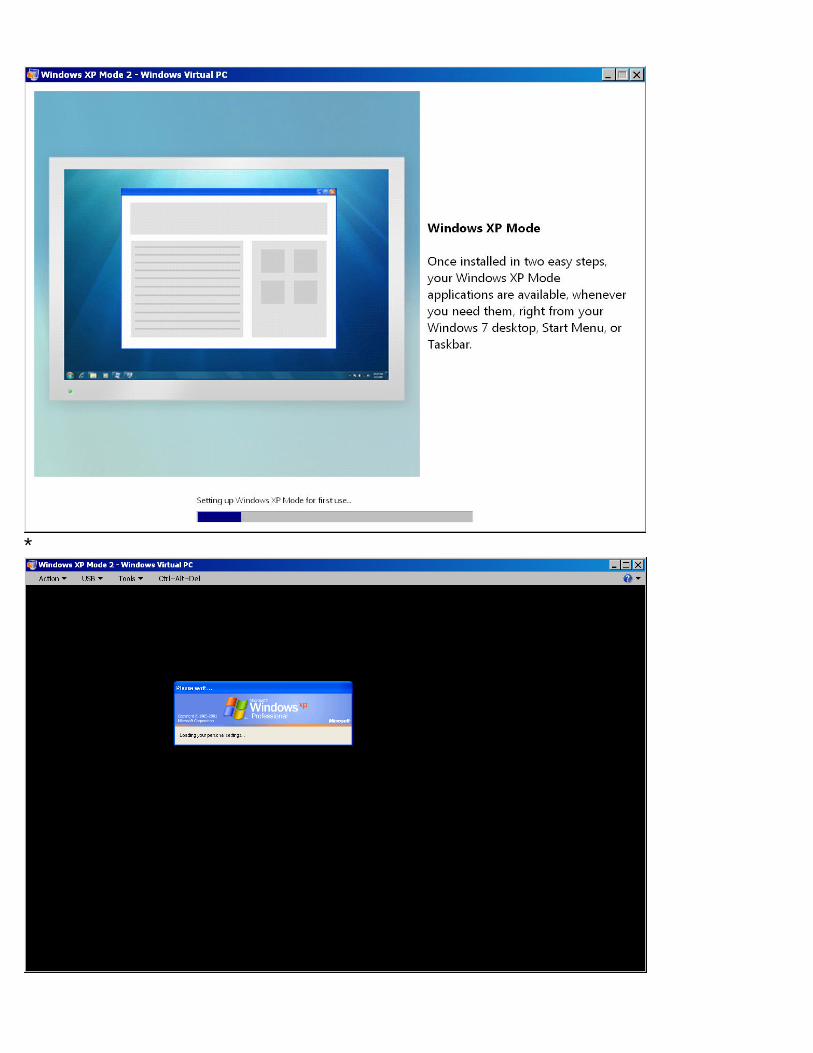
Step 39: Click on the "Start Setup" button.

*

*
*

*
Step 40: The new "Windows XP Mode" virtual machine will be ready for you to use when the "Windows XP.." desktop finally is displayed.

*