surveying i. lecture 3.. announcement presentation can be downloaded from:
TRANSCRIPT

Surveying I.
Lecture 3.

Announcement
Presentation can be downloaded from:
http://www.geod.bme.hu/index_e.html

Announcement

Outline
The theodolite and its structure
Telescope
Reading device
Bubble tubes
Vertical circle

Measuring angles
What is Surveying?
The art of making measurements of the relative positions of natural and man-made features on the Earth’s surface, and the presentation of this information either graphically or numerically.
Relative positions (2D case):
One needs to find two points and measure the distance between them. Hence we can create a coordinate system.
A B X
Y
ABl
0,0 0,ABl
Base line
Control points

Measuring angles
A B X
Y
ABl
0,0 0,ABl
Let’s determine the position of a third, unknown point (C).
C
We have two unknowns: CC YX ,
We need two measurements:
• two distances
• one distance and an angle
• two angles

Measuring angles
B C
A
’
B C
A
AC

Measuring angles
B C
A
A
What kind of instrument do we need?
It should
• contain two fixed graduated circles
• an upper part, which can be revolved around a vertical axis and eqiped with an index
• a telescope, which can be rotated around a horizontal axis
• bubble tubes to set up the instrument

The vernier theodolite

The theodolite
The vernier
60 subdivision between the index and the 20-minute graduation of the vernier equals the distance of 59 unit of the main scale.

Modern theodolites
• no verniers - glass circles, units are graduated by photographic methods, readings are taken using optical systems
• optical plummet (in tribrach or in alidade)
• advanced models - digital reading

Telescope
Internal focusing (see Lecture 2)
Imaging of the objective
Geodetic telescopes can be used between 2f and infinity.

Methods of circle reading
Graduated microscope and the coincidence method
Graduated microscope

Methods of circle reading
Coincidence method
• Two indices in diametral position
• Both of them and both portion of the horizontal circle are imaged in the reading eyepiece.

Methods of circle reading
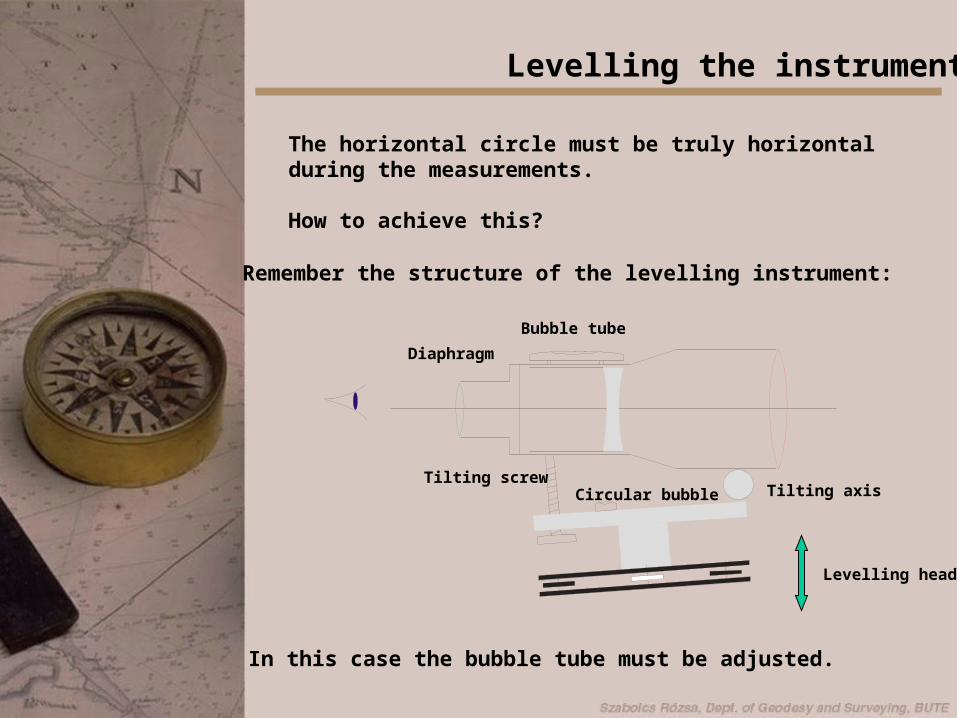
Levelling the instrument
The horizontal circle must be truly horizontal during the measurements.
How to achieve this?
Remember the structure of the levelling instrument:
Levelling head
Tilting screw
Diaphragm
Bubble tube
Tilting axisCircular bubble
In this case the bubble tube must be adjusted.

The bubble tube
Finding the normal point of the bubble tube
Let’s suppose that the bubble tube is not adjusted, but we do want to use it to level the alidade.
If the bubble is centered, the alidade is tilted.
Normal point: the setting of the bubble, when the alidade is horizontal.

Standing axis
Alidade
Plate bubble
The bubble tube
Step 1.
Center the bubble, then rotate the alidade around the standing axis with 180 degree.
Step 2.
Check the reading of the left end of the bubble.
L
L
R
R
R L
LR

The bubble tube
The normal point is exactly the average of the two values.
In our case: 3 units.
If we set the bubble to this unit, the alhidade is horizontal.
R L
R L

Leveling the instrument
Finding the normal point of the bubble tube
Leveling the alidade

The vertical circle
B C
A
A
Is necessary for measuring the angle between the vertical and the line of collimation ()
The index of the vertical circle must always be horizontal!

The vertical circle
The vernier theodolite
The index must be levelled before each reading on the vertical circle.

Modern theodolites:
In modern theodolites an optical system compensates the tilting of the standing axis. The optical system consists of prisms and a pendulum.
The vertical circle
Standing axisis vertical
Standing axisis tilted
Askania compensator

The vertical circle
Liquid compensator
Supposing that the standing axis is tilted, and the line of collimation is horizontal.
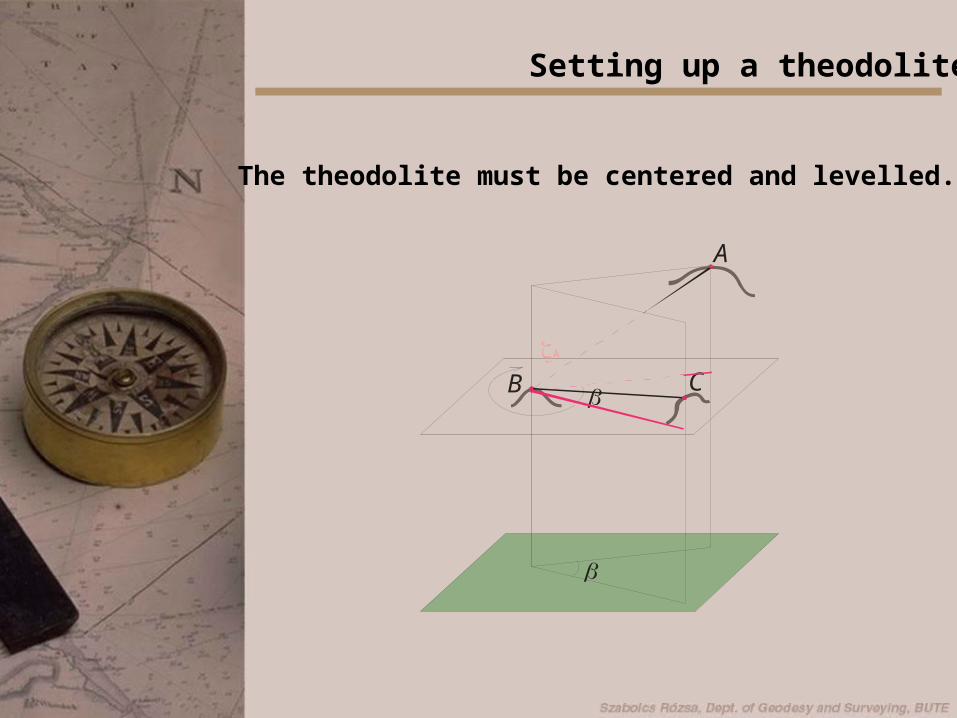
Setting up a theodolite
The theodolite must be centered and levelled.
B C
A
A
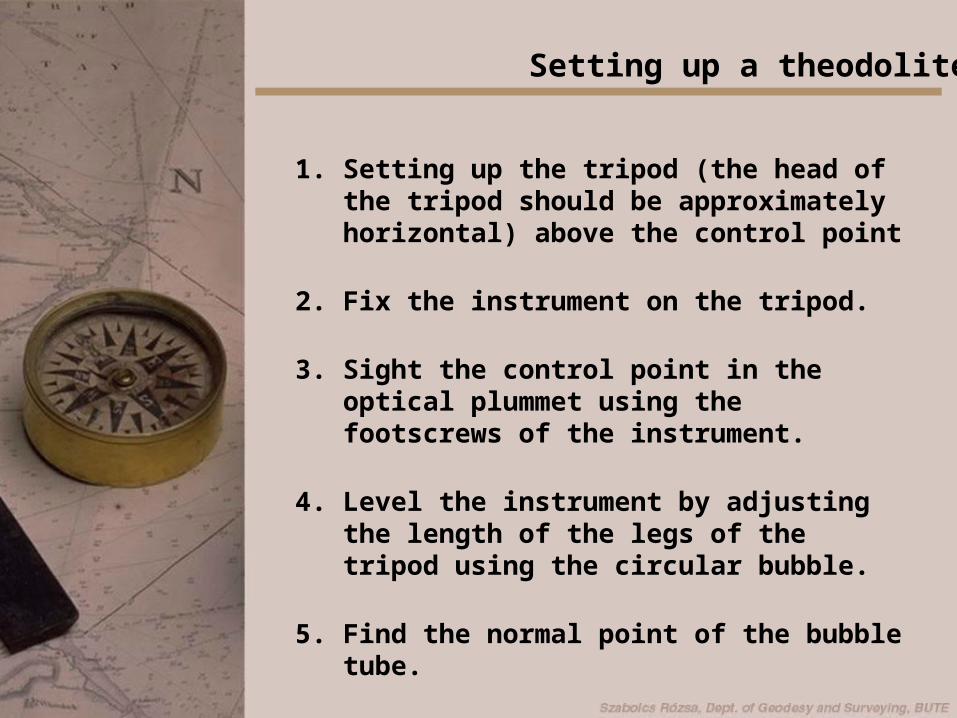
Setting up a theodolite
1. Setting up the tripod (the head of the tripod should be approximately horizontal) above the control point
2. Fix the instrument on the tripod.
3. Sight the control point in the optical plummet using the footscrews of the instrument.
4. Level the instrument by adjusting the length of the legs of the tripod using the circular bubble.
5. Find the normal point of the bubble tube.
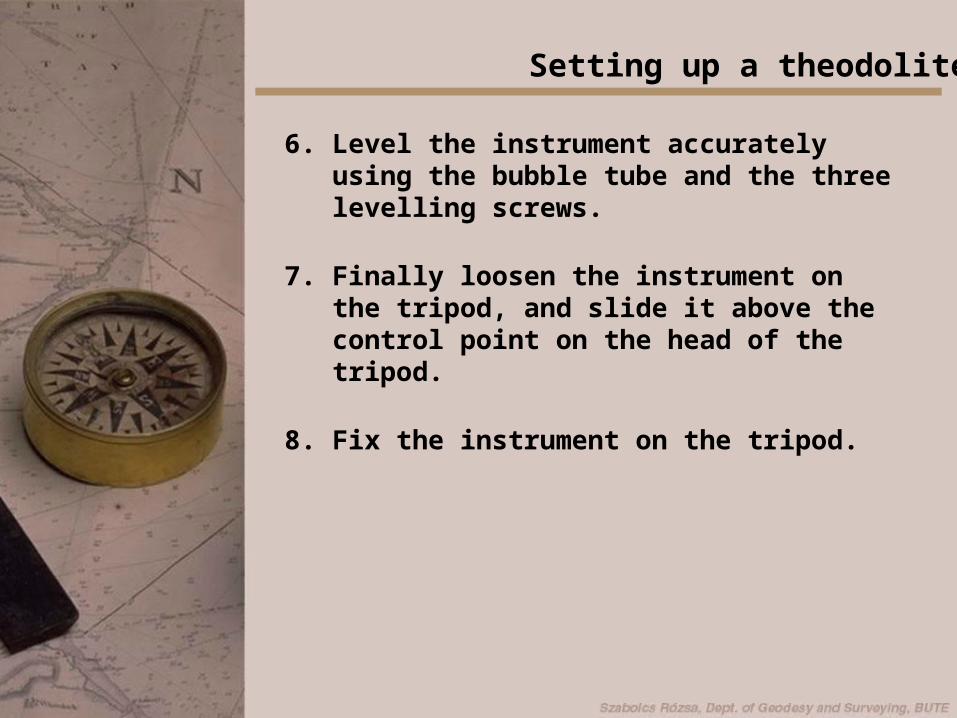
6. Level the instrument accurately using the bubble tube and the three levelling screws.
7. Finally loosen the instrument on the tripod, and slide it above the control point on the head of the tripod.
8. Fix the instrument on the tripod.
Setting up a theodolite

Thank You for Your Attention!