shareist - a content management system
TRANSCRIPT


IS A CONTENT MANAGEMENT SYSTEM.
2

IT SERVES AS A HOME BASE
3

FOR YOUR CONTENT MANAGEMENT ACTIVITIES.
4

YOU CAN CAPTURE BOOKMARKS, IDEAS,
5

SHARE THEM IMMEDIATELY IN SOCIAL MEDIA AND
6
SAVE THEM FOR BUILDING AND PUBLISHING PAGES
7
TO YOUR BLOG.
8

Open your favorite browser
9

Type”shareist.com”
10

Hit Enter Key
11

This is Shareist Website
12

Create an Account
13

Click Get Started
14

Enter your Email Address
15
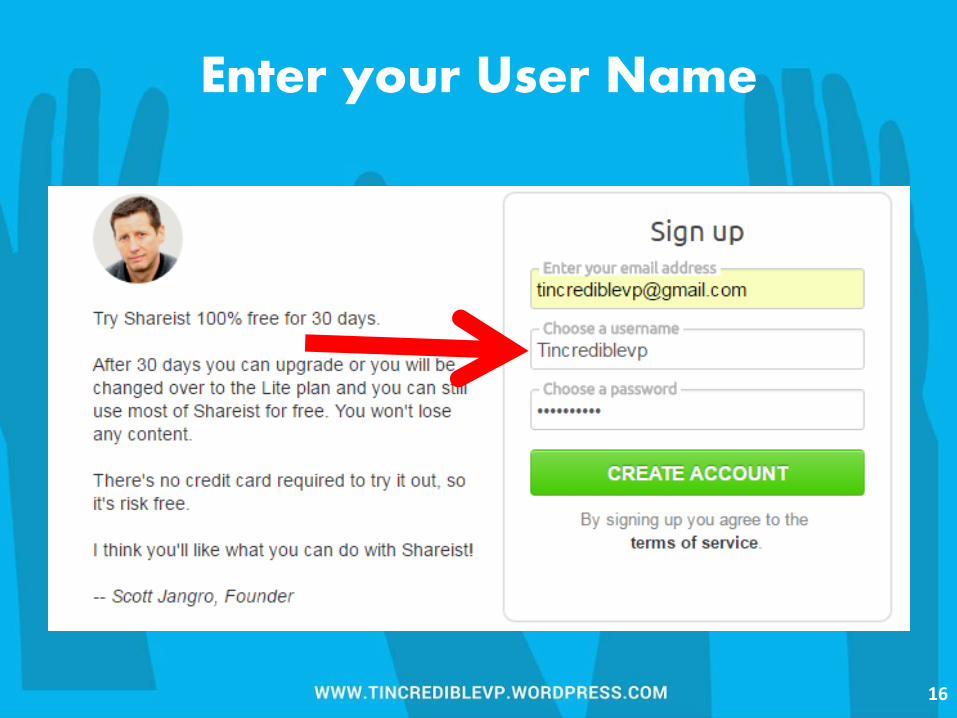
Enter your User Name
16

Enter your Password
17
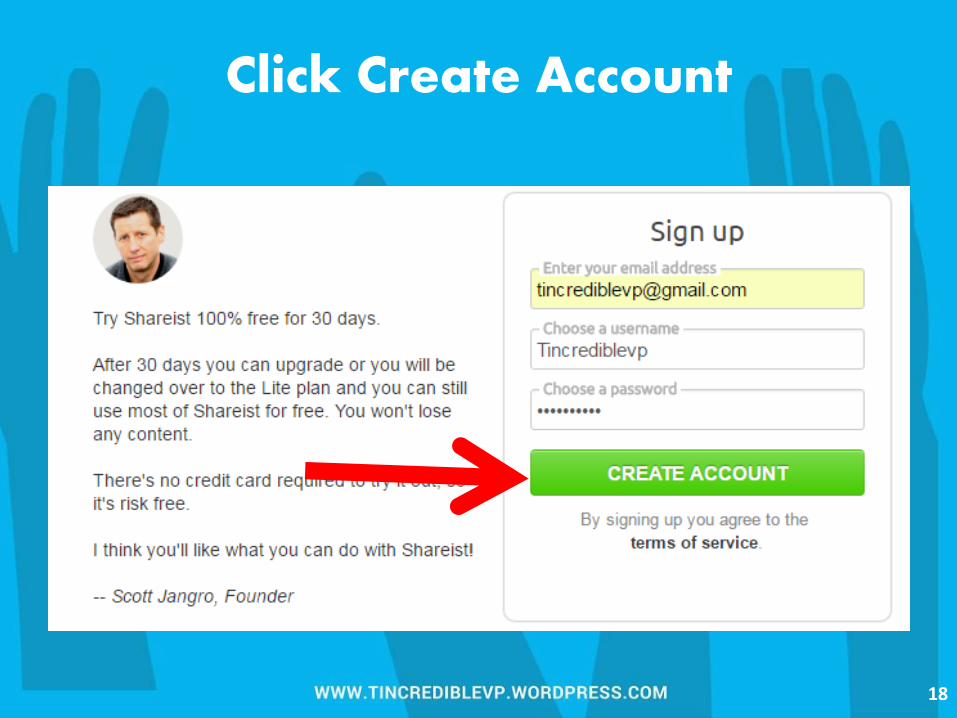
Click Create Account
18

Welcome to Shareist!
19

This is Shareist GLOBAL Dashboard
20

For first timers, you can check the tutorials below
21

Create A Project
22

I will create a Project for a Korean Skin Care Campaign
23

Let’s create a project
24

Create a Project Name
25

Create a Project Shortname
26

Enter keywords about your project
27

Click Create Project Now
28

This is the Project Dashboard
29

I will share in this Tutorial the 4 Major Shareist Features
30
CONNECT YOUR ACCOUNTS
1.
31

Shareist lets you connect different social
media platforms like
32

33

34

35

36

BUFFER
37

TUMBLER
38

And WORDPRESS
39

You can also connect your blogs to publish page contents
40

Click streams to connect accounts for streaming contents
41

You can connect your email to send email campaigns
42

For this tutorial, I will connect FB Business Pages
43

Click Add new Facebook Page
44

Click OK
45
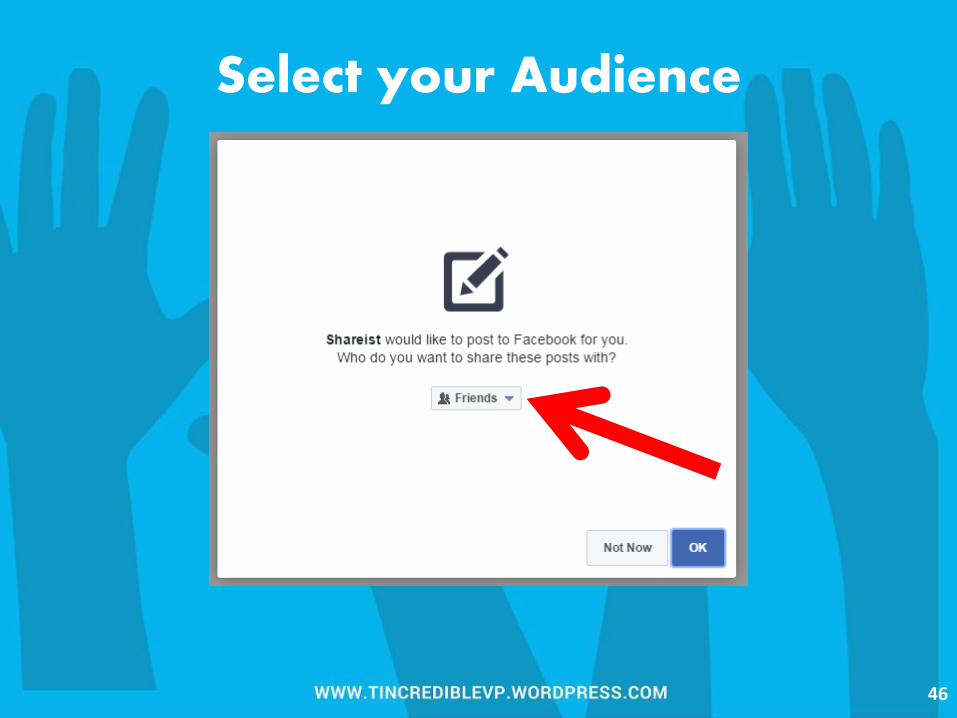
Select your Audience
46

Click OK
47

Click OK to proceed
48

The FB pages connected to your FB Account will be shown
49

Click the FB page you want to connect
50
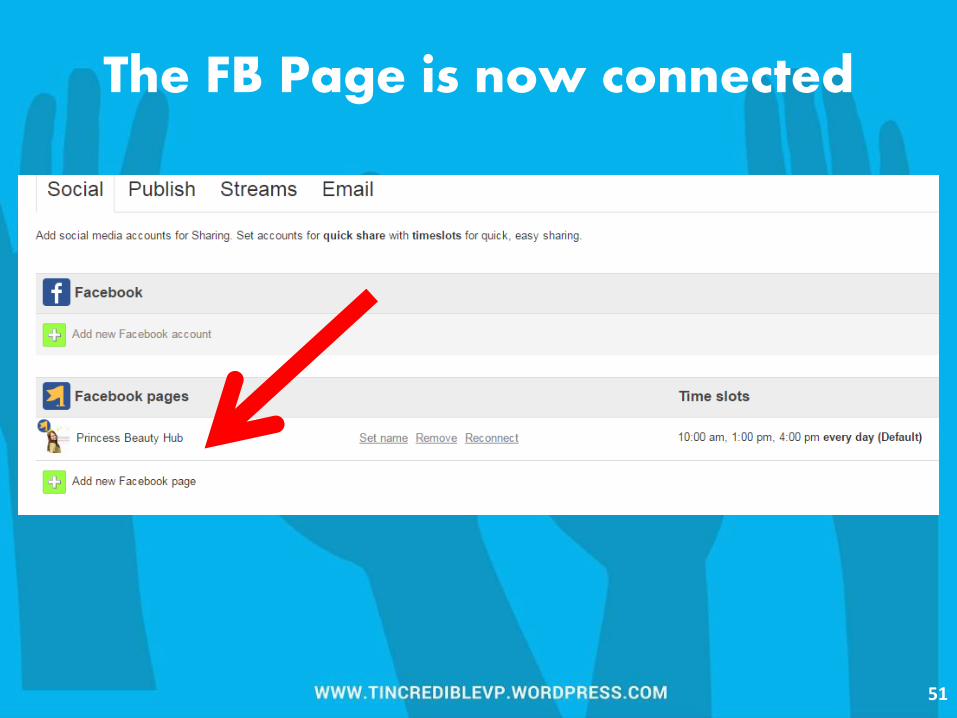
The FB Page is now connected
51

Congratulations! Let’s add another account.
52
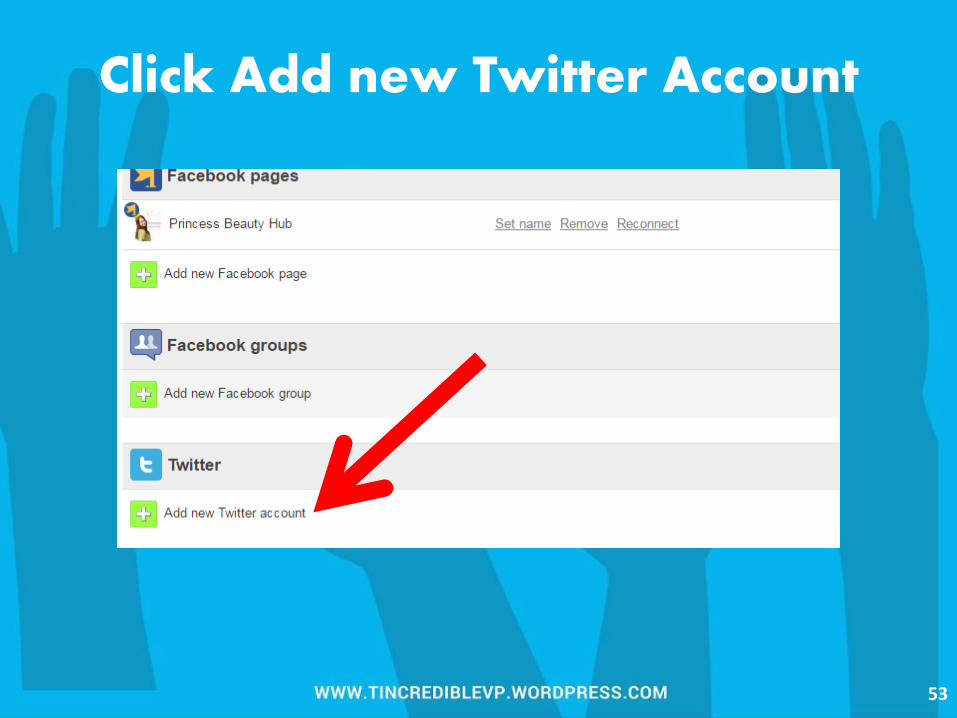
Click Add new Twitter Account
53

Enter your twitter username
54

Enter your password
55

Click Authorize App
56

Your Accounts are now reflected in the dashboard
57

RESEARCH CONTENTS
2.
58

The Research Function is where you can get content
59

And save it on your Inbox for future reference
60

or for future sharing.
61

Click Research
62
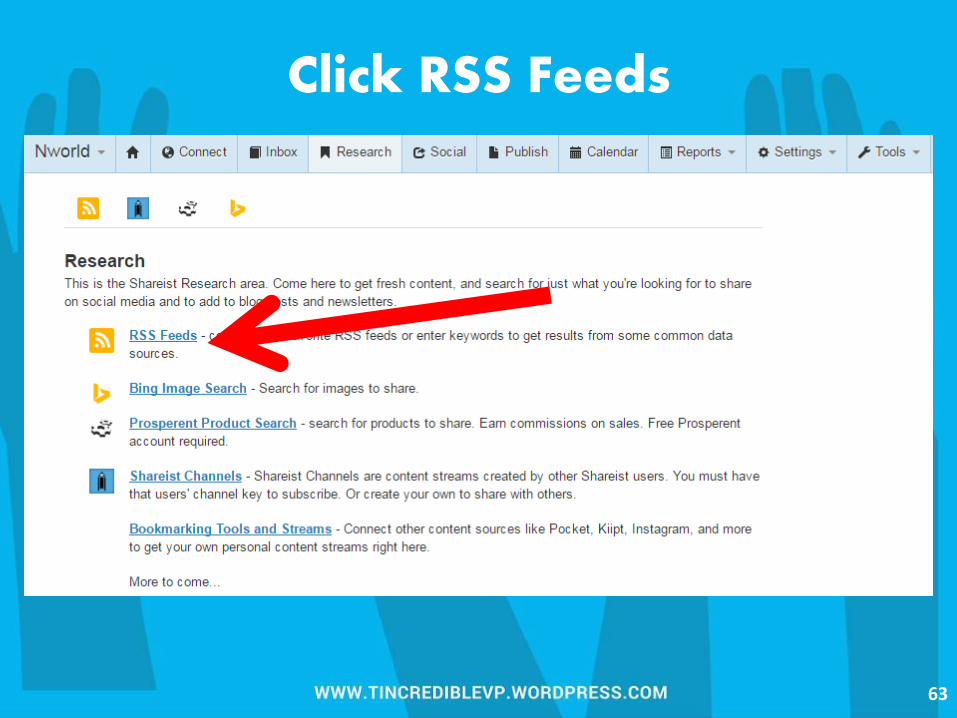
Click RSS Feeds
63

The RSS feed will show you Web results
64

associated with the keyword you provided in the project.
65

We used Korean Skin Care and cosmetics
as keywords
66

67

These are the results from the web based on the keyword
68

The results from the RSS feed can be saved to inbox
69

or can be shared to the accounts connected
70

Click Save to Inbox
71

The Inbox Serves as a storage area of all the
contents you saved
72

Click Inbox
73

Click Refresh
74

The article saved a while ago is now in our inbox
75

In your RSS feed You can also add a specific website
76

you want to appear in your feed
77

Click Manage Sources
78

Input the URL of the website
79

Click Add Source
80

Source is now added
81

Click RSS Feed Icon
82

Click Select Source
83

Select the website you added
84
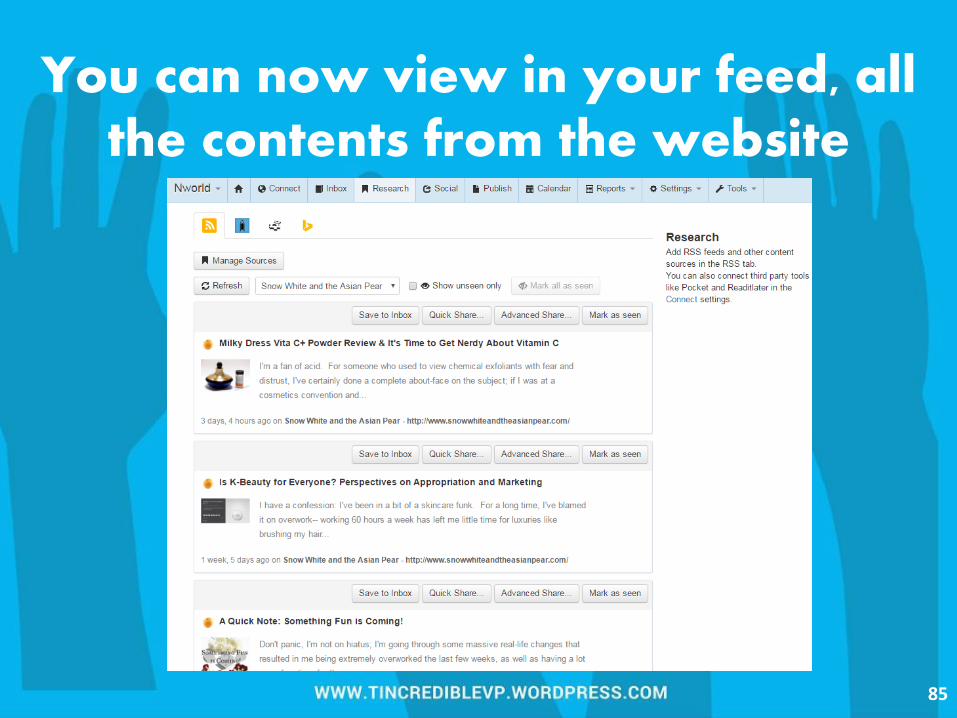
You can now view in your feed, all the contents from the website
85

You can now save the contents in your inbox
86

or share the content in your connected social media accounts
87

88

Aside from Blog posts,
89

You can also store images in your inbox
90

Go to Inbox
91

Click Capture to Inbox
92

Click Add to Inbox
93

You can store text, URLs, Links and Images in your inbox
94

Let’s add an image!
95

Click Select it from your computer
96

Select an Image and click Open
97

Create a Post
98

Create a Tag
99

Hit Save
100

It is now stored in your Inbox
101

SHARE AND SCHEDULE POST IN SOCIAL MEDIA
3.
102

This is the step where all our researched elements
103

will be put into use.
104

Go to Social
105

You can Share a text, links, video and URLs
106

Once you’re done with your post, click Next
107

Choose the accounts you want to post the element
108
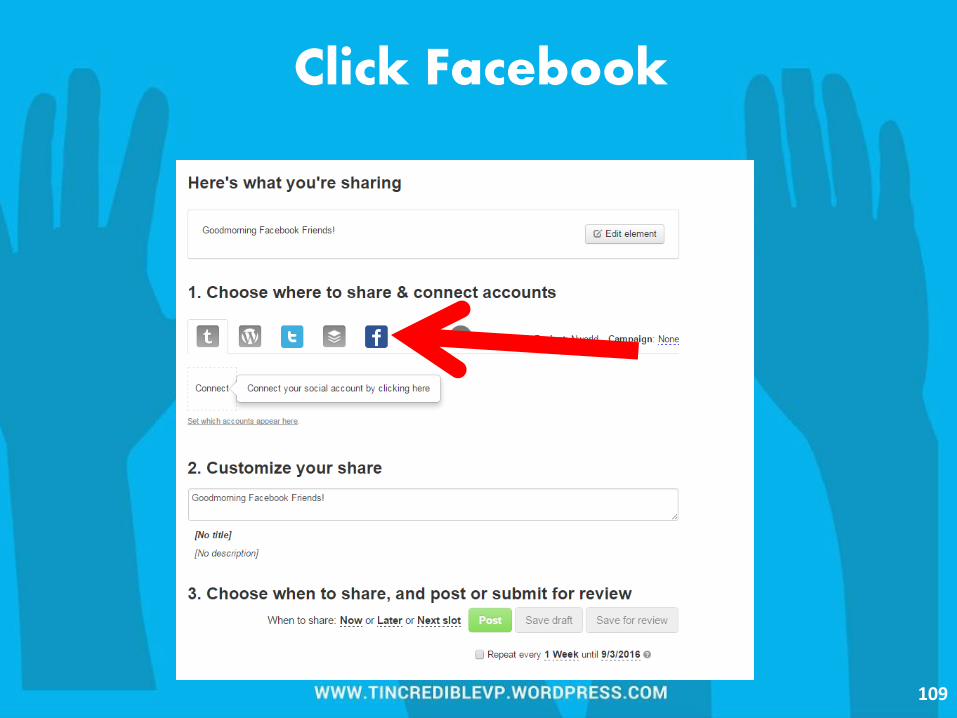
Click Facebook
109
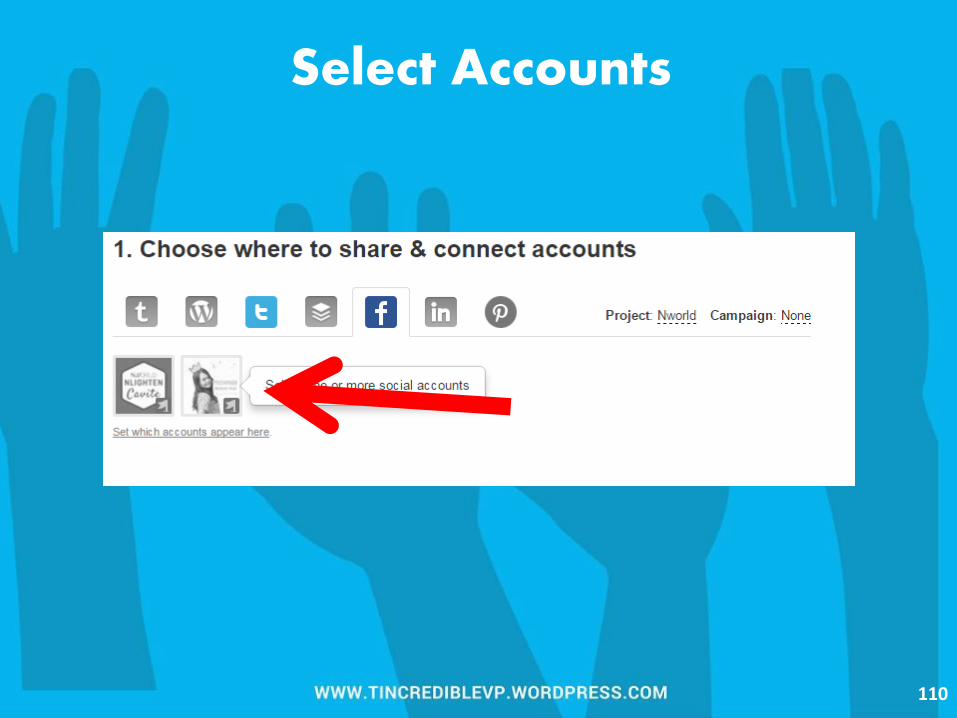
Select Accounts
110

Next, You can still edit and customize your Post
111

Once you’re done with the content,
112

Choose when you want the content to be
posted
113

Click Now, to Share immediately
114

Click Later to schedule the post
115

Choose the date
116

Enter the time
117

Click Done
118

One of Shareist best feature
119

is you can schedule a post in multiple dates
120

Click Add Another Date
121

It will automatically add the day after the first schedule
122

You can edit the schedule by clicking it
123

I scheduled the post for 5 consecutive days
124

You can also schedule it weekly. Click the box
125

Edit the end date
126

Click Post to Schedule
127

or you can click save draft and save for review for future posting
128

Let’s check the schedule!
129

Go to Social
130

Click Scheduled
131

You can view all your scheduled activities here
132

Click Repeat
133
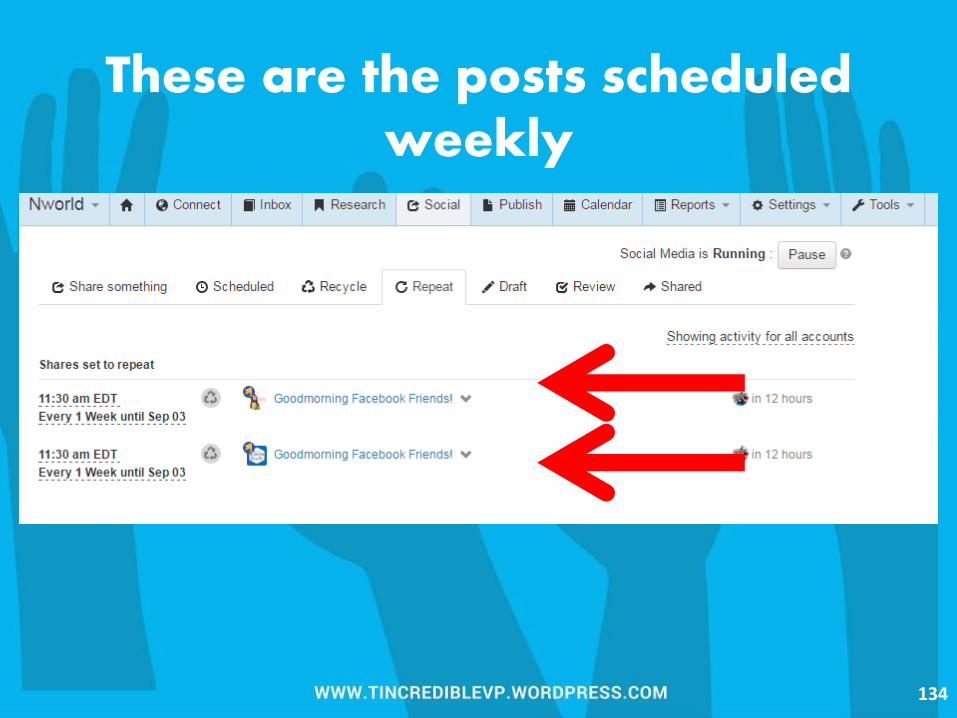
These are the posts scheduled weekly
134

Another way to share content is through your inbox
135

Go to Inbox
136

As mentioned, All contents you
researched are stored here
137

As well as the elements you added like the images.
138

Click an element
139
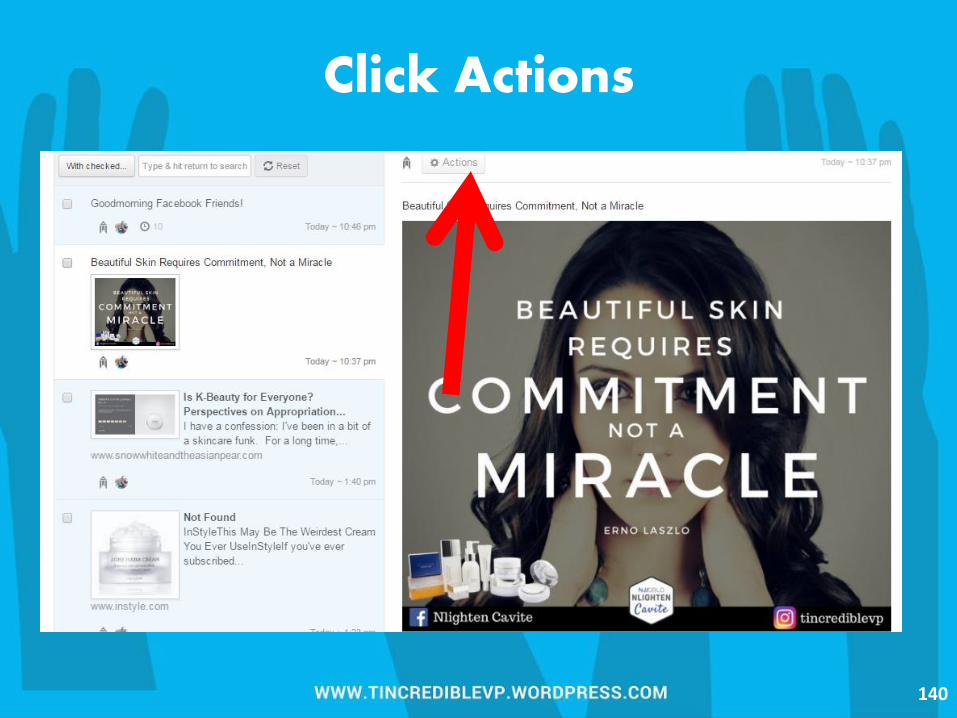
Click Actions
140

Click Quick Share to post immediately in your accounts
141

Click Advanced Share to schedule the post
142

SOCIAL AND CAMPAIGN REPORTS
4.
143

The Reports list your most successful shared
content.
144

Shareist track when the content you've shared on your social
accounts
145

attracts clicks, likes, favorites, or any other important
actions
146
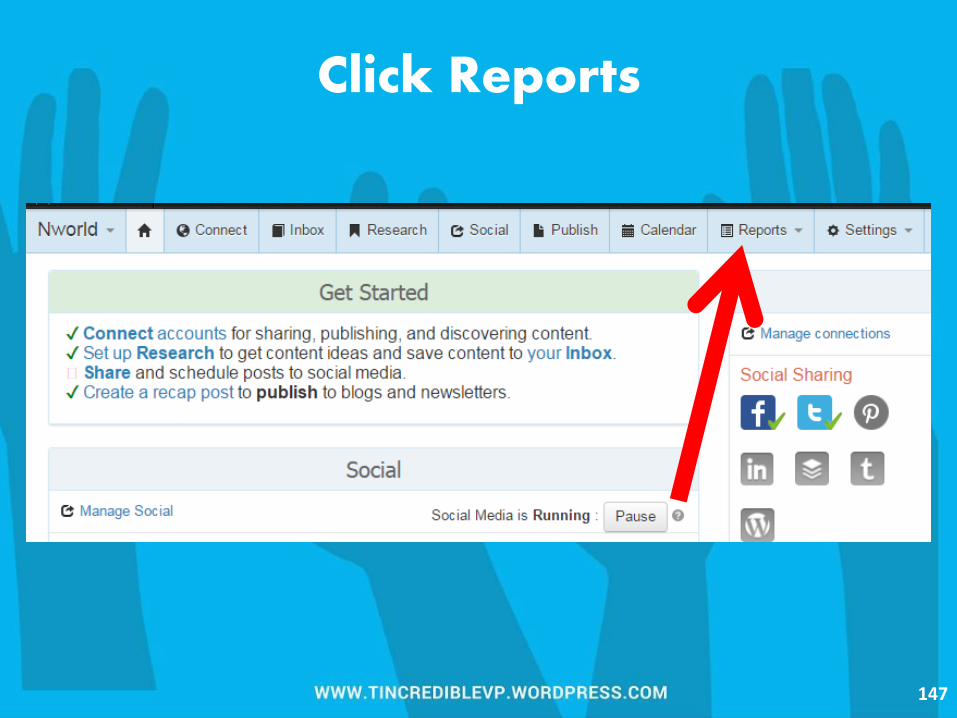
Click Reports
147

Select which Report you want to view
148

YOU JUST LEARNED A TOOL THAT CAN MAKE
CONGRATULATIONS!
149

SHARING CONTENT EASIER!
CONGRATULATIONS!
150