shake and break - omsi · shake and break 1 expedition northwest ... weathering and erosion of...
TRANSCRIPT
Shake and Break 1 Expedition Northwest 4th Grade Earth Science ©2006, OMSI
Shake and Break
Description: In an active class session, students will model the mechanical weathering and erosion of rocks in a stream or river.
Learning Objectives: Students will learn a mechanical weathering process.
Weathering and Erosion Observing 4 Stream Processes Predicting Making Models
Advance Preparation Set Up Activity Clean Up
Overnight 5 minutes 30 minutes 10 minutes
• Plastic containers with large screw top lids, e.g., mayonnaise jars, peanut butter jars, coffee jars (1 per student)
• Strainers or colanders (a few for the class to share) • Cafeteria trays or cookie sheets with rims • Aluminum foil • Old bowl and spoon • Plaster of paris (about 8 cups, one large 3-lb tub) • Water • Plastic pop-top bottles (1 per group) • Hammer • Buckets or other large containers • Clock or timers • Towels • Mop (optional) • High-energy music (optional) • Materials to photocopy: Science Background, Student Procedure
SCIENCE TOPICS PROCESS SKILLS GRADE LEVEL
TIME REQUIRED
SUPPLIES

Shake and Break 2 Expedition Northwest 4th Grade Earth Science ©2006, OMSI
Additional Supplies for Extension A • Balances (must be able to measure at least 400 grams) • Datasheet Additional Supplies for Extension B • Various kinds of rocks (marble, basalt, sandstone) Additional Supplies for Extension C • Leaves, sticks, stones • Gummy worms, gummy bears • Shells • Screws, bolts, washers, nuts Additional Supplies for Extension D • Rock tumbler • Fill the plastic pop-top bottles with water. • Make rocks using plaster of paris.
Use aluminum foil to line cafeteria trays or cookie sheets with rims. (This makes the cooking receptacle easier to clean and reuse for cooking.)
Use a ratio of 2 parts plaster of paris to one part water and mix thoroughly in an old bowl. This should make a thick paste.
Spread the mixture in the lined containers to a depth of about ¾ inch. Allow to dry overnight. For a class of 30 students, you will need about 8 cups of plaster of paris (one 3-lb tub) and 4 trays.
Break up the solidified plaster of paris with a hammer to form irregularly shaped pieces that are 1 to 3 inches in size.
Caution: Do not pour unused plaster of paris down the drain. It will harden and clog drains.
• Instead of making rocks, you can purchase rocks at a nursery, home improvement, or landscape store. Rocks should be irregularly shaped and 1 to 3 inches in size. Marble landscape rocks work well.
• As a last alternative, you can gather rocks from the surrounding area. However, depending on the geology in your region, these rocks may be too hard to abrade in this activity.
• For Extension A only, soak the rocks in water in a large bucket overnight. (The rocks must be saturated with water at the initial weighing, otherwise the rocks will appear to gain mass once they become wet during the activity.) If you use plaster of paris to make rocks, you will need one day to allow the plaster of paris to dry, then another day to soak the broken pieces in water.
ADVANCE PREPARATION
Shake and Break 3 Expedition Northwest 4th Grade Earth Science ©2006, OMSI
• Fill two or three buckets or large containers with water for students to use during the activity. You may also want a bucket for students to pour wastewater into, or they can pour it back into water buckets.
• Set out materials for students to use: plaster of paris rocks or real rocks plastic containers with lids water in buckets strainers or colanders
• If working inside, have mop and towels available for cleaning up spills. • Turn on high-energy music.
What is mechanical weathering? Rocks become smaller in size but are still made of the same material. Examples include water freezing in rocks or plants growing in cracks of rocks. What is erosion? Erosion is the moving of rock material. The material can be moved by water, ice, wind, and even animals and humans. How do rocks change as they are weathered and eroded in rivers and streams? Rocks in a stream become smaller and more rounded. Rocks break apart (weathering). The pieces of rock are carried away by the moving water (erosion). What are all the things that might happen to the material that is eroded? The material could be deposited nearby or far away. Someone may suggest that it could dissolve, which is a great suggestion, but dissolving would change the chemical composition of the rock and so is not mechanical weathering but is an example of chemical weathering.
SET UP
INTRODUCING THE ACTIVITY
Let students speculate before offering answers to any questions. The answers at the right are provided primarily for the teacher’s benefit.

Shake and Break 4 Expedition Northwest 4th Grade Earth Science ©2006, OMSI
Background information can be found at the end of the activity. Print on a separate page for students to read before doing the activity.
Show students the process for shaking the rocks. Put a large handful of rocks in a plastic jar. Cover the rocks with water and screw the lid tightly onto the jar. Shake the rocks vigorously but at a pace you can keep up for 5 minutes. For Extension A Show students the process for weighing the rocks. Pat the rocks dry with towels, then weigh the rocks. Explain that students want to measure only the mass of the rocks, not the mass of the rocks and water.
SCIENCE BACKGROUND
TEACHER DEMONSTRATION

Shake and Break 5 Expedition Northwest 4th Grade Earth Science ©2006, OMSI
Students should work in pairs or groups of three. Each group follows the directions on the Student Procedure page. Additional instructions are given below. Turn on high-energy music (optional). Encourage students to spend some time inspecting the rocks and water before shaking. A detailed list of observations will make it easier to compare how the rocks look after shaking. SAFETY PRECAUTION: If working inside, water will get on the floor. Remind students to walk carefully and wipe up spills with towels or a mop. Monitor the students to make certain they screw the lids tightly on the plastic containers before they begin shaking their rocks. After shaking, students should use the same detail in observing their rocks. They should also look carefully at the water to see small sandy particles that have eroded off the rocks. For Extension A, monitor the students’ use of the balances. Make certain their weighing technique is good, and that they pat the rocks dry before weighing.
Ask the students the following questions in bold. Possible student answers are shown in italics. What happened to the rocks as you continued to shake them? The rocks got rounder. The rocks got smaller. The rocks got smoother. The rocks seemed gritty or sandy. What do you think would happen if you shook the rocks for several hours or several days? The rocks would become very round and smooth. The rocks would completely transform to sand. Nothing, it would take more than several days to see any more significant change in the rocks.
CLASSROOM ACTIVITY
CLASS DISCUSSION
Ask for student observations. Let students guide the discussion and present their hypotheses before discussing explanations.

Shake and Break 6 Expedition Northwest 4th Grade Earth Science ©2006, OMSI
Explain to students that the rocks changed size and shape due to abrasion. The rocks rub against each other, or abrade. As they abrade, small pieces of the rocks break off. The small grains that break off feel like sand. Over time, the rocks become rounder and smoother.
Extension A—Missing Mass Use the Student Procedure sheet and the Student Data Sheet marked Extension A. In addition to observing changes in the appearance and texture of the rocks, students can measure the change in mass. It is important that students have prior experience using a balance. The majority of time should be spent shaking the rocks, rather than measuring their mass. As the rocks abrade, grains of rock break off. These grains are washed away during the rinsing step since they fit through the holes in the strainer. Over time, the mass of the rocks decreases. At first, a lot of mass is lost. Then, the amount of mass lost after each shaking period decreases. When graphed, this trend follows a decay curve, starting high, decreasing a lot at first, and then leveling out at the end. It is possible for students to have data that shows a gain in mass. Usually, this is due to excess water on the rock surface. Remind students to dry the rocks before weighing them. Extension B—Inquiry Opportunity Experiment with different rocks. Plaster of paris (gypsum) is a relatively soft rock. Marble and limestone are harder, and basalt is harder still. Because different rocks have different hardnesses, they will abrade differently. Try the following experiments to see what differences it makes in the observed abrasion: • all marble rocks • all basalt rocks • plaster of paris rocks with one marble rock • plaster of paris rocks with one basalt rock • marble rocks with one basalt rock Extension C—Make Fossils While using the plaster of paris to make rocks, make fossil imprints. After lining the trays with foil, make a layer of various items. Some suggestions: leaves, rocks, sticks, shells, gummy bears, gummy worms, screws, bolts, washers, nuts. Spread the plaster of paris mixture over the items. When the plaster of paris is broken apart, the imprints of these items will be revealed.
OPTIONAL EXTENSIONS

Shake and Break 7 Expedition Northwest 4th Grade Earth Science ©2006, OMSI
This process is similar to how fossils are formed. At the bottom of a sea, dead plants and animals mix with silt particles. As the silt particles are compressed and form rock, these decaying plant and animal parts are trapped in the rock. Then as the rock breaks apart, the fossils, or traces of these plants and animals, are revealed. Extension D—Rock Polisher Use a rock tumbler to polish some rocks. A rock tumbler uses abrasion to scrape away the rough texture of a rock, leaving the surface smooth and shiny.
SUBJECT Activity LANGUAGE ARTS Write a story about a rock’s life as it travels through
the rock cycle. MUSIC Students can make up a rhythmic chant to sing as they
shake their rocks. MATH In Extension A, the graph produced decreases rapidly
at first, then more slowly. This shape of graph is known as exponential decay. Explore other graphs with this shape: radioactive decay, value of cars.
http://www.cagenweb.com/quarries/states/idaho.html This site describes the history of stone quarries in the state of Idaho. It includes facts about what buildings used stone from the quarries. http://www.iseek.org/sv/13000.jsp?id=100437 Lists job descriptions in various categories and details education and skill requirements for all careers. The specific address listed above is for the career of “Rock Splitter.” You can find other careers by going to the home page and choosing “Find Your Perfect Career,” then “Find Careers” on the resulting page.
Abrasion: Rocks rubbing against each other to become smooth. Erosion: The movement of rock material from one place to another. Mechanical weathering: When rocks break apart but do not change what they
are made of.
CROSS-CURRICULAR CONNECTIONS
GLOSSARY
RESOURCES

Shake and Break—Science Background Expedition Northwest 4th Grade Earth Science ©2006, OMSI
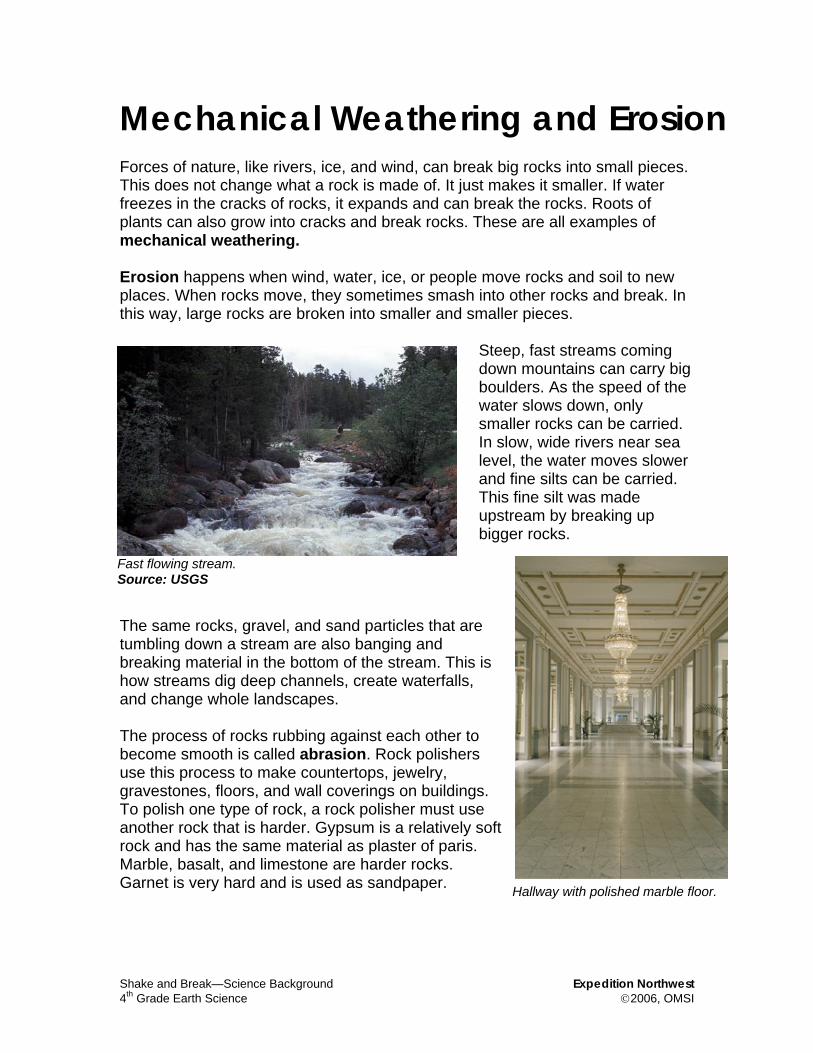
Fast flowing stream. Source: USGS
Mechanical Weathering and Erosion Forces of nature, like rivers, ice, and wind, can break big rocks into small pieces. This does not change what a rock is made of. It just makes it smaller. If water freezes in the cracks of rocks, it expands and can break the rocks. Roots of plants can also grow into cracks and break rocks. These are all examples of mechanical weathering. Erosion happens when wind, water, ice, or people move rocks and soil to new places. When rocks move, they sometimes smash into other rocks and break. In this way, large rocks are broken into smaller and smaller pieces.
Steep, fast streams coming down mountains can carry big boulders. As the speed of the water slows down, only smaller rocks can be carried. In slow, wide rivers near sea level, the water moves slower and fine silts can be carried. This fine silt was made upstream by breaking up bigger rocks.
The same rocks, gravel, and sand particles that are tumbling down a stream are also banging and breaking material in the bottom of the stream. This is how streams dig deep channels, create waterfalls, and change whole landscapes. The process of rocks rubbing against each other to become smooth is called abrasion. Rock polishers use this process to make countertops, jewelry, gravestones, floors, and wall coverings on buildings. To polish one type of rock, a rock polisher must use another rock that is harder. Gypsum is a relatively soft rock and has the same material as plaster of paris. Marble, basalt, and limestone are harder rocks. Garnet is very hard and is used as sandpaper. Hallway with polished marble floor.

Shake and Break—Student Procedure 1 Expedition Northwest 4th Grade Earth Science ©2006, OMSI
Student Procedure: Shake and Break
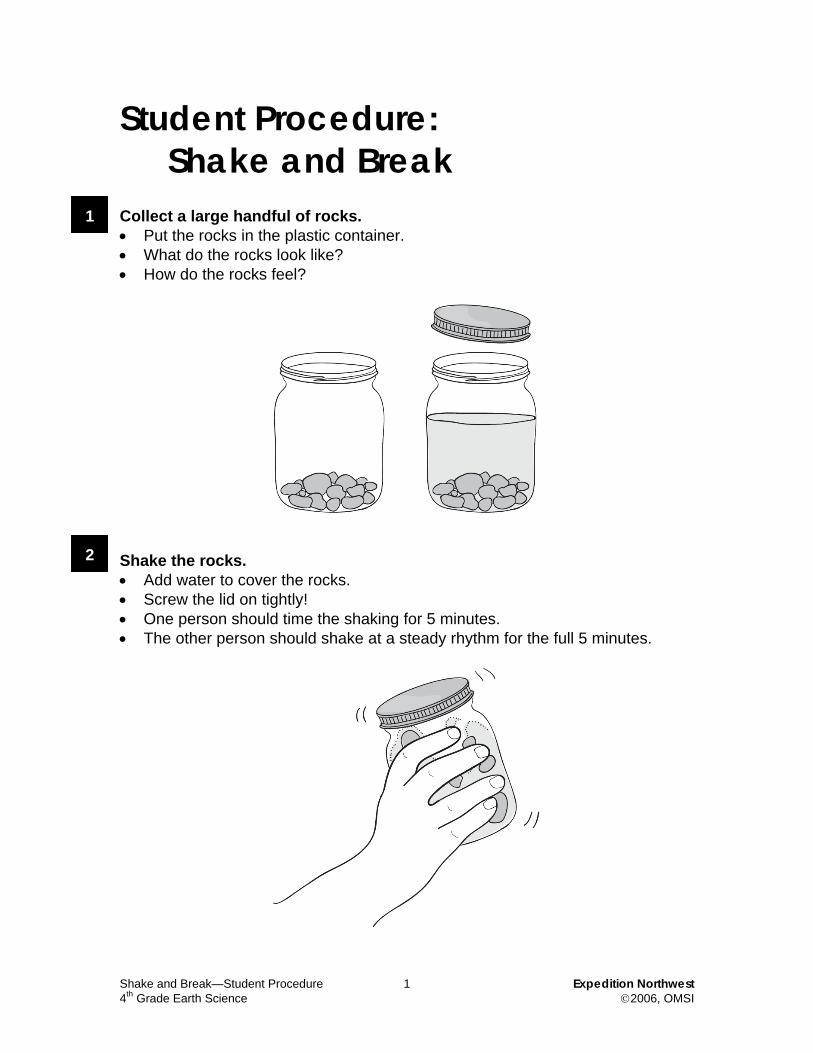
Collect a large handful of rocks. • Put the rocks in the plastic container. • What do the rocks look like? • How do the rocks feel?
Shake the rocks. • Add water to cover the rocks. • Screw the lid on tightly! • One person should time the shaking for 5 minutes. • The other person should shake at a steady rhythm for the full 5 minutes.
2
1

Shake and Break—Student Procedure 2 Expedition Northwest 4th Grade Earth Science ©2006, OMSI
Observe your rocks. • Unscrew the lid from the container. • What do the rocks look like now? • How do the rocks feel? • What does the water look like? Strain the rocks. • Over the waste bucket, pour the rocks into the strainer. • Pour water over the rocks to rinse them thoroughly. • Return your rocks to the container.
Repeat Steps 2 through 4. • You should repeat the process at least three (3) times. Clean up your area. • Return all materials to their proper locations. • Dry the floor, counter, and any other necessary areas.
3
4
5
6

Shake and Break—Student Procedure, Extension A Expedition Northwest 4th Grade Earth Science ©2006, OMSI
Student Procedure: Shake and Break—Extension A
Weigh a large handful of rocks. • Use a towel to dry the rocks. • Carefully measure and record the starting mass of your rocks. • You should start with about 350g–400g of rocks. • Dry the balance when you are finished. • What do the rocks look like? Put the rocks in the plastic container. • Add water to cover the rocks. • Screw the lid on tightly. Shake the rocks. • One person should time the shaking for 5 minutes. • The other person should shake at a steady rhythm for the full 5 minutes. Strain the rocks. • Unscrew the lid from the container. • Over the waste container, pour the rocks into the strainer. • Pour water over the rocks to rinse them thoroughly. • Do not lose any of the rocks. Re-weigh your rocks. • Use a towel to dry the rocks. • Carefully measure and record the mass of your rocks. • Dry the balance when you are done. • What do the rocks look like now? Repeat Steps 2 through 5. • You should repeat the process at least three (3) times. • Record all of your data. Clean up your area. • Return all materials to their proper locations. • Dry the floor, counter, and any other necessary areas.
2
3
1
4
5
6
7
Name of Scientist:_______________________________ Date:________________
Shake and Break—Student Procedure, Extension A Expedition Northwest 4th Grade Earth Science ©2006, OMSI
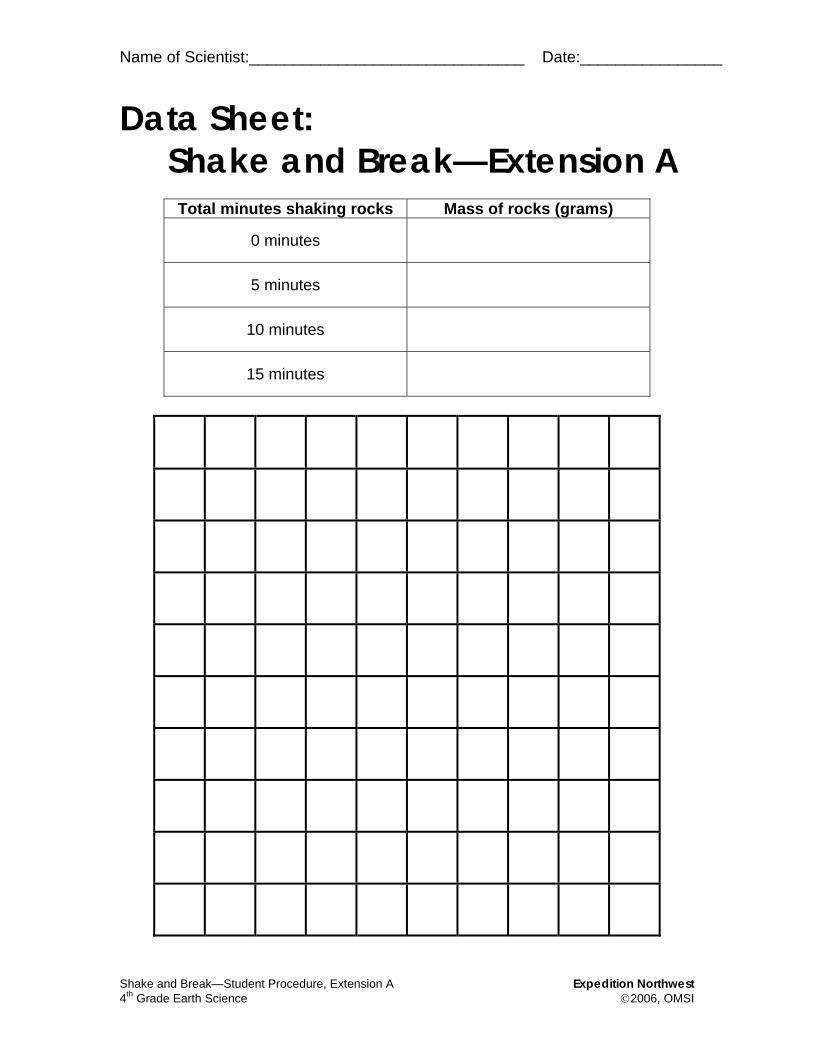
Data Sheet: Shake and Break—Extension A
Total minutes shaking rocks Mass of rocks (grams)
0 minutes
5 minutes
10 minutes
15 minutes