professional diploma in photoshop
TRANSCRIPT
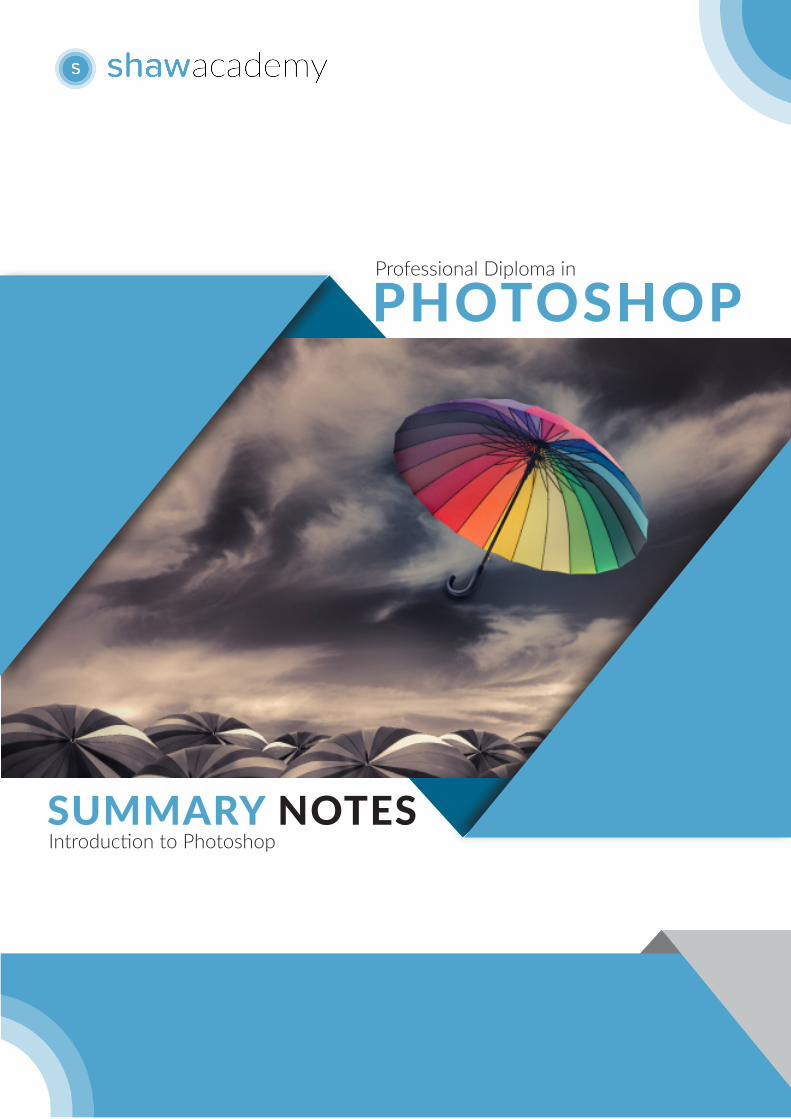
Professional Diploma in
PHOTOSHOP
SUMMARY NOTESIntroduction to Photoshop
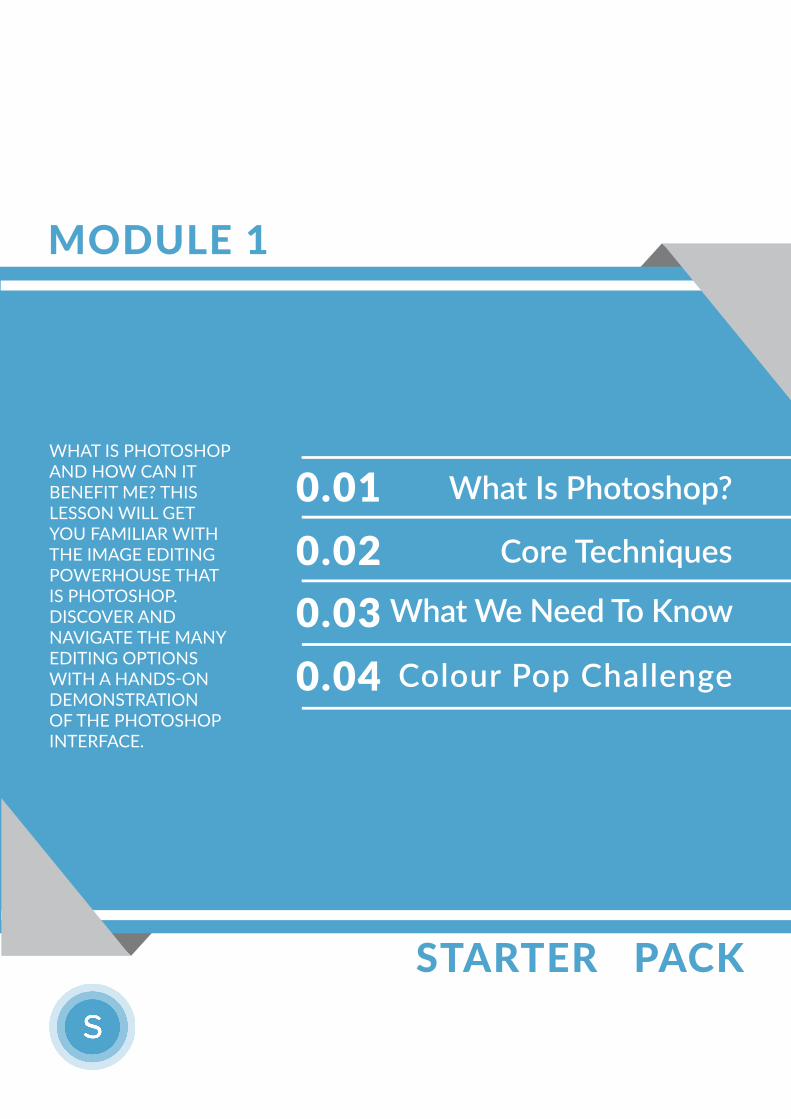
MODULE 1
WHAT IS PHOTOSHOP AND HOW CAN IT BENEFIT ME? THIS LESSON WILL GET YOU FAMILIAR WITH THE IMAGE EDITING POWERHOUSE THAT IS PHOTOSHOP. DISCOVER AND NAVIGATE THE MANY EDITING OPTIONS WITH A HANDS-ON DEMONSTRATION OF THE PHOTOSHOP INTERFACE.
What Is Photoshop?0.01Core Techniques0.02
What We Need To Know0.03Colour Pop Challenge0.04
STARTER PACK
Introduction to Photoshop
WHAT IS PHOTOSHOP?
0.01
Did you know Photoshop is not just for photography? It’s also used in design, web, and 3D projects. Adobe Photoshop is the predominant photo editing and manipulation software on the market. Its uses range from the full-featured editing of large batches of photos to creating intricate digital paintings and drawings that mimic those done by hand.Photoshop was created in 1988 by Thomas and John Knoll. Since then, it has become the de facto industry standard in raster graphics editing, to the point that Photoshop has become a generic trademark leading to its use as a verb such as “to Photoshop an image,” “photoshopping” and “photoshop contest”, though Adobe discourages such use.Photoshop’s naming scheme was initially based on version numbers. However, in October 2002, following the introduction of Creative Suite branding, each new version of Photoshop was designated with “CS” plus a number. In June 2013, with the introduction of Creative Cloud branding, Photoshop’s licensing scheme was changed to that of software as a service or subscription rental model and the “CS” additions were replaced with “CC”. Photoshop files have default file extension as .PSD, which stands for “Photoshop Document” but can save images as all standard formats.Photoshop is extremely creative and can be used in all industries, your imagination is only limited to your creativity.
“Did you know Photoshop is not just for photography? It’s also used in design, web, and 3D projects.”
CORE TECHNIQUES
0.02Introduction to Photoshop
The healing tools allow for a range of removel, re-touching and blending of the image or multiple images. Cosmetic re-touching and spot removel are made simple.
Healing
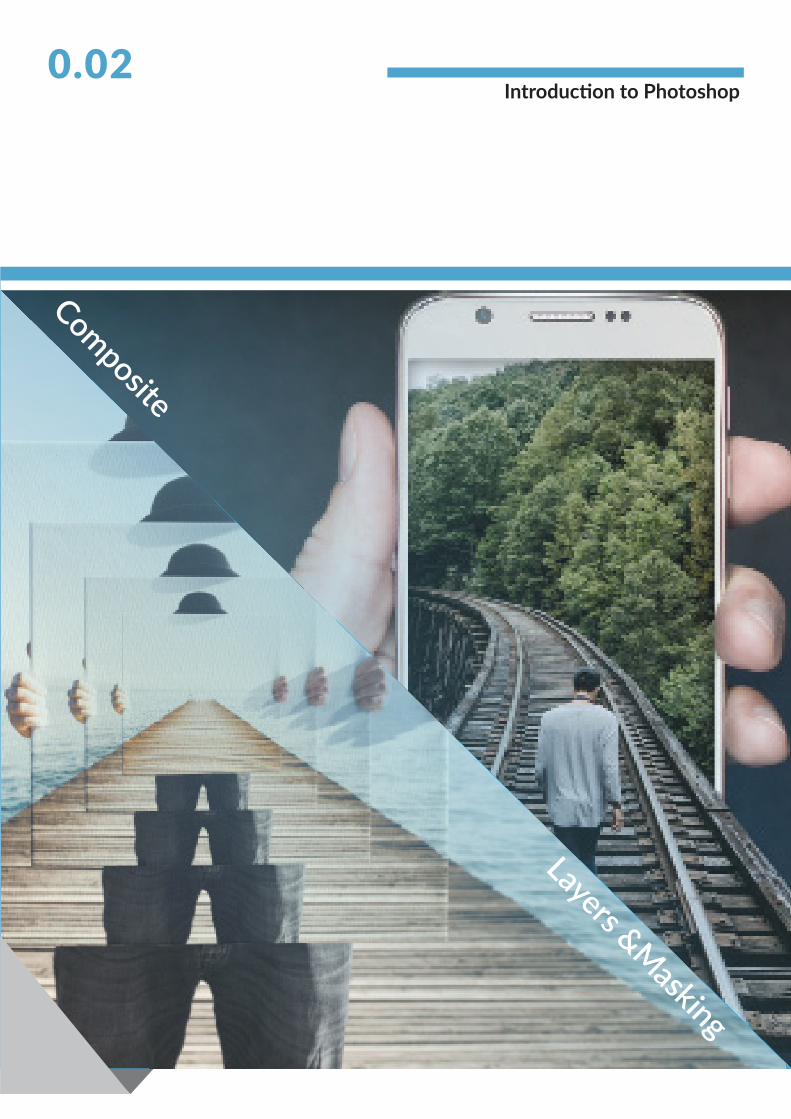
Layers are the backbone of Photoshop and allow for seamless editing. Layers allow you to blend images or create collages by stacking images.
Layers
Selections allow us to cut out our images and remove backgrounds to a pin point amount. Selections can be made manually or based on colour or focus area.
Selections
Adjustments allow you to change the tonal levels or base colours of your images. These are powerful additions to quickly edit your images to be more dynamic.
Adjustments
Masking is the combination of layers & the brush to hide or show creative elements of different images. Use Masks to create colour pops and other techniques.
Masking
Composites are created after adding multiple images together using all of the other techniques in Photoshop. Selections and masking play a huge part.
Composites
Module 1 is all about learning the essentials or core techniques needed to use Photoshop with ease. Each lesson will teach you a new skill but you are introduced to the core of Photoshop straight away. Each topic revolves around an individual or set of tools used in each core technique. However , Photoshop is best used when combining all the necessary steps.
Introduction to Photoshop0.02
Composite
Layers &Masking
WHAT WE NEED TO KNOW
0.03Introduction to Photoshop
The Photoshop software is part of the creative cloud and will need to be installed to your computer.
Installation of the Software
The interface is full of different options to help you with your creative editing.
Photoshop Interface
Opening an image is the first simple task towards creating your masterpiece.
Opening Images
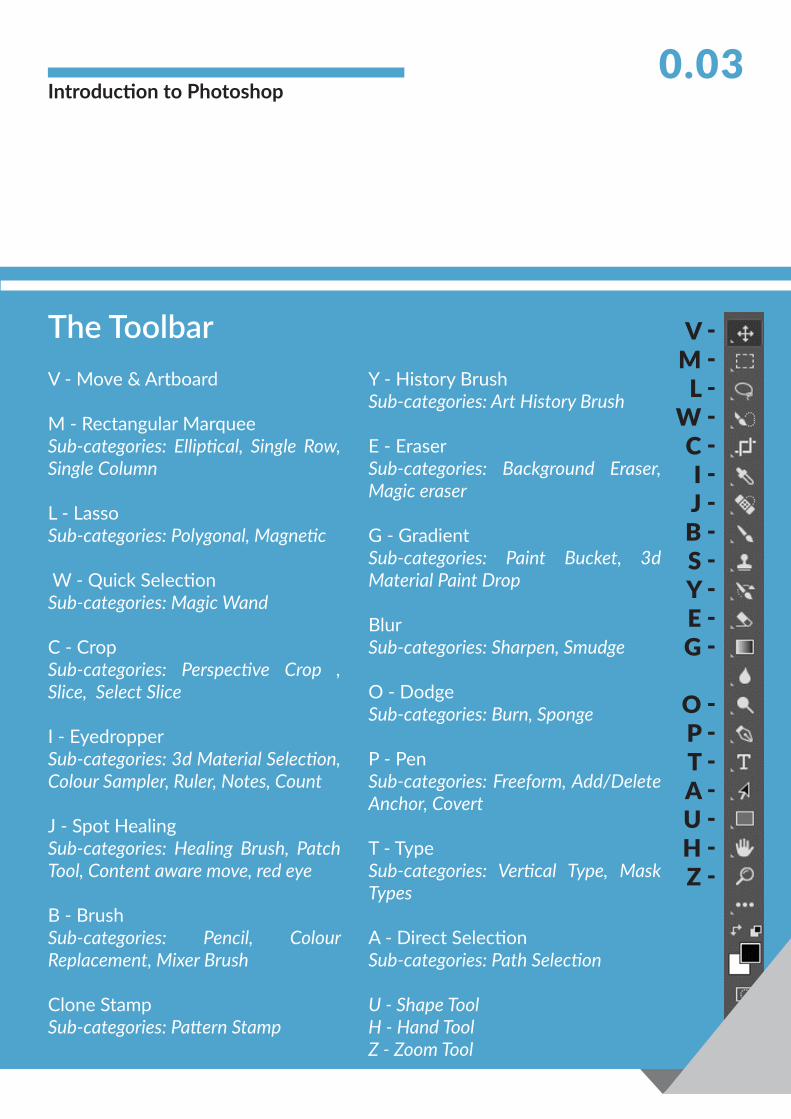
The toolbar is full of all the editing tools needed to creative stunning artwork or simply alter your images.
The Toolbar
Layers are the backbone of Photoshop and allow for seamless editing. Layers allow you to blend images or create collages by stacking images.
Understanding Layers
Photoshop has a lot of compartments, options or panels for you to use. With a large range of tools, filters adjustments and layers its difficult to know were to start. To begin you journey in Photoshop you need to know a few essential starting points.

Introduction to Photoshop0.03
The Photoshop software is part of the creative cloud and will need to be installed to your computer. Installation is a simple process. First install Creative Cloud from main Adobe website. www.Adobe.com. Once installed, open the application and choose to install Photoshop CC to its most recent update. An Adobe account may need to be set up if you do not already have one. Adobe offer trials of the software or to purchase the application on a monthly or yearly rate. I would advise the Adobe photography package. This includes Photoshop, Lightroom, Spark and storage for a better price than the single application.
“Adobe offer trials of the software or to purchase the application on a monthly or yearly rate. I would advise the Adobe photography package. This includes Photoshop, Lightroom, Spark and storage for a better price than the single application.”
Installation of the Software
0.03Introduction to Photoshop
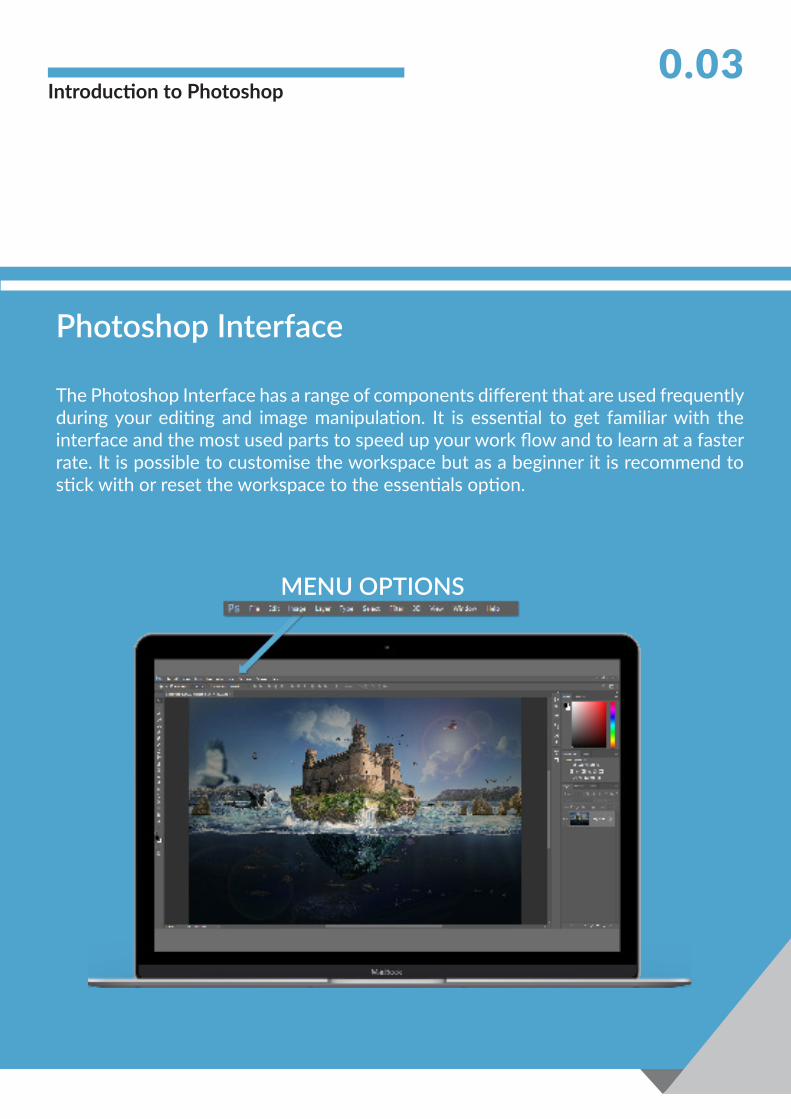
The Photoshop Interface has a range of components different that are used frequently during your editing and image manipulation. It is essential to get familiar with the interface and the most used parts to speed up your work flow and to learn at a faster rate. It is possible to customise the workspace but as a beginner it is recommend to stick with or reset the workspace to the essentials option.
Photoshop Interface
MENU OPTIONS
Introduction to Photoshop0.03
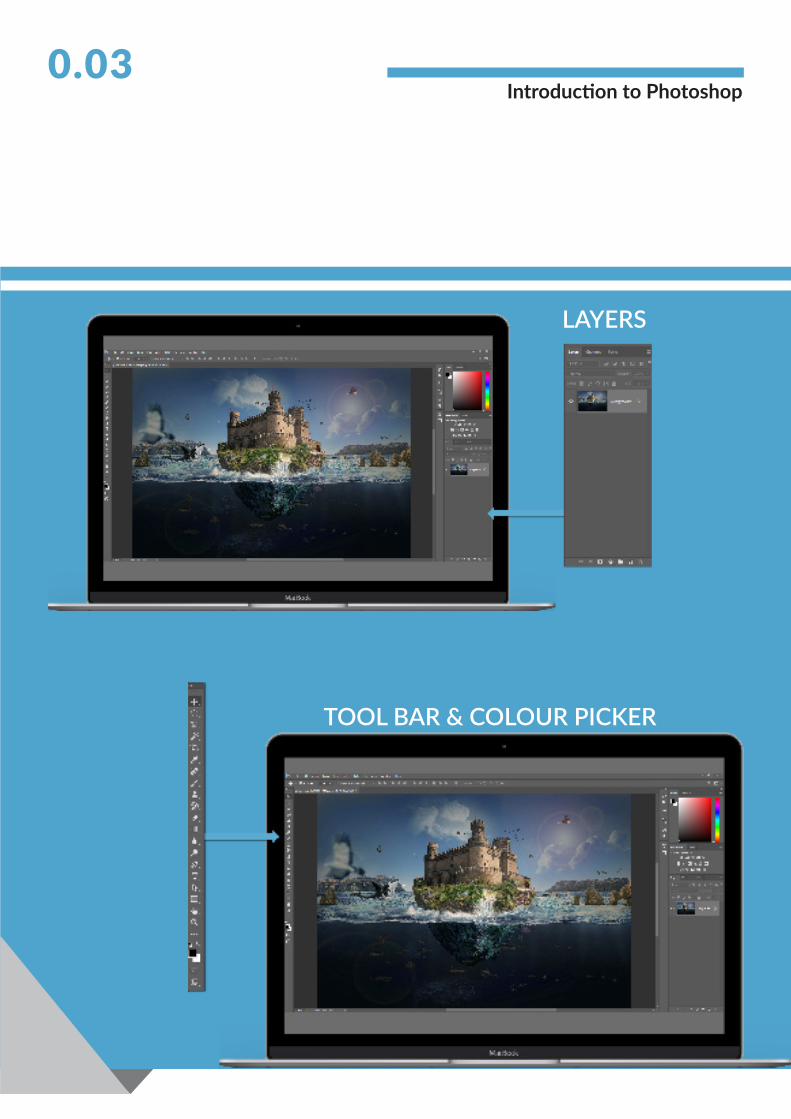
LAYERS
TOOL BAR & COLOUR PICKER
0.03Introduction to Photoshop
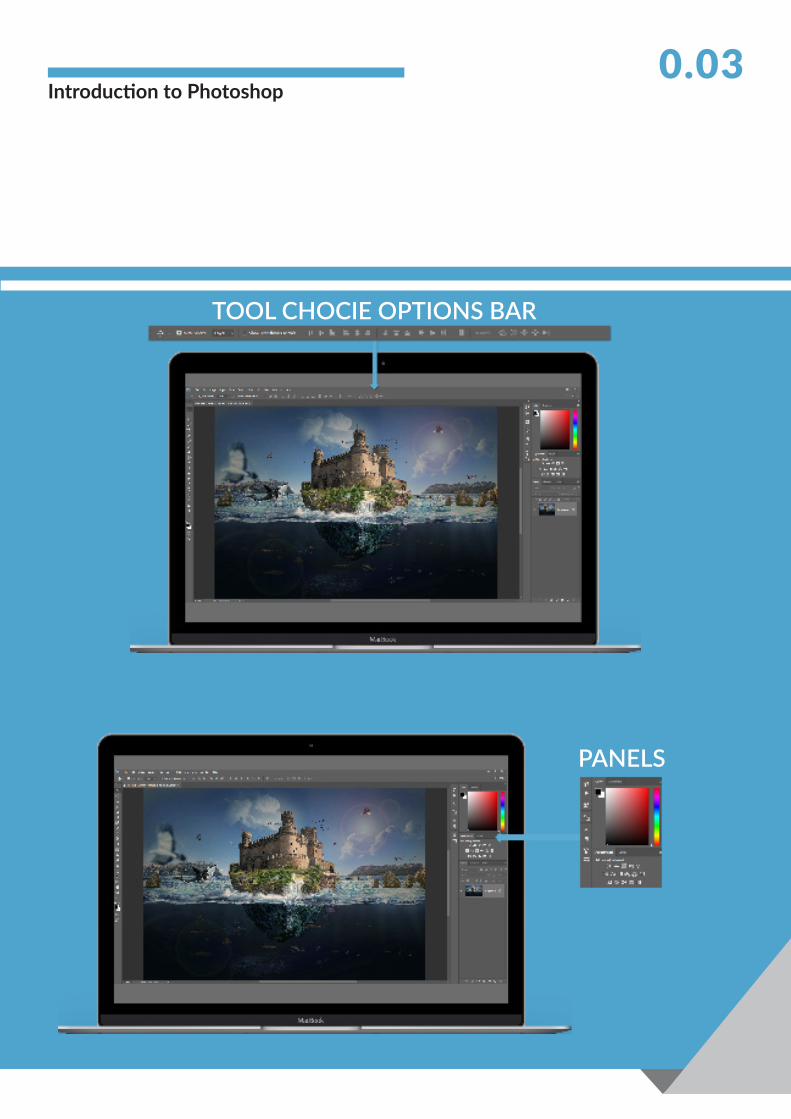
TOOL CHOCIE OPTIONS BAR
PANELS

Introduction to Photoshop0.03
Opening images can be done in a few different ways. The easiest way is to use the opening screen of Photoshop CC. This will display a new or open image button.
1. New will create a blank document and open provide a destination to choose images from.
2. It is possible to use the menu options to open an image. Go to File and choose open or open recent if previous working on a project.
3. You can use the shortcut of CTRL O or CMD O.
4. Another options is to just drag and drop images to open them as new documents or to place them onto already open documents as a new layer.
Opening Images
0.03Introduction to Photoshop
The Toolbar V -M -
L -W -C -I -J -
B -S -Y -E -G -
O -P -T -A -U -H -Z -
V - Move & Artboard
M - Rectangular MarqueeSub-categories: Elliptical, Single Row, Single Column
L - LassoSub-categories: Polygonal, Magnetic
W - Quick SelectionSub-categories: Magic Wand
C - CropSub-categories: Perspective Crop , Slice, Select Slice
I - EyedropperSub-categories: 3d Material Selection, Colour Sampler, Ruler, Notes, Count
J - Spot HealingSub-categories: Healing Brush, Patch Tool, Content aware move, red eye
B - BrushSub-categories: Pencil, Colour Replacement, Mixer Brush
Clone StampSub-categories: Pattern Stamp
Y - History BrushSub-categories: Art History Brush
E - EraserSub-categories: Background Eraser, Magic eraser
G - GradientSub-categories: Paint Bucket, 3d Material Paint Drop
BlurSub-categories: Sharpen, Smudge
O - DodgeSub-categories: Burn, Sponge
P - PenSub-categories: Freeform, Add/Delete Anchor, Covert
T - TypeSub-categories: Vertical Type, Mask Types
A - Direct SelectionSub-categories: Path Selection
U - Shape ToolH - Hand ToolZ - Zoom Tool
Introduction to Photoshop0.03
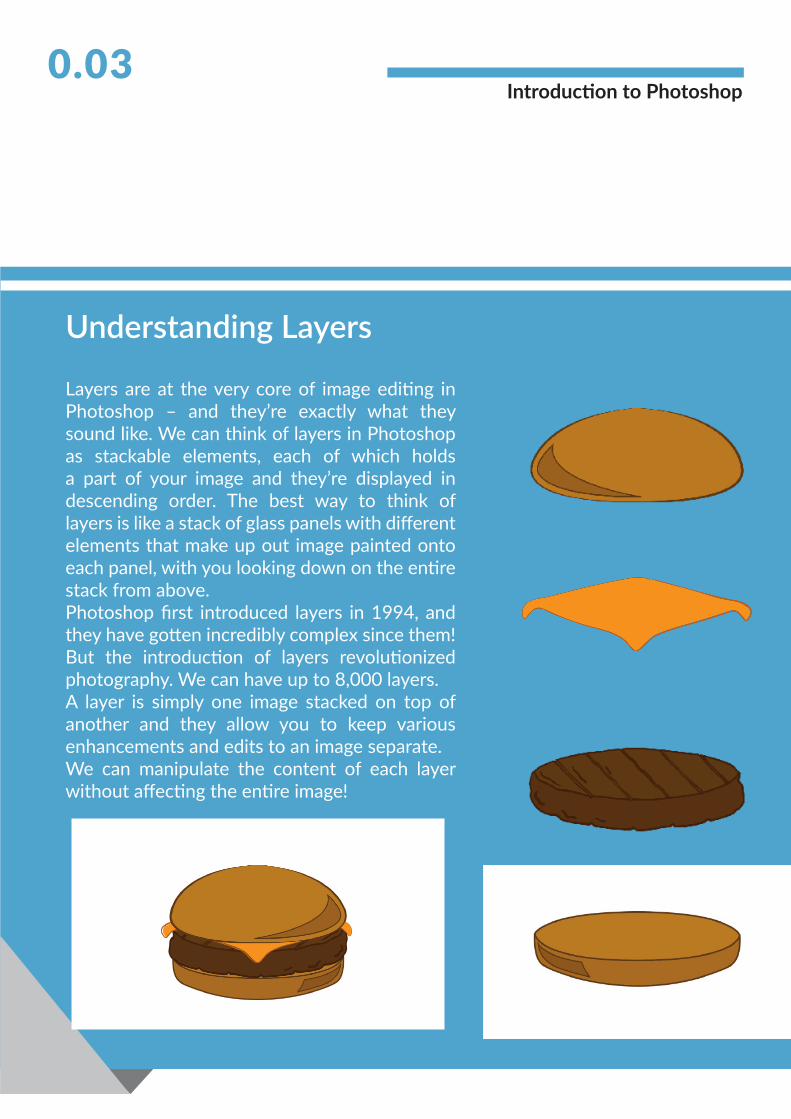
Layers are at the very core of image editing in Photoshop – and they’re exactly what they sound like. We can think of layers in Photoshop as stackable elements, each of which holds a part of your image and they’re displayed in descending order. The best way to think of layers is like a stack of glass panels with different elements that make up out image painted onto each panel, with you looking down on the entire stack from above. Photoshop first introduced layers in 1994, and they have gotten incredibly complex since them! But the introduction of layers revolutionized photography. We can have up to 8,000 layers. A layer is simply one image stacked on top of another and they allow you to keep various enhancements and edits to an image separate. We can manipulate the content of each layer without affecting the entire image!
Understanding Layers
PHOTOSHOP CHALLENGE
0.04Introduction to Photoshop
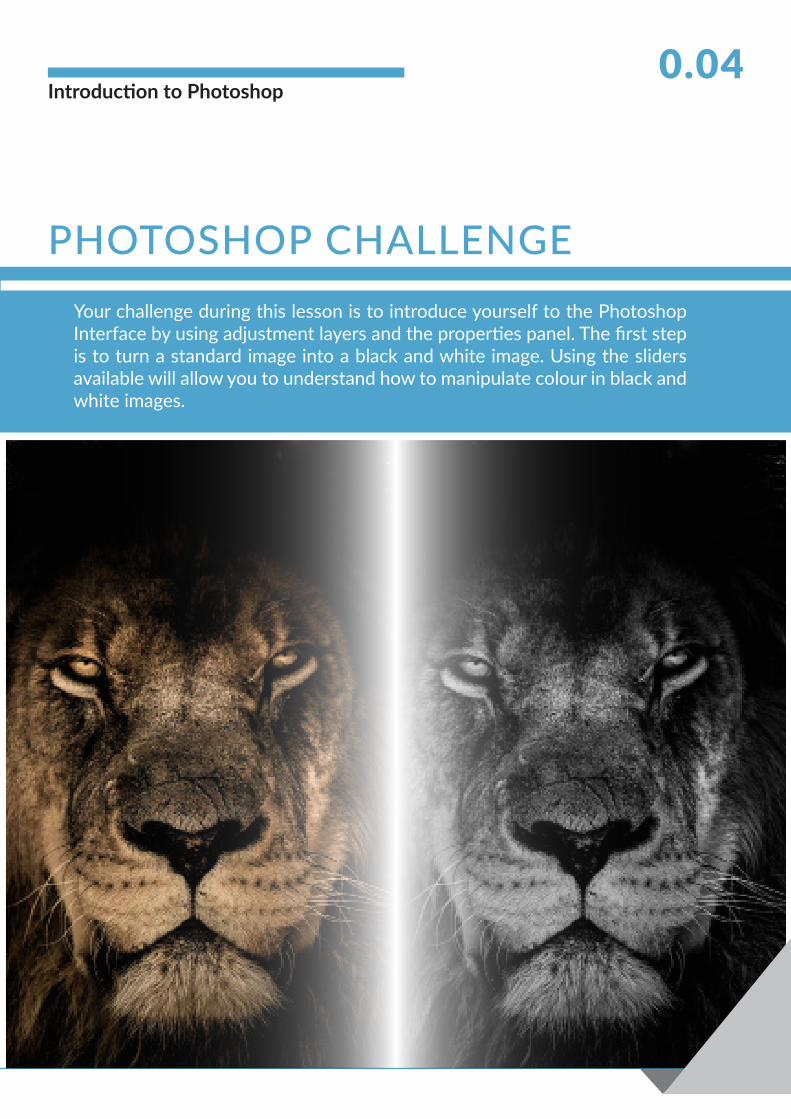
Your challenge during this lesson is to introduce yourself to the Photoshop Interface by using adjustment layers and the properties panel. The first step is to turn a standard image into a black and white image. Using the sliders available will allow you to understand how to manipulate colour in black and white images.
Introduction to Photoshop0.04
1. Open the image in Photoshop
2. Located the adjustments panel. This is defaulted above the layers panel but if it is not found go to the Window tab in the main menu and activated it.
3. Choose the black and white adjustment from the adjustment panel. It is also possible to use the Layer tab and sub option new adjustment layer.
4. Once applied use the properties panel to gain access to the sliders for editing the colours. This is defaulted above the layers panel on the side panel options but if it is not found go to the Window tab in the main menu and activated it.
5. Adjust the colours to how you feel work.
6. Save the image as a PSD file and as a JPEG. The PSD is for continued work or to make further edits.
7. Post the JPEG on social media using the hashtag provided for the course. #ShawPS
#ShawPS
Black and White Challenge
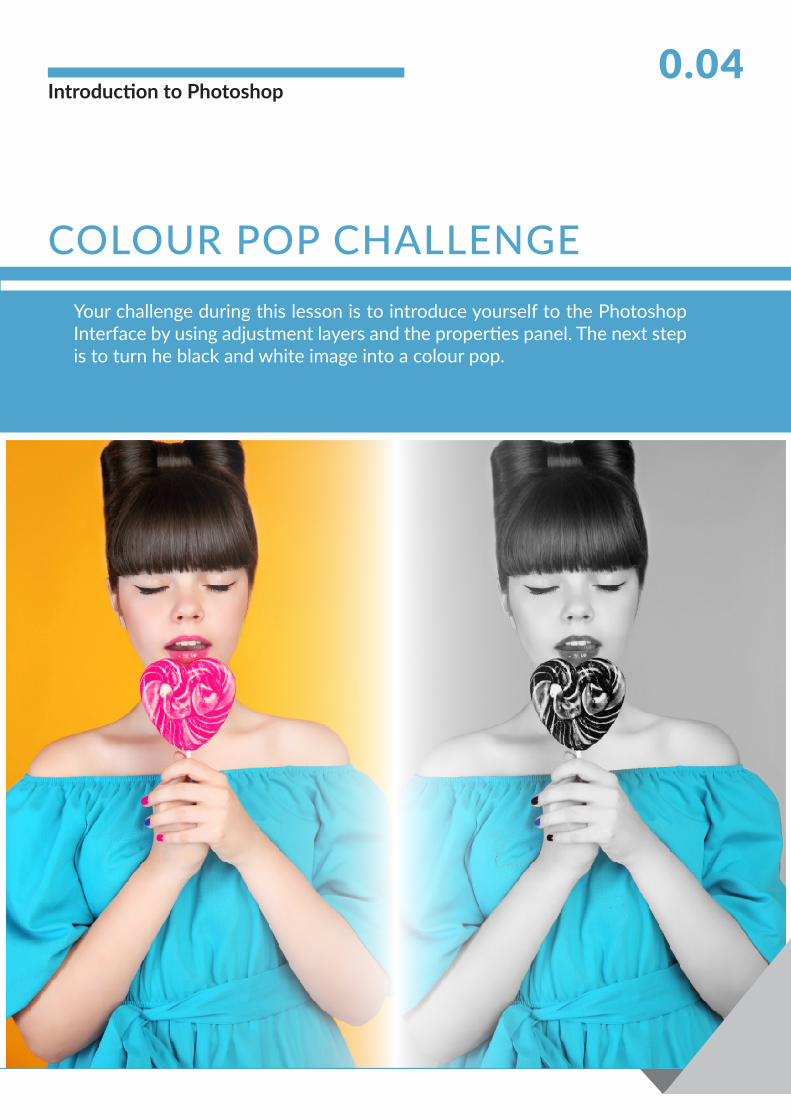
COLOUR POP CHALLENGE
0.04Introduction to Photoshop
Your challenge during this lesson is to introduce yourself to the Photoshop Interface by using adjustment layers and the properties panel. The next step is to turn he black and white image into a colour pop.
Introduction to Photoshop0.04
1. Open the image in Photoshop
2. Located the adjustments panel. This is defaulted above the layers panel but if it is not found go to the Window tab in the main menu and activated it.
3. Choose the black and white adjustment from the adjustment panel. It is also possible to use the Layer tab and sub option new adjustment layer.
4. Once applied use the properties panel to gain access to the sliders for editing the colours. This is defaulted above the layers panel on the side panel options but if it is not found go to the Window tab in the main menu and activated it.
5. Adjust the colours to how you feel work.
6. Select the mask on the adjustment layer.
7. Using the brush tool paint on the document where you want the colour to come back. Make sure the colour picker is black.
8. It is possible to use selection to make your colour pop more accurate.
9. Save the image as a PSD file and as a JPEG. The PSD is for continued work or to make further edits.
10. Post the JPEG on social media using the hashtag provided for the course. #ShawPS
#ShawPS
Colour Pop Challenge

www.shawacademy.com

Introduction to Photoshop1.02
Composite
Layers &Masking