lenovo photo master 2.0 quick start...
TRANSCRIPT
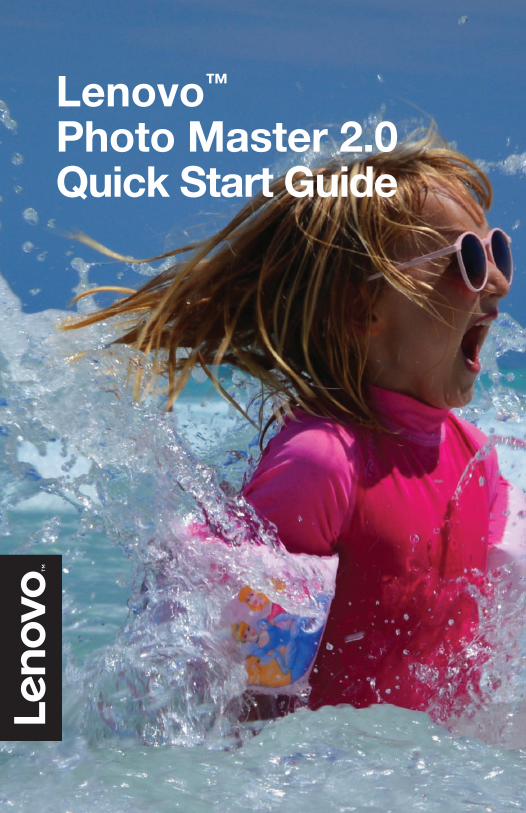
Lenovo™ Photo Master 2.0 Quick Start Guide


Welcome to Lenovo™ Photo Master 2.0! It’s now easier than ever for anyone to edit photos like a pro with just a few clicks. Here are some key steps to edit a photo from start to finish:

Uploading Your Photos
Uploading

Uploading Your Photos
• Place photos to be edited in the “Pictures” folder on your Lenovo PC.
• Open Photo Master 2.0 and click the “Folder Mode” button in the top right corner of your screen to view your photos.
• Once in Folder Mode, use the left and right arrows at the bottom of the screen to select the photo you want to view and/or edit.

Editing Your Photos
Editing
Editing Your Photos
• If you you’ve taken a series of photos in “burst mode” on your phone or camera, you can use Photo Master 2.0’s Auto Face Replace feature to select the best faces from the series and combine them into one ideal photo. Double click on the series of photos to select it, then click on the photos you wish to include in Auto Face Replace. Auto Face Replace will automatically identify the best faces and create a new image. Then you can either save your image, or cancel and try again.
• To automatically enhance the look of your photo, click on “OneKey Beautifier” at the bottom of your screen.
• To access some additional editing features, click on “Advanced Beautifier” at the bottom of your screen. Buttons labeled “Skin Smoother,” “Skin Toner,” “Blemish Removal,” “Eye Enlarger,” or “Eye Bag Removal” will automatically correct the corresponding elements of your photo with just a click.
• Once you’re happy with the look of your photo, don’t forget to click on “Save a Copy” at the bottom right corner of your screen.
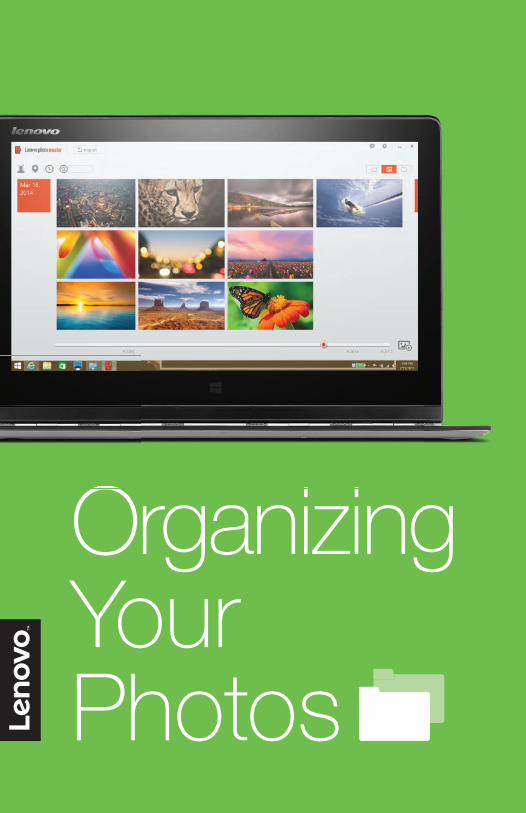
Organizing Your Photos
Organizing
Organizing Your Photos
• Photo Master 2.0 makes organizing your photos simple. Using the buttons on the top left of your screen, you can arrange them by location or date. You can also organize photos by using Photo Master 2.0’s intelligent Faces Search feature. Clicking on “Faces Search” displays all the faces in your photo library, and Photo Master 2.0 will give you the opportunity to label each face with a name, enabling you to organize photos according to the people who appear in them.
• If you click on “Smart Event Mode” in the top right corner of your screen, Photo Master 2.0 will use a combination of locations, timestamps, and other key identifiers to sort your photos according to events such as birthdays and holidays.
• Select “Voice Memo” at the bottom of your screen to record an audio description of when and where your photo was taken—or any other information you’d like to save. This recording will remain attached to the individual photo and will be playable until you delete it.

Sharing Your Photos
Sharing

Sharing Your Photos
• Photo Master 2.0 makes sharing photos on social media easier than ever. When you’re finished editing, simply click the “Share” button at the bottom of your screen and select the social media platform of your choice. Log into your account if prompted to do so, and your photo will upload automatically.
• You can easily create a personalized slideshow of your photos by selecting the photos you want to include and clicking the “Slideshow” button at the bottom of your screen. Once you’ve created your slideshow, use the controls at the bottom of your screen to select the music, speed, and style of the slideshow.

Discover more about Lenovo™ Photo Master 2.0 at
www.lenovo.com