g053 lecture 12 introduction to html mr c johnston ict teacher
TRANSCRIPT

G053 Lecture 12
Introduction To HTML
Mr C JohnstonICT Teacher
www.computechedu.co.uk

Part #1 Objectives
Know what HTML is, Understand the typical layout for HTML, Knowledge of basic HTML tags, Create your first html document.

What is HTML??
HTML stands for Hypertext Mark-up Language, It was invented in 1990 by Tim Burners-Lee a
scientist who worked for CERN in Switzerland. HTML uses tags to instruct browsers on how to
format and display the information on a web page.
The main advantage of HTML is that you can link between pages.
Tags
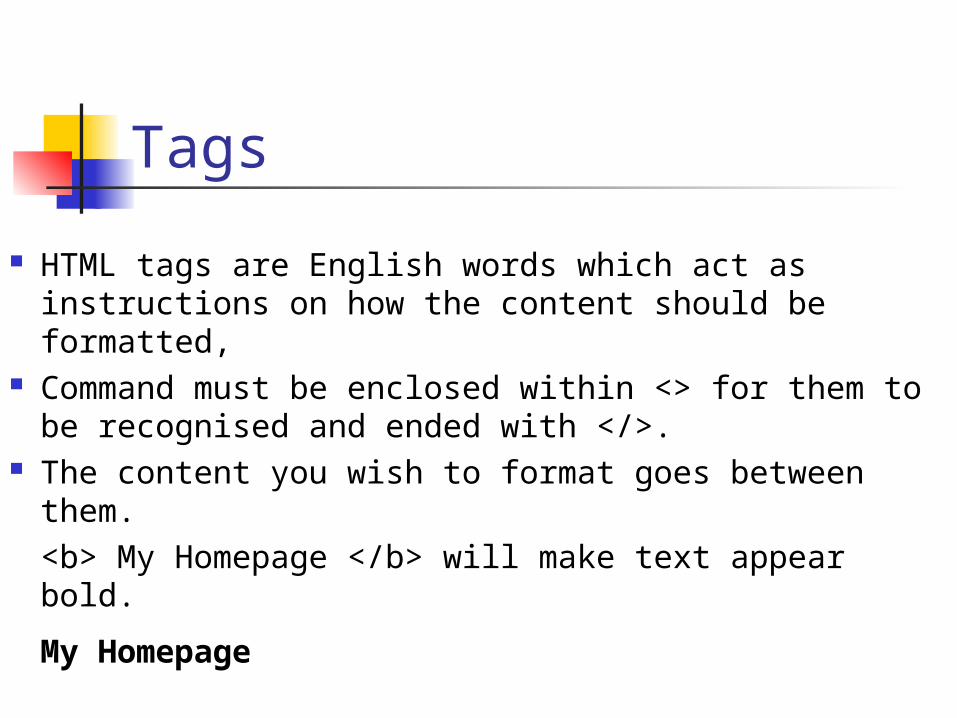
HTML tags are English words which act as instructions on how the content should be formatted,
Command must be enclosed within <> for them to be recognised and ended with </>.
The content you wish to format goes between them.<b> My Homepage </b> will make text appear bold.
My Homepage

Document Structure HTML documents all need to following
structure:<html><head><title>Place title of page here – it will be displayed in the top blue bar or
browser.</title></head><body>This is where the main content of the site will appear</body></html>

Images To use an image on your page it needs
to be saved as a jpeg or gif file, in a folder called images (to keep things tidy).
You then use the <img src> to insert it into the page.
e.g <img src=“images\mypicture.jpg”>

Creating The Pages To create a web page you need to type the
content and the tags into a text editor such as notepad,
You must remember to save the documents with the .htm or .html extension. E.g. homepage.html
Any graphics wish you wish to include should be saved in the SAME folder as the webpage in a separate folder called images.

Tag Listing
Your teacher will provide you with a listing of tags you will be using,
These will be enough to complete you assignment matching the E criteria which asks you to recognise basic tags,
Today you will practice formatting text and inserting pictures.

Part #1 Exercise
Using basic HTML code, create your own simple homepage similar to my example.
Its should include text formatting and pictures taken off the internet.
MyHomePage Example

Part #2 Objectives
To look at the concept of hyperlinks, To understand the different types of
hypertext and their associated coding, To know the basic colours available in html, To know how to create more advanced
colours,

Hyperlinks
Hyperlinks are one of the reasons why HTML is so useful,
A hyperlink can be defined as: Underlined text within an electronic document.
When clicked with the mouse, the viewer will be taken to another place.
A graphic or part of a graphic that contains a link to another location.
The process of creating a link that will take the viewer to another location.

Types of Hyperlinks
There are three main types of Hyperlink within HTML, Links to different parts of a page, Links to different pages in a website, Links to other websites external from your own.
The coding is very similar for each type of link, Each type can be applied to either text or a
graphic. Click Here
Textual Hyperlink Graphical Hyperlink

Coding For Hyperlinks (1) To create a link to another web page within
your site use the following code:<a href=“[page name]”> My Link </a>
e.g. <a href=“myhobbies.html”> My Hobbies </a> To create a link to a website external to your
site use the following code:<a href=“[full site URL]”> My Link </a>
e.g. <a href=http://www.bbc.co.uk target=“ ”> BBC Website </a> To use an image as a link use the <img src=>
tag between the link tags,e.g <a href=“http://www.bbc.co.uk”><img src=“bbclogo.jpg”
alt=“Click for BBC Website” border=“0”></a>

Example Two Page Website
<html><head><title>Web Page 1</title></head><body><center><font size=“6”> This is web page 1<p>Here is a link to <a href=“page2.html”>web page 2 </a></font></center></body></html>Saved as page1.html
<html><head><title>Web Page 2</title></head><body><center><font size=“6”> This is web page 2<p>Here is a link back to <a href=“page1.html”>web page 1 </a></font></center></body></html>Saved as page2.html

Coding For Hyperlinks (2) You can also create links within your html
document so users can jump to different areas of the page.
There are two steps to creating this: Firstly – mark up the different sections of the
document using the <a name=[name of area]> Secondly – create an index at the top of the page
so you can jump to the different sections ensure the headings have the <a href=[name of area]> My Heading</a>
Click To See Example

Using Basic Colours
Unless your are using an image on your website, text and backgrounds need to be formatted using the <font color=> or <body bgcolor=> tag.
HTML recognises 16 basic colours by entering their name:
Black Navy Green Maroon
Gray Blue Lime Red
Silver Teal Olive Purple
White Aqua Yellow Fuchsia

Using Colour Advanced Colours
HTML supports about 16 million colours, Advanced colours use Hexadecimal to record
the amount of red, green and blue to be used, Hexadecimal is a numbering system to base
16 and is difficult – luckily there are many resources on the internet to help,
Once you have found the colour code, enter it into the html instead of the name.
E.G. 33CC99 Is a green to make it the background colour <body bgcolor=“#33CC99”>

Colour Resources
Your teacher will give you a copy a colour chart,
This contains 216 “browser safe” colours, Other sources for colour codes are:
http://hotwired.lycos.com/webmonkey/reference/color_codes/ http://www.geocities.com/SouthBeach/Marina/3202/mycolors.html http://www.alphalink.com.au/~rhduncan/htmlguide/colours.html http://mediagods.com/tools/rgb2hex.html http://www.yvg.com/twrs/RGBConverter.html

Part #2 Exercise
Expand your website you started last week to include more colours – include at least two HEX colours,
Create a second page in your website which gives details about your hobbies,
Link the two pages together, Create links on your pages to external sites
which you often visit include at least one hyperlink which has an image.

Part #3 Objectives
Understand what tables are, Understand how tables can help layout your
HTML documents, Knowledge of the HTML code for tables.

Table Overview
So far we have just used the centre tag to align text and images,
The table set of tags allows you not only to set data out in tables, but also to format the entire page.

Basic Tags
<table> </table> - starts and finishes a new table
<tr> </tr> - starts and finishes a new table row
<td> </td> - starts and finishes a new table cell.
<table><tr><td>Mr</td> <td>Johnston</td></tr><tr><td>Mr</td><td>Dowey</td></tr></table>
Mr Johnston
Mr Dowey

Widths / Borders Include a border=“x” statement in the
<table> tag to show the lines around the cells,
Include a width=“x%” statement in the <table> tag to set the %age of the screen the table should use,
<table “width=100%” border=“1”><tr><td>Mr</td> <td>Johnston</td></tr><tr><td>Mr</td><td>Dowey</td></tr></table>
Mr Johnston
Mr Dowey
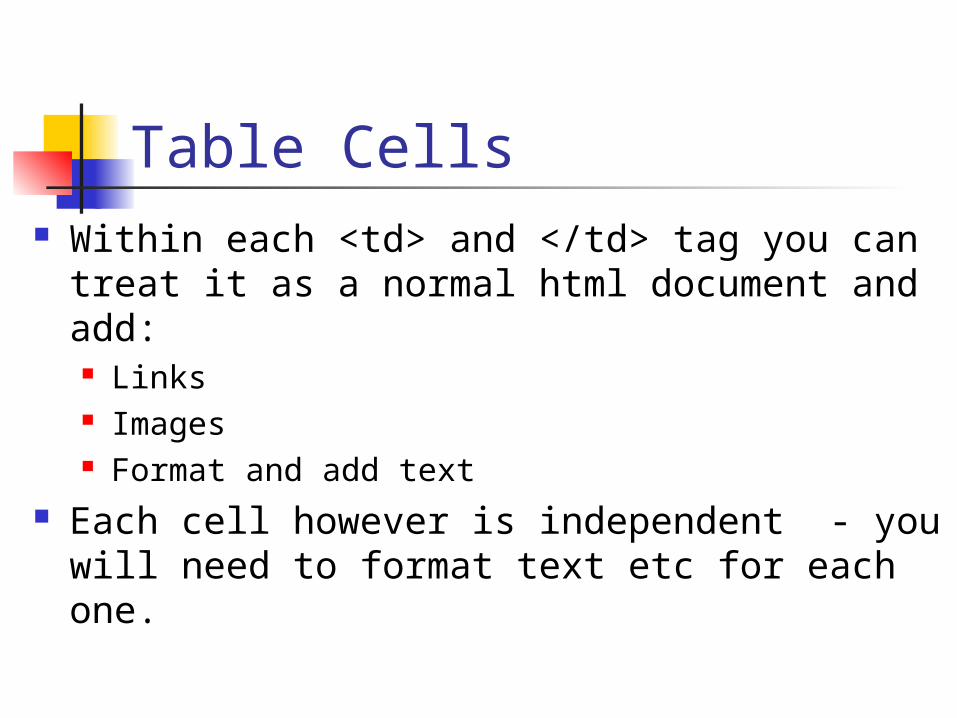
Table Cells Within each <td> and </td> tag you can treat
it as a normal html document and add: Links Images Format and add text
Each cell however is independent - you will need to format text etc for each one.

Example: Page Design I have designed the following page on paper:
My Home Page
Links:• Homepage • My hobbies• My family• My pets• My work• My links• Email Me
Welcome to my homepage,
Here you will find lots of information about me and my family.
My name is Mr Johnston and I am 23 years old and live in Coventry in the UK

Example: Working Here is the finished page.

Part #3 Exercise
Incorporate tables into your website to improve the layout of text and graphics.
Put a table into your sample page which will list the links down the left hand side,
Finish off all the other pages and check that they link together.

Assignment Link #1
Task D requires you to annotate a page of HTML code.
Use this exercise to practice annotation prior to tackling the first part of task D.
Print out the code from a page of your website and fully annotate each tag.

Assignment Link #2
Task D requires you to manually edit and add HTML tags.
Use the notes in this lecture to do this whenever an opportunity presents its self – remember to include screen shots before, during and after as proof.