wrapping text around an image
TRANSCRIPT

WRAPPING TEXT AROUND AN IMAGE
Skills development
ONE.
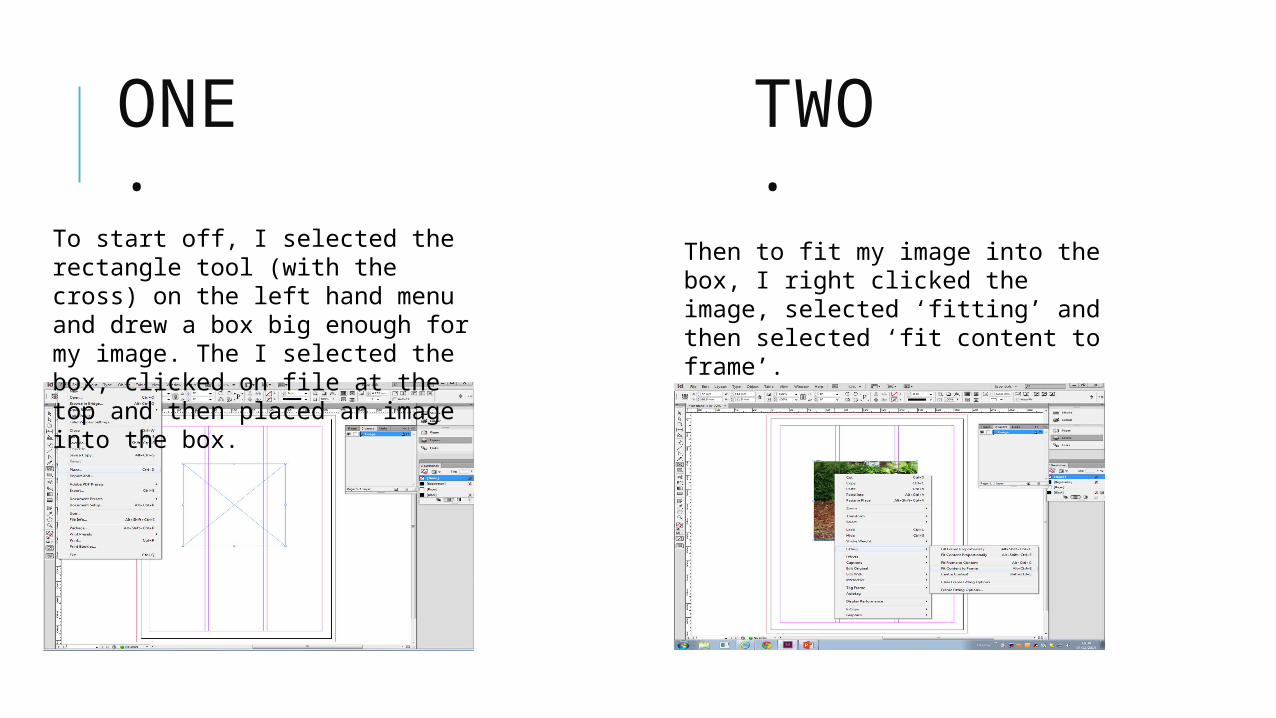
To start off, I selected the rectangle tool (with the cross) on the left hand menu and drew a box big enough for my image. The I selected the box, clicked on file at the top and then placed an image into the box.
TWO.
Then to fit my image into the box, I right clicked the image, selected ‘fitting’ and then selected ‘fit content to frame’.
THREE. FOUR.
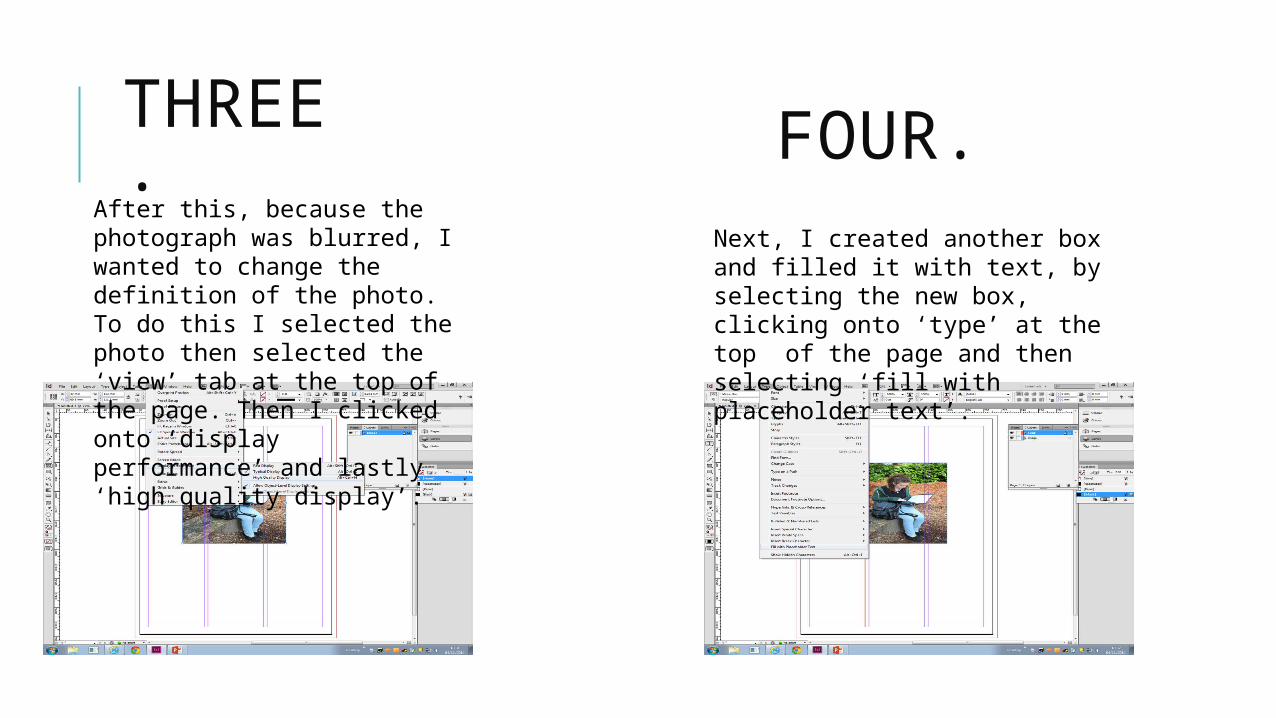
After this, because the photograph was blurred, I wanted to change the definition of the photo. To do this I selected the photo then selected the ‘view’ tab at the top of the page. Then I clicked onto ‘display performance’ and lastly ‘high quality display’.
Next, I created another box and filled it with text, by selecting the new box, clicking onto ‘type’ at the top of the page and then selecting ‘fill with placeholder text’.
FIVE. SIX.
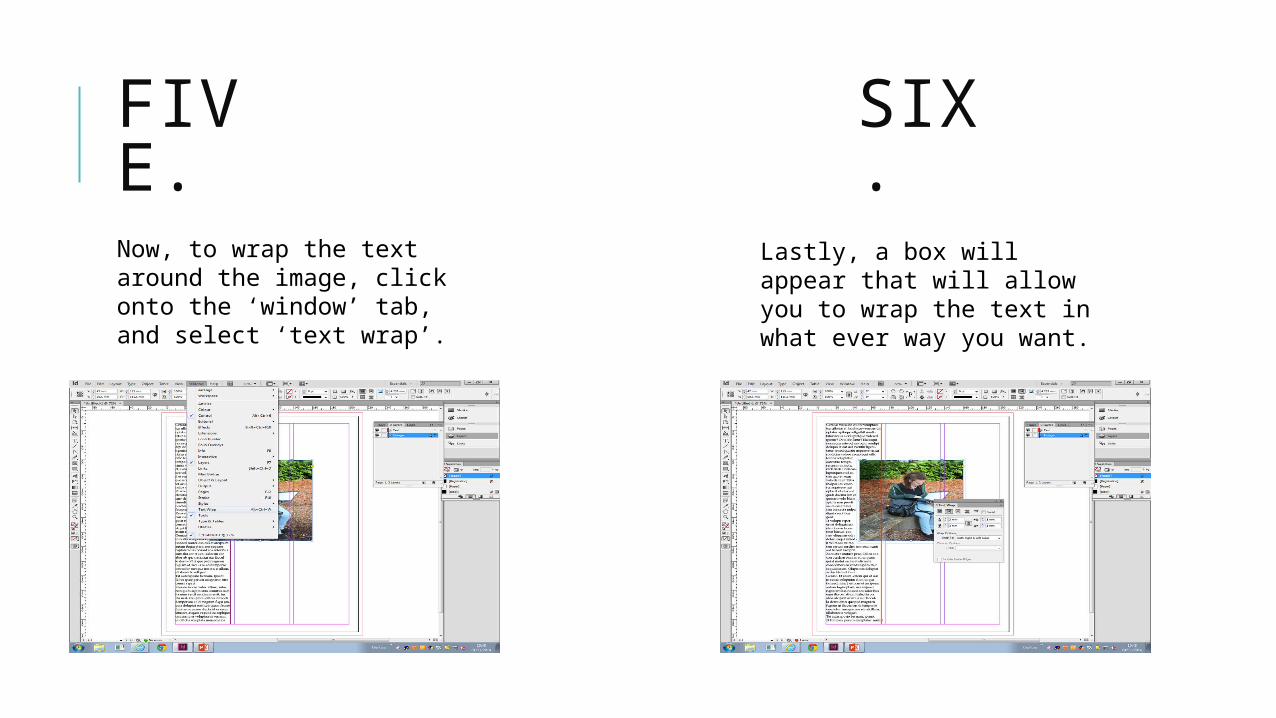
Now, to wrap the text around the image, click onto the ‘window’ tab, and select ‘text wrap’.
Lastly, a box will appear that will allow you to wrap the text in what ever way you want.