vulnerability assessment tools assessment ... 3 ... create an account on the demo phpbb server and...
TRANSCRIPT

Vulnerability Assessment Course
Vulnerability Assessment Tools

2
All materials are licensed under a Creative Commons “Share Alike” license.
■ http://creativecommons.org/licenses/by-sa/3.0/

3 3
Agenda
■ Introduction to Backtrack Linux – Lab
■ Monitoring Network Traffic – Tcpdump: lab – Wireshark: lab
■ Host and service enumeration – Nmap: lab
■ Vulnerability scanning – Nessus: lab

4 4
Disclaimer
■ The tools herein should be “safe” when used properly – But unsafe under certain conditions – Even a “safe mode” vulnerability scanner can crash a host or
firewall ■ Do not try on any system or network without approval! ■ If you want to practice any techniques
– Do it at home at your own risk! – Using resources that don’t belong to someone else – YOU HAVE BEEN WARNED!

Vuln-Assessment Tools: Getting Started

6 6
Initiating Lab Setup
■ Your lab workstation is running VMware on Windows ■ This is so you can run and use multiple different
“machines” ■ One of your lab workstation VM images is BackTrack Linux ■ One of your lab workstation VM images is Windows XP ■ One of your lab workstation VM images is Solaris (UNIX) ■ Crank up your lab workstation, start the BackTrack image

7 7
Testing Backtrack
■ Did BackTrack Linux launch okay? ■ Do you have a UNIX command prompt? ■ Do you see an XWindows graphic (windows) interface? ■ When you type “ifconfig –a”, do you have an IP address? ■ Try pinging your own IP address (“ping x.x.x.x”) ■ Then try pinging a neighbor’s IP address “ping y.y.y.y”)
DO *NOT* SCAN OR ATTACK OTHER LAB MACHINES UNLESS TOLD TO DO SO

8 8
Backtrack Lab
■ Play around with the BackTrack Linux interface + windows ■ Try clicking bottom left corner (like Windows “Start” Menu) ■ Navigate through the various menus and utilities ■ Pay particular attention to the “BackTrack Utilities” menu ■ If you want to experiment with a utility, now is a good time ■ BREAK TIME – keep playing around or take a breather

Sniffing Traffic with tcpdump

10 10
Introduction
■ Tcpdump is the de facto tool for recording network traffic ■ Available on Linux, BSD, other *nixes
– Solaris (Sun UNIX) uses both ‘tcpdump’ and ‘snoop’ (older) ■ A “packet sniffer” collects/analyze packets from a network ■ Generally works by putting NIC in “promiscuous mode”
– Typically my network-card ignores traffic not meant for me – But in ‘promiscuous mode’ whatever I see I collect/record – IMPORTANT DISTINCTION HERE: “hub” versus “switch” [will impact your sniffing/traffic-collection results]
– Several different formats for recorded traffic data [.pcap (“packet-capture”) format seems to be universal]

11 11
Modes Of Operation
■ Packet Logging Mode – Writing packets to a file on disk (or a Unix pipe) – Good for record-keeping, good for later analysis
■ Traffic Analysis Mode – Header analysis
■ Displays many details of each packet’s header, layers 1-4 – Full packet capture analysis
■ Also records packet contents, payload, application-type, flags, etc. – Generally used for diagnosing network issues
■ Recording your OWN assessment traffic = Good Idea – Sort of a chain-of-custody issue…could keep you out of jail – Write all network traffic to a file (see following slides on how)

12 12
Tcpdump -- Options
■ By default tcpdump captures the first 68 bytes of a packet – This can be adjusted…“tcpdump –s 25” “tcpdump –s 128” – “tcpdump –s 0” will capture the *entire* packet (all bytes)
■ Reverse DNS-resolution (IP à name) can be slow/stressful – “tcpdump –n” will list IP addresses only, not resolve names
(faster)
■ You can view tcpdump packet data in hexadecimal or ASCII – “tcpdump –X” will let you see the data both ways
■ If you have multiple NICs, tell tcpdump which to sniff on – “tcpdump –i eth0” is one example [will listen to eth0]

13 13
Capture Filters
■ This is similar to a search filter… “only what I want to sniff” ■ Can filter various packet flags, packet fields ■ Can filter “only show traffic from specific IP addresses” ■ Can filter “only show traffic going to specific IP addresses” ■ Can filter “only show traffic from specific MAC addresses” ■ Can filter “only show traffic which contains the number 15” ■ Can filter “only show port 80 traffic” ■ Can filter “only show HTTP protocol traffic”
■ Can combine these with AND, OR ■ These filters almost get to be like programming languages

14 14
Capture Filters – Examples
■ Addresses – host 10.10.10.1 – src host 192.168.1.1 – dst host zeus – ether src AA:BB:CC:DD:EE:FF – dst net 192.168.0.0
■ Port Numbers – port 22 – tcp dst port 8080

15 15
Capture Filters – More Examples
■ Operators – dst host 10.10.10.1 and not tcp port 22 – host bilbo and ( cheiron or nettos )
■ Protocol keywords – TCP flags: tcp-syn, tcp-ack, tcp-fin, etc. – ICMP: icmp-echoreply, icmp-unreach – Used as an offset
■ tcp[tcpflags] & ( tcp-syn|tcp-fin ) != 0 ■ icmp[icmptype] = icmp-echoreply

16 16
Interpreting Tcpdump Output
■ Connection from nettos to zeus ■ Three way handshake during first three lines
– Note that tcpdump displays *relative* sequence and ack numbers
■ Followed by some data transfer ■ Note the Don’t Fragment (DF) bit is set ■ Full packet capture similar, just provides application data
15:39:05.435985 < nettos.1264 > zeus.ftp: S 2138865536:2138865536(0) win 65535 <mss 1460,nop,nop,sackOK> (DF) 15:39:05.511620 < zeus.ftp > nettos.1264: S 4198232748:4198232748(0) ack 2138865537 win 5840 <mss 1460,nop,nop,sackOK> (DF) 15:39:05.511632 < nettos.1264 > zeus.ftp: . 1:1(0) ack 1 win 65535 (DF) 15:39:05.588085 < zeus.ftp > nettos.1264: P 1:62(61) ack 1 win 5840 (DF) 15:39:05.728369 < nettos.1264 > zeus.ftp: . 1:1(0) ack 62 win 65474 (DF)

17 17
tcpdump Usage
■ Typical uses – Diagnosing problems on a network – Capturing packets for later analysis – Keeping a record of network activity during assessments
[your own activity *and* other stuff you see on the network]
■ Caveats – Don’t over-filter at first…you might miss something
[start broad, then filter in narrow, don’t exclude stuff like ICMP/ping] – Remember your own SSH connection may pollute the tcpdump
[ex: you ssh in, then tcpdump, it shows thousands of port 22] [prevent this by using ‘not ( tcp port 22 and host <my_own_ip> )’ ]
18
Lab
■ Create an account on the demo phpbb server and post the decoded tcdpump output showing your password.
■ Hints – Use filters like port (possibly 80?), protocol (http?) – -X – Oh you’ll need more then the default number of bytes
■ Bonus point – Capture your neighbors password :-)
18
19 19
Pointers
■ http://www.tcpdump.org/ ■ http://netgroup-serv.polito.it/winpcap/ ■ http://www.robertgraham.com/pubs/sniffing-faq.html

20 20
Questions
■ Common tcpdump usage during a assessment: – tcpdump –w outfile.cap –s 1580 – Consider running your own tcpdump in a background window
[might show interesting things in later analysis]
[might also serve as valuable evidence if you are accused later]
■ ???

Analyzing Traffic with Wireshark

22 22
Welcome to WireShark
■ Used to be called Ethereal (two products have diverged)
■ WireShark is a sniffer *and* network protocol analyzer – Handles just about every application you’ve heard of – List at http://www.wireshark.org/faq.html#q1.10
■ Essentially “the Windows tcpdump” with a useful GUI – WireShark runs on Windows, Linux, BSD, all sorts of platforms – You may find valuable vulnerabilities w. WireShark traffic alone
■ Allows for capture-filtering, using text expressions or GUI ■ Like tcpdump, can sniff data “live” or using a capture file ■ May have trouble handling very large packet-capture files

23 23
WireShark – Sample Demo

24 24
Wireshark Demo
■ Start up your lab-workstation BackTrack Linux image ■ Find WireShark in your application menus, launch it ■ Click “Start Capture” or “Capture on Interface <whatever>” ■ Generate your own traffic by pinging other workstations ■ Generate your own traffic by web-surfing ■ Generate your own traffic by getting files from FTP server
■ Stop the capture and see if/how WireShark saw your traffic

25 25
WireShark – Display Filters
■ Boolean syntax ■ Supported data types
– Numeric (integer, float) – String – Boolean – Various addresses (Ethernet, IP, IPX, etc.)
■ Nearly every tree view is filterable ■ Similar to the ‘capture filters’ from earlier, but can do more

26 26
WireShark – Display Filters (cont.)
GUI Filter Constructor Filter string can also be crafted by hand See how WireShark knows the FTP request structure (above)?

27 27
WireShark – Decoding Protocols

28 28
WireShark – Stream Re-Assembly Plugin
■ Can rebuild host-to-host conversation from multiple packets ■ Can be viewed in both ASCII and Hex ■ Good for analyzing FTP, IM chat, SMTP mail, TELNET, any cleartext

29 29
Pointers
■ http://www.wireshark.org/ ■ http://netgroup-serv.polito.it/winpcap/ ■ http://www.robertgraham.com/pubs/sniffing-faq.html

30 30
Break!
■ Keep playing with WireShark if you like ■ Ask me whatever questions you like
■ Go take a breather when you’re done, or to clear your head
Vuln-Assessment: Enumeration, Reconnaissance and Scanning
32 32
Overview
■ Purpose – Why to scan? What to look for? What to ‘enumerate’ ? – What mindset to use while scanning, probing, investigating? – What the does he mean by ‘enumerate’, anyway? – Gain some [brief] exposure to scanning tools, such as NMAP
■ Format – Discussion of network mapping and surrounding issues – Lecture and demonstration of Nmap, w. specific techniques – Hands-on lab with instructor supervision
33 33
Network Mapping ■ Definition
– Collect information on a target network-address range – Learn about (document) visible hosts, devices, protocols – Accurately represent, understand the target for future reference
■ When we’re done, we should have: – Host IP addresses and MACs of all targets within scope – Operating system versions – Ports, protocols, and (usually) service version information
■ DO **NOT** BLINDLY TRUST YOUR SCAN RESULTS – These tools are notorious for false positives – What you think you’re seeing may not be reality – Try to corroborate with network maps, host-internal outputs [ifconfig –a, netstat –a, netstat –an, netstat –rn, other…]

34 34
Methodologies
■ Rumor (unreliable) ■ Informed Estimate, Interviews (nice start, but incomplete) ■ Physical Inventory (thorough, but time consuming) ■ Automated Discovery Tools (hopefully reliable, fast(er))
– Use a network-mapping tool from one point on the network – Repeat from another point on the network if you need 2+ views – Consolidate that data for future reference, attack-planning – A ‘realistic’ map may require different maps from diff. points
■ DO **NOT** BLINDLY TRUST DESIGN DOCS OR MAPS – They age (become out-of-date), may even omit intentionally – Build, plan and report from your own scans + enumeration

35 35
Scanning – a Typical Approach
Inform appropriate authorities “I am about to scan XYZ” [Scanning can be seen as an ‘act of war’, may sound alerts]
From **OUTSIDE** the firewall (“outsider’s attack view”)
– Scan the target area for running hosts with ping and TCP scans
– Once you have a list of “live” hosts, port-scan all those hosts a) Document hosts that ‘should be there’ but didn’t show up as live
b) Consider doing TCP scans, UDP scans *and* RPC scans on the hosts
c) Re-scan any expected hosts or services that didn’t show up as ‘live’
Repeat this scan-process from **INSIDE** the firewall [form a composite picture, inside-view *and* outside-view]
Unexpected hosts/services are most interesting – pursue them

36 36
Forming a Picture – Scanning + Analysis ■ What parts of the network are visible to an outsider?
– Which of these were expected to be externally-visible? ■ What parts of the network are visible to an insider?
– Which of these were unexpected, not seen in any docs/maps?
■ What parts of the network are “highest-value” targets? ■ Which of the targets most need protection? ■ Which ports/protocols/services are now exposed/visible?
■ Compare what-should-be against what-you-actually-see ■ Very common to find great discrepancies here ■ Very common to find more ports open than “should be”
■ Sometimes you will even discover information-leakage

37 37
Common Network/Port Scanners
■ Cheops-NG ■ IP Sonar ■ Scanrand
– Very fast, hard to get working ■ SolarWinds ■ Visio Enterprise Edition
– Expensive, not a good fit (for inventory, not vuln-assessment) ■ ISS (Internet Security Scanner)
– Now IBM-owned, also called “IS”, “ES”, “Proventia” ■ eEye Retina
– Now McAfee-owned, McAfee also owns Foundstone utilities
■ NMAP

38 38
SolarWinds
■ Commercial set of utilities for network discovery ■ Runs on Windows ■ Point & click interface ■ Easy to use ■ Powerful discovery tools (IP Network Browser, SNMP
Sweep, MAC Address Discovery, Ping Sweep) ■ Website: http://www.solarwinds.net ■ Cost: $695 Professional Edition (30 Day FREE Evaluation)

39 39
NMAP
■ The “classic Mustang muscle-car” of port-scanners ■ Runs on just about everything
■ Purists use a command-line (text) interface ■ Various GUI point-and-click front ends are also available ■ MANY scan options (TCP, UDP, SYN-scan, version-probe) ■ Widespread use + support throughout the security world ■ Website: http://www.insecure.org/nmap

40 40
NMAP – Just a Few Sample Port-Scan Options
Vanilla TCP connect() scanning ** [–sT] TCP SYN (half open) scanning ** [–sS] TCP FIN (stealth) scanning [– sF] TCP ftp proxy (bounce attack) scan [-b <ftp relay>] SYN/FIN scan using IP fragments [–f] UDP scanning ** [–sU] UDP raw ICMP port unreachable scanning [–sO] ICMP scanning (ping-sweep) ** [–sP] Try-to-figure-out-version scanning ** [–sV] Do not try to resolve DNS names (this saves time) ** [–n] Verbose mode (lots of extra debug-like output) ** [–v] [–vv] Reverse-ident scanning [– I]
EXAMPLE: nmap –O –sS –sV 192.168.1.*

41 41
Lab: Running NMAP

42 42
Configuring NMAP

43 43
Running NMAP

44 44
NMAP Output
Service banner grabbing with
version numbers?! Outstanding!

45 45
NMAP – Common Pitfalls ■ Choose ports-to-scan carefully… speed vs. missing stuff
– Often critical services are listening on a non-standard port # – Web (HTTP) servers don’t have to listen on port 80, or 443…
■ NMAP version-probe functionality… exceptionally useful – Will try to figure out not only the port/service, but its version – Fantastic feature, but DO *NOT* BLINDLY TRUST THIS OUTPUT – Sometimes advertising a precise service version is bad/unsafe – Some specialists advise falsifying or not showing versions
■ Scanning a host that doesn’t respond to PING is painful – You have to use the –P0 option, scan may take 10x as long
■ Consider scan-timing carefully, might overwhelm a target – Use the nmap –T flag (–T 0 is polite/slow, –T 5 is max/insane)

46 46
Nmap Screenshot

47
Lab
■ Perform a TCP nmap scan of the solaris and windows server IP addresses – Write the output in all file formats (-oA) – Save the results for tomorrow, you will need them
47

48 48
Break!
Take a breather, ask the instructor questions, experiment… (But don’t work through all the breaks, you’ll lose focus)

Vulnerability Scanning

50 50
Overview
■ Purpose
– Basic instruction in the use of Nessus – Familiarity such that students can use tools on their own – Maybe a sprinkling of associated vuln-scan techniques
■ Format
– Discussion of vuln-scanning and surrounding issues – Lecture and demonstration of Nessus (possibly others) – Hands-on lab with instructor supervision

51 51
Vulnerability Scanning
■ Definition – Probing specific services/protocols for weaknesses – Not just generic IP addresses anymore – Most useful when working from pre-gathered info [such as a network-wide NMAP scan you ran earlier]
■ Methodology – Manual Attempts and Permutation (this will take a long time…) – Manual Version Probe (slightly better, but still very sloooow…) – Custom Protocol-Specific Attacks (requires special knowledge) – Automated Vuln-Scanner (simple, fairly reliable, fast, thorough)
DO *NOT* TRUST VULN-SCANNER OUTPUTS BLINDLY IF SCANNER FINDS A “VULNERABILITY”, VERIFY IT

52 52
Vulnerability Scanning
■ Vuln-Assessment Analysis
– What vulnerabilities are visible from an outside-eye view? – What vulnerabilities are visible from an inside-firewall view? – What is the severity of the vulnerabilities discovered? – Are the vulnerabilities false-positives? Could you verify them?
– There will likely be too many vulnerabilities to handle in a visit – Ranking by “severity” and “outside exposure” helps prioritize – It also helps the system owner understand, you can tell a better
story

53 53
Common Network Vuln-Scanners
■ Nessus ■ Tenable Scanner ■ ISS Vulnerability Scanner ■ eEye Retina ■ Microsoft Baseline Security Analyzer (MBSA) ■ SAINT

54 54
eEye Retina (now McAfee-owned)
■ Commercial utility for automated vulnerability scanning ■ Widely used in DoD ■ Runs on Windows ■ Point and click interface ■ Generates professional looking reports ■ Website: http://www.eeye.com ■ Cost: $995 - $2995 or more.

55 55
Nessus
■ Nessus is a fast and modular vulnerability scanner – Widely used and accepted by the security community
■ Runs as a client/server or browser/web server installation – Your Nessus ‘client’ connects to a ‘server’, gets policy, plugins
■ Highly configurable and intelligent – Thousands of attack/vulnerability plugins available – Users can even write their own plugins with NASL scripting
■ Runs on Linux, BSD, and even Windows ■ Now does local host scanning ■ Website: http://www.nessus.org ■ Cost: FREE (kind of, be careful here)
– 2.0 is still open source – 3.0 and beyond are closed-source

56 56
Nessus Architecture
■ nessusd (server) controls the attacks ■ nessus (client) front end to configure the server ■ Multi user with ACLs for each user ■ Secure communications between server and client
57 57
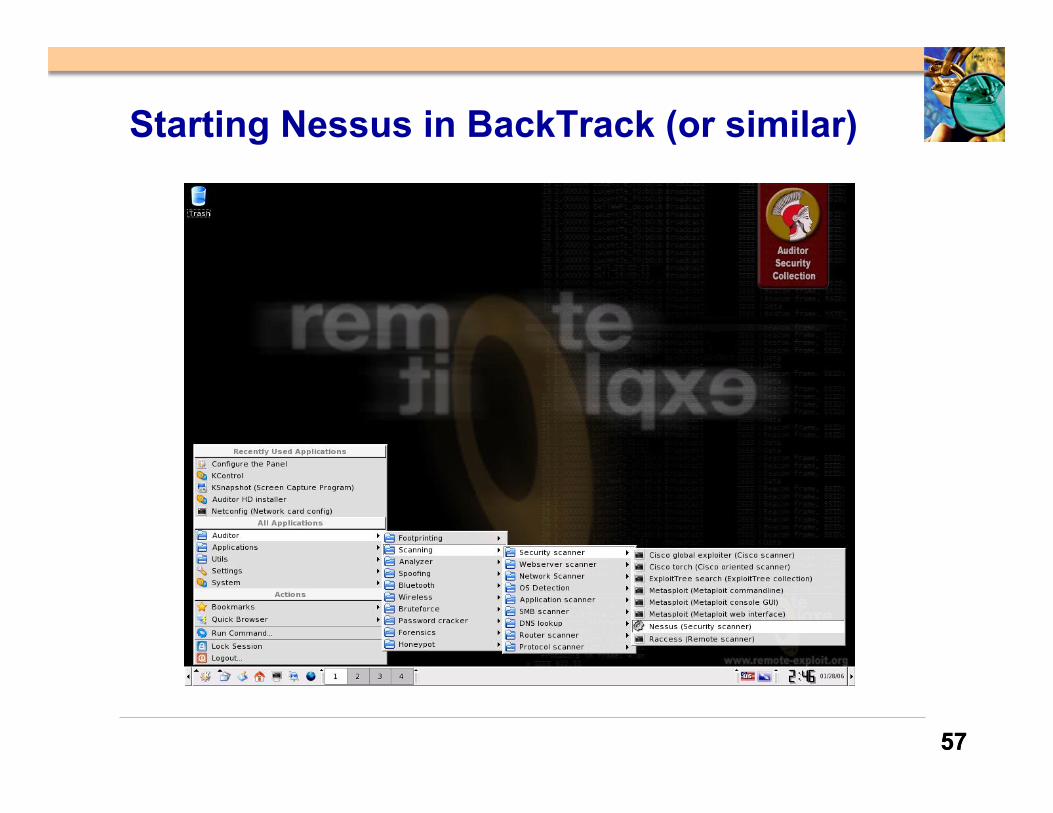
Starting Nessus in BackTrack (or similar)
58 58
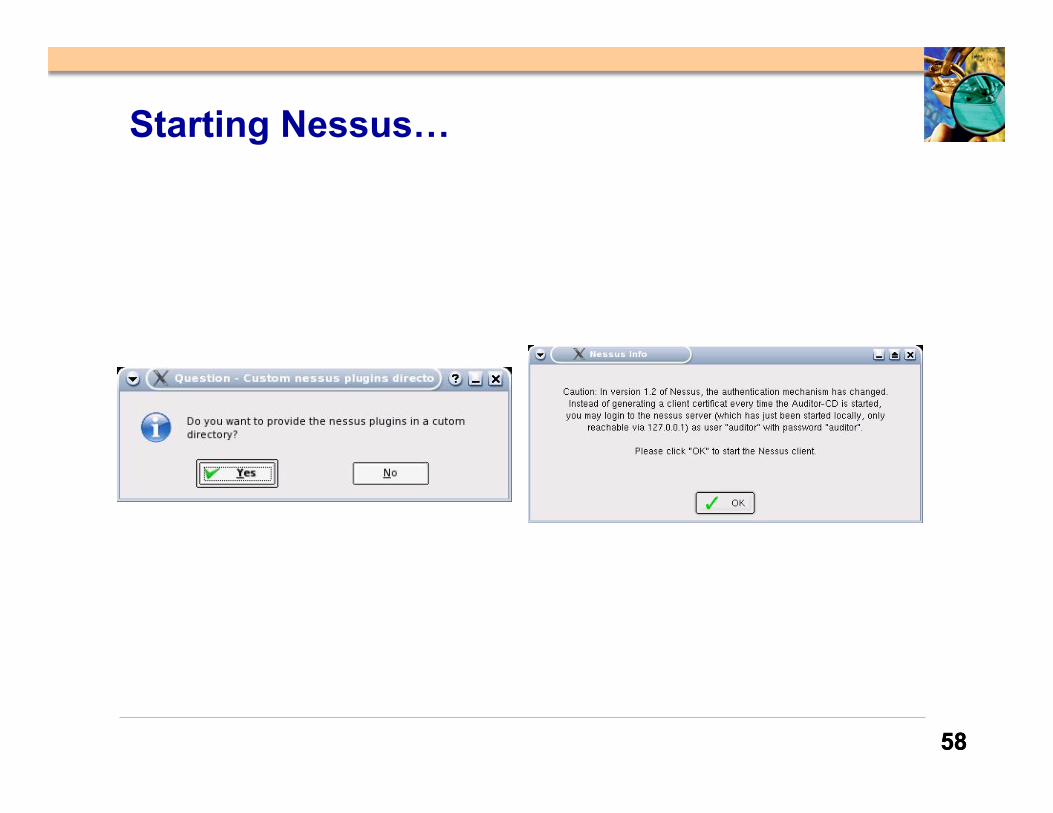
Starting Nessus…

59 59
Logging Into Nessus
60 60
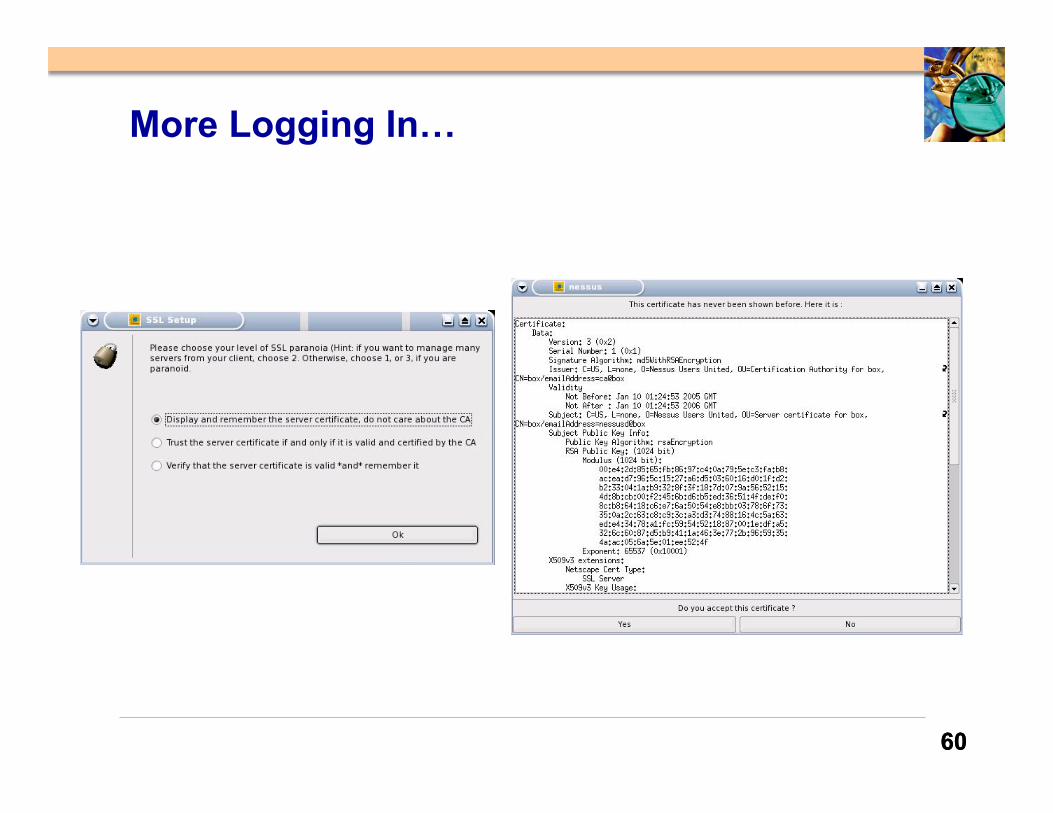
More Logging In…

61 61
Nessus Plugin Intelligence
■ All plug-ins have the ability to share their information
– (they work together, not just run the same checks repeatedly)
■ Example – A first plug-in determines port UDP/137 and TCP/139 – A second plug-in retrieves the remote host netbios name – A third attempts to login with the null session – A fourth retrieves the remote host SID – A fifth enumerates the users/shares on the host
■ This method provides for a more comprehensive audit ■ Don’t be too optimistic… Nessus scans are still pretty slow

62 62
Nessus – Plugin Updates
■ Nessus parent company (Tenable) releases these regularly – Some delay between “paying” customers and “free” users – Update by clicking “Update” or running “nessus-fetch” – YOU MUST GET INTO THE HABIT OF DOING THIS REGULARLY
■ False positives are preferred over false negatives – I’d rather alert on something that’s not there than miss stuff – The Nessus developers (who write plugins) feel this way too
■ Plugins are duly tested and reviewed before publishing ■ Published in CVS version-sourcing and on the web ■ Can be customized via NASL scripting language

DANGEROUS PLUGINS ARE
SECURITY TESTS THAT CAN CRASH
OR DAMAGE A TARGET SYSTEM


65 65
Nessus Scan Method
■ Banner grabbing (method 1) – Pros
■ Tests are easy to write ■ Scanner is not intrusive ■ It will not harm the remote host
– Cons ■ What if there is no banner (RPC)? ■ False negatives ■ Non standard application/custom banners

66 66
Nessus Scan Method
■ Actually testing for the vulnerability (method 2) – Pros
■ Reliable against unknown servers ■ Results valid at a later time ■ Find new bugs
– Cons ■ May harm the remote host (crash the service) ■ Tests are more difficult to write ■ May produce false positives

67 67
Configuring Nessus: Scan Options
Be careful of anything that requires DNS
while in the lab!


70 70
Reports
■ Multiple formats – HTML – HMTL with charts/graphics – Text – NBE (proprietary Nessus report format)
(can be re-loaded, re-read, re-used by a Nessus scanner)
■ Detailed results of scans
■ We (your instructors) typically save .HTM and .NBE copies – The .HTML reports are easy to read, include in system owner reports
– The .NBE dumps can be easily picked up and re-run on followup visits


72 72
Common Nessus Pitfalls
■ DO *NOT* RUN NESSUS, SAY “DONE” AND WALK AWAY – Nessus will almost certainly generate false positives – Treat as a preliminary indicator (“something might be wrong”) – Must follow-up/confirm/verify (look at target’s config files, etc.)
■ Proceed carefully with Nessus config/settings – I love to run “dangerous” plugins, but that’s really very risky – Should *NOT* run these without explicit permission
■ Even “non-dangerous” Nessus plugins can crash a host – It’s regrettable (and a bit embarrassing) when this happens – *BUT* write it up as a finding, the system owner needs to know – If you can do it by accident, an outsider could as well…

73 73
Nessus Lab
■ Perform a scan of the solaris and windows server IP addresses – Write the output in all file formats (-oA) – Save the results for tomorrow, you will need them
■ Bonus points if you manage to crash something in the process

74 74
Questions?
■ Break? ■ Stay tuned for the bonus slides…

75 75
A Few Places to Get Tools
■ Much of this stuff (tools) comes pre-canned in Linux CDs ■ If using BSD, “portupgrade –rR security/???” syntax
■ Freshmeat (http://www.freshmeat.net) ■ Fyodor (http://insecure.org) maintains the NMAP scanner ■ PacketStorm (http://www.packetstormsecurity.org) ■ Tenable (http://www.nessus.org) has the Nessus scanner
[pls check the commercial license on this tool, it’s not “free”]
■ Subsequent instructors will make other recommendations ■ Various conventions will have stuff as well, but be careful!
(BlackHat, CanSecWest, DefCon, ShmooCon, ToorCon)

76
Questions