using dreamweaver cs6 - o'neil the case of this document, the head section includes a page...
TRANSCRIPT
Using Dreamweaver CS6 HTML
© Steve O’Neil 2014 Page 1 of 14 http://www.oneil.com.au/pc/
Using Dreamweaver CS6
2 – HTML The World Wide Web is based on HTML (Hypertext
markup language). Although Dreamweaver is primarily a
WYSIWYG editor, it is still worthwhile for Dreamweaver
users to be familiar with HTML for a couple of reasons.
Firstly, there are times where it may be useful or even
essential to edit some of the HTML code in a document
while you are working with Dreamweaver. Secondly and
more importantly, learning a bit of HTML ensures that
you understand how HTML works. This will enable you to
design pages in Dreamweaver that work better on the web
and will also make it easier to understand what is going on when web pages have problems or
don’t appear the way you expected.
Note If you have already learned HTML in the past, this will be a good opportunity to refresh your memory. If you have never learned HTML before then it could be beneficial to spend a bit of time learning the fundamentals. There are numerous good guides to HTML online. A good place to start would be http://oneil.com.au/pc/html.html.
One important thing to understand about HTML is that strictly speaking, it is only intended to
be used to define how your website will be structured. It is not intended to be used to determine
how the page will look. Content and presentation are separate. For instance, while HTML can be
used to specify that your page has paragraphs, headings, lists and hyperlinks it is not intended to
specify how those various elements will look. As HTML became more widely used, elements
for presentation such as the Font tag began to be introduced (use of the font tag and other similar
tags are no longer encouraged). At the time there was no better way of formatting a web page
but it wasn’t a good solution as it led to web pages with complicated code that was prone to
problems.
With the introduction of CSS (cascading stylesheets) in the late 90s it is now possible to create
web pages where the content is truly separate from the presentation of the page. You can use
HTML solely for the purpose of setting up how your page is structured while leaving the
formatting of your page up to a CSS stylesheet. This allows for web pages that are designed
much better and are easier to maintain. Recent versions of Dreamweaver have placed increasing
importance on the use of stylesheets for formatting and these exercises will likewise emphasise
the practice of using stylesheets for the formatting of your websites. What this will mean is that
when we create web pages in these exercises, we will often set up a page, but not worry too
much about formatting it until we have set up a stylesheet for the document.

Using Dreamweaver CS6 HTML
© Steve O’Neil 2014 Page 2 of 14 http://www.oneil.com.au/pc/
Exercise 1 – Sections of a document
1) Open Dreamweaver.
2) From the startup screen if it is showing select the option to create a new HTML document.
You can also select New from the File menu [Ctrl [N] and then select HTML from the list of
page types with <none> selected for the layout. A blank page is created.
3) Switch to Split view so that the left half of the editing window shows the HTML.
The Elements that you can see in the HTML are common in most HTML files and are described
below.
The first lines (DOCTYPE), specifies which version of HTML is being used in the document.
The HTML specification recommends that each HTML document start with this.
An HTML tag specifies where the code begins and at the end of a document, a closing tag
specifies where the code ends. Notice that the closing and opening tags are the same except that
the closing tag includes a forward slash, or / character.
The HEAD section of the document contains information that is important to the document, but
won’t actually appear within the document. In the case of this document, the head section
includes a page title (in the TITLE tag) as well as a META tag which specifies the character set
being used in the document (in this case standard English characters).
The BODY section contains the actual document itself, which in this case is currently empty.
4) In the bar along the top of the document, click in the Title box.
5) Replace the text Untitled Document with Sample HTML Page.
6) Press [Enter] to complete the change. If you look in your HTML code, you will notice that
the line

Using Dreamweaver CS6 HTML
© Steve O’Neil 2014 Page 3 of 14 http://www.oneil.com.au/pc/
Has now changed to
This also happens in reverse so that if you make changes in the HTML code directly, it will
update in Dreamweaver’s other views.
TITLE is an important element in an HTML document. If someone bookmarks a web page or
adds it to their favourites, the title of the page is normally used as the label by default. Also, if
someone searches in Google or another search engine, the document Title is normally the first
thing to appear in the search results. A title of 3 to 5 descriptive words is recommended as it will
increase the likelihood of people finding your site in web searches.
Note in the examples above, the HTML tags are all showing in lowercase lettering. HTML tags work the same whether they’re written in uppercase or lowercase letters. In Dreamweaver’s options, you can specify which way tags will be written by selecting Preferences from the Edit menu, then selecting the Code Format category and choosing the appropriate option.
Exercise 2 – Element Attributes
HTML Elements contain additional information using Attributes, though they are not necessary
for some tags. We’re going to enter a heading on the page and use the align attribute to position
it in the centre of the page.
1) In the HTML code, create a blank line between the <body> and </body> tags.
2) Type <h1>. h1 indicated a level 1 heading. Other numbers are used for subheadings.
You may have noticed as you began typing the tag that a list of tags appeared. This is to help
you with HTML by allowing you to select a tag from the list. If the tag you want is already
selected in the list, you can press [Enter] to complete the tag. h1 isn’t a lot to type though so you
probably didn’t need the help this time.
Since we have created a tag to indicate the start of a heading, we will also need a tag to indicate
where the heading ends.
The closing tag for a <h1> tag would be </h1>
3) Start typing the tag by typing </
As soon as you type the forward slash / Dreamweaver will recognise that you are closing the
previous tag and complete it for you.
4) Click between the opening and closing heading tag to make sure you are ready to type
between them.
5) Type Sample HTML Document, followed by the </H1> closing tag (if it hasn’t already been
entered for you by Dreamweaver). Make sure the closing tag includes / before the H1.
6) If you can’t see the properties at the bottom of the
window, click the button or press [Ctrl] [F3] on your
keyboard. The properties panel can be easily displayed or
hidden in this way. Currently, the properties window shows a message indicating that the
HTML has been edited.

Using Dreamweaver CS6 HTML
© Steve O’Neil 2014 Page 4 of 14 http://www.oneil.com.au/pc/
7) As the message explains, you may press [F5] or click the Refresh button to update the main
editing window with the changes. You can also click in the Design part of the screen if you
are in split screen view. Do either one to show the changes. Your page will now contain a
heading.
8) In the HTML, click in the heading tag right after the number 1 as shown.
9) Type a space and then type align= "center" so that it appears as below.
10) Refresh the view again.
A tag attribute contains two parts. The name of the attribute and the value of the attribute
separated by an equal sign. The value should be surrounded by either single or double quotes (as
long as they’re the same on both sides). In the above example, ALIGN is the name of the
attribute while center is the value of the attribute. Note the US spelling. Unfortunately HTML
only recognises US spelling so putting ‘centre’ won’t do anything. The same also applies for
words like COLOR (colour) and GRAY (grey).
11) An element can have more than one attribute. Change the line of HTML so it looks like the
following (with an underscore _ instead of a blank space. Shift and dash – will insert one.).
The ID tag doesn’t change the heading. It gives it a name. This is useful later on when it can
become important for HTML elements to be referred to individually from elsewhere.
Note It doesn’t matter which order attributes appear in so <h1 align="center" id="main_heading"> is the same as <h1 id="main_heading" align="center">.
12) Add two lines of HTML after your heading as shown.
<h1 align="center" id="main_heading">Sample HTML Document</h1>
<h2>Subheading</h2>
<p><img src="http://www.oneil.com.au/pc/dw_logo.png" align="right"
height="47" width="47" alt="Dreamweaver Logo">
A paragraph of text with a <a href="http://www.oneil.com.au/pc/">link to a
website</a> and an image which is aligned to the right of the page</p>
When you refresh the page, it should look like the example below. While you are editing in
Dreamweaver, the image might not display since it is referring to an image in an external
location on the web. It should show up fine when we preview the page in a web browser but we
need to save it first.
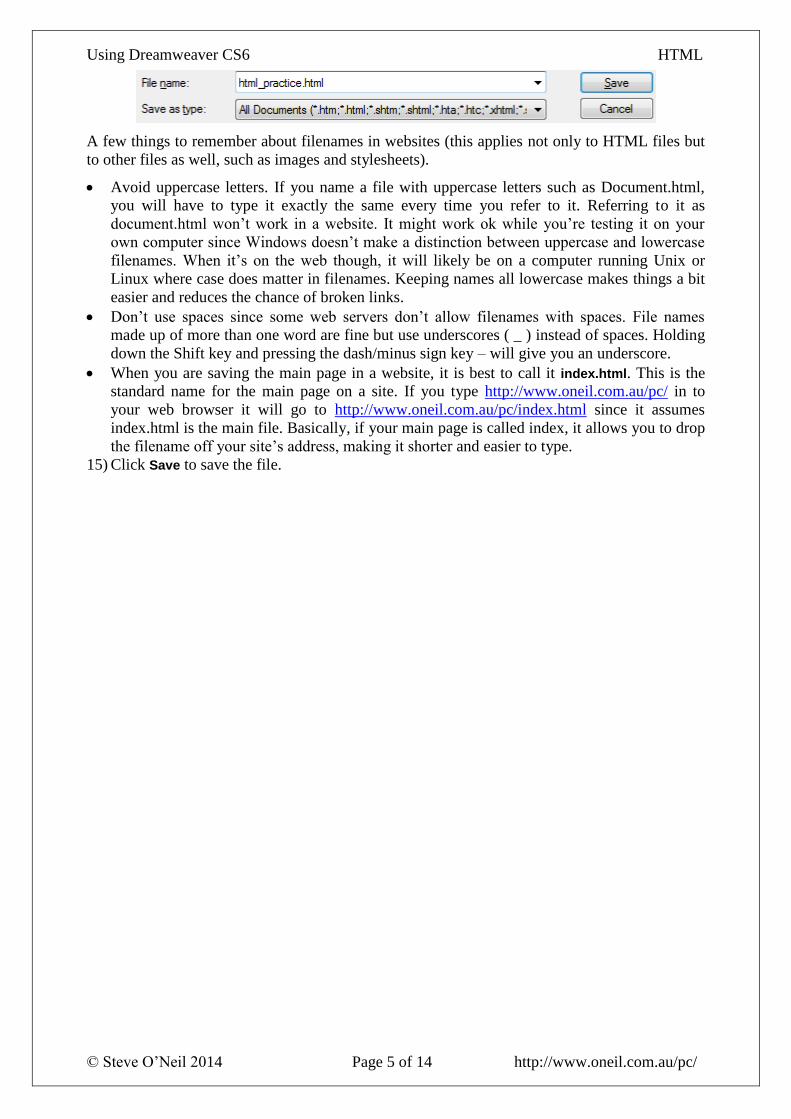
13) From the File menu select Save or press [Ctrl] [S] to save the file.
14) Select a location to save the file and enter html_practice.html for the file name.
Using Dreamweaver CS6 HTML
© Steve O’Neil 2014 Page 5 of 14 http://www.oneil.com.au/pc/
A few things to remember about filenames in websites (this applies not only to HTML files but
to other files as well, such as images and stylesheets).
Avoid uppercase letters. If you name a file with uppercase letters such as Document.html,
you will have to type it exactly the same every time you refer to it. Referring to it as
document.html won’t work in a website. It might work ok while you’re testing it on your
own computer since Windows doesn’t make a distinction between uppercase and lowercase
filenames. When it’s on the web though, it will likely be on a computer running Unix or
Linux where case does matter in filenames. Keeping names all lowercase makes things a bit
easier and reduces the chance of broken links.
Don’t use spaces since some web servers don’t allow filenames with spaces. File names
made up of more than one word are fine but use underscores ( _ ) instead of spaces. Holding
down the Shift key and pressing the dash/minus sign key – will give you an underscore.
When you are saving the main page in a website, it is best to call it index.html. This is the
standard name for the main page on a site. If you type http://www.oneil.com.au/pc/ in to
your web browser it will go to http://www.oneil.com.au/pc/index.html since it assumes
index.html is the main file. Basically, if your main page is called index, it allows you to drop
the filename off your site’s address, making it shorter and easier to type.
15) Click Save to save the file.

Using Dreamweaver CS6 HTML
© Steve O’Neil 2014 Page 6 of 14 http://www.oneil.com.au/pc/
Exercise 3 – Previewing the Document
1) Click the Preview/Debug in Browser icon along
the top of your editing window.
A list of web browsers will appear. If you have more
than one web browser installed on your computer, you
can test your web page in each one, which is a good idea
if you want to make sure it works well in all browsers.
2) If no browsers appear in the list or you want to add another browser that you have installed
on your computer, click on the Edit Browser List option.
3) To add a browser to the list, click on the button and then select the location where the
browser is installed. You can designate one browser to be your Primary browser and another
to be your Secondary browser. This allows you to use keyboard shortcuts to preview your
page ([F12] for your primary browser and [Ctrl] [F12] for your secondary browser).
4) Preview the page in your primary browser. Below are examples of how the page looks in
Mozilla Firefox and Microsoft Internet Explorer.

Using Dreamweaver CS6 HTML
© Steve O’Neil 2014 Page 7 of 14 http://www.oneil.com.au/pc/
5) You can also preview your page to see how it would look in a browser by clicking the Live
button. This gives you a browser preview without having to leave Dreamweaver. You won’t
be able to edit the page in design while live view is turned on, but you can still edit the html
code directly while live view is on.
6) Close the file when done.
Using Dreamweaver CS6 HTML
© Steve O’Neil 2014 Page 8 of 14 http://www.oneil.com.au/pc/
Exercise 4 – Quick Revision
1) Write True or False next to each of the following statements.
a) It is essential for attribute values to have quotation marks around them.
b) Only US spelling is recognised in HTML.
c) It doesn’t matter if tags are written in upper case or lower case letters.
d) The contents of the Head section will not appear in the web browser’s main window.
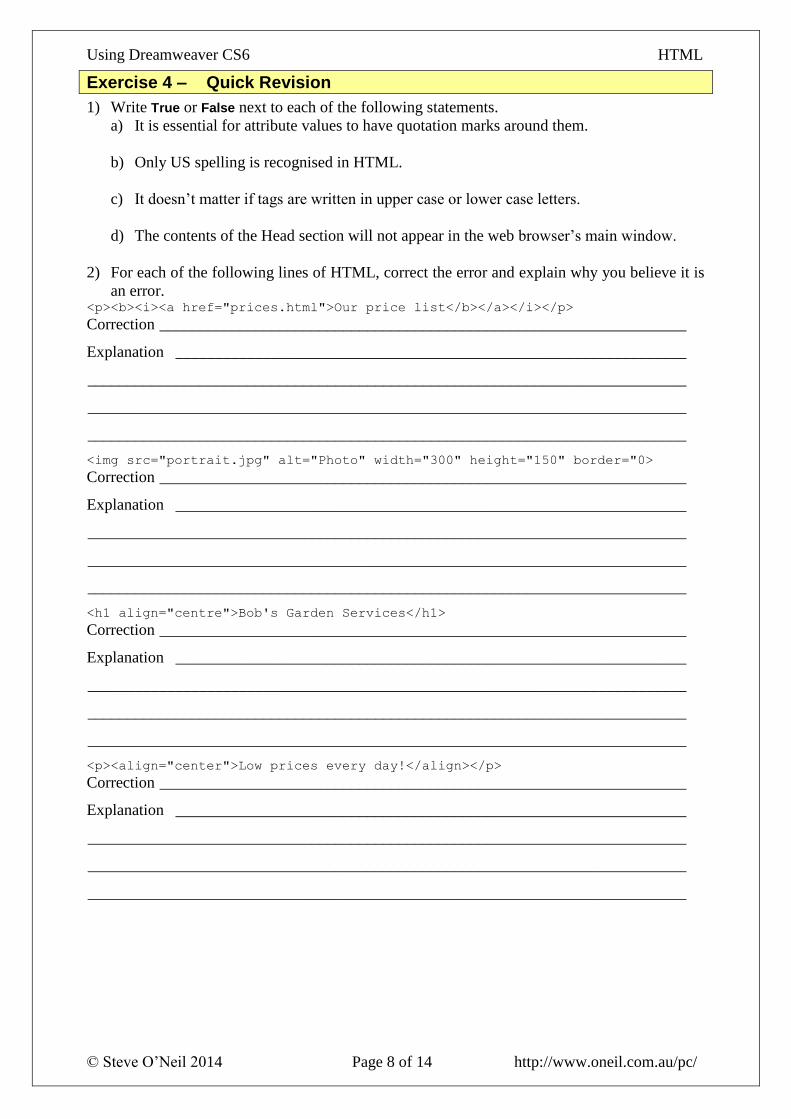
2) For each of the following lines of HTML, correct the error and explain why you believe it is
an error. <p><b><i><a href="prices.html">Our price list</b></a></i></p>
Correction __________________________________________________________________
Explanation ________________________________________________________________
___________________________________________________________________________
___________________________________________________________________________
___________________________________________________________________________
<img src="portrait.jpg" alt="Photo" width="300" height="150" border="0>
Correction __________________________________________________________________
Explanation ________________________________________________________________
___________________________________________________________________________
___________________________________________________________________________
___________________________________________________________________________
<h1 align="centre">Bob's Garden Services</h1>
Correction __________________________________________________________________
Explanation ________________________________________________________________
___________________________________________________________________________
___________________________________________________________________________
___________________________________________________________________________
<p><align="center">Low prices every day!</align></p>
Correction __________________________________________________________________
Explanation ________________________________________________________________
___________________________________________________________________________
___________________________________________________________________________
___________________________________________________________________________

Using Dreamweaver CS6 HTML
© Steve O’Neil 2014 Page 9 of 14 http://www.oneil.com.au/pc/
Shortcuts Learned
[Ctrl] [N] Create a new file [Ctrl] [S] Save file [Ctrl] [F3] Hide / Display the properties panel [F5] Refresh the editing window [F12] Preview the page in your primary browser [Ctrl] [F12] Preview the page in your secondary browser
Using Dreamweaver CS6 HTML
© Steve O’Neil 2014 Page 10 of 14 http://www.oneil.com.au/pc/
HTML Tags Reference This guide is intended to be used as a reference to writing correct HTML according to the
Worldwide Web Consortium’s HTML 4.01 specification. You can check the specification in
detail at http://www.w3.org/TR/html4/
Your document should begin with a <HTML> tag and finish with a </HTML> tag.
Page Sections Head Section <META NAME="Description"
CONTENT="You can type a description for your page here. It should be
approximately one paragraph long and should describe your page. It is used by
a lot of search engines when your page is indexed.">
<META NAME="keywords"
CONTENT="website, keywords, can, go, here">
<TITLE>Page Title, Should be 4-5 Words</TITLE>
Body Section <BODY>
</BODY>
The body tag can contain the following attributes which don’t need to be in any particular order:
TEXT Sets the default text colour for the page
LINK Sets the colour for un-followed links
VLINK Sets the colour for visited links
ALINK Sets the colour for active links
BGCOLOR Sets the colour for the page background
BACKGROUND Specifies what file to be used as a background image
Example: <BODY BACKGROUND=“picture.gif” BGCOLOR=“white” TEXT=“navy” LINK=“blue”
VLINK=“purple”>
Modifying page margins
For Internet Explorer your body tag can include topmargin and marginleft attributes but they
won’t work in Netscape Navigator. To make them work in Netscape Navigator and certain other
browsers, you can also include marginheight and marginwidth.
Example: <BODY BGCOLOR=“white" MARGINHEIGHT=“0" MARGINWIDTH=“0" TOPMARGIN=“0"
LEFTMARGIN=“0">
Note These attributes are redundant when you use margin attributes in styles as we will be doing later.

Using Dreamweaver CS6 HTML
© Steve O’Neil 2014 Page 11 of 14 http://www.oneil.com.au/pc/
Page Elements Block Level Tags
Block tags are all tags that create a block of text on the page. The common ones are listed
below.
Paragraph
<P> </P>
The closing tag is optional since a web browser will assume that an opening paragraph tag
means any previous paragraphs are closed.
Division
<DIV> </DIV>
A division groups sections of a page together but it can also be used like a paragraph except that
a <P> tag will create extra space between paragraphs. A <DIV> tag won’t. Also, the closing
</DIV> tag is essential.
Headings
HTML has 6 levels of headings. The main heading should be a level one heading, subheadings
should be level 2 etc. Because a heading is a type of paragraph, there’s no need to include a <P>
tag for a heading
Examples: <H1>Main Heading</H1>
<H2>Sub Heading</H2>
Lists
Here are three types of lists. These are Ordered lists (numbered lists), Unordered lists (bullet
lists) and definition lists.
Ordered Lists
An ordered list (numbered list) needs to have a <OL> tag before the list begins and a <OL> tag
after the list finishes. Each paragraph in the list needs to begin with a list item tag <LI> instead
of the usual <P> tag.
If you want your list to have letters or roman numerals instead of numbers, then you can include
a TYPE attribute in your <OL> tag to specify the kind of list you want. The choices are 1, a,
A, i, I..
If you want to make your list start from a certain number you can include a START attribute
which specifies the beginning number.
Example:
HTML Result <OL TYPE=”I” START=”5”>
<LI>First line
<LI>Second line
<LI>Third line
</OL>
V. First Line
VI. Second Line
VII. Third Line
Unordered Lists
Unordered lists (bulleted lists) are the same as ordered except that the OL tag is replaced with a
UL tag. If you want to change the type of bullet then the choices for the TYPE attribute are disc
(default), square and circle. There is no START attribute.
Example:
HTML Result <UL TYPE=”circle”
<LI>First line
<LI>Second line
</UL>
o First Line
o Second Line
Using Dreamweaver CS6 HTML
© Steve O’Neil 2014 Page 12 of 14 http://www.oneil.com.au/pc/
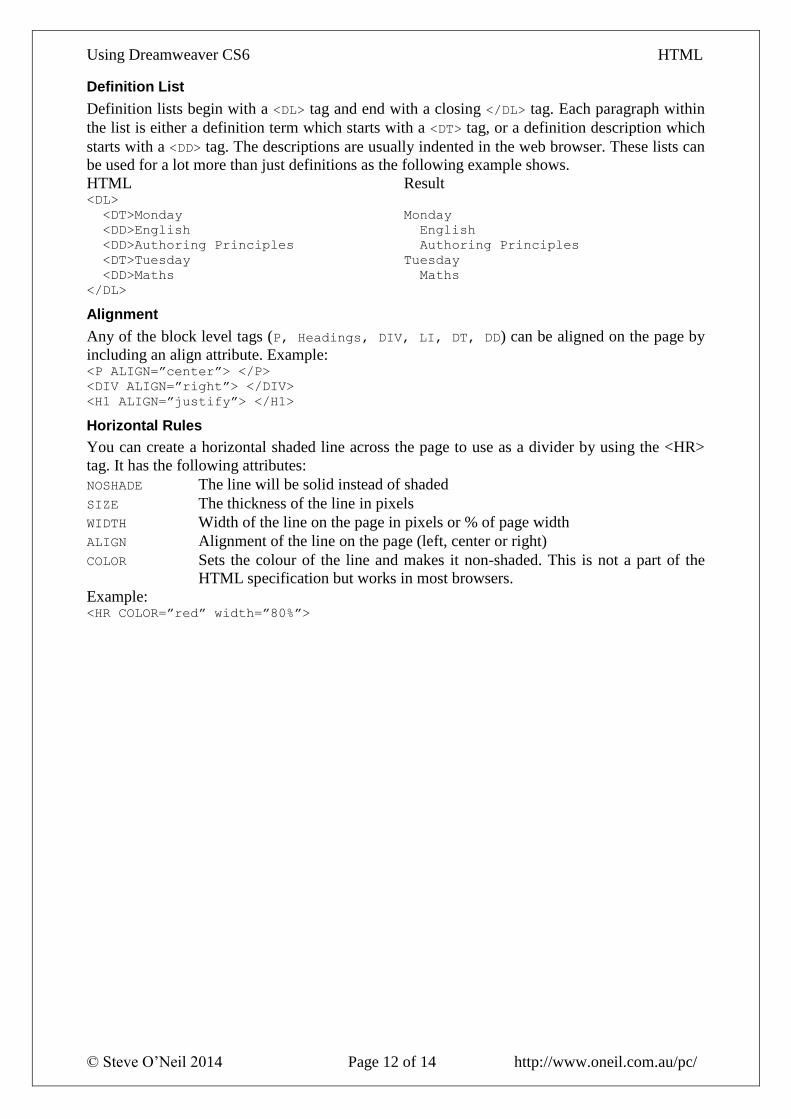
Definition List
Definition lists begin with a <DL> tag and end with a closing </DL> tag. Each paragraph within
the list is either a definition term which starts with a <DT> tag, or a definition description which
starts with a <DD> tag. The descriptions are usually indented in the web browser. These lists can
be used for a lot more than just definitions as the following example shows.
HTML Result <DL>
<DT>Monday
<DD>English
<DD>Authoring Principles
<DT>Tuesday
<DD>Maths
</DL>
Monday
English
Authoring Principles
Tuesday
Maths
Alignment
Any of the block level tags (P, Headings, DIV, LI, DT, DD) can be aligned on the page by
including an align attribute. Example: <P ALIGN=”center”> </P>
<DIV ALIGN=”right”> </DIV>
<H1 ALIGN=”justify”> </H1>
Horizontal Rules
You can create a horizontal shaded line across the page to use as a divider by using the <HR>
tag. It has the following attributes:
NOSHADE The line will be solid instead of shaded
SIZE The thickness of the line in pixels
WIDTH Width of the line on the page in pixels or % of page width
ALIGN Alignment of the line on the page (left, center or right)
COLOR Sets the colour of the line and makes it non-shaded. This is not a part of the
HTML specification but works in most browsers.
Example: <HR COLOR=”red” width=”80%”>

Using Dreamweaver CS6 HTML
© Steve O’Neil 2014 Page 13 of 14 http://www.oneil.com.au/pc/
Formatting Tags <B> </B> Bold text
<I> </I> Italic text
<U> </U> Underlined text
<S> </S> or <STRIKE> </STRIKE> Strikethrough text
<SUP> </SUP> Superscript text
<SUB> </SUB> Subscript text
The Font Tag
The font tag is often left out these days where styles are used instead, since styles allow you
greater control over formatting. The formatting in a font tag is handled by three attributes listed
below.
SIZE This can be a number from 1 to 7 or it can be a relative amount, such as +2
which would mean 2 sizes larger than normal (normal text is usually size 3).
COLOR Changes the colour of the font.
FACE Specifies the font face. You can put more than one font name with a comma
between each. This would mean that if a font specified in the tag isn’t installed
on a computer then the next font named will be used instead.
Example: <FONT SIZE=”5” COLOR=”green” FACE=”Comic Sans MS, Arial”>big green
text</FONT>
Note Using styles is now recommended instead of the font tag.
Special HTML Characters Some characters can’t be entered normally on a webpage because they are used in tags or
because they aren’t on your keyboard. These can all be entered on your page with special codes.
A list of some of the more common ones is shown below.
blank space (non-breaking space) " “ Quotation marks
> > Greater than sign < < Less than sign
& & Ampersand © © Copyright symbol
® ® Registered symbol &trade ™ Trademark symbol
A Few Rules and Things to Remember 1. If you have more than one tag around a part of your page, the last one started must be the
first one closed.
Correct example: <B><U><FONT COLOR=”red”> Formatted text</FONT></U></B>
Wrong Example: <B><U><FONT COLOR=”red”> Formatted text</B></FONT></U>
2. Quote attributes correctly. Many tags will work with no quotes around attributes but not if
only one side has quote. Example:
Color=”red” is correct COLOR=red is not correct but
will work
COLOR =red” or COLOR=”red
will not work
3. Make sure you close tags that need to be closed.
4. If a tag has more than one attribute, they can go in any order you like. It won’t matter.
5. Don’t always trust the way HTML is written on other websites. A lot of websites have badly
written or incorrect HTML.

Using Dreamweaver CS6 HTML
© Steve O’Neil 2014 Page 14 of 14 http://www.oneil.com.au/pc/
Exercise 5 – Quick Revision - Answers
1) Write True or False next to each of the following statements.
a) It is essential for attribute values to have quotation marks around them. False – it is not
essential but it is recommended
b) Only US spelling is recognised in HTML. True
c) It doesn’t matter if tags are written in upper case or lower case letters. True
d) The contents of the Head section will not appear in the web browser’s main window.
True – the head section contains information that is used elsewhere. E.g. page title or
keywords that might be used in internet searches.
2) For each of the following lines of HTML, correct the error and explain why you believe it is
an error. <p><b><i><a href="prices.html">Our price list</b></a></i></p>
Correction
<p><b><i><a href="prices.html">Our price list</a></i></b></p>
Explanation
Tags should be closed in the order in which they were opened. I.e. the last tag opened should be
the first one closed. The first one open should be the last one closed ____________________
<img src="portrait.jpg" alt="Photo" width="300" height="150" border="0>
Correction
<img src="portrait.jpg" alt="Photo" width="300" height="150" border="0">
Explanation
In the border attribute there was a closing “ before the number but there wasn’t one after it.
Leaving the quotes out altogether is ok (but not recommended). Putting quotes before and after
is also ok. Having quotes on only one side is not ok.
<h1 align="centre">Bob's Garden Services</h1>
Correction
<h1 align="center">Bob's Garden Services</h1>
Explanation
This would only work if US spelling was used for center. If you spelled it as centre, your web
browser would not recognise it and the alignment would be ignored. So it would end up left
aligned instead.
<p><align="center">Low prices every day!</align></p>
Correction
<p align="center">Low prices every day!</p>
Explanation
There is no align tag in HTML. Instead, paragraphs are aligned using an attribute in the <p> tag.
When the paragraph tag is closed with </p> it also closes any of the attributes within that tag.