tools to grow at home
TRANSCRIPT

Border by Ink n Little Things http://www.teacherspayteachers.com/Store/Ink-N-Little-Things
Graphics by Poppydreamz Digital Art http://www.teacherspayteachers.com/Store/Poppydreamzdigitalart
Dressing Tips: What to Expect
& How to Help Your
Child Learn
at Home Tools to Grow
Graphics by Creative Clips http://www.teacherspayteachers.com/Store/Krista-Wallden
What to Expect
References
Parks, Stephanie (2004). HELP Strands Curriculum-Based Developmental Assessment, Palo Alto, California VORT Corportation
Early Intervention
www.ToolsToGrowOT.com Copyright ©2014-2015 Tools to Grow®, Inc. All rights reserved.
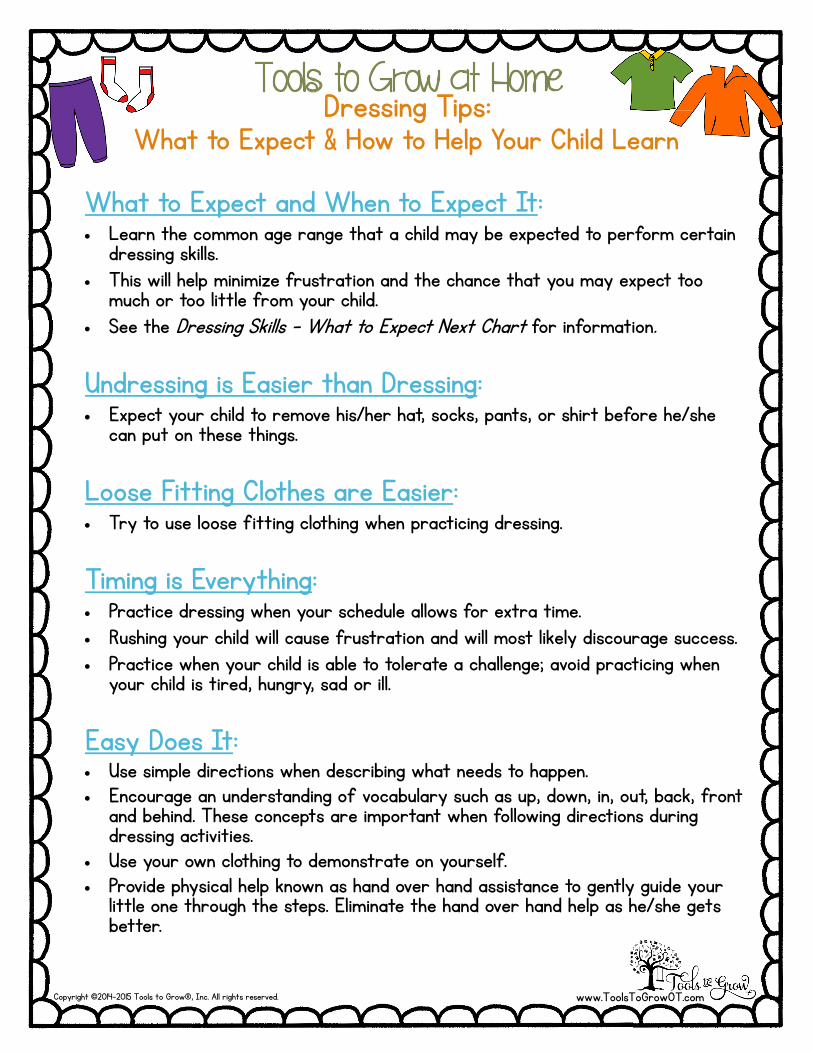
What to Expect and When to Expect It: Learn the common age range that a child may be expected to perform certain
dressing skills. This will help minimize frustration and the chance that you may expect too
much or too little from your child. See the Dressing Skills - What to Expect Next Chart for information.
Undressing is Easier than Dressing: Expect your child to remove his/her hat, socks, pants, or shirt before he/she
can put on these things.
Loose Fitting Clothes are Easier: Try to use loose fitting clothing when practicing dressing.
Timing is Everything: Practice dressing when your schedule allows for extra time. Rushing your child will cause frustration and will most likely discourage success. Practice when your child is able to tolerate a challenge; avoid practicing when
your child is tired, hungry, sad or ill.
Easy Does It: Use simple directions when describing what needs to happen. Encourage an understanding of vocabulary such as up, down, in, out, back, front
and behind. These concepts are important when following directions during dressing activities.
Use your own clothing to demonstrate on yourself. Provide physical help known as hand over hand assistance to gently guide your
little one through the steps. Eliminate the hand over hand help as he/she gets better.
Dressing Tips: What to Expect & How to Help Your Child Learn
Tools to Grow at Home
www.ToolsToGrowOT.com Copyright ©2014-2015 Tools to Grow®, Inc. All rights reserved.
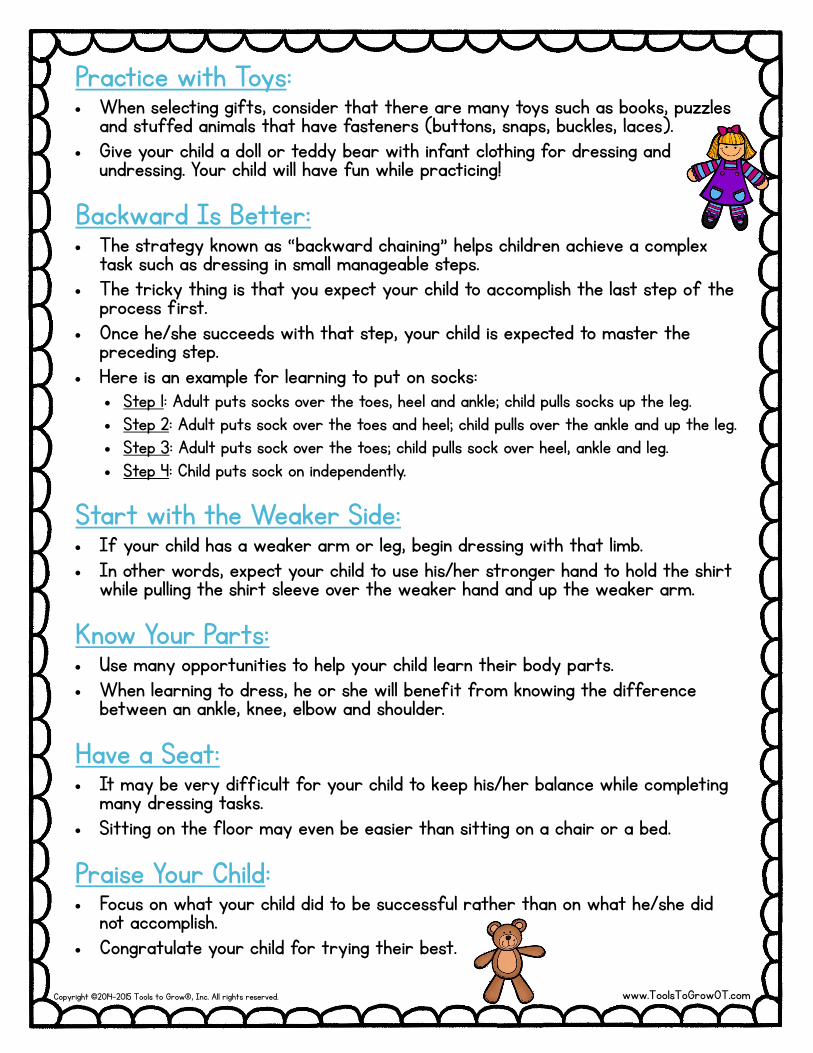
Practice with Toys: When selecting gifts, consider that there are many toys such as books, puzzles
and stuffed animals that have fasteners (buttons, snaps, buckles, laces). Give your child a doll or teddy bear with infant clothing for dressing and
undressing. Your child will have fun while practicing!
Backward Is Better: The strategy known as “backward chaining” helps children achieve a complex
task such as dressing in small manageable steps. The tricky thing is that you expect your child to accomplish the last step of the
process first. Once he/she succeeds with that step, your child is expected to master the
preceding step. Here is an example for learning to put on socks:
Step 1: Adult puts socks over the toes, heel and ankle; child pulls socks up the leg. Step 2: Adult puts sock over the toes and heel; child pulls over the ankle and up the leg. Step 3: Adult puts sock over the toes; child pulls sock over heel, ankle and leg. Step 4: Child puts sock on independently.
Start with the Weaker Side: If your child has a weaker arm or leg, begin dressing with that limb. In other words, expect your child to use his/her stronger hand to hold the shirt
while pulling the shirt sleeve over the weaker hand and up the weaker arm.
Know Your Parts: Use many opportunities to help your child learn their body parts. When learning to dress, he or she will benefit from knowing the difference
between an ankle, knee, elbow and shoulder.
Have a Seat: It may be very difficult for your child to keep his/her balance while completing
many dressing tasks. Sitting on the floor may even be easier than sitting on a chair or a bed.
Praise Your Child: Focus on what your child did to be successful rather than on what he/she did
not accomplish. Congratulate your child for trying their best.
When selecting gifts, consider that there are many toys such as books, puzzles
Focus on what your child did to be successful rather than on what he/she did
www.ToolsToGrowOT.com Copyright ©2014-2015 Tools to Grow®, Inc. All rights reserved.
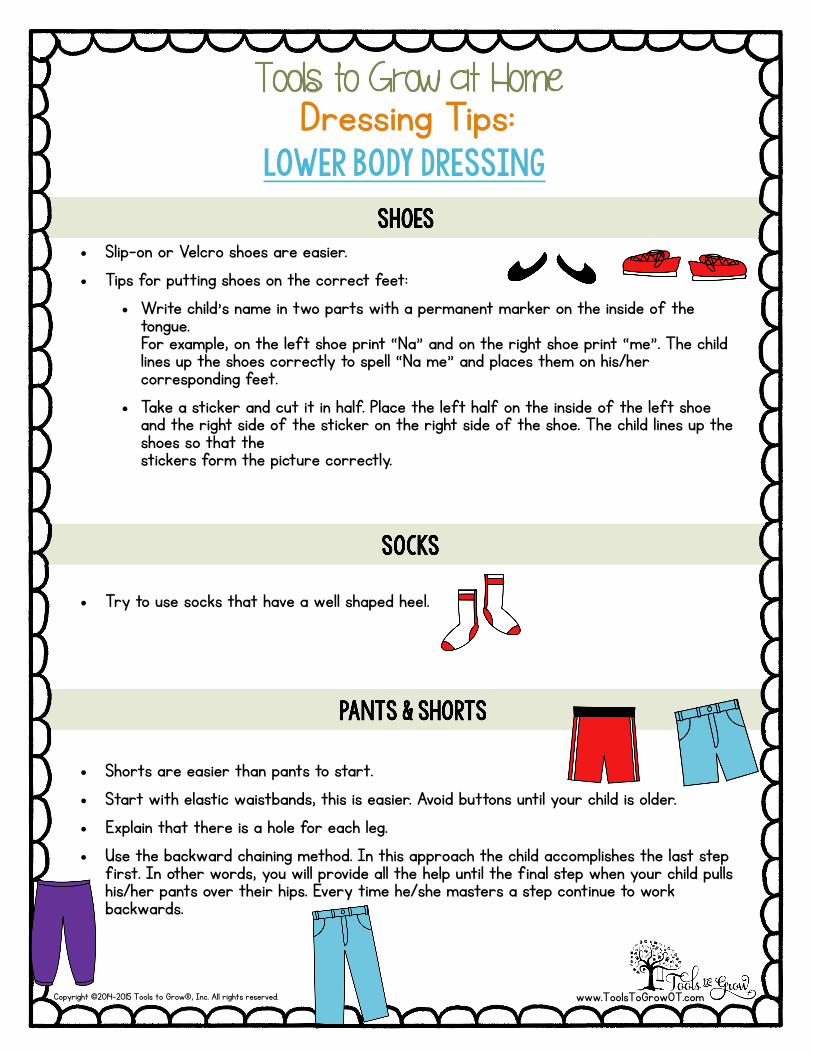
SHOES
PANTS & SHORTS
SOCKS
SHOES
PANTS & SHORTS
SOCKS
Slip-on or Velcro shoes are easier.
Tips for putting shoes on the correct feet:
Write child’s name in two parts with a permanent marker on the inside of the tongue. For example, on the left shoe print “Na” and on the right shoe print “me”. The child lines up the shoes correctly to spell “Na me” and places them on his/her corresponding feet.
Take a sticker and cut it in half. Place the left half on the inside of the left shoe and the right side of the sticker on the right side of the shoe. The child lines up the shoes so that the stickers form the picture correctly.
Try to use socks that have a well shaped heel.
Shorts are easier than pants to start.
Start with elastic waistbands, this is easier. Avoid buttons until your child is older.
Explain that there is a hole for each leg.
Use the backward chaining method. In this approach the child accomplishes the last step first. In other words, you will provide all the help until the final step when your child pulls his/her pants over their hips. Every time he/she masters a step continue to work backwards.
Dressing Tips:
Tools to Grow at Home
lower body dressing
www.ToolsToGrowOT.com Copyright ©2014-2015 Tools to Grow®, Inc. All rights reserved.
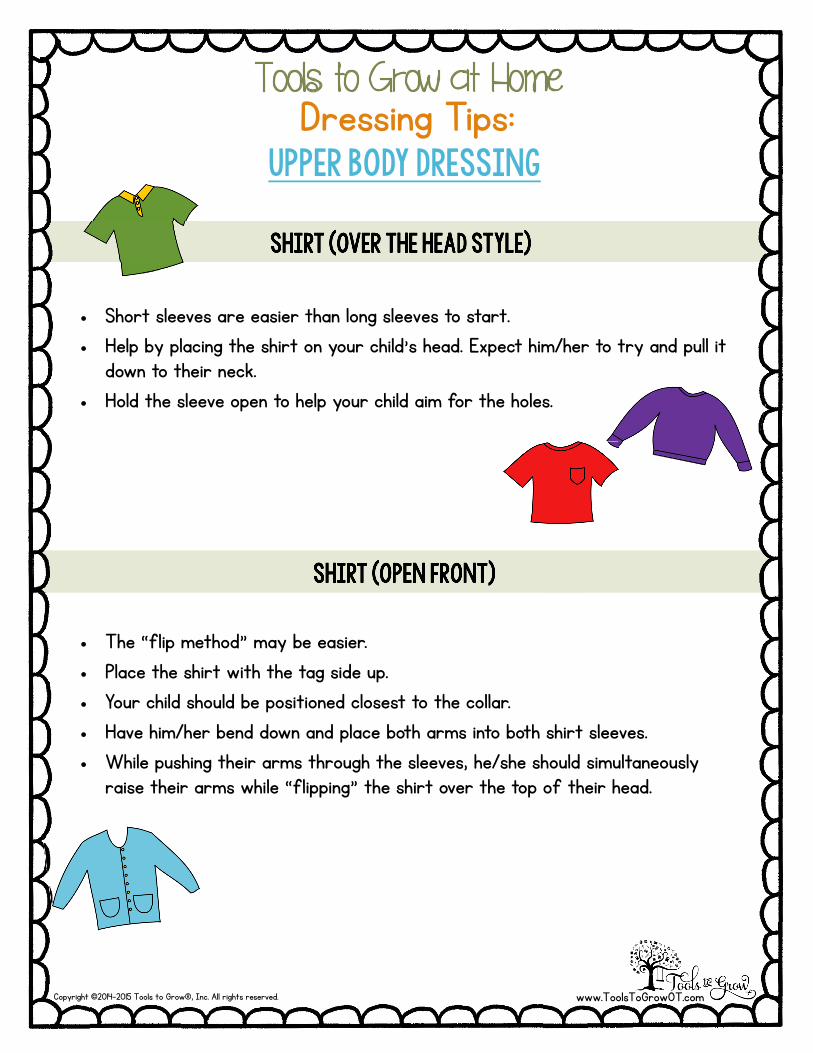
SHIRT (OVER THE HEAD STYLE)
SHIRT (OPEN FRONT)
SHIRT (OVER THE HEAD STYLE)
SHIRT (OPEN FRONT)
Short sleeves are easier than long sleeves to start. Help by placing the shirt on your child’s head. Expect him/her to try and pull it
down to their neck. Hold the sleeve open to help your child aim for the holes. The “flip method” may be easier. Place the shirt with the tag side up. Your child should be positioned closest to the collar. Have him/her bend down and place both arms into both shirt sleeves. While pushing their arms through the sleeves, he/she should simultaneously
raise their arms while “flipping” the shirt over the top of their head.
Tools to Grow at Home
www.ToolsToGrowOT.com Copyright ©2014-2015 Tools to Grow®, Inc. All rights reserved.
Dressing Tips: upper body dressing
BUTTONS
SNAPS
ZIPPERS
BUTTONS
SNAPS
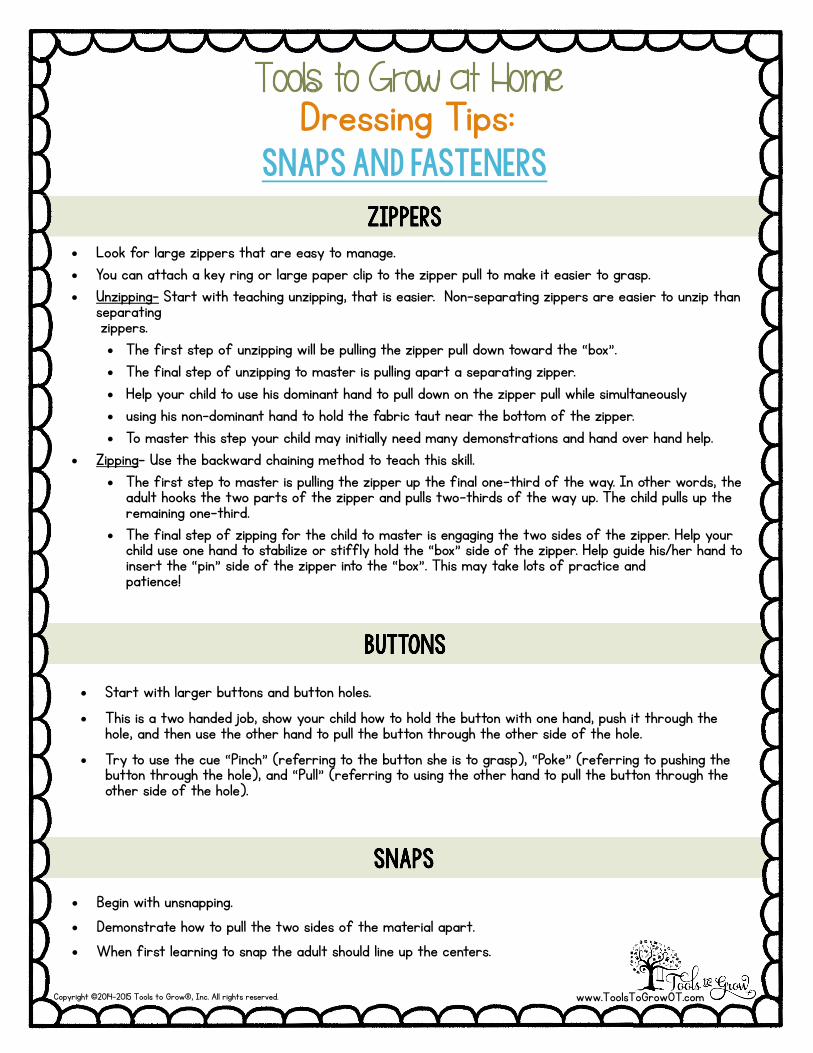
ZIPPERS Look for large zippers that are easy to manage. You can attach a key ring or large paper clip to the zipper pull to make it easier to grasp. Unzipping- Start with teaching unzipping, that is easier. Non-separating zippers are easier to unzip than
separating zippers.
The first step of unzipping will be pulling the zipper pull down toward the “box”. The final step of unzipping to master is pulling apart a separating zipper. Help your child to use his dominant hand to pull down on the zipper pull while simultaneously using his non-dominant hand to hold the fabric taut near the bottom of the zipper. To master this step your child may initially need many demonstrations and hand over hand help.
Zipping- Use the backward chaining method to teach this skill. The first step to master is pulling the zipper up the final one-third of the way. In other words, the
adult hooks the two parts of the zipper and pulls two-thirds of the way up. The child pulls up the remaining one-third.
The final step of zipping for the child to master is engaging the two sides of the zipper. Help your child use one hand to stabilize or stiffly hold the “box” side of the zipper. Help guide his/her hand to insert the “pin” side of the zipper into the “box”. This may take lots of practice and patience!
Start with larger buttons and button holes.
This is a two handed job, show your child how to hold the button with one hand, push it through the hole, and then use the other hand to pull the button through the other side of the hole.
Try to use the cue “Pinch” (referring to the button she is to grasp), “Poke” (referring to pushing the button through the hole), and “Pull” (referring to using the other hand to pull the button through the other side of the hole).
Tools to Grow at Home
Begin with unsnapping.
Demonstrate how to pull the two sides of the material apart.
When first learning to snap the adult should line up the centers.
www.ToolsToGrowOT.com Copyright ©2014-2015 Tools to Grow®, Inc. All rights reserved.
Dressing Tips: snaps and fasteners
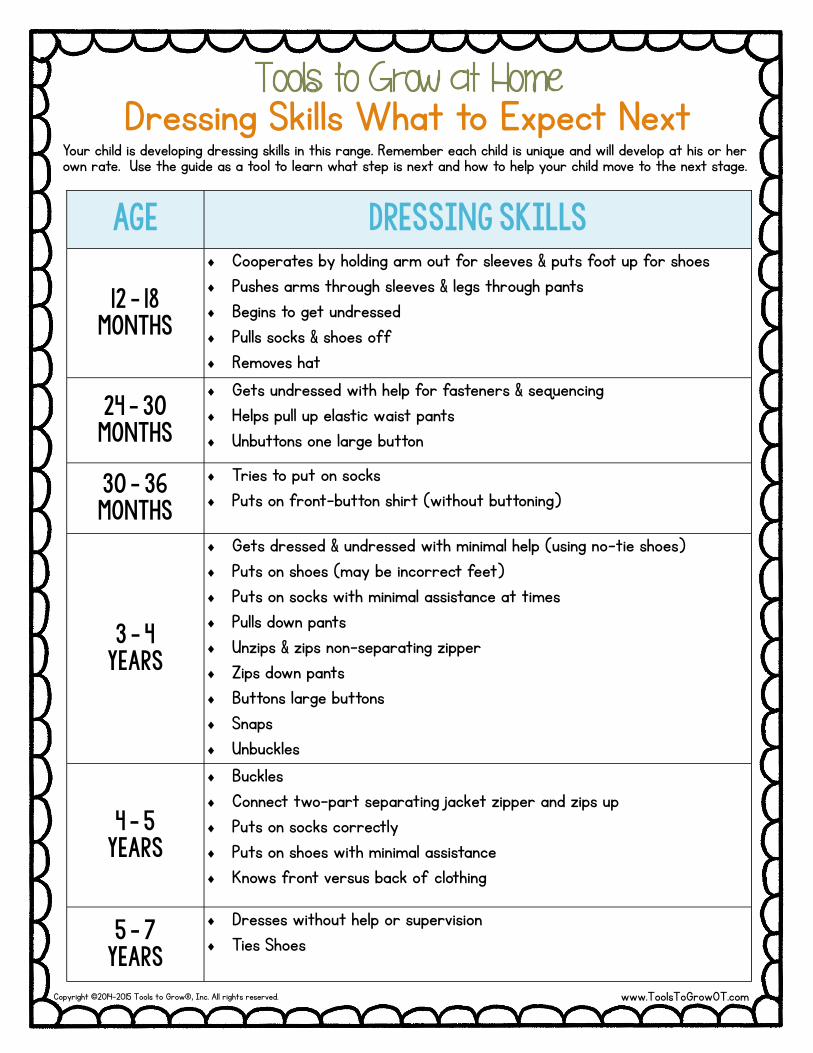
Dressing Skills What to Expect Next Tools to Grow at Home
Your child is developing dressing skills in this range. Remember each child is unique and will develop at his or her own rate. Use the guide as a tool to learn what step is next and how to help your child move to the next stage.
www.ToolsToGrowOT.com Copyright ©2014-2015 Tools to Grow®, Inc. All rights reserved.
age dressing skills
12 - 18 months
Cooperates by holding arm out for sleeves & puts foot up for shoes Pushes arms through sleeves & legs through pants Begins to get undressed Pulls socks & shoes off Removes hat
24 - 30 months
Gets undressed with help for fasteners & sequencing Helps pull up elastic waist pants Unbuttons one large button
30 - 36 months
Tries to put on socks Puts on front-button shirt (without buttoning)
3 - 4 years
Gets dressed & undressed with minimal help (using no-tie shoes) Puts on shoes (may be incorrect feet) Puts on socks with minimal assistance at times Pulls down pants Unzips & zips non-separating zipper Zips down pants Buttons large buttons Snaps Unbuckles
4 - 5 years
Buckles Connect two-part separating jacket zipper and zips up Puts on socks correctly Puts on shoes with minimal assistance Knows front versus back of clothing
5 - 7 years
Dresses without help or supervision Ties Shoes