the scientific method l to start click here click one of the following to start your tour l testable...
TRANSCRIPT

The Scientific Method
To start click here
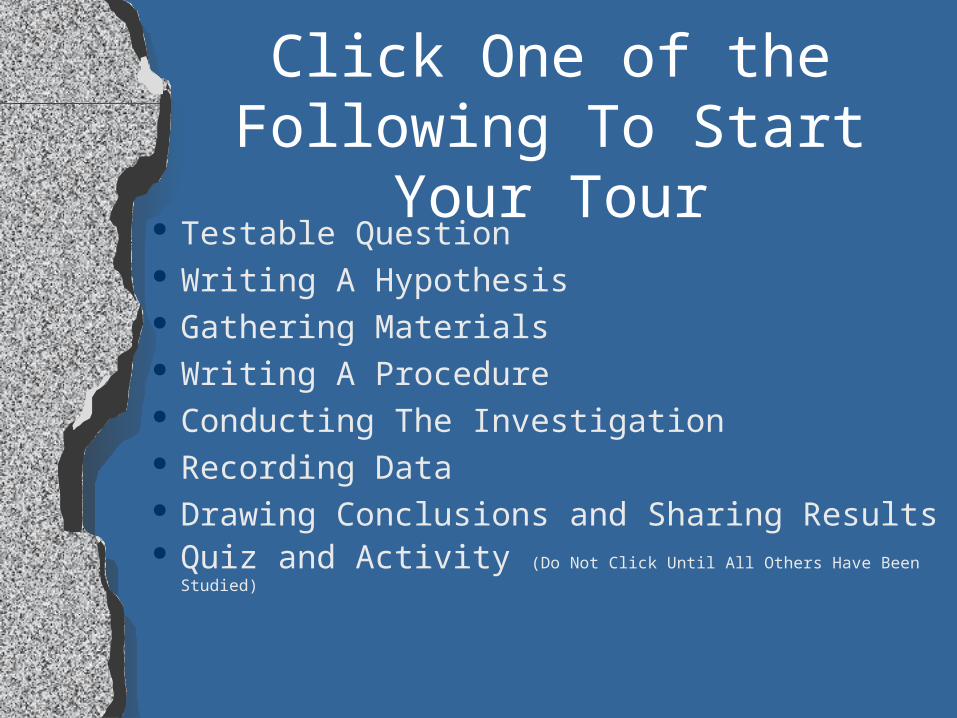
Click One of the Following To Start Your Tour
Testable Question Writing A Hypothesis Gathering Materials Writing A Procedure Conducting The Investigation Recording Data Drawing Conclusions and Sharing Results Quiz and Activity (Do Not Click Until All Others Have Been Studied)

The Testable Question(Problem)
Before you start an experiment you must have a reason to do it.
You need to have a question that can be answered through an investigation
This is called a “Testable Question.”
Click For More ->

Examples of the Testable Question
Does the amount of sunlight a plant gets affect how it grows?
Does the size of the hole in the bottom of a sinking water clock affect how fast it sinks?
Does caffeine affect reaction time in middle school students?
Which disinfectant works the best on household germs?
Next Slide ->

These Are Not Testable Questions
Is Jerry Rice the best receiver of all time? Does water smell good? Is the cafeteria food good? Will the school be open tomorrow? You cannot answer these questions with an
experiment. Opinion questions are not testable.
Menu

Gathering Materials
In order to do an experiment, you must make a list of the equipment you will use.
This list is written above your procedure.
It allows other people to do your experiment without having to ask you what they need.
Home

Writing a Hypothesis
A hypothesis is an “educated guess” about the out come of your experiment.
In order to make this guess, you must rely on your background knowledge and the research which you conducted before you began planning the experiment.
Click Here for More!

Hypothesis and Research
It is VERY important that you conduct research before you make your hypothesis. This research will give you the information you need to make a hypothesis that is scientific and accurate.

A Well Written Hypothesis
A well written hypothesis consists of an “if” statement and a “then” statement.
The “if” statement contains information on what your are testing, and the “then” statement reflects your beliefs of the outcome of the experiment.
Click Here For Some Examples!!!

Examples
“If we change the size of a hole in the bottom of a funnel, then the funnel will sink at a faster rate”
“If caffeine is increased in someone’s body, then their reaction time will be quicker”
Back Home
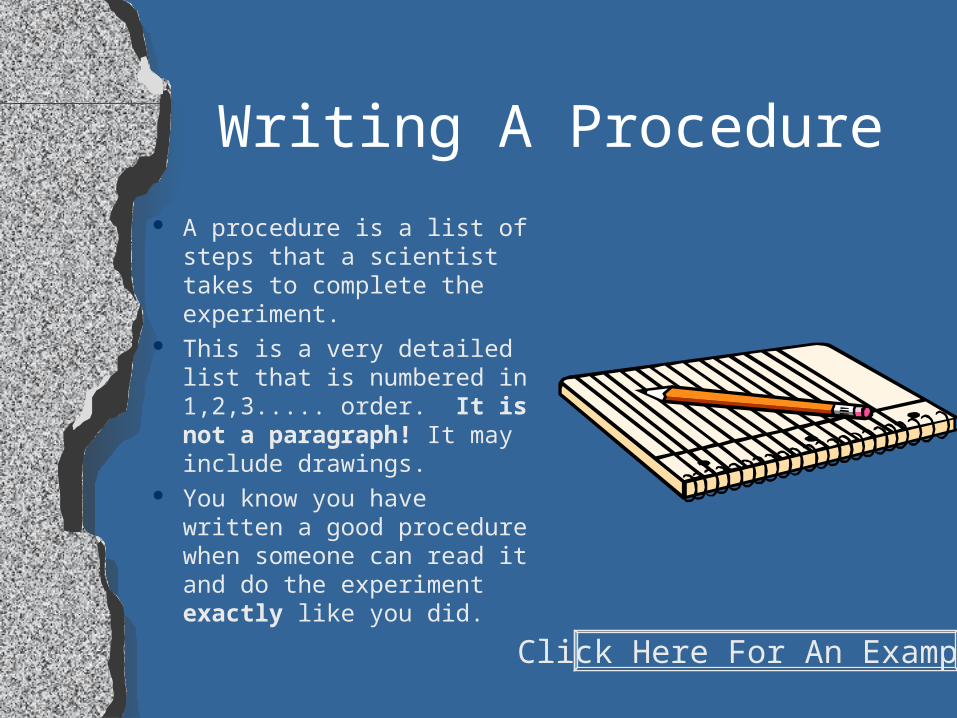
Writing A Procedure
A procedure is a list of steps that a scientist takes to complete the experiment.
This is a very detailed list that is numbered in 1,2,3..... order. It is not a paragraph! It may include drawings.
You know you have written a good procedure when someone can read it and do the experiment exactly like you did.
Click Here For An Example!

Water Clock Procedure
1. Fill a clear, 4 liter bucket to 1 inch from the top
2. Place funnel on the top of the water with the hole facing down 3. Let funnel sink and record the time it takes to hit the bottom 4. Record this time in a data table 5. Take the funnel out of the water and place one, 3/4 inch brass washer
inside the funnel. 6. Repeat steps 2 through 4. 7. Repeat step 5 by adding two, 3/4 inch brass washers inside the funnel. 8. Repeat steps 2 through 4 9. Repeat step 5 by adding three, 3/4 inch brass washers inside the funnel. 10. Using your data table, make a line graph representing the sinking times
of all three funnels.
Home

Conducting The Investigation
It is now time to start testing your hypothesis!
This is the step that we all want to jump right into. However, it is very important that we complete the previous steps first.
Safety is always an issue here. Be sure to follow all lab safety procedures while conducting the investigation
More ->

Investigation
If you have written a detailed procedure, your investigation should go smoothly.
Simply follow the steps in your procedure!!
Be sure to clean up your materials when you have finished!
Home

Recording Data
All measurements in an investigation need to be recorded in a data table.
The table must have a title (related to what you are measuring), and appropriate labels for the rows and columns.
Sinking Time For Funnels (seconds)
Trial Number
1 2 3 Avg.
Number Of Washers
0
1
2
3
110 90 80 93.3
36 31 40 35
12 17 17 15
12 10 14 12
Click To See The Graph

Graphing Your Data Table
In order to understand and interpret you data, you need to make a graph.
A graph lets you see trends in the data and it also helps you look at the data in a way that is easy to understand.
When graphing, use the “T.A.I.L.S.” method. This will insure that all of your labels and increments are correct!
Remember your labels!!
Average Sinking Time In Seconds
0
10
20
30
40
50
60
70
80
90
100
Amount Of Washers In The Funnel
AverageSinking Time
Home

Drawing Conclusions
The final piece of the scientific method is drawing conclusions.
In this step we analyze our data and graphs and decide if our hypothesis was correct or incorrect! We always restate our hypothesis in our conclusion.
We discuss any trends we see and we attempt to explain why our hypothesis was correct or incorrect.
This is always in paragraph form!
Conclusion
In conclusion, I can say that my hypothesis (if we add more washers to the funnel, then it will sink faster) was correct. The funnel did sink faster when I added more washers. My graph shows a decrease in sinking time so I have proved that this is true.
Sharing Conclusions

Sharing Conclusions
To make our experiment complete we must share our findings with other people.
This can be through discussion or a lab report printed for a magazine. Scientists love to read about other’s experiments!
Sinking Water Clocks
Homeward Bound
Average Sinking Time In Seconds
0
10
20
30
40
50
60
70
80
90
100
0 Washers 1 Washer 2 Washers 3 Washers
Amount Of Washers In The Funnel
Average Sinking Time