ste p 1: pri m e -'s-'-te'--p 2 : p,-,-'a=i...
TRANSCRIPT

STE P 1: PRI M E -"'S-'-"TE"'--P ____ 2 ___ : P,-,-'A=I N,-,-T ___ ------=-Start by taping down the Cleaprint" Thin layers of Academy Oil Col-to a solid surface, like a table, with ors and glazes work best to utilize masking or painter's tape. Using Clearprint's transparent nature. the Grumbacher" Acrylic Medium This can be achieved by adding and a brush for oil and acrylics (or Grumbacher Alkyd Medium to your paint roller for large surfaces), ap- oils and incorporating thorough-ply the medium in a single direction ly. The heavier the paint load, the until the sheet is covered. Buckling darker and more muted the color should be expected. Let dry to the will appear on the reverse side of touch (approx. 30 minutes). Reap- your painting. Paint may also crack ply the medium in strokes going the with thick layers of paint since un-opposite direction. Let dry to the mounted Clearprint" is extremely touch again before removing the flexible. As with all oil paintings, tape. Flip vellum over and repeat the fat over lean rule should be ad-the process to the reverse side to hered to. You may find that paint insure that the vellum is completely r:;;==;;;:::;;;:::;;;;;;;:::=::;;;;::;::;;;::::;;;;;;;;; dries more rapidly on Clearprint" sealed, and to add stability to the than on most traditional painting vellum. This also decreases the surfaces. Paint has been known to buckling that has occurred during dry to the touch over night. Dry the first priming. You may un-tape time may take longer in areas with the primed vellum after this step, or high humidity. Work may be lightly re-tape it in order to stretch it flat varnished within the same drying
period as traditional oil painting techniques.
strength and durability of Clearprint@ Vellum is surprising to most artists. The transparent nature of this material allows for paintings that can be layered to achieve a delicate sense of depth, or front-lit to enhance transparency.

STEP 1: PRIME Start by taping down the Cleaprint® to a solid surface, like a table, with masking or painter's tape. Using the Grumbacher® Acrylic Medium and a brush for oil and acrylics (or paint roller for large surfaces), apply the medium in a single direction until the sheet is _ _ .,..... __ _ covered. Buckling should be expected. Let dry to the touch (approx. 30 minutes). Reapply the medium in strokes going the opposite direction. Let dry to the touch again before removing the tape. Flip vellum over and repeat the process to the reverse side to insure L... __ _
that the vellum is completely sealed, and to add stability to the vellum. This also decreases the buckling that has occurred during the first priming. You may un-tape the primed vellum after this step, or re-tape it in order to stretch
STEP 2: PAINT Thin layers of Academy Acrylics work best to utilize Clearprint's transparent nature. This can be achieved by adding Grumbacher® Acrylic Matte or Gloss Medium to your acrylic paint. The heavier the paint load, the darker and more
muted the color will appear on the reverse side of your painting. Paint may also crack with thick layers of paint since unmounted Clearprint® is extremely flexible. You may find that paint dries very rapidly on vellum, a retarder added to the acrylic paint can help slow the drying time. Dry
time may take longer in areas with high humidity. Let acrylic work dry thoroughly before layering, as additional layers of color over semidry underpaintings will pick up paint on the first layer. Work may be lightly varnished within the same drying period as traditional acrylic painting techniques.
The strength and durability of Clearprint@ Vellum is surprising to most artists. The transparent nature of this material allows for paintings that can be layered to achieve a delicate sense of depth, or front-lit to enhance transparency.
GRAPHITE, PASTEL, & CHARCOAL Dry media works well on unprimed Clearprint. While the surface is very smooth, it allows for subtle blending. Dry media may be applied to Clearprint as it would to any other tradiational drawing substrate. A final fixative is strongly recommeded to keep graphite, pastel or charcoal particles in place. One or two coats of a spray fixative is usually sufficient.
SCULPTURE Clearprint's translucent properties and durability make it a unique material for layering and sculptural techniques. Clearprint comes in many varieties, ranging from traditional and isometric grids to our most popular 1000H and our printable vellums. Wire or natural armatures can give structure to Clearprint, and Grumbacher Acrylic Medium is an ideal adhesive and varnish, as it maintains the vellum's translucent qualities. Grumbacher's Acrylic Medium (gloss or matte) dries crystal clear and works well for paper ma-
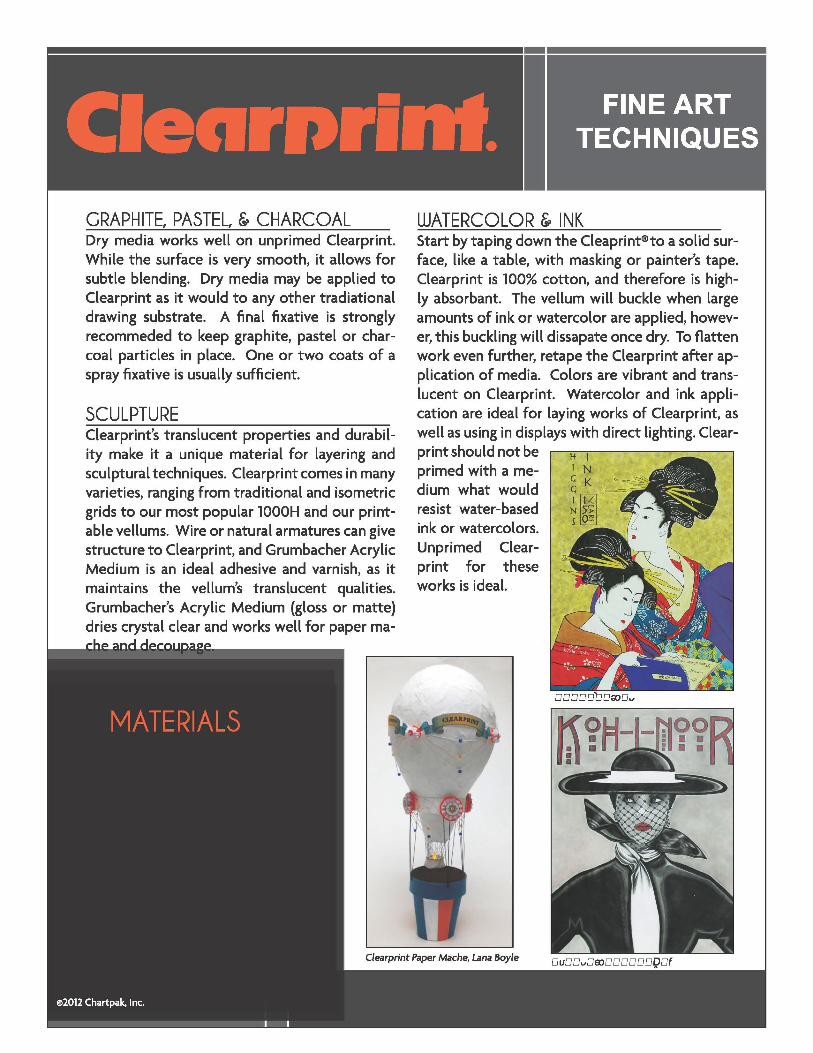
WATERCOLOR & INK Start by taping down the Cleaprint@to a solid surface, like a table, with masking or painter's tape. Clearprint is 100% cotton, and therefore is highly absorbant. The vellum will buckle when large amounts of ink or watercolor are applied, however, this buckling will dissapate once dry. To flatten work even further, retape the Clearprint after application of media. Colors are vibrant and translucent on Clearprint. Watercolor and ink application are ideal for laying works of Clearprint, as well as using in displays with direct lighting. Clearprint should not be primed with a medium what would resist water-based ink or watercolors. Unprimed Clearprint for these works is ideal.