sigmanest quick start guide - machmotion types/plasma/sigma… · specializing in cnc automation...
TRANSCRIPT

SigmaNEST QUICK-START GUIDE
Specializing in CNC Automation and Motion Control

2 | P a g e
SigmaNEST Quick-Start Guide
1 INTRODUCTION
1.1 Overview This guide will discuss the basic steps in using SigmaNEST to create a cut
file for use with MachMotion’s 1150P plasma control. Users have the
option to either import a .dxf file or select from the SigmaNEST shape
library.
2 SigmaNEST
2.1 Software Startup Double-click the SigmaNEST icon on the control desktop.
FIGURE 2 SIGMANEST ICON
Once opened, there is the option to import a .dxf or create a new task and use the SigmaNEST shape library.
FIGURE 3 WELCOME SCREEN
FIGURE 1 1050P PLASMA CONTROL

P a g e | 3
SigmaNEST Quick-Start Guide
Begin by selecting [Create a new task].
Set task parameters (material type, sheet/job size, thickness, clearance, etc…) on the next tab.
FIGURE 4 TASK PARAMETERS TAB
Next, select the Parts tab.
FIGURE 5 PARTS TAB
Select either [Load DXF File] or [Standard Shapes].

4 | P a g e
SigmaNEST Quick-Start Guide
2.2 Shape Library The following shapes are currently available in the shape library. Select a shape and press [Ok].
FIGURE 6 RECTANGLES
FIGURE 7 RINGS

P a g e | 5
SigmaNEST Quick-Start Guide
FIGURE 8 FLANGES
FIGURE 9 GUSSETS

6 | P a g e
SigmaNEST Quick-Start Guide
FIGURE 10 BRACKETS
FIGURE 11 GASKETS
P a g e | 7
SigmaNEST Quick-Start Guide
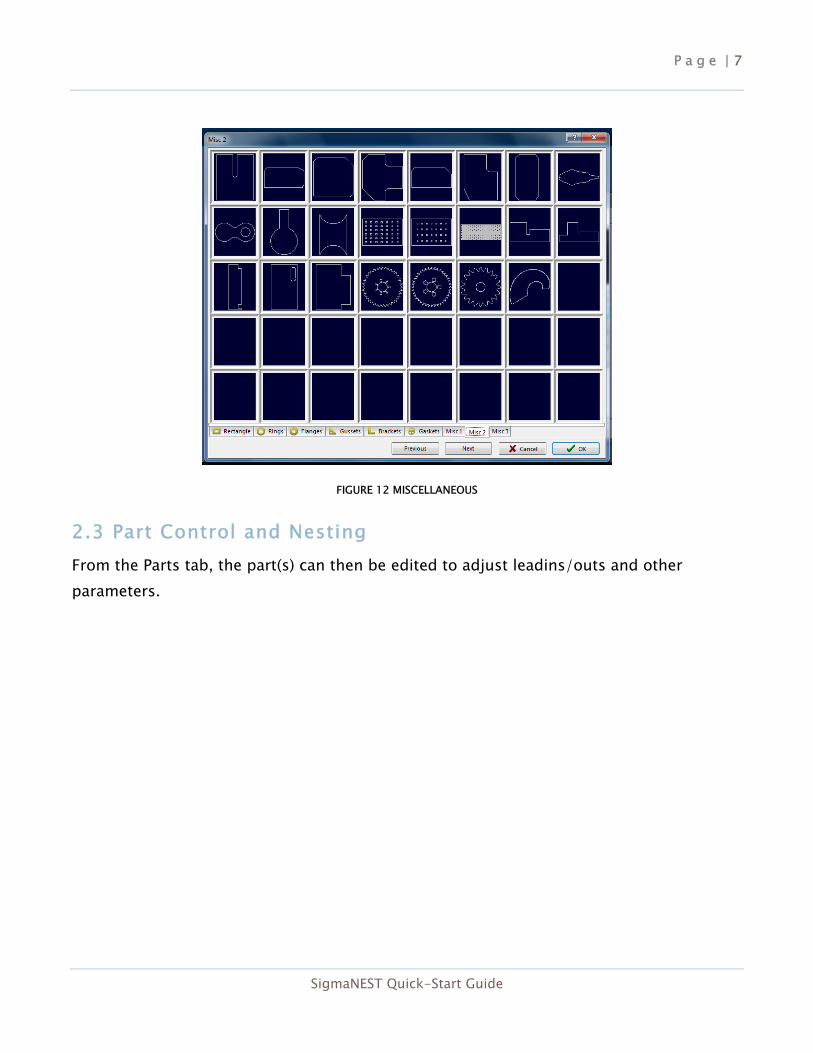
FIGURE 12 MISCELLANEOUS
2.3 Part Control and Nesting From the Parts tab, the part(s) can then be edited to adjust leadins/outs and other parameters.

8 | P a g e
SigmaNEST Quick-Start Guide
FIGURE 13 LEADIN/OUT CONTROL
Auto nesting is also available from the Parts tab.
FIGURE 14 AUTO NESTING

P a g e | 9
SigmaNEST Quick-Start Guide
The Toolpath tab will show the current file’s toolpath after selecting [Generate Toolpath].
FIGURE 15 TOOLPATH TAB
NC Simulate will simulate the part file in SigmaNEST. Select [Generate NC Code] to post and save g-code file to the control software.
FIGURE 16 NC SIMULATE TAB

10 | P a g e
SigmaNEST Quick-Start Guide
3 USING THE CONTROL
3.1 Running a Program Once the NC file has been posted from SigmaNEST, the control software will automatically load the part file and generate the toolpath.
FIGURE 17 CONTROL TOOLPATH
Edit the necessary cut parameters on the lower right of the control (Cut Height, Pierce Height, and Pierce Time) and set your part zero.
When ready to cut, press [Cycle Start].