restroom cleaning procedures - parish-supply.com cleaning procedures. ... fill the foam gun bottle...
TRANSCRIPT

RESTROOMCLEANING

Restroom Cleaning ProceduresHow do you know when a restroom is clean?Generally speaking, the restroom is clean when it meets your specific cleaning standards.
Things you should expect:
1. Dispensers are clean and correctly filled.
2. Restroom fixtures are clean and free of soil, fingerprints, marks, oils, and other residue.
3. Toilets and toilet seats are clean, dry, and free of all soils, spots, stains, and other residues.
4. Urinals and urinal screens are clean, dry, and free of all soils, splatters, stains, and other residues.
5. Sinks are clean, dry, and free of water spots, soils, soap deposits, and other residues.
6. Floor-drain covers are clean and free of soils, lint, mop strings, dirt, and other residues.
7. Restroom-floor surfaces are clean, dry, slip resistant, and free of soils, dirt, buildups, gum, mildew, mold, and other residues.

Restroom Cleaning ProceduresHow do you know when a restroom is clean?8. Vents are clean and free of lint and other residues.
9. Mirrors and metal fixtures are clean and free of smudges, fingermarks, water spots, streaks, and other residues.
10. Restroom air is fresh and free of unpleasant odors.
11. Partitions, doors, doorknobs, walls, and ceilings are clean and free of soils, smudges, fingermarks, splatters, water spots, graffiti, and other residues.
12. Horizontal surfaces including countertops and ledges are clean and free of soils and dirt deposits.
13. Lights are operating properly and light fixtures are clean and free of all soils and residues.
14. Trash has been properly removed from the receptacles, with a clean liner installed correctly into the clean receptacle.
15. Trash and debris have been removed from the restroom and disposed of properly.
Restroom Cleaning ProceduresHow do you know when a restroom is clean?
Q. What is perhaps the biggest misconception about restroom cleaning?
A. One big misconception is, “If a restroom smells good, it must be clean and healthy.” Not true. A dirty and unhealthy restroom can be sprayed with pleasant-smelling deodorants and fool our noses into thinking that the restroom environment is clean, sanitary, and healthy when it is not.
Q. What causes poor restroom-cleaning results?A. A failure to adequately identify and communicate cleaning standards to staff. Unless standards are clearly defined, stated, and understood, they can never be achieved. The cleaning staff must know the appearance and performance expectations in advance and be trained accordingly.
Q. Is physical cleaning more important than disinfecting?A. Proper cleaning and disinfecting procedures go hand in hand to provide a clean and healthy restroom environment. Cleaning is the process of removing unwanted substances from the restroom and putting them in their proper place. Disinfecting is the process of killing and destroying unwanted germs (pathogenic microorganisms).

Restroom Cleaning ProceduresStep 1: Assemble Supplies and Safety Equipment
Trigger Sprayer & Bottles
MicroFiber Cloths
Wet Mop & Handle
Mop Bucket with Wringer
Broom & Dust Pan
Be sure to wear goggles, protective gloves, rubber-soled shoes and long sleeves when renovating a restroom. Some or all of this equipment may be necessary to do your job thoroughly:
Liners for Receptacles
Bowl Swab
Inspection Mirror
"Wet Floor" Signs
Gloves/Safety Glasses

Restroom Cleaning ProceduresStep 1: Assemble Supplies and Safety Equipment (cont.)
“Fresh Breeze” Non-Acid Bowl Cleaner
“Streak Free” Glass cleaner
“Spectrum HBV” Disinfectant Cleaner
Hand Soap
Paper Towels & Bathroom Tissue
Sanitary Napkins/Tampons
MicroFiber Cleaning Cloths (Red, Yellow & Blue)
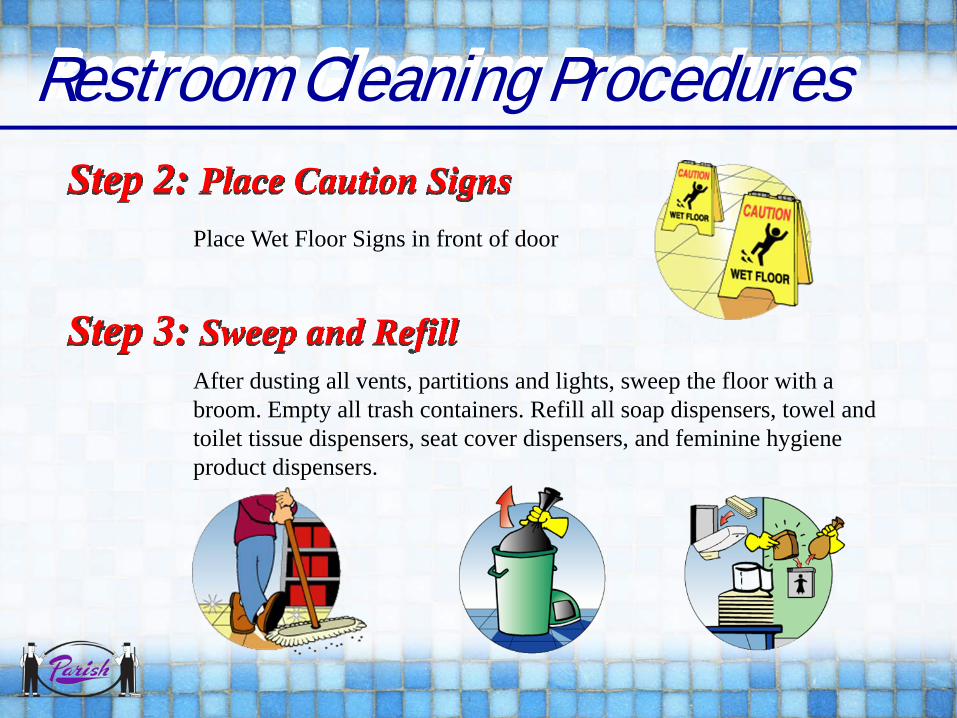
Restroom Cleaning ProceduresStep 2: Place Caution Signs
Place Wet Floor Signs in front of door
Step 3: Sweep and RefillAfter dusting all vents, partitions and lights, sweep the floor with a broom. Empty all trash containers. Refill all soap dispensers, towel and toilet tissue dispensers, seat cover dispensers, and feminine hygiene product dispensers.
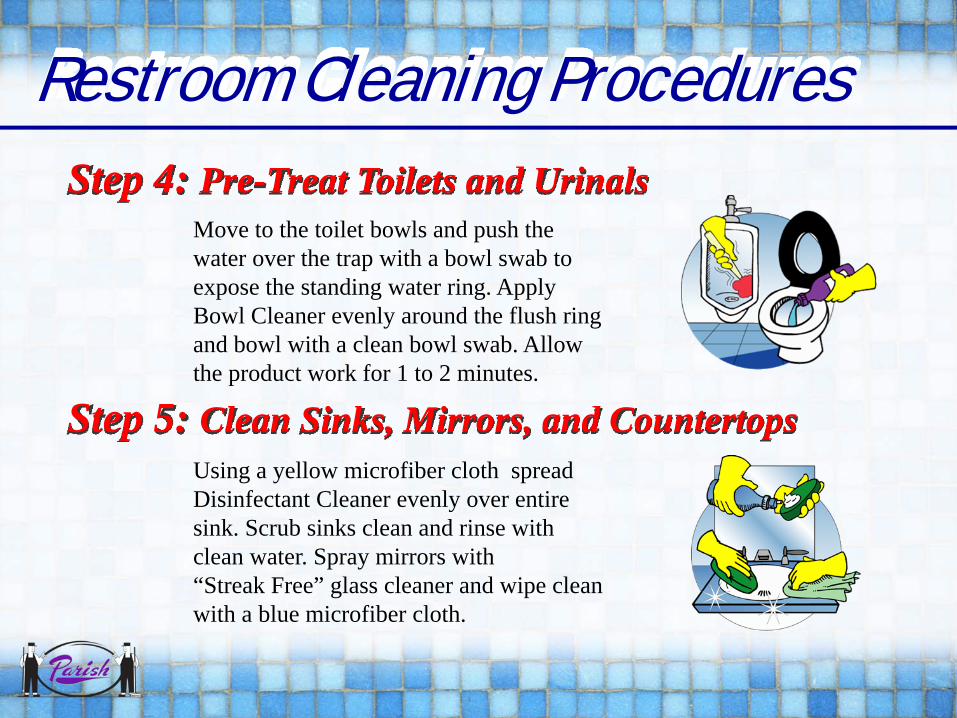
Restroom Cleaning ProceduresStep 4: Pre-Treat Toilets and Urinals
Step 5: Clean Sinks, Mirrors, and Countertops
Move to the toilet bowls and push the water over the trap with a bowl swab to expose the standing water ring. Apply Bowl Cleaner evenly around the flush ring and bowl with a clean bowl swab. Allow the product work for 1 to 2 minutes.
Using a yellow microfiber cloth spread Disinfectant Cleaner evenly over entire sink. Scrub sinks clean and rinse with clean water. Spray mirrors with “Streak Free” glass cleaner and wipe clean with a blue microfiber cloth.

Restroom Cleaning ProceduresStep 6: Return to Toilet and Urinals
Step 7: Refilling Dispensers
Swab toilet bowls and urinals as you flush to rinse. Pay close attention to the underside of the flush ring.
Replace or refill towels, toilet tissue, feminine hygiene products and soap in dispensers.

Restroom Cleaning ProceduresStep 8: Clean Walls and Fixtures
Step 9: Prepare Cleaning Solution
Using a yellow microfiber cloth, wipe the sink, faucets, and counter top. Change cloths and wipe the walls and partitions. Change to a red microfiber cloth and wipe the outside of the toilets. Change the cloth and wipe the outside of the urinals.
Mix “Spectrum HBV” diluted at 2oz. per gallon of cold water in clean bucket and use a clean mop. Know how many gallons of water are in bucket by observing and filling to line inside of bucket.

Restroom Cleaning ProceduresStep 10: Mop Floor
Step 11: Inspect Your Work
Mop from farthest corner out. Be certain to clean corners and edges. Work your way out of the restroom by working toward the door.
Make sure you have covered all the points above. Turn off the light and move to the next area to be cleaned or return equipment to the storage area.

Restroom Cleaning ProceduresStep 12: When Your Shift is Finished
Clean all equipment by rinsing out buckets, wringers, mops and other items used. Replenish your cleaning cart with items needed for the next shift.
Hang mops up to dry and send cleaning clothes to laundry. Report any broken or damaged equipment to your supervisor.
Take inventory of chemicals, can liners and paper supplies and reorder as needed.
Cleaning your equipment properly will leave your storage area smelling like a rose.
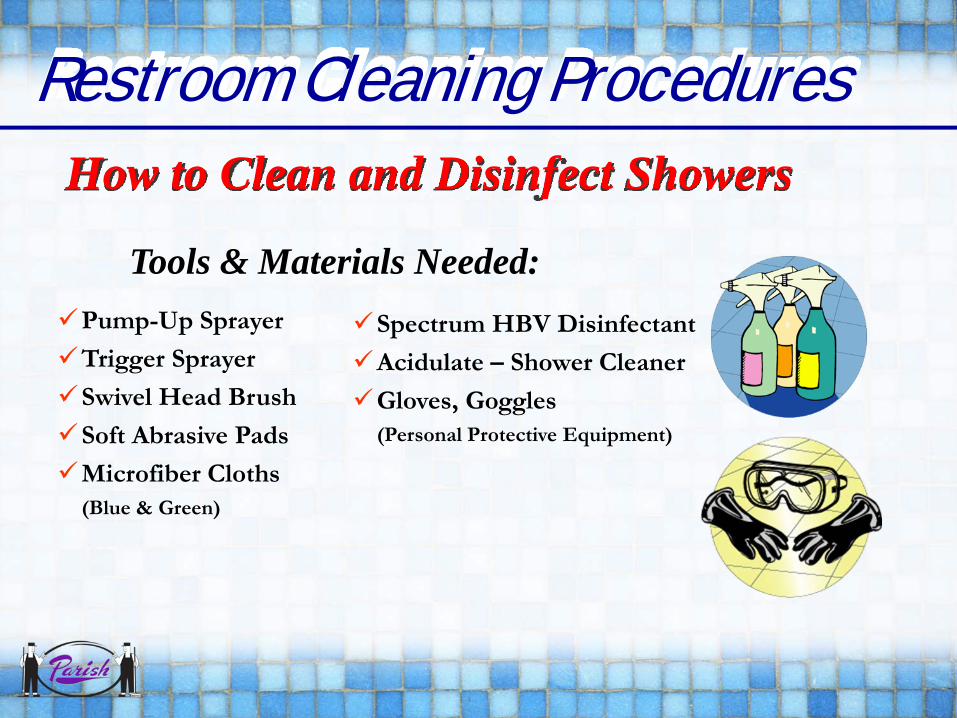
Restroom Cleaning ProceduresHow to Clean and Disinfect Showers
Tools & Materials Needed:Pump-Up Sprayer
Trigger Sprayer
Swivel Head Brush
Soft Abrasive Pads
Microfiber Cloths (Blue & Green)
Spectrum HBV Disinfectant
Acidulate – Shower Cleaner
Gloves, Goggles(Personal Protective Equipment)

Restroom Cleaning ProceduresHow to Clean and Disinfect Showers
Products:1. “Spectrum HBV” Disinfectant cleaner2. “Acidulate” shower room cleaner
Procedures:I. Purpose of Shower Cleaning and Disinfecting
A. Stop spread of bacteria by removing breeding grounds such as:1. Soap scum and body oils2. Rust and hard water stains3. Mold and mildew
B. Prolong the life of the shower surface, floor and walls.II. Procedure for Between Use Disinfecting
A. Put on gloves and other personal protection equipment.B. Clean and disinfect all human contact surfaces.C. Using trigger sprayer filled with a cleaner disinfectant, mist
1. Shower seat or chair2. Faucets and shower head3. Hand rails4. Floor
D. Allow disinfectant to dwell on surfaces for 10 minutes.E. Rinse all surfaces.

Restroom Cleaning ProceduresHow to Clean and Disinfect Showers
III. Procedures for Daily Shower Room MaintenanceA. Put on gloves and other personal protection equipment.B. Fill the pump up sprayer bottle with diluted disinfectant cleaner.C. Pre-treat any heavily soiled areas, especially shower seat and hand rails
using the pump up sprayer.
Allow to stand according to label directions.D. Spray the shower walls starting at the floor and working up to the top of
the shower including the faucets, shower head and soap dispensers.E. Let set for length of time indicated on label.F. Use a swivel head brush and agitate the surface to be cleaned.G. Clean the shower floor in the same manner: spray, let set, agitate.H. Rinse the walls and floor thoroughly.I. Let dry. Wipe chrome and stainless steel dry with clean cloth.
IV. Procedure for Weekly Cleaning of ShowerA. Put on your gloves and proper protection equipment.B. Use “Acidulate” rather than the milder disinfectant.
1. Eliminate extra build up of lime, body oils and soap scum. 2. Follow the same procedure used daily.

Restroom Cleaning ProceduresProcedure to Clean and Disinfect Showers
Tools & Materials Needed:Foam Gun
Garden Hose
“Spectrum HBV” Disinfectant
Swivel Head Brush
Soft Abrasive Pads
Microfiber Cleaning Cloths (Blue & Green)
Gloves and Goggles

Restroom Cleaning ProceduresProcedure to Clean and Disinfect Showers
Procedures:Soap scum, rust, hard water stains, mold, mildew and body oil are a breeding ground for bacteria. When showers are kept clean by the use of a cleaner-disinfectant, you help stop the spread of infection.Clean showers, walls and floors help prolong the life of the surface. Removing soap scum from these surfaces aids in restoring the original color.Stainless steel and chrome should always be wiped dry after deep cleaning or day to day maintenance.
Procedures for Deep Shower Room Cleaning:Put on proper personal protective equipment
1. Fill the foam gun bottle with cleaner-disinfectant.2. Connect garden hose to foamer and water faucet or shower head.3. Foam down shower wall starting at the floor and working up to the top of the shower.4. Let set for ten minutes.5. Use a swivel head brush and agitate surface to be cleaned, if needed.6. Clean the floor in the same manner...foam...let set...agitate.7. Use your soft abrasive pad and clean all chrome and stainless steel.8. Disconnect the foamer from the garden hose, and using the pistol grip, rinse the walls
and floor thoroughly.

Restroom Cleaning ProceduresProcedure to Clean and Disinfect Showers
Procedure for Daily Cleaning of Showers
1. Fill the foam gun with “Spectrum HBV” cleaner-disinfectant.2. Connect the garden hose to the foamer and a water faucet.3. Foam down the walls from top to bottom.4. Let set 2-4 minutes.5. Agitate with swivel head brush.6. Foam the floor and agitate.7. Rinse the walls and floors.8. Let dry.9. Wipe the stainless steel and chrome dry.

Restroom Cleaning ProceduresHow to Clean and Disinfect Floors
Tools & Materials Needed:
Pump-Up Sprayer
Double Compartment Mop Bucket & Wringer
Wet Mop & Handle
Broom & Dust Pan
"Wet Floor" Signs
Gloves & Goggles

Restroom Cleaning ProceduresHow to Clean and Disinfect Floors
Products:1. “Spectrum HBV” disinfectant cleaner
Procedures:I. Purpose of Mopping Restroom Floor
A. Clean and disinfect restroom floor. Always follow OSHA regulations and your site specific exposure control plan.
B. Eliminate odors and bacteria
Procedure for Mopping the Restroom Floor
A. Put on gloves and personal protection equipment.B. Remove all movable obstacles.C. Sweep floor and pick up pile with dust pan.D. Position mop bucket(s) outside restroom door.E. Place "Wet floor" sign at the entrance.F. Use either the spray down/mop up method or the two bucket method to get cleaner
disinfectant on the floor.

How to Clean and Disinfect Floors
Restroom Cleaning Procedures
G. Apply product on floor, starting in the farthest corner. 1. Work moving backwards towards the door.2. Be sure to get disinfectant around toilets, under urinals and under sinks.
H. Allow to stand amount of time recommended by manufacturer's directions.I. Dip wet mop into clean water rinse. Wring out dry.J. Start is farthest corner and pick up disinfectant solution that is on the floor.K. Dip mop in rinse water frequently. Continue until all disinfectant solution
has been picked up.L. Clean up
1. Empty bucket(s) and sprayer. 2. Rinse out mop.
1. Store all tools and materials.

Restroom Cleaning Procedures
Scientifically speaking, what is the definition of a clean restroom?
A clean restroom is a neat, orderly, and healthy environment free of unwanted substances, pollutants, residues, and odors.
Cleaning is an activity, a process, and a form of management.
Clean restrooms don’t happen by accident. It takes good planning and management to provide safe, clean, and healthy restroom facilities.

Restroom Cleaning ProceduresWhat are the 10 most frequently neglected surfaces or fixtures when cleaning the restroom?
The most frequently neglected areas are:
1. Inside the door to the toilet stalls2. Under lip of the toilet and urinal3. Ceiling vents4. Floor drains5. High ledges6. Light fixtures7. Door knobs and handles8. Plumbing fixtures to sinks, toilets, and urinals9. Underneath the faucet10. Difficult-to-reach corners of floors and walls
Restroom Cleaning Procedures
Parish Maintenance Supply
Syracuse NY
315-433-9031
www.Parish-Supply.com