rendering the bottle project -...
TRANSCRIPT
Rendering the Bottle Project In this exercise you will render the bottle. If you have completed the previous exercise in the Edit and Transform Module you can use that model. Otherwise you can download the model here.
Step 1: Open your model or if downloaded, open bottle_complete.evo
Step 2: Set the material of the model
1. Click to activate the Materials Browser.
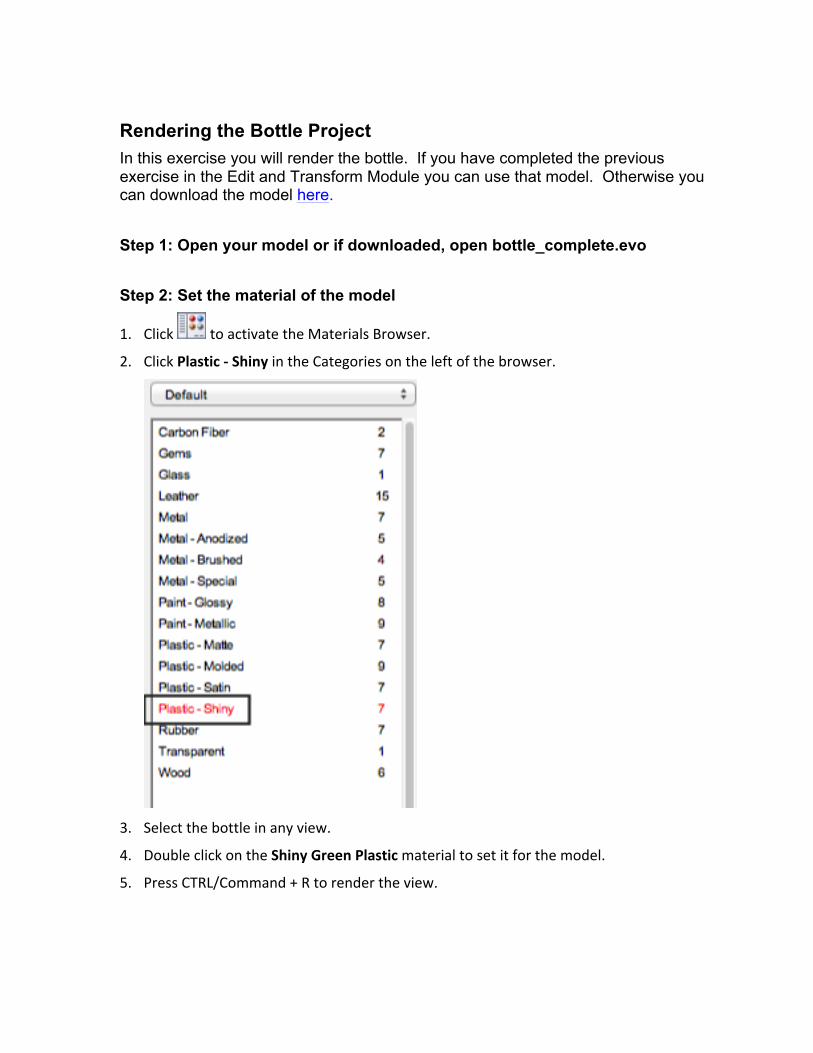
2. Click Plastic -‐ Shiny in the Categories on the left of the browser.
3. Select the bottle in any view.
4. Double click on the Shiny Green Plastic material to set it for the model.
5. Press CTRL/Command + R to render the view.
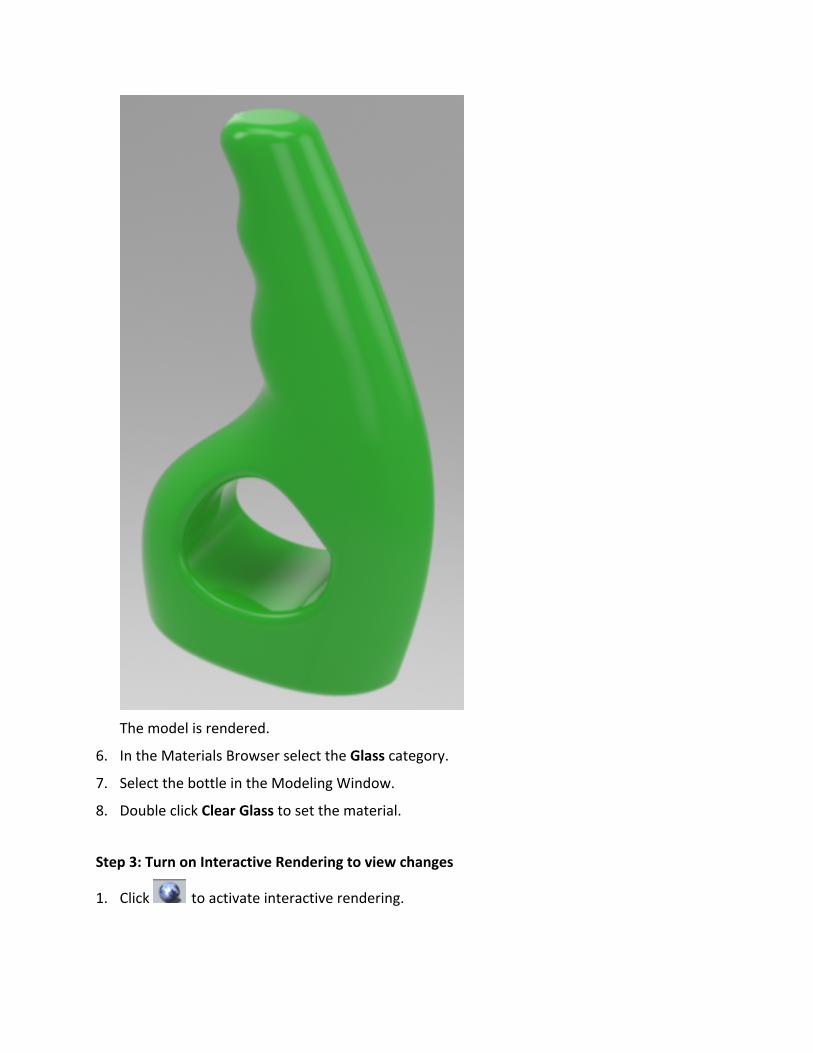
The model is rendered.
6. In the Materials Browser select the Glass category.
7. Select the bottle in the Modeling Window.
8. Double click Clear Glass to set the material.
Step 3: Turn on Interactive Rendering to view changes
1. Click to activate interactive rendering.

The view will now update as changes are made to the material and environment. Notice the materials list is also available on the left side of the application.
2. Click on the right side of the view to expand the camera options.
3. Click to open the Environment Properties.
4. Mouse over the three green lines to open a list of background images.
5. Double click on INTERIOR_36ST.hdr in the list.
6. Click to activate interactive rendering.

Notice the background image appears in the window.
7. Press CTRL/Command+R to render the view.

Here is the view rendered with the background image. Notice the image reflects on the surfaces of the bottle.
Step 4: Use the Models Browser to add the bottle to a scene
1. Click to open the Models Browser.
The Models browser contains scenes, furniture and other items that can be used to build scenes for rendering,
2. Double click on Interior #5 to add it to the model.
3. Click Overwrite to merge the scene with the current render settings.
4. The scene appears behind the bottle.
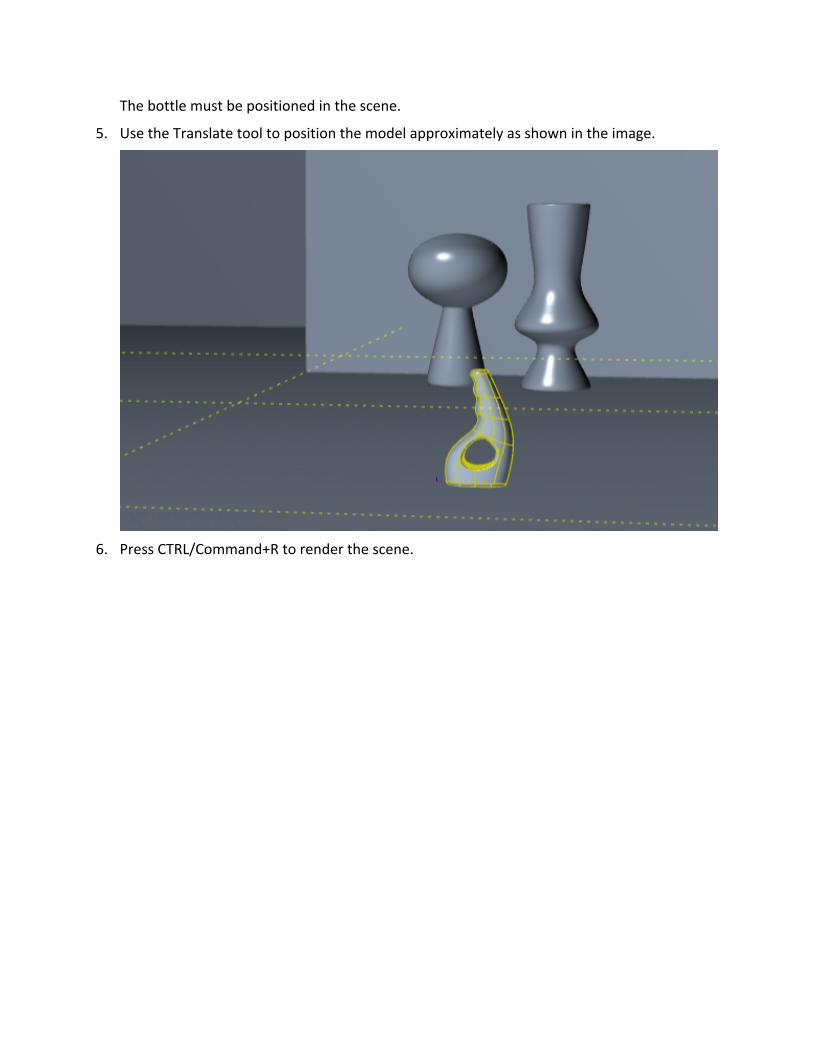
The bottle must be positioned in the scene.
5. Use the Translate tool to position the model approximately as shown in the image.
6. Press CTRL/Command+R to render the scene.

Step 5: Use the Camera Tools in the View to move the camera around the scene
Use the camera tools and the interactive rendering mode to adjust the view and familiarize yourself with moving the scene using the tools.