performance - university of torontomashiyat/csc309/tutorial/performance.pdf · load testing tools...
TRANSCRIPT

Performance

Outline 1. Load Testing 2. Frontend Tips 3. Server-side Tips

Load Testing
Load testing is the process of putting demand on a system or device and measuring its response. Load testing is performed to determine a system's behavior under both normal and anticipated peak load conditions.

Load Testing in High Level Purpose ● Predict how your application will perform when a large
number of users are using your application at the same time
How? ● Simulate artificial but realistic workloads

Load Testing Tools ● JMeter
o Free and written in Java ● Tsung
o Free and written in Erlang ● loader.io
o Partially free; integrates with Heroku ● locust.io
o Free and written in Python (Today’s Focus)
locust.io Advantages ● Write simple Python code to simulate a user behaviour ● Handles thousands of users on a single machine Disadvantages ● Results are downloadable in CSV format

locust.io Installation pip install locustio

locust.io Every HTTP connection will open a new file, but OS sets a limit for the max # of files that can be opened. You need: # max open files >= # of user you want to test Linux ulimit -‐Sn <# max open files> <-‐ works up to ~64,000 Make sure to do this for both terminals running express.js and locust.io!!!

locust.io 1. Simulating a user Write a class subclassing HttpLocust to define a user.

Example class User(HttpLocust):
task_set = UserTasks min_wait = 5000 max_wait = 15000
Explanation: A user’s behaviour will be defined in UserTasks class. The user will wait randomly between 5 to 15 secs before sending a request to the application.

Example class UserTasks(TaskSet):
@task(2) def index(self): self.client.get(“/”)
@task(1) def about(self): self.client.get(“/
about/”)
Explanation: A user will randomly send a GET request to “/” endpoint and a GET request to “/about/” endpoint. The user will send GET requests to “/” about twice as many times as GET requests to “/about/”.

locust.io Web Interface

locust.io Web Interface

Demo

Front-end Tips 1. gzip 2. cache control
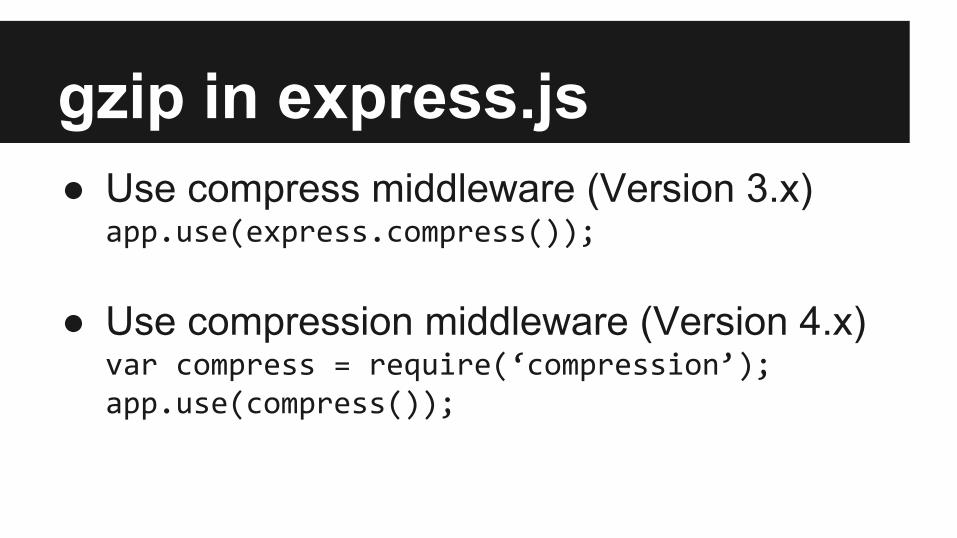
gzip in express.js ● Use compress middleware (Version 3.x)
app.use(express.compress()); ● Use compression middleware (Version 4.x)
var compress = require(‘compression’); app.use(compress());

Cache Control ● HTTP Header ● You can tell a user’s browser to cache
specific resources from your application o e.g. images, js files, css files, etc
● Reduce latency o a user will receive response faster
● Reduce network bandwidth o a network can handle more messages

Cache Control Useful headers ● max-age=[seconds]
o max amount of time a resource will be considered fresh ● no-cache
o forces server validation before releasing a cached copy ● no-store
o disable caching a resource ● public/private
o allow/disable caching a response to a public (shared) cache

Cache Control ● What happens if a resource seems stale?
o Cache will try to validate its copy against your application
o Uses Last-Modified or ETags header

Last-Modified How it works
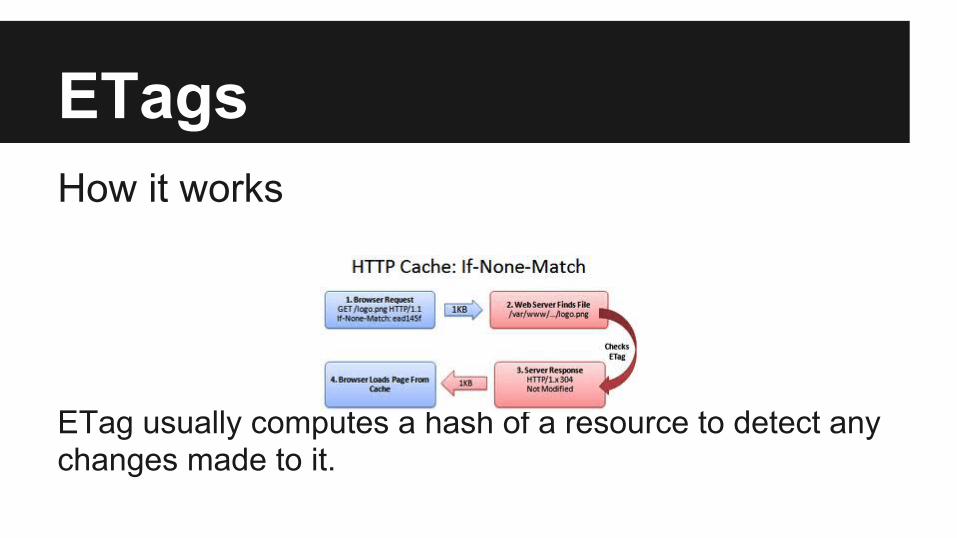
ETags How it works ETag usually computes a hash of a resource to detect any changes made to it.

Cache Control in express.js ● Good News!
o They are mostly built-in or easy to use!

Cache Control in express.js ● Static Files
o Use express.static() with maxAge option Example app.use(express.static(__dirname + ‘/public’, {
maxAge: 86400000 }));

Cache Control in express.js ● favicon
o serve-favicon module Example var favicon = require(‘serve-‐favicon’); app.use(favicon(path.join(__dirname, ‘public’, ‘favicon.ico’), {maxAge: 86400000}));

Cache Control in express.js ETags ● express.js calculates ETags automatically ● However, if you want to customize it… app.set(‘etag’, function(body, encoding) {
return calculateHash(body, encoding); });

Cache Control in express.js ● response.send() does automatic cache
control support ● http://expressjs.com/api.html for more
information ● But you can always set these headers
manually!

Backend Tips 1. Increase parallelism of node.js 2. Caching 3. DB index

Node.js ● Asynchronous + single threaded
o Almost all computers are multi-core now o node.js (express.js) uses only 1 core by default!
● Solution?
o Run one node.js process per core of your machine

Cluster module ● cluster module makes your job of managing
multiple node.js processes easier. ● https://nodejs.org/api/cluster.html for more
information

Cluster module var cluster = require(‘cluster’); var numCPUs = require(‘os’).cpus().length; if (cluster.isMaster) {
for (var i = 0; i < numCPUs; i++) cluster.fork(); } else {
var app = require(‘express’)(); app.get(‘/’, function(req, res) {..}); app.listen(3000);
}

Handling failures if (cluster.isMaster) {
for (var i = 0; i < numCPUs; i++) cluster.fork(); cluster.on(‘exit’, function(worker) {
cluster.fork(); });
}

Caching Basic Idea: Cache resources that are costly to generate and frequently read and rarely modified Options: ● Redis, Memcached, Varnish, ...

Caching with Redis ● Key-value cache/store known to be very very
fast! http://redis.io/ ● Idea:
o Store results from expensive computation in Redis for quick reuse (avoid computation)

Using Redis ● Installation instruction in
http://redis.io/download ● Provides node.js driver similar to MongoDB
o npm install redis

Example app.get(‘/expensive’, function(req, res) {
var result = 0; for(var i = 0; i < 100000; i++) {..} res.send(result);
});

Example var redis = require(‘redis’); var client = redis.createClient(); app.get(‘/expensive’, function(req, res) {
client.get(‘result’, function(err, val) { if (val) return res.send(val); else { var result = 0; for(var i=0; i<10000; i++) {..} client.set(‘result’, result); } });
});

MongoDB Index ● Lets you avoid scanning every document in
a collection ● Speeds up your read operations ● However, they may hurt your write
operations o Because it needs to write more data

MongoDB Index ● Indexes are just data structures that stores
specific field values in sorted order Example db.collection(‘collection’).createIndex(
{field: 1} );