members app user guide 1. personal details
TRANSCRIPT

Members App – User Guide
1. Personal Details: User can see and edit his/her own personal details from the app.
2. Contact details: User can see and edit his/her contact details from the app like Email
id, Phone contact detail, Emergency contact detail and Home address.
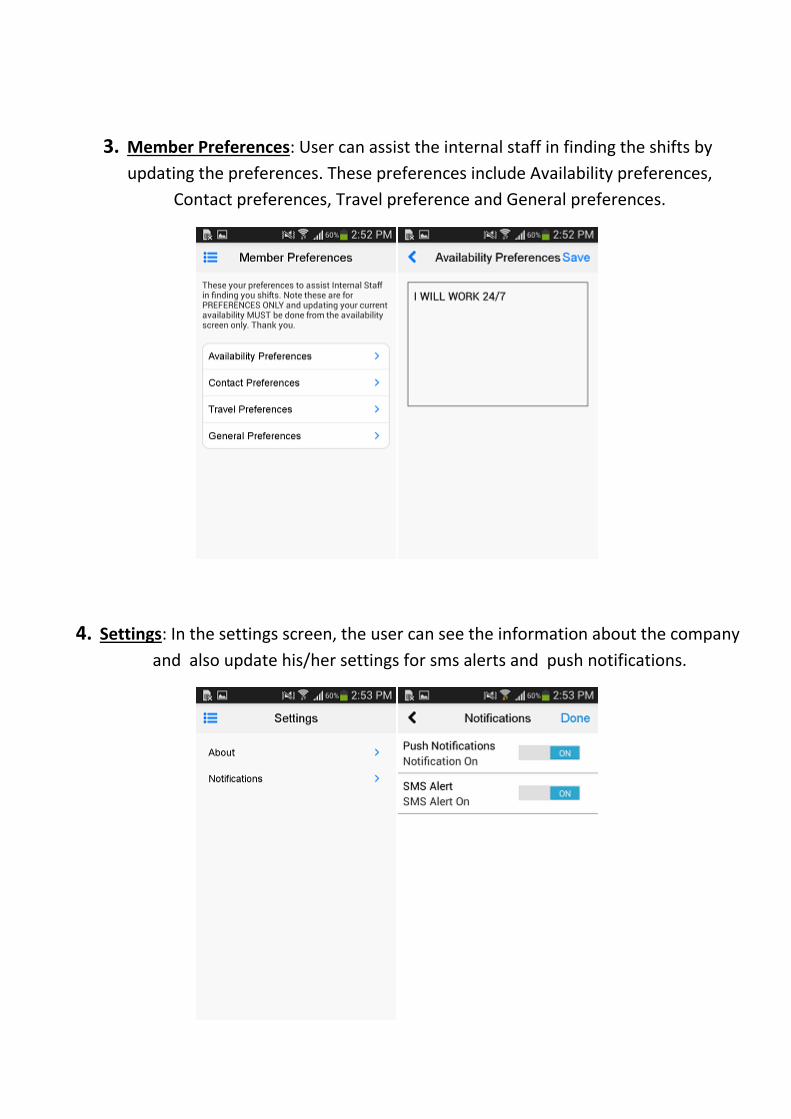
3. Member Preferences: User can assist the internal staff in finding the shifts by
updating the preferences. These preferences include Availability preferences,
Contact preferences, Travel preference and General preferences.
4. Settings: In the settings screen, the user can see the information about the company
and also update his/her settings for sms alerts and push notifications.

5. Change Password: In this screen, user can change the password of his ID.
6. Employment Details: From this screen, the user can see and edit the information
regarding his/her employment. This screen consists of two modules:

I. Qualification: From this screen, the user can see his/her qualification
and registration details.
II. Expertise: From this screen, the user can see and update the expertise
he/she has regarding the field.
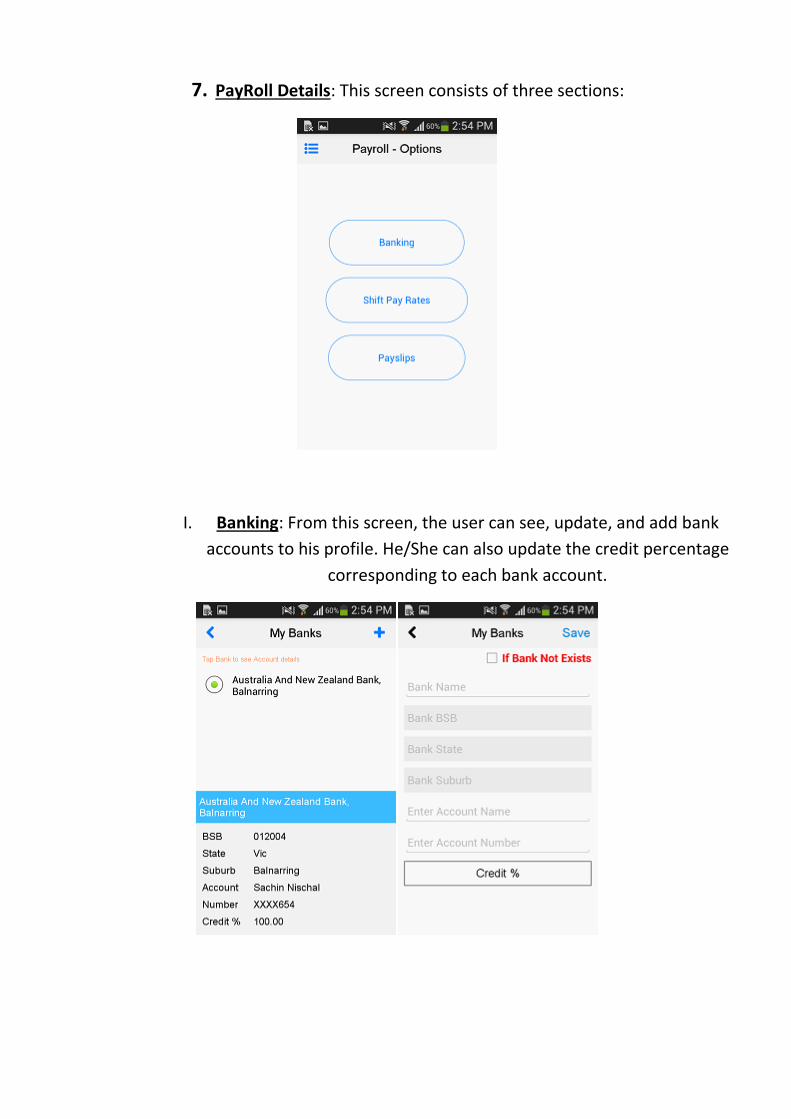
7. PayRoll Details: This screen consists of three sections:
I. Banking: From this screen, the user can see, update, and add bank
accounts to his profile. He/She can also update the credit percentage
corresponding to each bank account.

II. Payslips: From this screen, the user can review and download his/her
payslips.
III. Shift Pay Rates:

8. Help Center: This screen is to facilitate user to contact the concerned authority in
case of any help is required. Contact details phone number and email is provided in
this screen.
9. FeedBack: From this screen, the user can submit complaint, compliment and
suggestions directly to us.

10. Terms and Policies: This screen shows the terms and policies of the company.
11. Follow us on Facebook: From this screen the user can like and follow the facebook
page.
12. Follow us on Youtube: From this screen the user can like and follow the youtube
page.
13. Follow us on Instagram: From this screen the user can like and follow the instagram
page.
14. Blogs: From this screen the user can like and follow the blog.
15. Dashboard: This includes the most important modules of the app.

Dashboard.
I. Dashboard: This the screen where the user is shown his/her important information
for the chosen date. the default date is today. the user can choose any date of
his/her choice from the date picker. This includes the upcoming shift, availability of
that day, release shifts, urgent reply shift and timesheets to be submitted.
Upcoming shift: In upcoming shift, the details of the shift are shown to the user and
also given certain functionalities to the user.
a. Start: start button will become active only an hour prior to the shift
starting time. upon clicking on it, user's current location is taken with the
gps and if he/she is in range of 1 km then that location is updated on the
server and the start button is disabled.
b. Location document: These documents are the documents, that are
uploaded by the client from the web portal. user can download these
documents from here.

c. Shift document: These documents are the documents, that are
uploaded by the client from the web portal against a particular shift.
Upon clicking on this, the user is directed to a screen which shows the
clients and member documents with different colour codes. User can
delete and upload new document of members. If there is no clients
document available then user can also upload generic documents for
that shift using the plus icon above.

d. Travel: In this module, the user is given an option to record the details
of his/her journey to get entitled for travel reimbursement. Upon
clicking on this, the user is directed to a new screen where all his
recorded journeys are shown. In top of that with the help of plus icon,
the user can add new journeys.
e. Navigation: In this option, the navigational route from the member
address to the clients address is shown on the map.
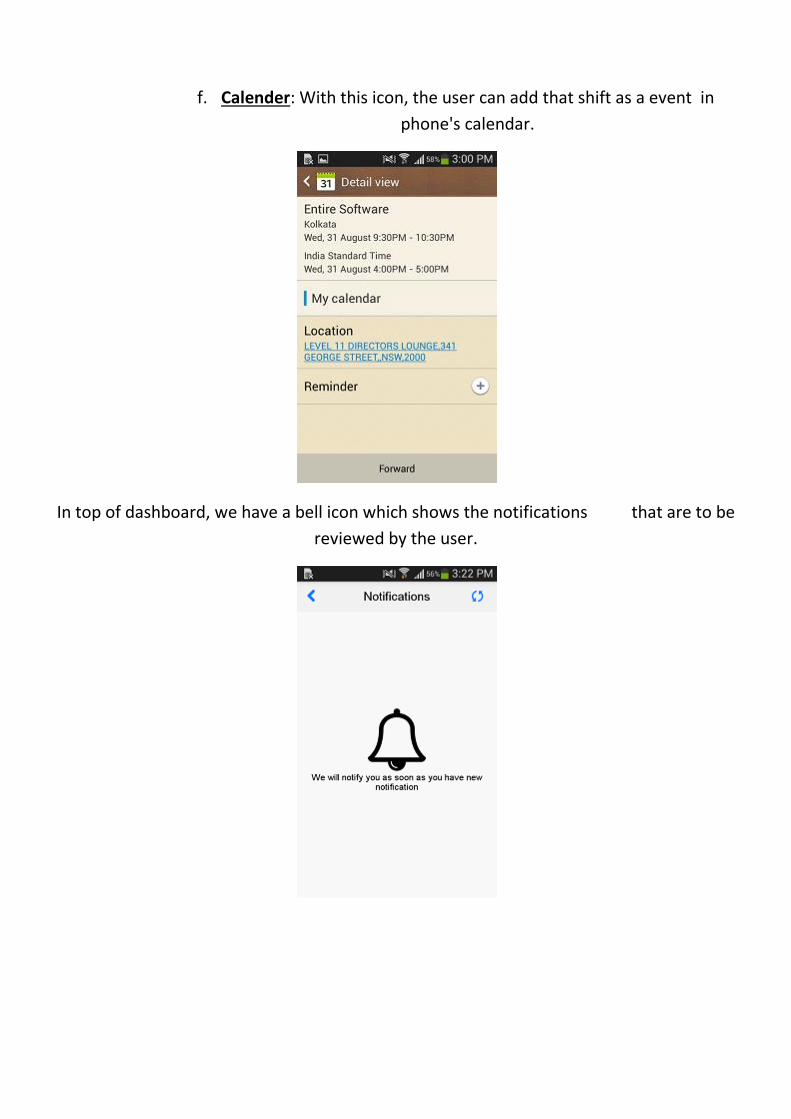
f. Calender: With this icon, the user can add that shift as a event in
phone's calendar.
In top of dashboard, we have a bell icon which shows the notifications that are to be
reviewed by the user.

Released shifts: In this section, the number of released shifts of that day are shown to
the user.
Urgent Reply: In this section, the next shift details which is to be replied urgently is
shown to the user. There is a dollar icon given to the user to see the rates of the shift.
Timesheets: In this section, the number of timesheets to be submitted by the user is
shown to the user.
II. Availability: In this module, two screens are provided to the user, one is view
availability. In view availability, the user can see his/her entered availability for the
next 30 days.
Second is enter availability, In this user can update his/her availability, for am, pm and
ns shift. he/ she can also enter notes and update his/her status regarding the whole day as
not available for day, standby and double shift.

III. My shifts: In my shifts, the user is shown his/her shifts corresponding to a date and
shift timing, upon clicking on a particular shift in that screen, the user is directed to
the screen with the details of that shift. In that screen, the user is given an option to
see, accept and reject shift according to the status of the shift.
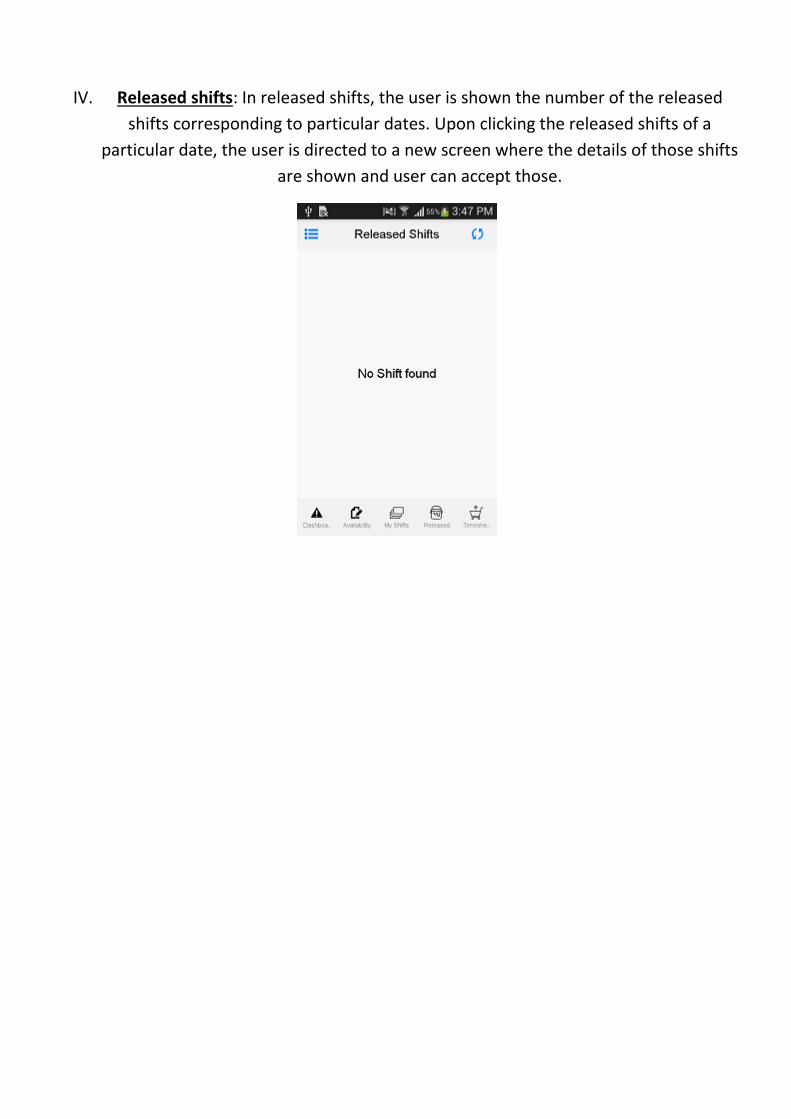
IV. Released shifts: In released shifts, the user is shown the number of the released
shifts corresponding to particular dates. Upon clicking the released shifts of a
particular date, the user is directed to a new screen where the details of those shifts
are shown and user can accept those.

V. Timesheet: In this section, the user is shown the timesheets waiting to be submitted
of shifts.
Upon clicking a particular timesheet, the user is directed to a screen where the details of
that timesheet is shown to the user. user can also make changes to the details that are
shown there. Also there is a $ symbol on top of the screen for the user to enter the co
payment amount he received and the notes for that.
upon clicking the submit button, based on the settings by the client, the user is directed
to either a screen where he/she has to submit the timesheet after clicking the picture

or to a screen where the current location of the member is fetched and user and the
professional has to sign the document to be submitted.