life in yoga gentle yoga sequencelifeinyoga.org/app_downloads/gentleyogaslides.pdf · •take a...
TRANSCRIPT

Life in Yoga Gentle Yoga Sequence
Presented by
C. Rajan Narayanan

Gentle Yoga Elements
1. Omkar for internal focus 2. Kapaalabhati & Bhramari for initial cleansing 3. Spinal Twist 4. Bhastrikaa, Kapaalabhaati and Bhramari 5. Pelvic & lower limb Exercises 6. Bhastrikaa, Kapaalabhaati and Bhramari 7. Top-Down Alignment Exercises 8. Bhastrikaa to energize – 3 Rounds 9. Beeja Mantras for each Chakra 10. Healing Affirmation 11. Meditation

Understanding Gentle Yoga Elements
• Designed to integrate 5 elements of the 8-fold Asthaanga yoga relevant for practice – Aasana – alignment stretches
– Praanaayaama – breathing exercises
– Pratyaahaara – vibration exercises of sound
– Dhaaranaa – healing affirmation
– Dhyaana – meditation
• Aasana practice adheres to Hatha Yoga system of holding postures for maximum benefit
• Sequence of exercises designed for top-down cleansing and alternation of cleansing and energizing

1 & 2 Omkar & Kapaalabhaati
• 3 Oms
• Kapaalabhaati
• Bhramari
GENERAL INSTRUCTION – Keep eyes closed throughout all the 11 exercises keeping the focus inward.

Spinal Twist – 3a
• Firmly hold elbows behind the back
• Stretch out the shoulders and open the chest
• Hold for a minute – observe stretch within

Spinal Twist – 3b
• Take a slow deep breath and as you exhale turn the head to the left as much as you can
• Hold for at least a minute and observe sensations in the neck and other body parts

Spinal Twist – 3c
• Take a slow deep breath; as you exhale turn the entire pelvis to the left; hold for a minute or more
• Take another slow deep breath and as you exhale push further to the left and then come back to the starting position

Spinal Twist – 3d
• Take a slow deep breath and as you exhale turn the head to the right as much as you can
• Hold for at least a minute and observe sensations in the neck and other body parts
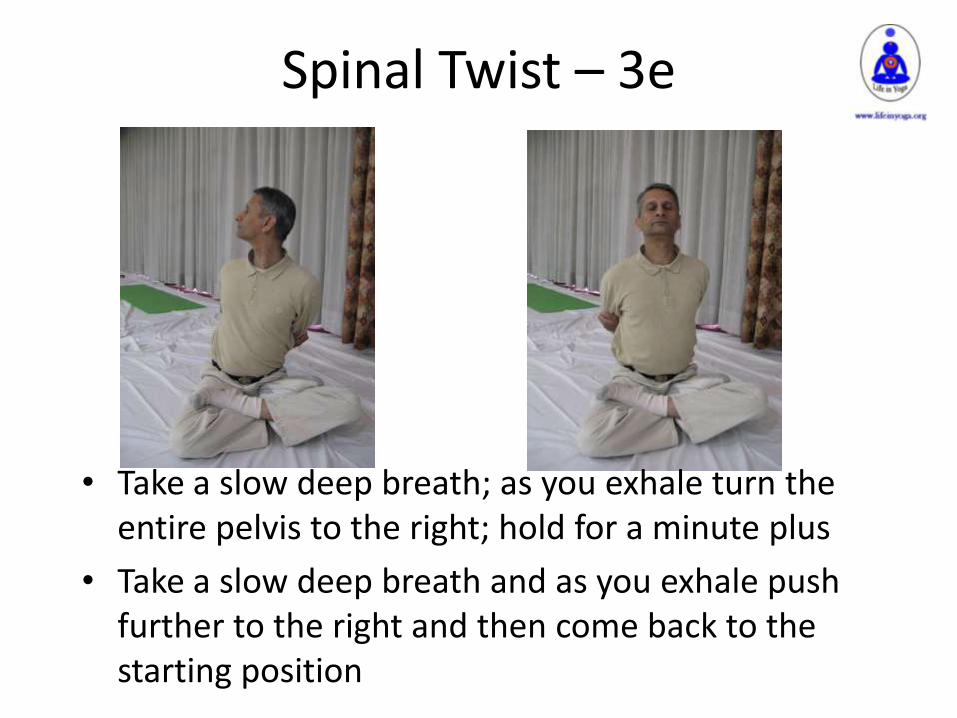
Spinal Twist – 3e
• Take a slow deep breath; as you exhale turn the entire pelvis to the right; hold for a minute plus
• Take a slow deep breath and as you exhale push further to the right and then come back to the starting position

Spinal Twist – 3f
• Take a slow deep breath and toss the head backward extending the neck
• Hold for 30 seconds to a minute

Spinal Twist – 3g
• Take a slow deep breath and as you exhale lean forward from the pelvis keeping the chin up;
• Hold for 30 seconds to a minute

Spinal Twist – 3h
• Take a slow deep breath and as you exhale let the chin drop to the chest
• Hold for 30 seconds to a minute

Spinal Twist – 3i
• Take a slow deep breath and as you exhale, raise the body up with the chin at the chest
• Hold for 30 seconds to a minute
• Then take a deep breath in, raise your chin and come back to the starting position

Spinal Twist – 3j
• Gently release your elbows and place the palms on the floor behind you
• Throw your head back, make a backward arch of the spine and hold for a minute
• Slowly straighten the body with palms on the floor

Spinal Twist – 3k
• Slide the hands forward along the floor
• Keep the palms perpendicular to the forearm
• Continue lifting the hands all the way above the head; be aware of all the sensations you feel through the motion – remember eyes are closed throughout the exercise

Spinal Twist – 3l
• Interlock the fingers;
• Stretch them out with the palms facing upward
• Take a deep breath in, and as you exhale - lift up the pelvis; - lift up the shoulders; - stretch out the elbows;
push out the hands and hold for a count of 10

Spinal Twist – 3m
• Release the interlocked fingers and relax the elbows, but don’t drop them yet
• Push the elbows backward as if they were trying to touch each other behind the back, and let the arms descend slowly

Spinal Twist – 3n
• Observe how the muscles in the back get aligned;
• Only when the hand is fully down on the floor is the exercise complete;
• Remember throughout the exercise and during the relaxation in-between keep the eyes closed

4. Bhastrikaa, etc.
• Bhastrikaa
• Kapaalabhaati
• Bhramari

5. Pelvic & lower limb exercises.
• The fifth exercise pictures are shown only for one side, but must be done both sides.
• Either side can be done first – only to be consistent with the pictures it is being done with the right side first

5a. Pelvic & lower limb exercises.
• Lie down
• Bend at one knee, and grabbing the knee with both your hands bring it right into the chest or as close to the chest as you can – Hold for a minute
• Rotate that foot around the ankle 5 to 10 times in one direction; repeat same for other direction

• Take a deep breath in. Holding the breath, raise your head and shoulders, and bring your face as close to the knee as possible
• Once you are up and cannot hold the breath anymore, breath normally and stay in position 1 min
• Then bring head & shoulders back to the floor again; keep pulling on the knee for a minute
5b. Pelvic & lower limb exercises.

• Stretch out and grab the same ankle with both your hands and place the heel on your body.
• Hold for a minute or so.
5c. Pelvic & lower limb exercises.

• Take a deep breath in and as you exhale, lift up the head and shoulder and bring it close towards the big toe of the foot you are holding.
• Hold for a minute or so; release and bring the head back to the floor and hold the ankle for 30 seconds
5d. Pelvic & lower limb exercises.

• Now straighten the leg making sure the knee is not bent, and hold anywhere along the leg, as close to the heel as possible, keeping your head on the floor
• Hold for 30 seconds or so.
5e. Pelvic & lower limb exercises.

• Now take a deep breath in and as you exhale lift up your head and shoulders and bring it towards the knee of the leg you are holding.
• Hold for about a minute and then come down.
5f. Pelvic & lower limb exercises.

• Now bring down the leg onto the floor in the initial lying down starting position.
• Do the same sequence for the other leg – Holding bent knee
– Rotating ankle
– Head to knee
– Holding ankle and Head to toe
– Straighten leg and bring head to knee
– Come back to the starting position
• At the end of this sequence you should be lying on the floor feet stretched out for the next exercise
5g. Pelvic & lower limb exercises.

• Now bend at the knees and place the feet close to you, and spread your hands on the two sides like fins, with the palms facing the floor.
• Drop both the knees on to one side, while turning the head onto the other side.
• Hold for a minute or so
5h. Pelvic & lower limb exercises.

• Now take a deep breath and as you exhale extend the leg on the top by stretching out the knee and try to get your foot towards the other hand, and if you can get it there, hold the toe
• Hold for a minute or so
5i. Pelvic & lower limb exercises.

• Now take a deep breath and as you exhale lift up the opposite palm from the floor keeping the wrist on the floor – keeping the palm perpendicular to the forearm
• Hold for a minute or so and observe the stretch through the whole side
5j. Pelvic & lower limb exercises.
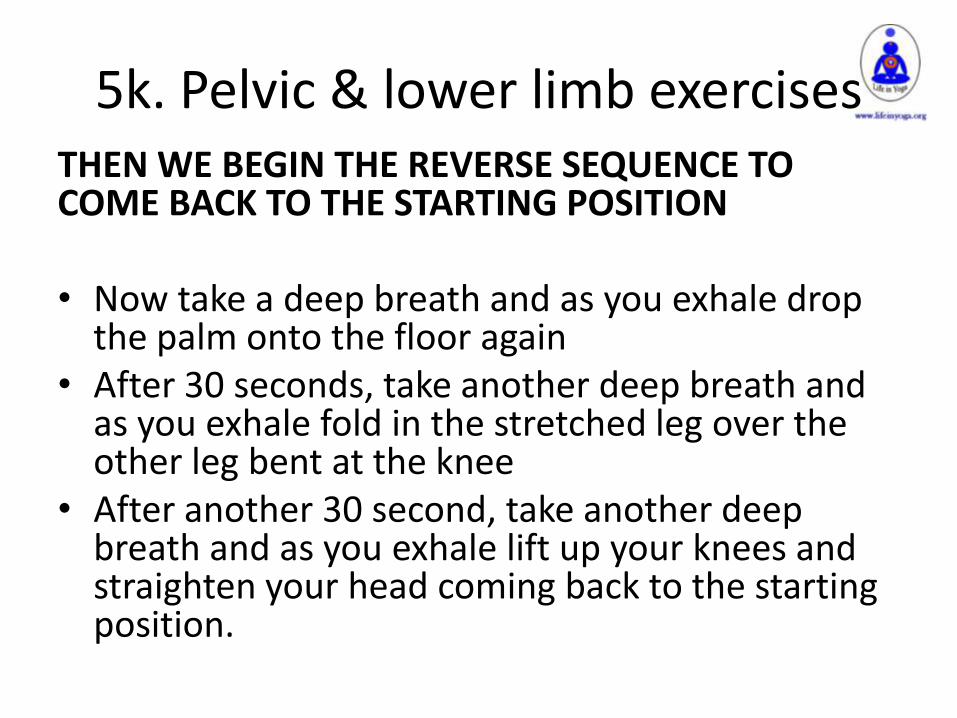
5k. Pelvic & lower limb exercises THEN WE BEGIN THE REVERSE SEQUENCE TO COME BACK TO THE STARTING POSITION • Now take a deep breath and as you exhale drop
the palm onto the floor again • After 30 seconds, take another deep breath and
as you exhale fold in the stretched leg over the other leg bent at the knee
• After another 30 second, take another deep breath and as you exhale lift up your knees and straighten your head coming back to the starting position.

• From the starting position, now we can get ready to do the same sequence on the other side.
5l. Pelvic & lower limb exercises.

• Same sequence for the other side:
– Drop the knees and turn the head in the opposite direction – hold for a minute
– Extend the top leg towards the opposite hand and hold for a minute
– Lift up the palm towards which the face is turned and hold for a minute
– Then release each of them in turn after 30 seconds of holding, to come back to the starting position
5m. Pelvic & lower limb exercises.

6. Bhastrikaa, etc.
• Bhastrikaa
• Kapaalabhaati
• Bhramari

7. Top-Down Alignment Exercises
• There are two top-down alignment exercises.
• The first can be done by all to the degree of ones comfort
• The second may be more appropriate after many weeks of practicing the first

7a. Top-Down Alignment Exercises
• Get hold of your elbows behind the back; hold firmly, stretch the shoulders and expand the chest
• Toss your head backward and extend your neck as much as is comfortable while keeping the back straight

• Take a deep breath in, and as you exhale push out your buttocks and lean forward coming down as much as you can
• Make sure back is straight and chin is up
• Hold for 3 to 5 minutes and gradually observe the bend increase over time
7b. Top-Down Alignment Exercises

• Practice over many weeks will ensure that the chin slowly comes in between the knees
• After this exercise the body may feel sore; it is essential to go into Shavaasana or corpse pose to let the body fully relax
• Whenever the body feels fully balanced and relaxed, sit up on the floor for the next top-down alignment exercise
7c. Top-Down Alignment Exercises

• Bring your heels and soles of the feet together
• Hold your toes with both your hands to keep the soles together and push the knees towards the floor
• Lift up your spine and straighten it
• Toss your head backward and extend the neck
7d. Top-Down Alignment Exercises

7e. Top-Down Alignment Exercises
• Lean forward from the pelvis
• Over a period of 3 to 5 minutes even a 10 degree lean with the force of gravity will bring it to 45 degrees – hold for 3 to 5 minutes
• With high flexibility if the abdominal area comes over the cup formed by the soles of the feet, extend your hands forward and bring your chin onto the floor.

• Come up slowly after 3 to 5 minutes and go into relaxation with Shavaasana (corpse pose)
• When you are fully rested, you are ready for the next exercise
7f. Top-Down Alignment Exercises

8. Three Bhatrikaas
• Do three rounds of Bhastrikaas with a rest of 30 seconds to 1 minute between each round
• Unless the surge of energy is felt in the head, Bhastrikaa is not being done right
• Bhastrikaa can be done without any movement of the hands, but since vigor of inhalation and exhalation like bellows is needed, gentle diagonal movement of hands helps to open and close the chest
• If hands are used, care should be taken not to use the hands forcefully

9. Beeja Mantras by Chakras
• In each Chakra the following sounds can be focused and expressed audibly while contracting the muscles in the chakra
• Each sound can be done as many times as one finds beneficial by sensing it
• Manipooraka is a chakra that requires more attention for most people. Doing the sound RUM more number of times in the navel is highly recommended.

9a. Sound for each Chakra
• Moolaadhaara – Root – Lum
• Svaadhisthaana – Sacral – Vum
• Manipooraka – Navel – Rum
• Anaahata – between breasts – Yum
• Vishuddhi – Throat – Hum
• Aajnyaa – Upper part of back of mouth – Kshum
• Sahasraara – top of head - Om

10. Healing Affirmation • After the last OM use the following 5 step healing
affirmation to heal any deficiency or abnormality in the body-mind-spirit. If none are sensed, focus the healing below the heart at the thymus point or the depression where all the lower ribs meet – Mentally say OM and feel accumulation of energy at the
top of the head
– Visualize the energy come down to the medula oblangata
– Visualize the energy descend through the spine to the point closest to the organ that needs healing
– Project the energy into the organ or point where healing is intended
– Visualize the healing

11. Meditation
• Begin with 3 loud Oms.
• Then visualize the Om sound all over the room for the next 20 minutes as you observe the imagined sound around you
• If you have a personal mantra you can use it within you while you observe Om outside – this is optional

Conclusive Points • Never push or over exert yourself to avoid
injuries – Slow breathing and gentle motion is recommended – Irregular breathing or shaking/trembling of the body
is a sign of over-exertion
• Hot shower/bath especially in cold weather is recommended prior to beginning the exercises – Softening of muscles and tissues minimize the
potential for injury
• Make sure spine is always straight – especially during breathing exercises and meditation