intro arduino english
TRANSCRIPT
1
INTRODUCTION

2
WHAT IS ARDUINO?
Arduino is an open-source electronics platform based on easy-to-use hardware and software. It’s intended for anyone making interactive projects.

3
HISTORY
Arduino project was made by a team of students and teachers from the interaction design school of Ivrea.
http://interactionivrea.org/en/index.asp

4
Gianluca Martino, David Mellis, David Cuartielles,Tom Igoe, Massimo Banzi et Nicholas Zambetti.
HISTORY

5
The inspiration come from processing, a programation language develloped in 2001 by Casey Reas and Ben Fry, two students of John Maeda from M.I.T..
HISTORY
6
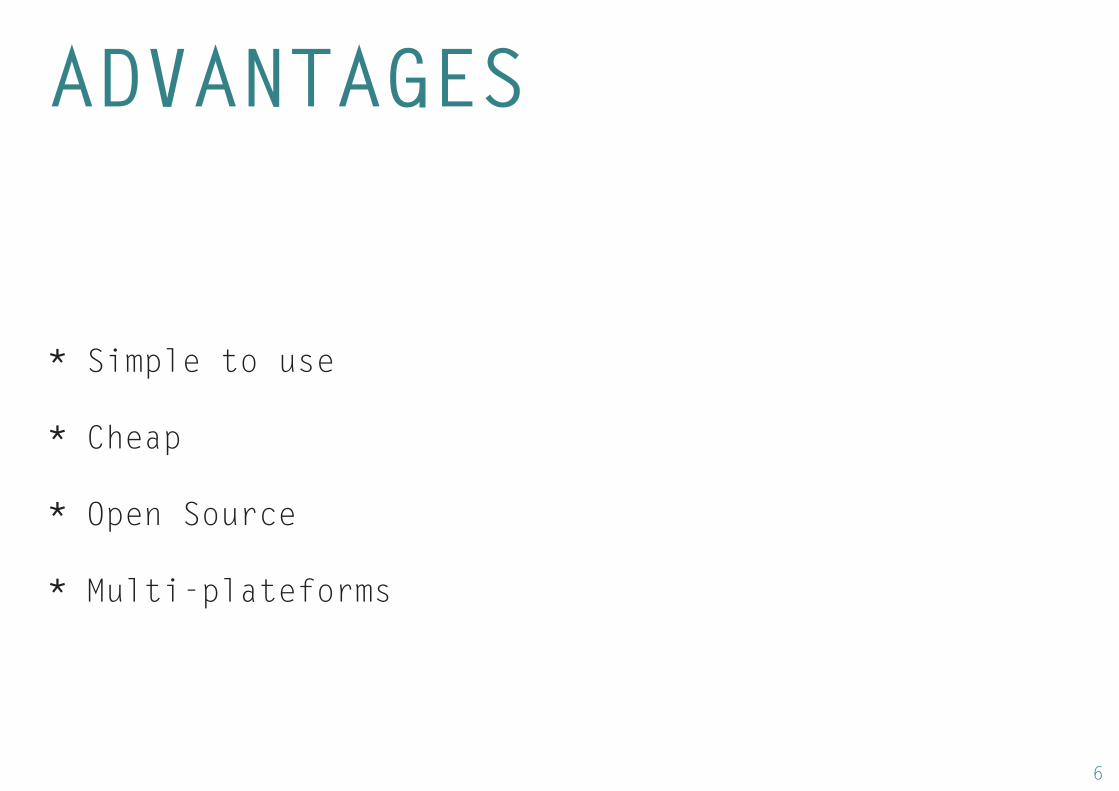
ADVANTAGES
* Simple to use
* Cheap
* Open Source
* Multi-plateforms

7
PHILOSOPHY &COMMUNITYArduino project is based on a principle of open Source which has help it to have a quick developpement thanks to a community who work on the software and hardware.
There are several tools to share and learn:
- Blog (http://blog.arduino.cc/)- Forum (http://forum.arduino.cc/)- Wiki (http://playground.arduino.cc/)

8
ARDUINO DOCUMENTARY

9
ARDUINO = TWO THINGS
Hardware for prototyping Software for programing

10
PLATEFORM (HARDWARE)
Arduino is like a brain who going to make logical connections between an action and a sense. For example, if we read a text:The eyes (INPUT) see the image of the text, the brain (ARDUINO) read and make the interpretation for the mouth (OUTPUT) who’s make the sound of the reading text.

11
PLATEFORM (HARDWARE)
Different type of card

12
PLATEFORM (HARDWARE)
input USB
power
13
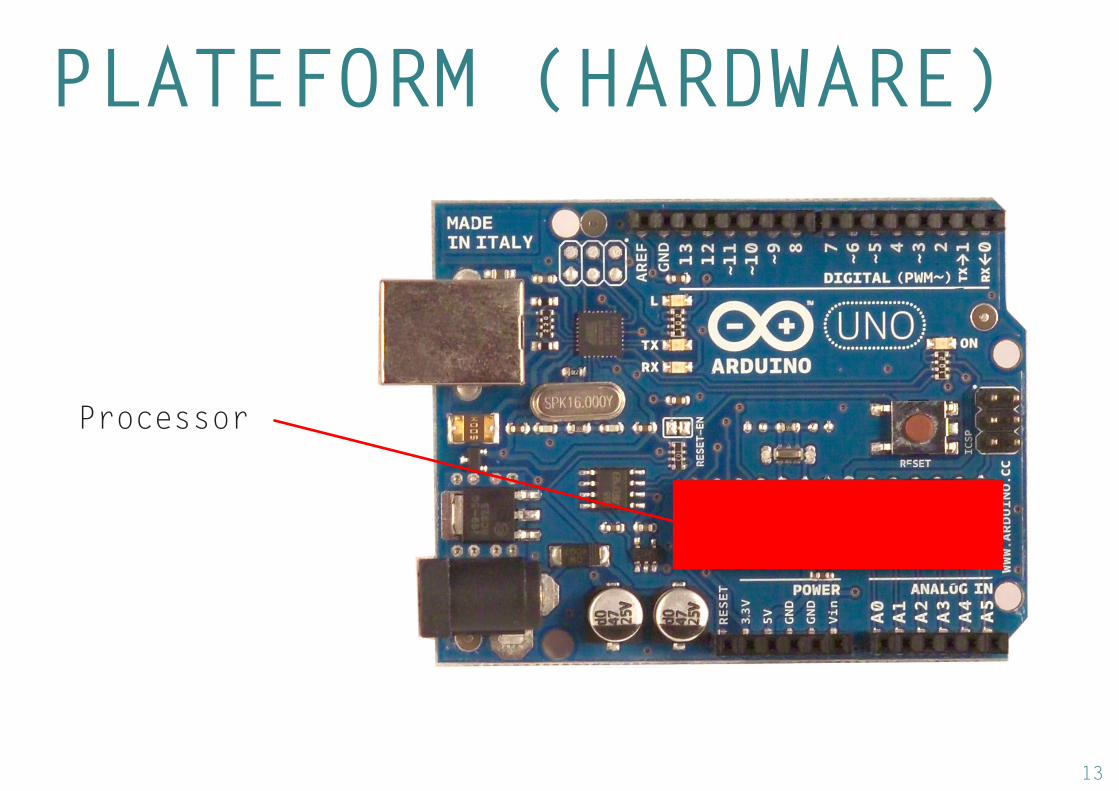
PLATEFORM (HARDWARE)
Processor

14
PLATEFORM (HARDWARE)
+5V and +3,3V
digital PWM
ground -
analog
digital

15
PROGRAMMATION (SOFTWARE)
Go on the website Arduino

16
PROGRAMMATION (SOFTWARE)
Download the software

17
PROGRAMMATION (SOFTWARE)
Run the installer if you computer need it, download FTDI drivers.

18
RESTART COMPUTER
19
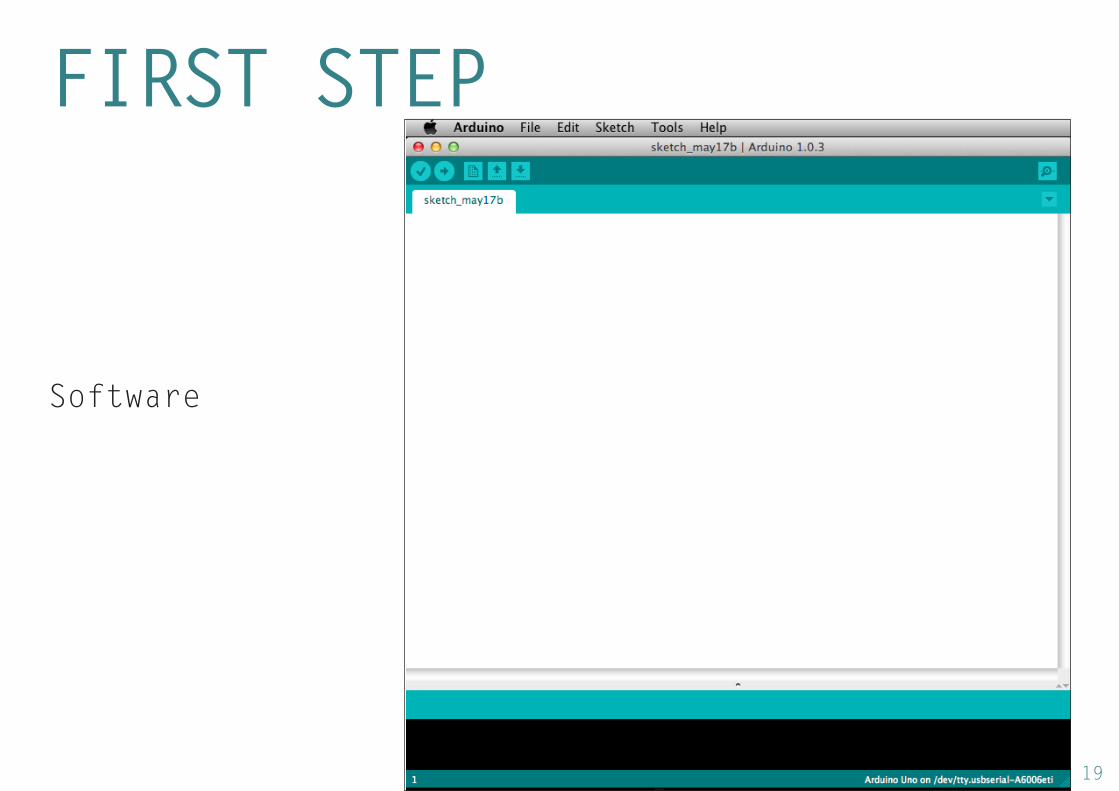
FIRST STEP
Software

20
FIRST STEP
Choose the good card.
21
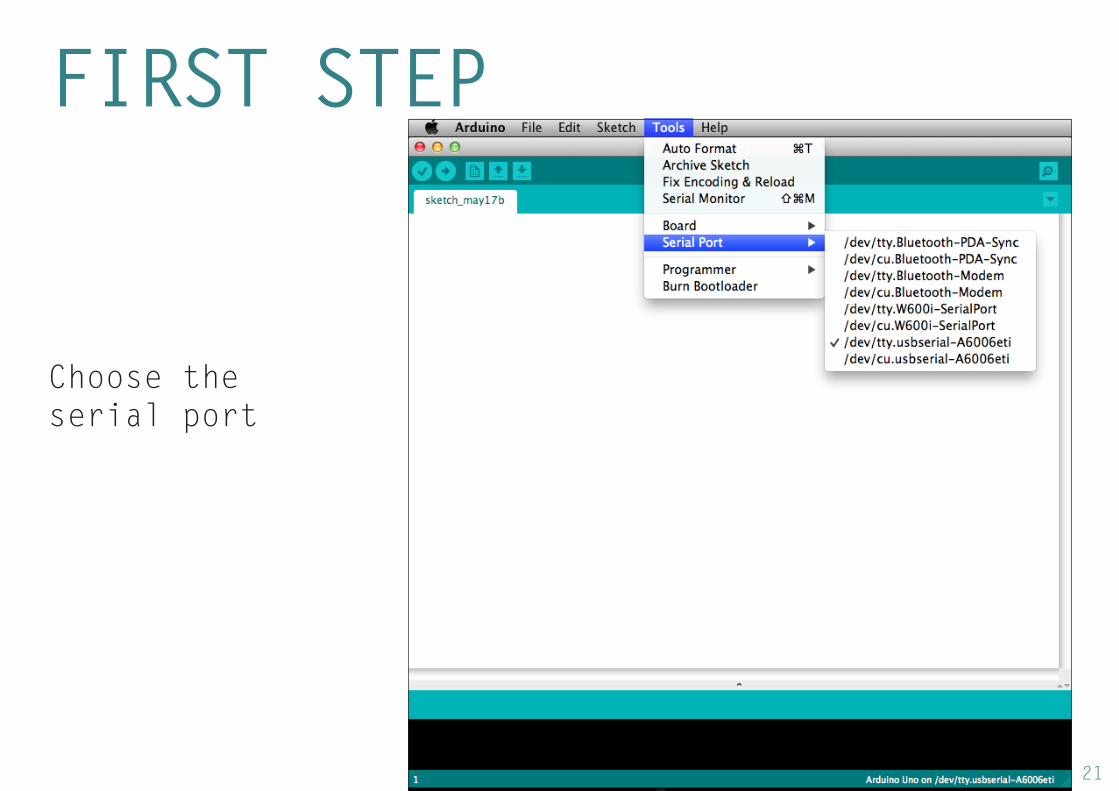
FIRST STEP
Choose the serial port
22
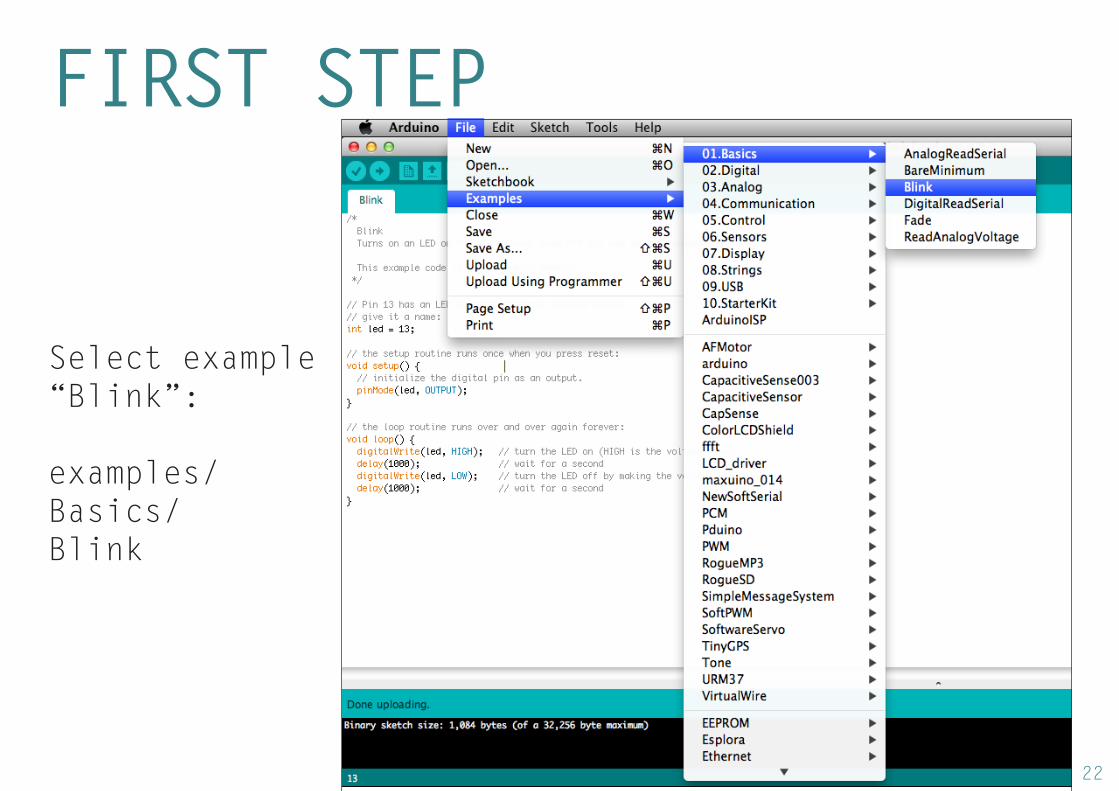
FIRST STEP
Select example “Blink”:
examples/Basics/Blink

23
HOW WORKS A CODE?
Like a recipe

24
HOW WORKS A CODE?
ingredients
tools
preparation

25
A LITTLE BIT OF LANGUAGE
pinMode() – Define your pin as an input or output.digitalWrite() – Send a binary value (high/low) to a pin.digitalRead() – Read a binary value (high/low) from a pin.analogRead() – Read a analogic value (from 0 to 1024) from a pin.analogWrite() – Send a analogic value (from 0 to 255) to a pin.delay() – allow a to make a break, arduino clock count in milliseconds.

26
FIRST INTERACTION
Plug your led like the image.

27
HOW TO PLUG A LED?Led have a way to plug it, one negative leg and one positive leg. Three ways to find the good way:
- Usually longest leg is +
- Truncate side is -
- The biggest part inside the led is -
+
+
-
-

28
int led = 13;
void setup() { pinMode(led, OUTPUT); }
void loop() { digitalWrite(led, HIGH); delay(1000); digitalWrite(led, LOW); delay(1000); }
FIRST INTERACTION
Try to change delay.

29
FIRST EXERCISE

30
FIRST EXERCISE
Send a illuminated message using morse code.

31
PWM
Plug your led like the image.

32
WHAT IS A RESITOR?

33
PWM
34
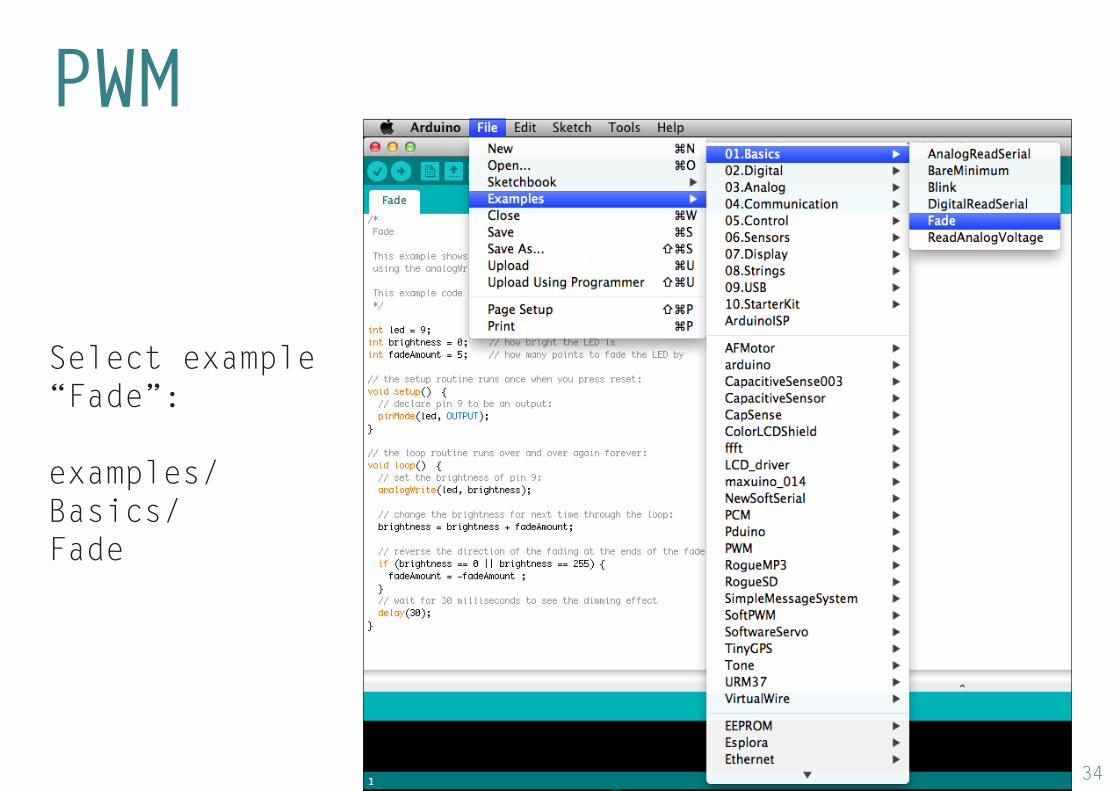
PWM
Select example “Fade”:
examples/Basics/Fade
35
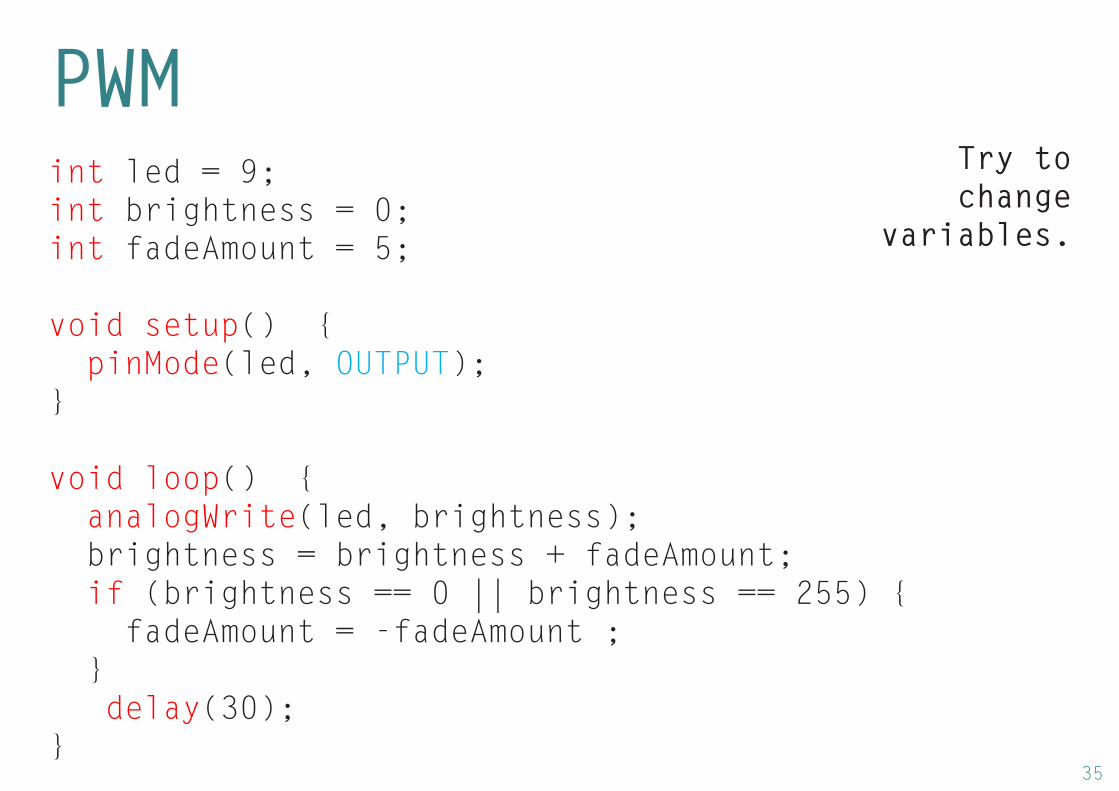
int led = 9; int brightness = 0; int fadeAmount = 5;
void setup() { pinMode(led, OUTPUT);}
void loop() { analogWrite(led, brightness); brightness = brightness + fadeAmount; if (brightness == 0 || brightness == 255) { fadeAmount = -fadeAmount ; } delay(30); }
PWMTry to change
variables.

36
CONNECT A POTENTIOMETER

37
WHAT IS A POTENTIOMETER?
resistive part
12
GND
variable part

38
READ THE VALUE OF THE POTENTIOMETER WITH ARDUINO

39
USE THIS VALUES TO LIGHT UP AN LED

40
REPLACE POTENTIOMETER BY YOUR SOFT SENSOR