humane society of central oregon to sock with nontoxic fabric glue. ... cut an egg cup from the...
TRANSCRIPT

Humane Society of Central Oregon
Craft Activity Book
October 2015

Sock Fish (24 Sock Fish = 2 hrs.)
Instructions From: Martha Stewart Kids
Looking for a quick pet-friendly project for a child? This simple catnip toy takes just minutes to make while
providing fun for kids and cats alike.
Roll an 8 1/2-by-11-inch piece of paper into a cone for a funnel; secure with tape. Insert funnel into sock, and
fill halfway with catnip. Knot sock just above filling.
Cut out eyes and a mouth from a piece of felt. Attach to sock with nontoxic fabric glue.

Catnip Fish Toy (24 Fish Toys = 6 hrs.)
Materials: • Pencil
• Paper
• Fabric
• Pins
• Pinking shears
• Cotton batting or wool scraps
• Piece of paper
• Catnip
• Needle and thread
• Upholstery needle and thin sturdy twine, for hanging
Instructions: STEP 1
Draw and cut out fish shape. Trace the fish shape onto two layers of fabric. Cut out shapes.
STEP 2
Pin right sides together, leaving 1/4-inch seam allowance. Sew seam, and leave 1 1/2-inch opening for filling.
STEP 3
Trim seams with pinking shears.
STEP 4
Turn right side out. Press seams flat.

STEP 5
Stuff with cotton batting or wool scraps until firm. Shape a piece of paper into a funnel, and use it to add 1 to 2
tablespoons of dried catnip or to fill the whole toy with catnip.
STEP 6
Hand-stitch opening closed.
STEP 7
If desired, make fishing line: Thread an upholstery needle with 30 inches of thin sturdy twine, and sew
through the seam of the fish's mouth. Tie knot to secure.

Catnip Rat (24 Catnip Rats = 6 hrs.)
Materials: • Catnip Rat Template
• Felt
• Stuffing
• Rope
• Catnip
• Scissors
• Hot glue gun and hot glue sticks
• Extra felt (optional for eyes)
Instructions:
STEP 1
Follow link to access template. www.marthastewart.com/272149/catnip-rat Using the 7 1/2-inch template,
trace and cut out the bottom and side pieces of felt, using the circles for ears.
STEP 2
Glue the top edges of the side pieces to each other. Glue the bottom piece of felt to the bottom of the side
pieces. Be sure to leave an opening in the back to insert stuffing.
STEP 3
For your stuffing, use cotton batting and catnip. Cut a piece of rope for the rat's tail and stuff in the back of the
rat. Seal with glue, and glue on the ears. To add eyes, use a marker or felt.

Turtle Feeder (24 Turtle Feeders = 4 hrs.)
Materials: Egg carton
Nontoxic glue
Scissors
Pencil
Binder Clips
Decorating Materials
Instructions:
STEP 1 Cut an egg cup from the carton to serve as the shell of the turtle. STEP 2 Place the cup adjacent to the spacer bump on the reverse side of the top of the carton. Trace around the perimeter to outline the contour of the spacer. This will form the head of the turtle, as well as a base to keep the food inside the shell. STEP 3 Cut the lid following the outline you’ve made. STEP 4 Apply glue around the edge of the egg cup. Clamp the two pieces together using the binder clips. Let the glue set. STEP 5 Decorate your turtle.

Cork Toy (24 Cork Toys = 2 hrs.)
Materials:
• Corks
• Scissors
• Wavy ribbon
• Nontoxic Glue
Instructions:
STEP 1
Cut four to eight 4” strands of wavy ribbon
STEP 2
Separate wavy ribbon into two groups and tie a knot at one end of each group
STEP 3
Glue knotted end of ribbon to each side of the cork

Feather Cat Toy (24 Feather Toys = 6 hrs.)
Materials: • Pencil
• Paper
• Scissors
• Wool felt
• Iron
• Jingle bells
• Satin cord
Instructions:
STEP 1
Draw and cut out two different sizes feathers. Trace the feathers onto felt. Cut out one large and one small
feather from two pieces of different colored medium-weight wool felt.
STEP 2
With a hot iron, press a crease down the center of each feather.
STEP 3
Add a jump ring to a jingle bell.
STEP 4
Slip end of a 1-yard length of satin cord through jump ring. At bell, tie stems of feathers to cord with a square
knot. Knot both ends of cord to prevent fraying

Wagon Wheel (24 Wagon Wheels = 2 hrs.)
Materials: • Toilet Paper Rolls
• Scissors
Instructions:
STEP 1
Cut 1.5” slits around each end of toilet paper roll.
STEP 2
Pull back tabs towards the center of the roll on both sides.

Cardboard Cluster (24 Cardboard Clusters = 2
hrs.)
Materials:
• Cardboard Scraps
• Scissors
• Twine
• Hole-punch
Instructions:
STEP 1
Cut cardboard into small pieces no larger than 2”x 2”.
STEP 2
Hole punch the center of each piece of cardboard.
STEP 3
Cut Twine into 4” strands.
STEP 4
Stack 6 to 8 pieces of cardboard. Feed twine through the center tie off each end.
STEP 5
Cut off any extra Twine on each end.

Tube Pyramid (4 Tube Pyramids = 2 hrs.)
Materials:
• Toilet Paper Rolls
• Hot Glue Gun
• Hot Glue Sticks
• Small Box
• Shredded Paper
Instructions: Option 1
STEP 1
Glue toilet paper rolls together in the form of a pyramid.
STEP 2
Hide cat treats, small toys, or even shredded paper with sprinkled Catnip.
Option 2
STEP 3
Take a small box and glue ends of tubes to the inside of the box.
STEP 4
Hide cat treats, small toys, or even shredded paper with sprinkled Catnip.

Hide and Seek Box (2 Hide and Seek Boxes =
2 hrs.)
Materials:
• Recycled box (no larger than 24”x24”)
• Tape
• X-ACTO or Utility Knife
• Pipe Cleaners (or other fun craft items)
• Hot Glue Gun
• Hot Glue Sticks
Instructions:
STEP 1
Cut out small opening all over box (Small enough for the cat to not get stuck, but big enough so that kitty paws
don’t get stuck)
STEP 2
Tape together all seams of the box.
STEP 3
For extra fun add Pipe Cleaners or other fun items to the outside of the box. Decorate, decorate, decorate… the
more “things” you attach… the more fun the cat will have!
No cat toys handy to hide? Use cat treats, crumple up a small wad of newspaper with Catnip inside. Ping pong
balls and craft puff balls make a great substitute as well.
For storage reasons please
call shelter to see what
current needs are.
541-382-3537

T-Shirt Cat Tent (2 Cat Tents = 2 hrs.)
Materials:
• Old Medium to Large T-Shirts (Can be purchased at HSCO Thrift Store)
• Wire Hangers
• Roughly 15” x 15”x 3” Cardboard Box (Or lids for filing boxes)
• Tape
• Hair Ties
• Wire Cutters or Pliers
Instructions:
STEP 1
Cut the hooks off hangers and shape the wires into arcs.
STEP 2
Poke a small hole in all four corners of your box.
STEP 3
“Criss-Cross” hangers and tape together at the top to form a tent like frame.
STEP 4
Poke the four ends of the hanger frame down through the four holes in your box. On the bottom of the box
bend the wires over and tape to the bottom of box.
STEP 5
Pull the T-shirt over the frame and position the shirt so that the neck hole is in the front middle to create a
door.
STEP 6
Pull all loose fabric, fold over and gather with hair tie so that there is only one opening to the tent. * Make sure
that hair ties are hidden and secure.

Cardboard Cat House (5 Cat Houses = 5 hrs.)
Materials:
Door and window templates (pdf format)
3 same-size sturdy cardboard boxes (we used 12-by-14-by-18-inch boxes from UPS; use larger boxes for
a large cat)
Pencil
Bone folder
Ruler
Retractable razor blade or utility knife
Self-healing mat*
Hot-glue gun
Instructions: STEP 1
Download and print door and window templates; cut out. Position door and window templates on one box as
desired, using a ruler for placement. Trace templates onto box with a pencil. Slide a self-healing mat inside the
box, and position it behind the windows as you cut out the panes. Position the self-healing mat behind the
door; cut the curved top edge, the flat bottom edge, and down the center. Fold open along straight sides.
Repeat tracing and cutting on second box, using window template only.
STEP 2
Assemble bottom of the first box (the one with the door): Fold in two opposite flaps, generously coat them
with hot glue, then fold the remaining two flaps over them. Hold flaps in place until the glue is set. On the
For storage reasons please
call shelter to see what
current needs are.
541-382-3537

open end of the box, cut the flap off of each long side. Cut off half of the flap from one short side, as pictured;
fold it in. Secure flaps to side of box with a line of hot glue. Hold flaps in place until glue is set.
STEP 3
Begin making the roof: On the top end of the second box, use a ruler and pencil to draw a line from the top
center of one short-side flap to one bottom corner; draw a second line from the top center to the other bottom
corner. Repeat on the opposite short-side flap. Cut off one long-side flap, as pictured; set aside. Cut along a
penciled line to remove a triangle shape from one short-side flap, as pictured; score the second line. Repeat on
second short-side flap, cutting along one line and scoring the other.
STEP 4
Cut long-side flaps from the bottom of second box. Cut one short-side flap so that when the box is assembled
and stacked on the bottom box, the holes will line up. Secure the flaps to the side of the box with a line of hot
glue. Hold flaps in place until glue is set. Coat the top of the bottom box with a generous layer of hot glue.
Position the bottom of the top box over it, and hold in place until the glue is set. Use one of the reserved short
side flaps and coat one side of it with a generous layer of hot glue. Place it, glue-coated-side down, as pictured,
on the "floor" of the top box for reinforcement.
STEP 5
Cut the roof piece (21 1/4-by-46 inches) from third box with a crease down its center when folded short-end to
short-end. To attach roof, fold along the scored lines on the short-side flaps at the top of the house. Glue long
flap to the folded triangles from the short sides. Generously coat the folded-in pieces with hot glue, and
position the roof over them. Hold in place until glue is set. (Don't glue other side of the roof closed. Your cat
will enjoy peeking out from under it.)

Reach Box Feeder (5 Box Feeders = 2 hrs.)
Materials:
Shoebox
Three or more plastic water or soda bottles (8- ounce to 24- ounce)
X-ACTO or Utility Knife
Duct Tape or Nontoxic Glue
Instructions:
STEP 1 Clean and sanitize bottles. STEP 2 Cut the tops off the bottles, varying the height at which you make the cuts. STEP 3 Trace around one of the water bottles on the top of the box. Repeat this step on different locations along the box top, doing it once for each bottle. STEP 4 Cut holes in the box top. If you cut the hole slightly smaller than the border you traced, the narrow bands in the bottle will help hold it in place without tape or glue.
For storage reasons please
call shelter to see what
current needs are.
541-382-3537

Wheel Feeder (10 Wheel Feeders = 2 hrs.)
Materials:
Round food container with a lid, such as one used for sour cream or cream cheese.
Spare container lid
Nontoxic Glue
X-ACTO or Utility Knife
Instructions: STEP 1 Clean and sanitize container. STEP 2 Cut a few small holes in the sides of the container that is large enough for your cat's food to pass through. STEP 3 Glue an additional lid to the bottom of the container that's slightly larger in diameter. This will alter the way the feeder rolls and add variety to your cat's playtime experience.
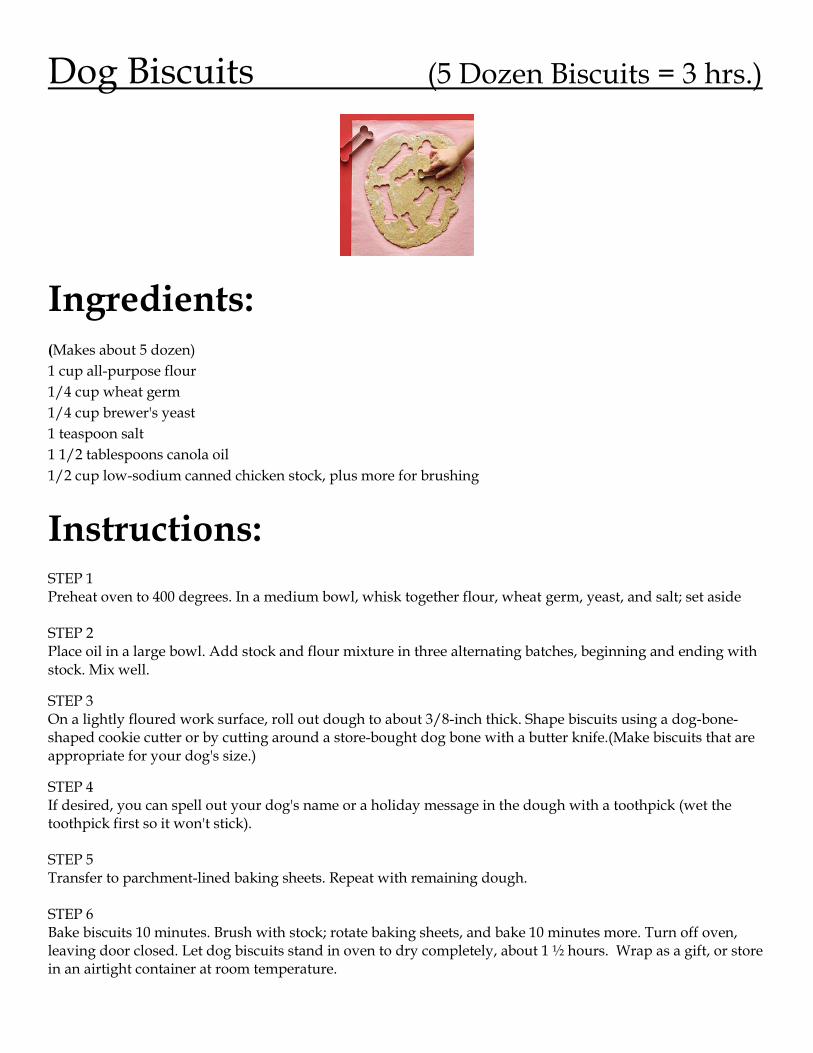
Dog Biscuits (5 Dozen Biscuits = 3 hrs.)
Ingredients: (Makes about 5 dozen)
1 cup all-purpose flour
1/4 cup wheat germ
1/4 cup brewer's yeast
1 teaspoon salt
1 1/2 tablespoons canola oil
1/2 cup low-sodium canned chicken stock, plus more for brushing
Instructions: STEP 1 Preheat oven to 400 degrees. In a medium bowl, whisk together flour, wheat germ, yeast, and salt; set aside STEP 2 Place oil in a large bowl. Add stock and flour mixture in three alternating batches, beginning and ending with stock. Mix well.
STEP 3 On a lightly floured work surface, roll out dough to about 3/8-inch thick. Shape biscuits using a dog-bone-shaped cookie cutter or by cutting around a store-bought dog bone with a butter knife.(Make biscuits that are appropriate for your dog's size.)
STEP 4 If desired, you can spell out your dog's name or a holiday message in the dough with a toothpick (wet the toothpick first so it won't stick). STEP 5 Transfer to parchment-lined baking sheets. Repeat with remaining dough. STEP 6 Bake biscuits 10 minutes. Brush with stock; rotate baking sheets, and bake 10 minutes more. Turn off oven, leaving door closed. Let dog biscuits stand in oven to dry completely, about 1 ½ hours. Wrap as a gift, or store in an airtight container at room temperature.

Treat Dispenser (2 Treat Dispensers = 5 hrs.)
Materials: • Piece of wood 2.5’ x 2’ (or smaller)
• Narrow Wooden Dowel
• Two pieces of wood 2’ x 6” (or smaller)
• Recycled Medium to Large Water or Soda Bottles
• Drill
• Screws
Instructions:
STEP 1
Measure, cut, and sand base, sides, and dowel. Note: Sizes can vary as long as they are the size above or
smaller.
STEP 2
Cut out holes on each side of plastic bottles. Feed the dowel through all the holes in the plastic bottles.
STEP 3
Mark where you would like the dowel to set in between the two side pieces. Once you have the dowel lined up
with your marks screw into place.
STEP 4
Mark where you would like the sides to line up with the base. Once you have the sides lined up with your
marks screw into place.
STEP 5
Fill recycled bottles with treats and have some fun!
For storage reasons please
call shelter to see what
current needs are.
541-382-3537
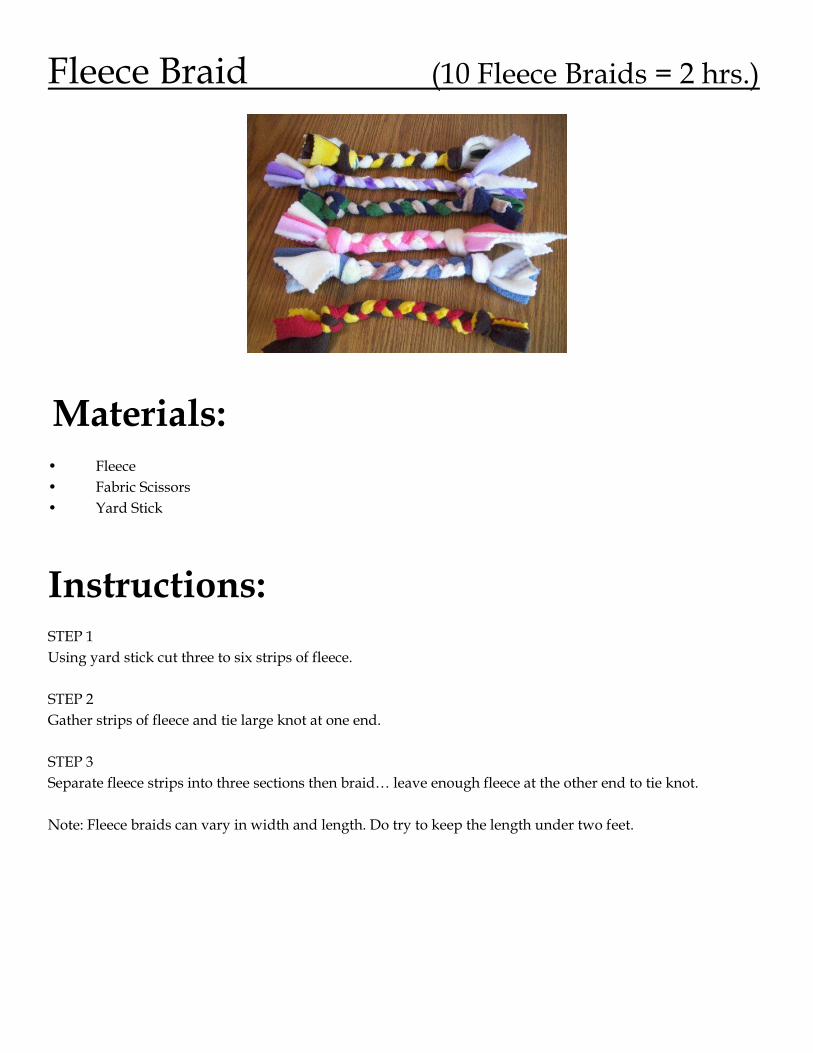
Fleece Braid (10 Fleece Braids = 2 hrs.)
Materials:
• Fleece
• Fabric Scissors
• Yard Stick
Instructions:
STEP 1
Using yard stick cut three to six strips of fleece.
STEP 2
Gather strips of fleece and tie large knot at one end.
STEP 3
Separate fleece strips into three sections then braid… leave enough fleece at the other end to tie knot.
Note: Fleece braids can vary in width and length. Do try to keep the length under two feet.

PVC Treat Stick (6 Sticks = 2 hrs.)
Materials: • PVC Pipe with threaded ends (no longer than 1.5ft)
• PVC Caps with threaded ends
• Drill
Instructions:
STEP 1
Using your hand drill make miscellaneous holes along the sides of the PVC Pipes. Make sure holes are big
enough for small dog treats to pass through.
STEP 2
Twist caps on to both ends.

“Warmie Covers” (5 Warmie Covers = 2 hrs.)
Materials:
• Sewing Machine
• Thread
• Scissors
• Fabric
• Ruler/ Yard Stick
• Pins
Instructions:
STEP 1
Cut one piece of fabric 12 1/2 x 20 inches. Finish the ends: turn one of the short ends in 1/4″, and stitch. Turn the other
end under 1″ and stitch close to cut edge. Topstitch 1/4″ inside of first stitching.
STEP 2
With right side in, fold the end with the wider, topstitched hem up 5 3/4″ , and the side with the narrow hem down 4
3/4 “. The edges will overlap in unequal thirds.
STEP 3
Stitch the sides, clip the corners, and turn right side out. Slip the rice bag inside and you’re done!
Note:
This is an example size. These can be made in many different sizes, this being the largest.

Pet Food Supply Drive
Coordinate a Pet Food & Supply Drive and
receive volunteer hours for your efforts!
Hot Dogs: 10 packages = 1 hr.
Canned Kitten Food: 12 cans = 1 hr.
Dog/ Cat Toys: 20 toys = 1 hr.
Canned Puppy & Adult Food: 12 cans = 1hr.
Peanut Butter: 5 jars = 1 hr.
Canned Easy/ Squeeze Cheese: 10 cans = 1 hr.
Dog/ Cat Treats: 5 lbs. = 1hr.
Dry Dog/ Cat Food: 5 bags = 1 hr.
These numbers are just estimates. Your final hours will be determined by the
Volunteer Department Staff.
Thank you for your hard work!