how to use mailchimp to market your products using email
TRANSCRIPT
How to Use MailChimp to Market Your Products Using Email BY ALLAN T. AGUIRRE
© Allan T. Aguirre – Your Virtual Office Manager

Mailchimp is an email marketing software
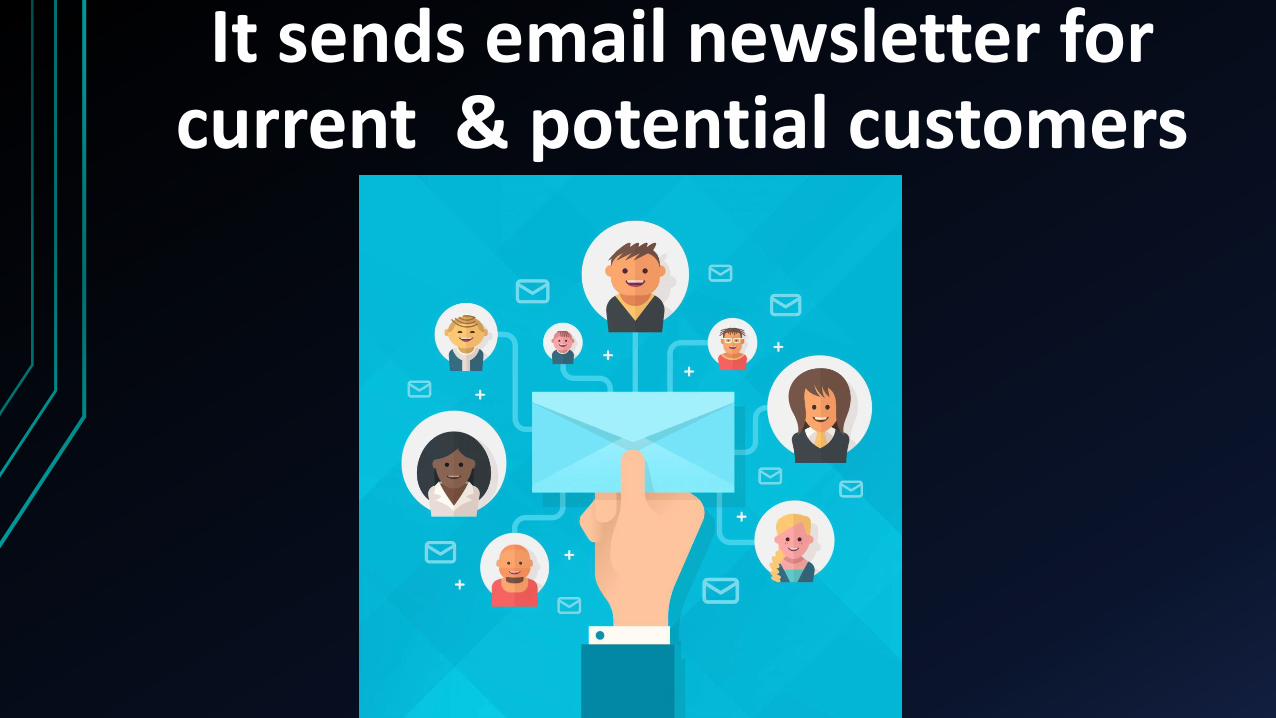
It sends email newsletter for current & potential customers
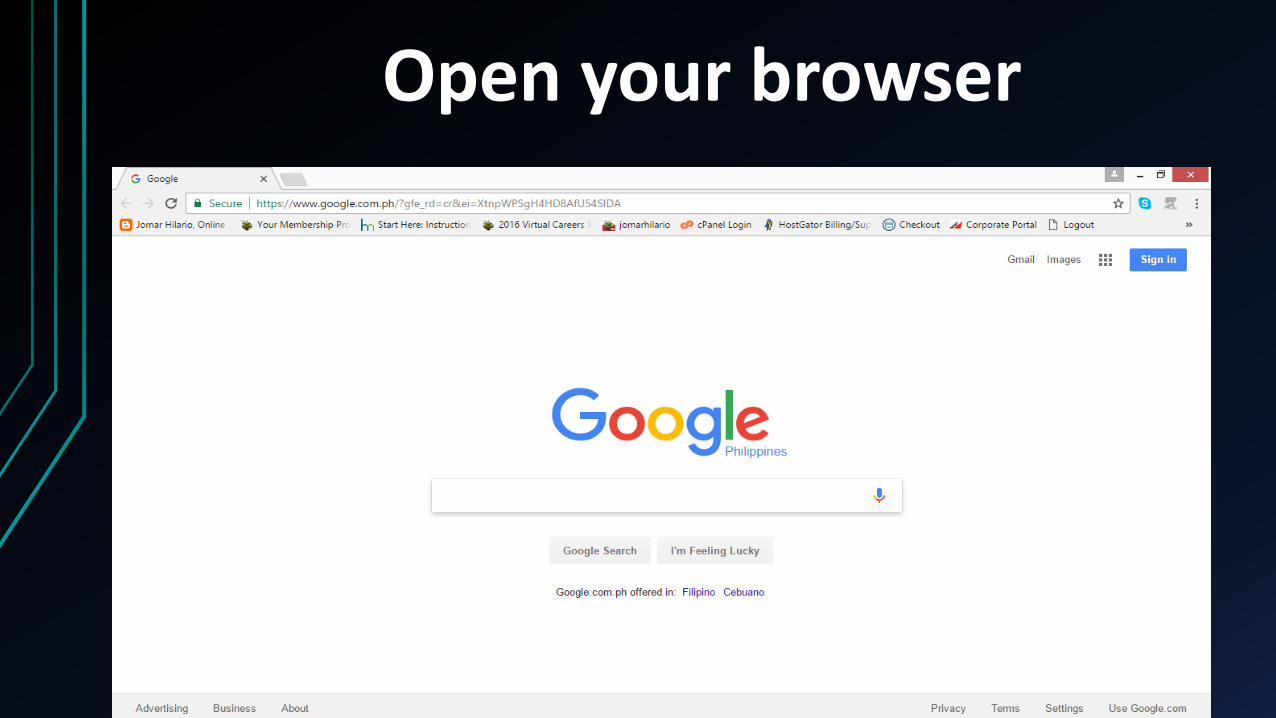
Open your browser
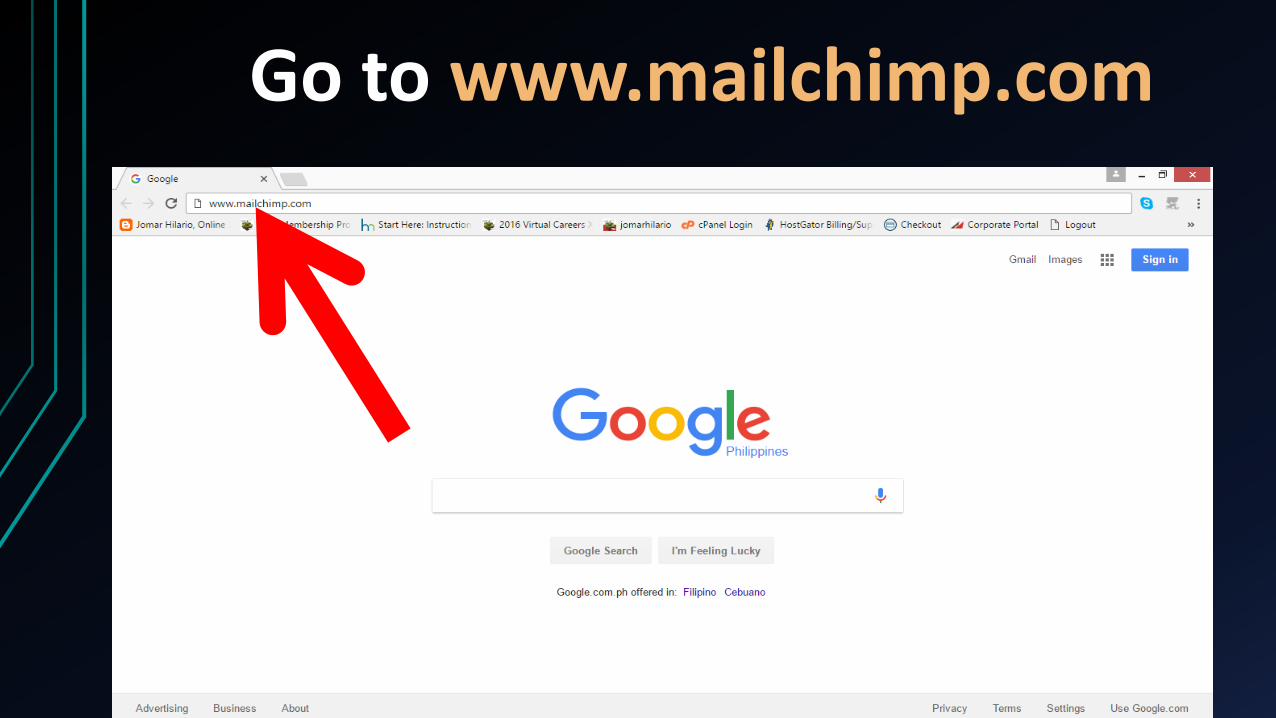
Go to www.mailchimp.com
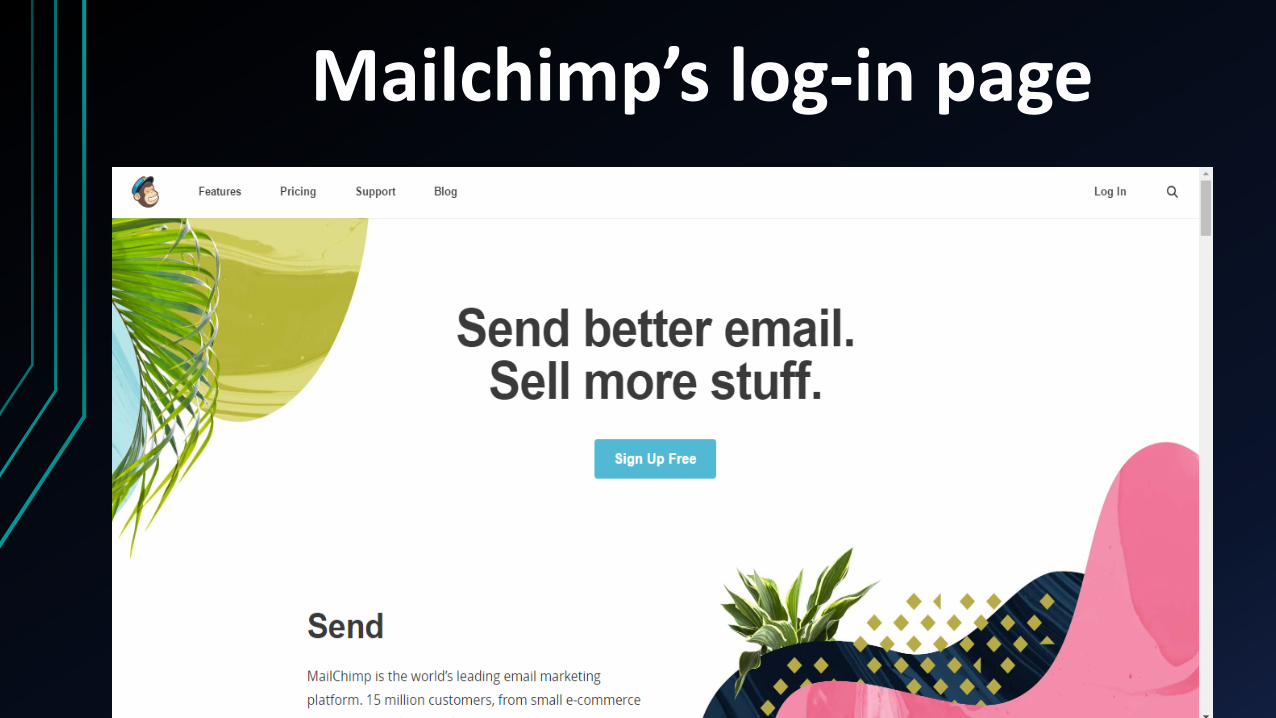
Mailchimp’s log-in page
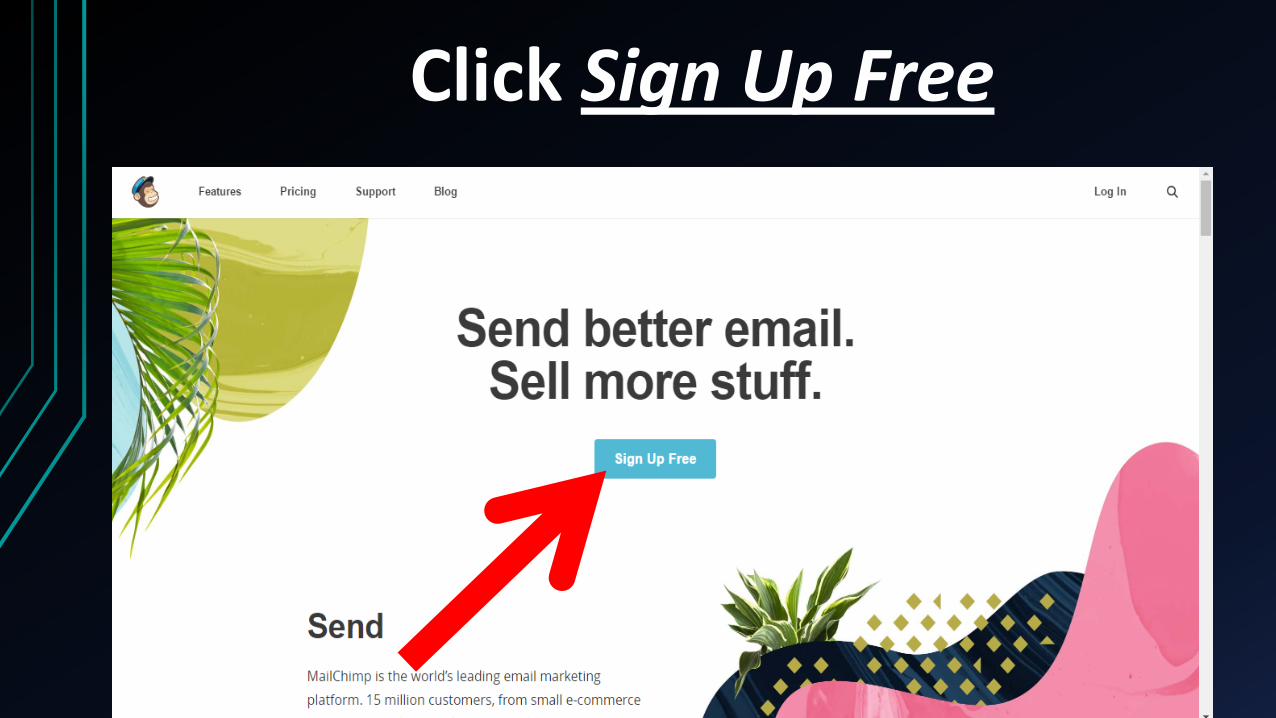
Click Sign Up Free
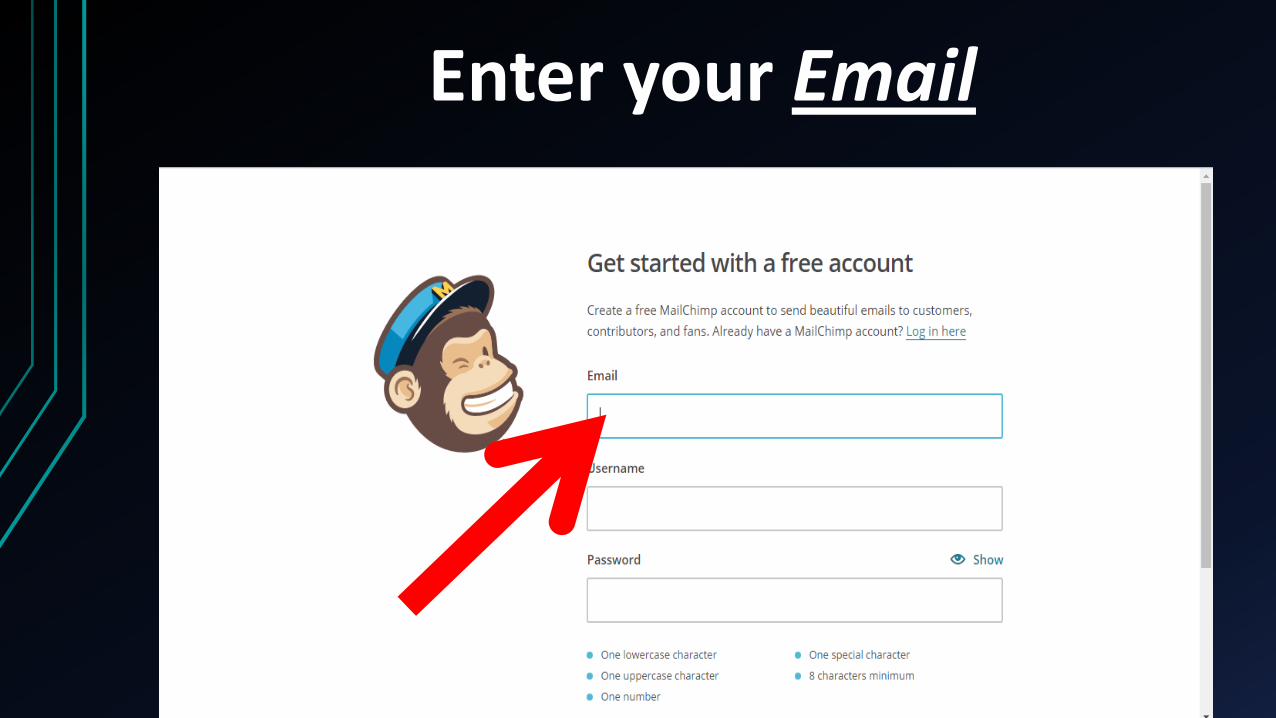
Enter your Email
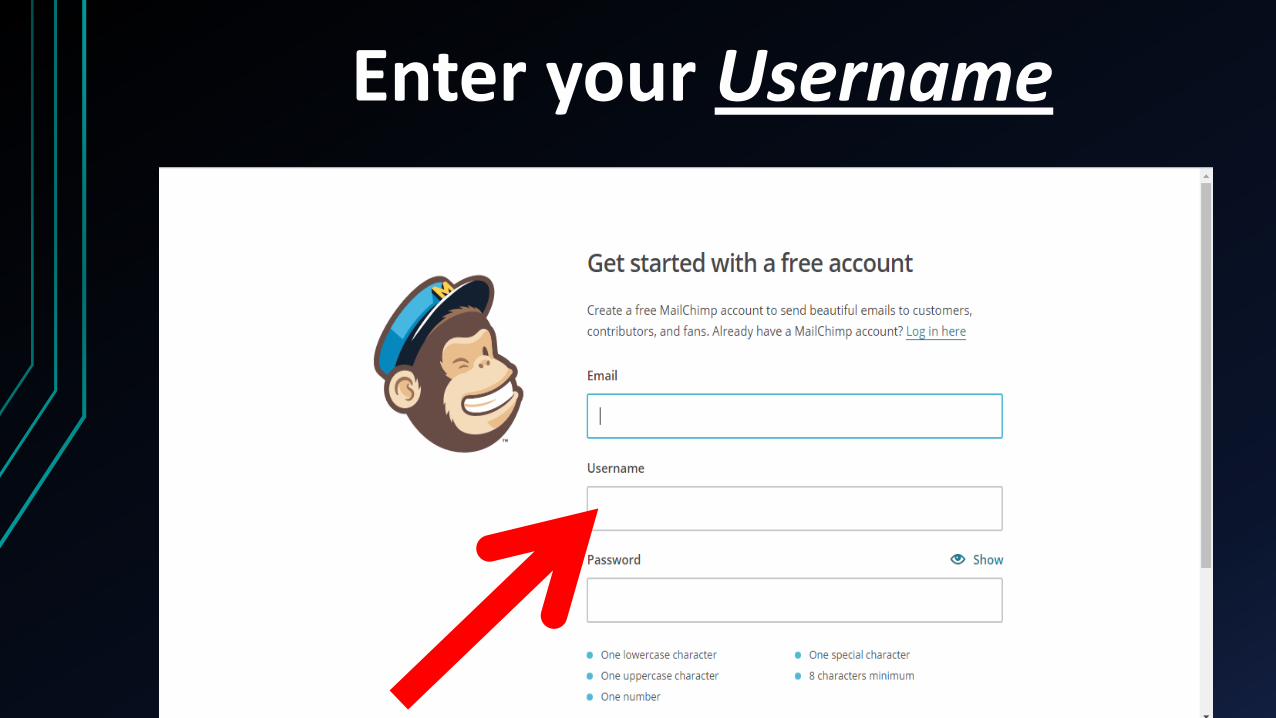
Enter your Username
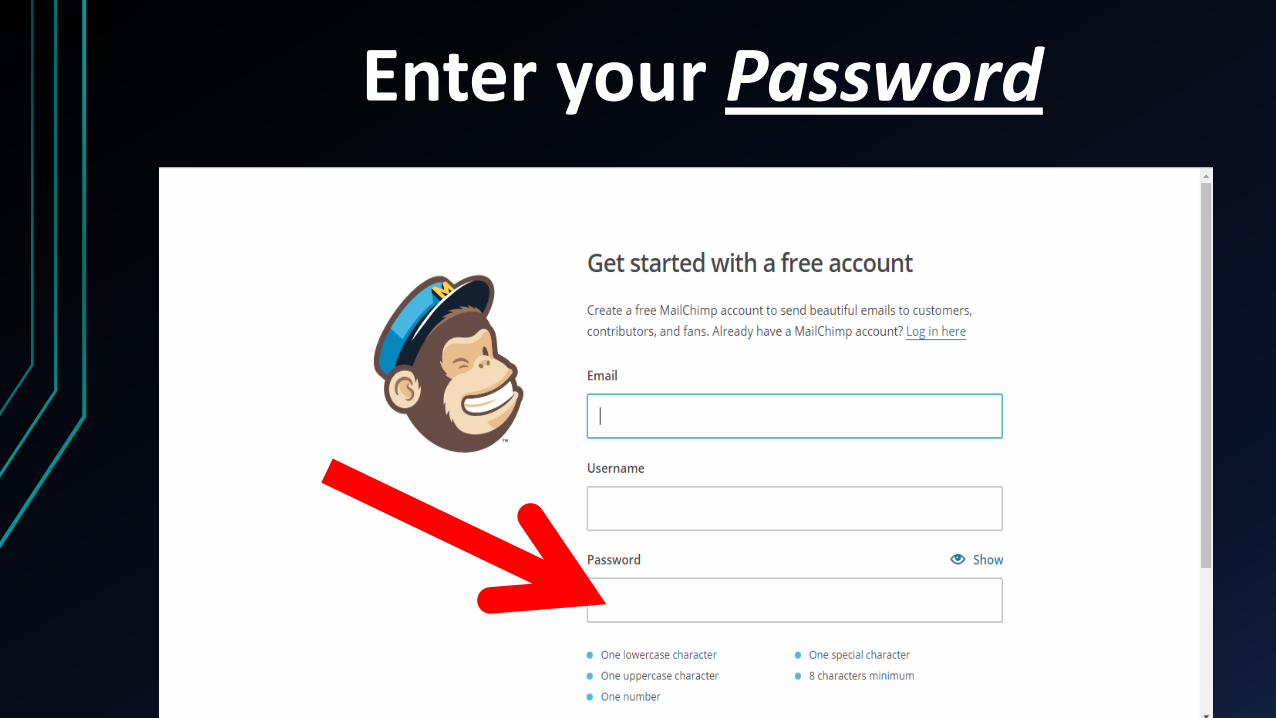
Enter your Password
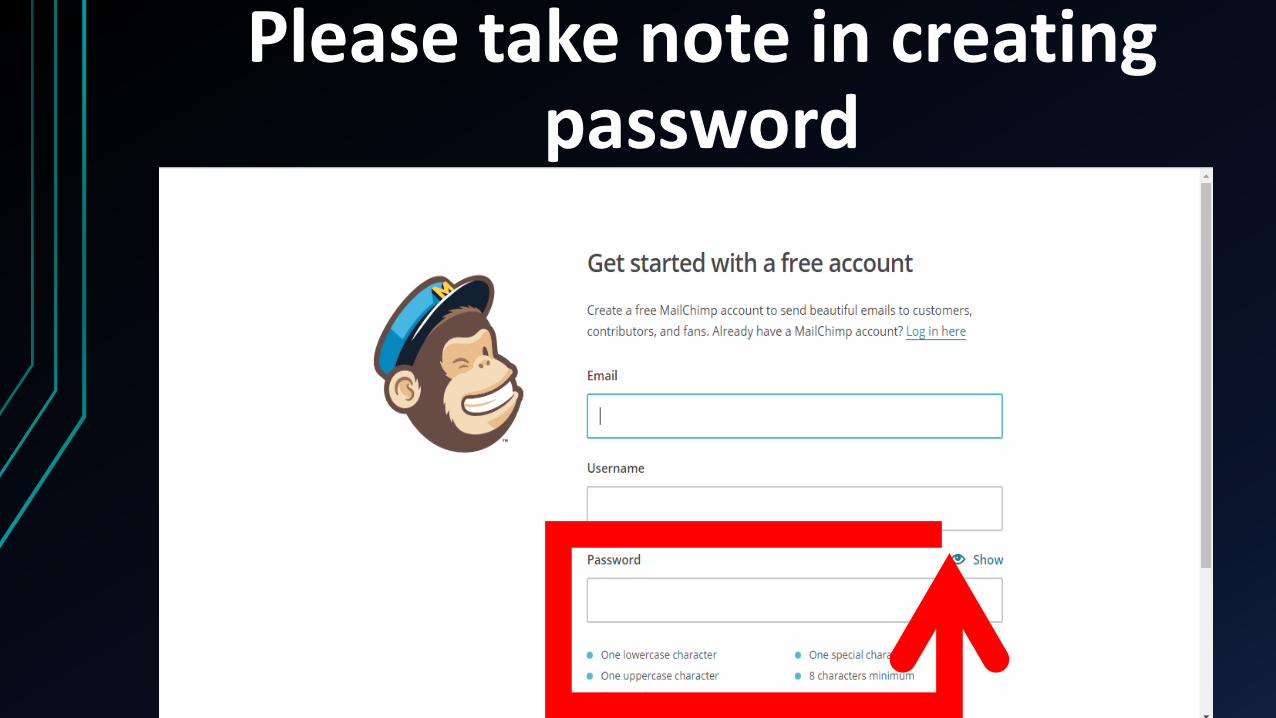
Please take note in creating password
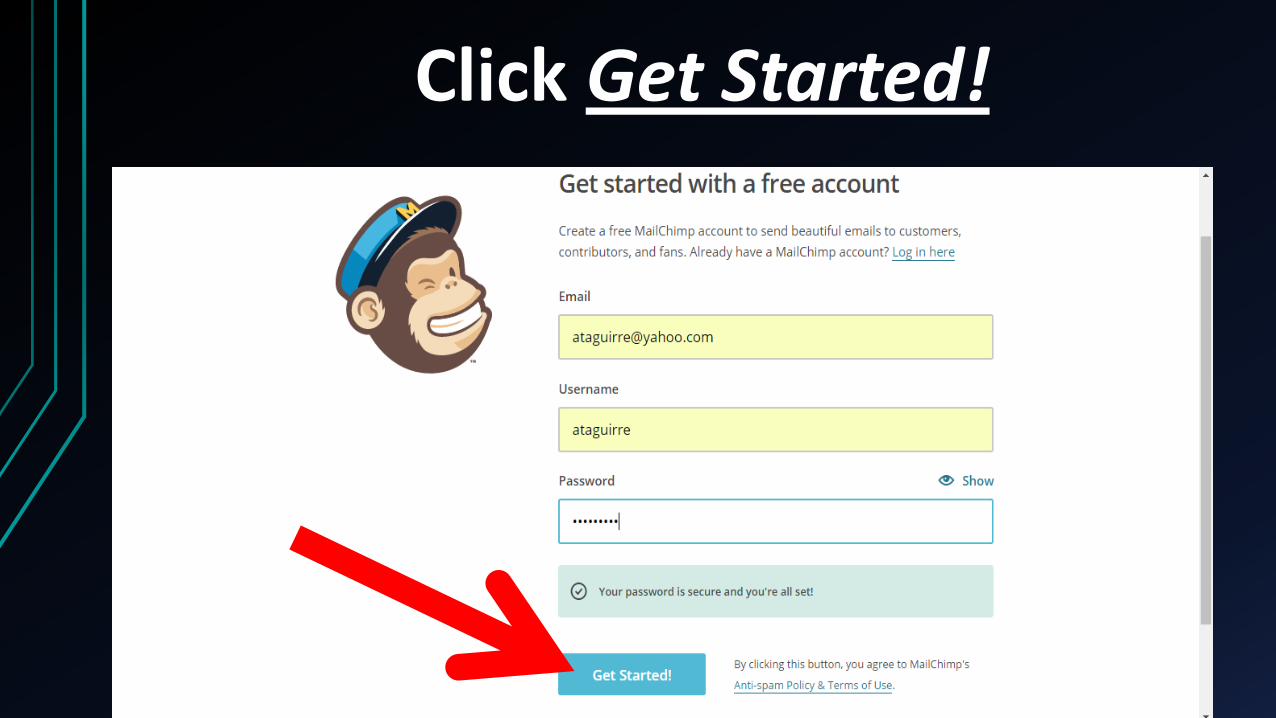
Click Get Started!

Check your email notification
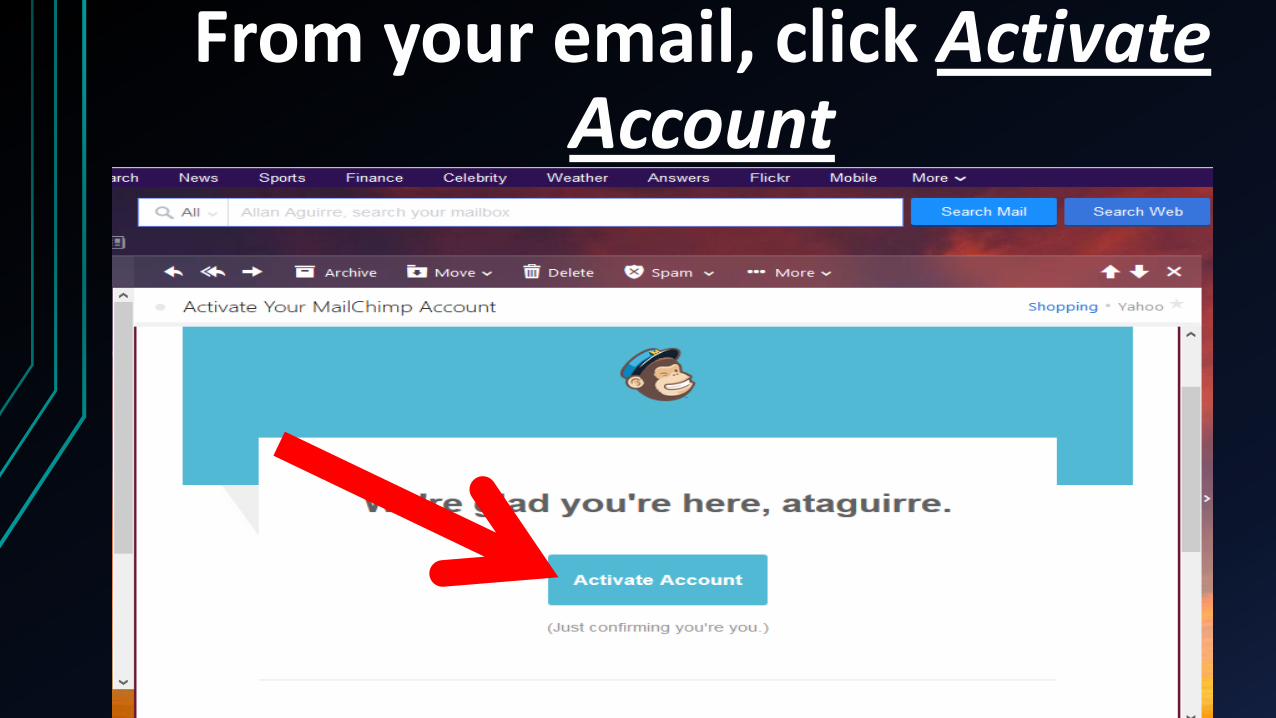
From your email, click Activate Account
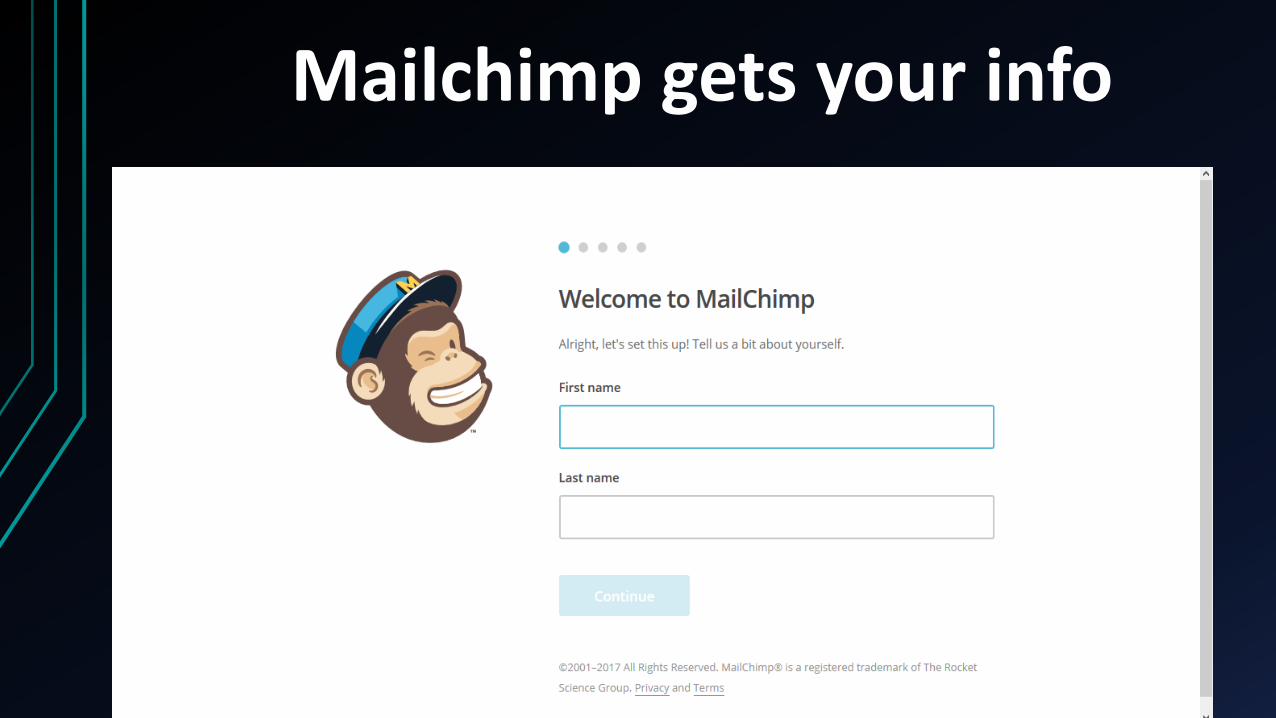
Mailchimp gets your info
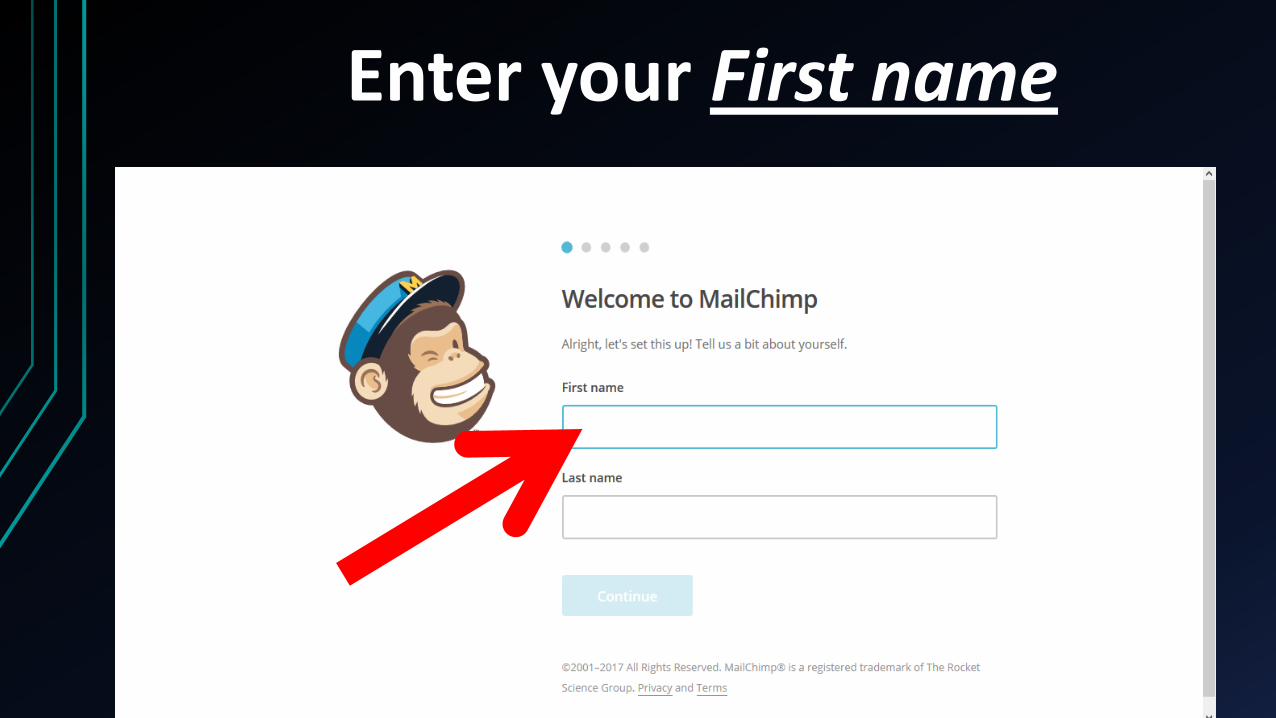
Enter your First name
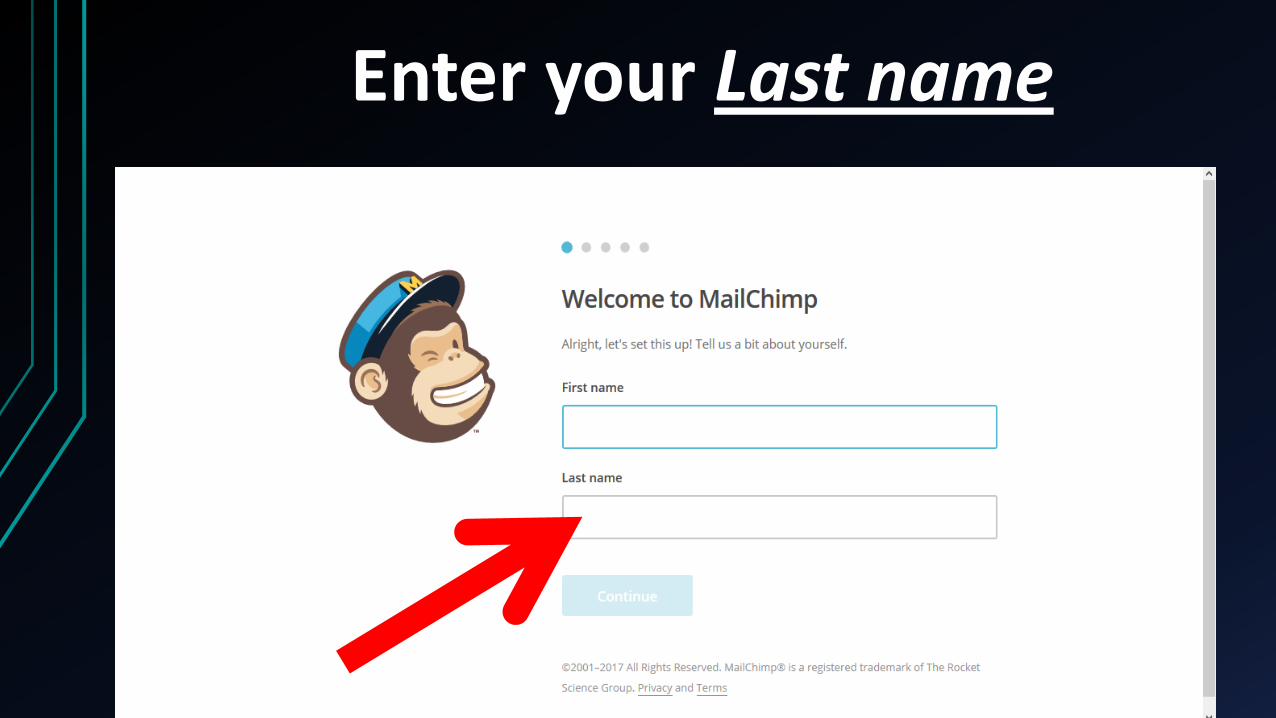
Enter your Last name
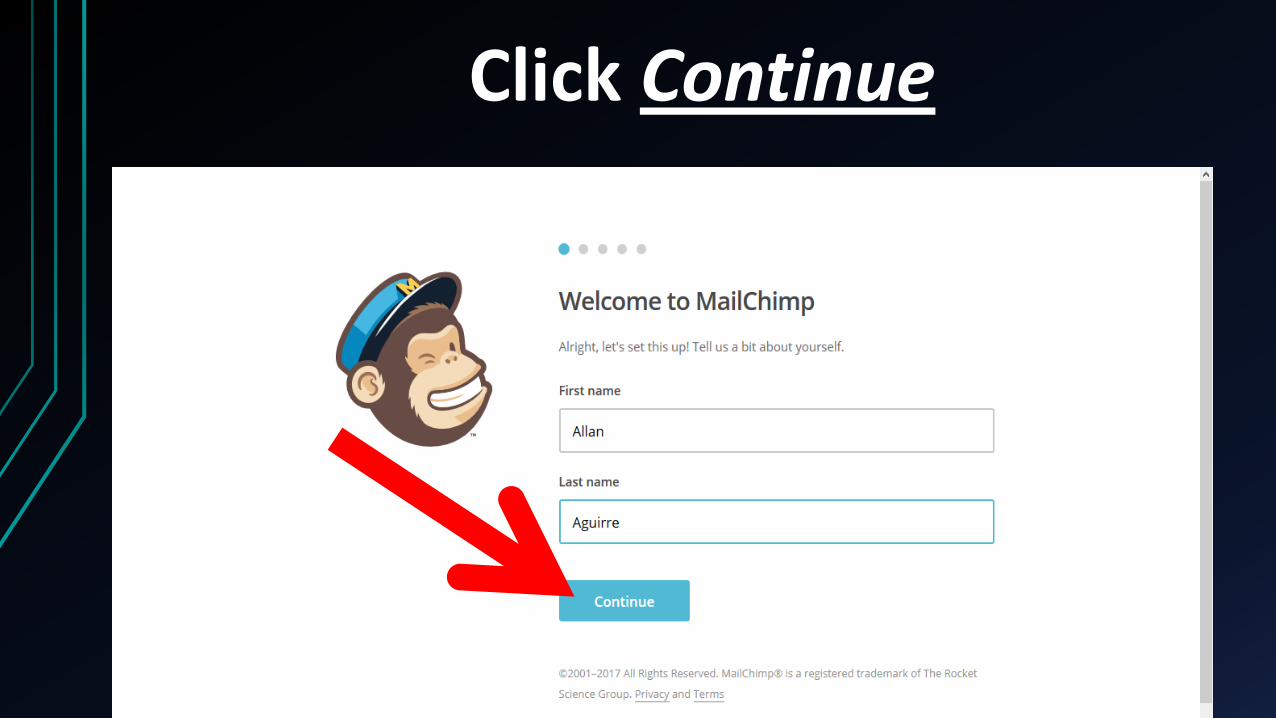
Click Continue
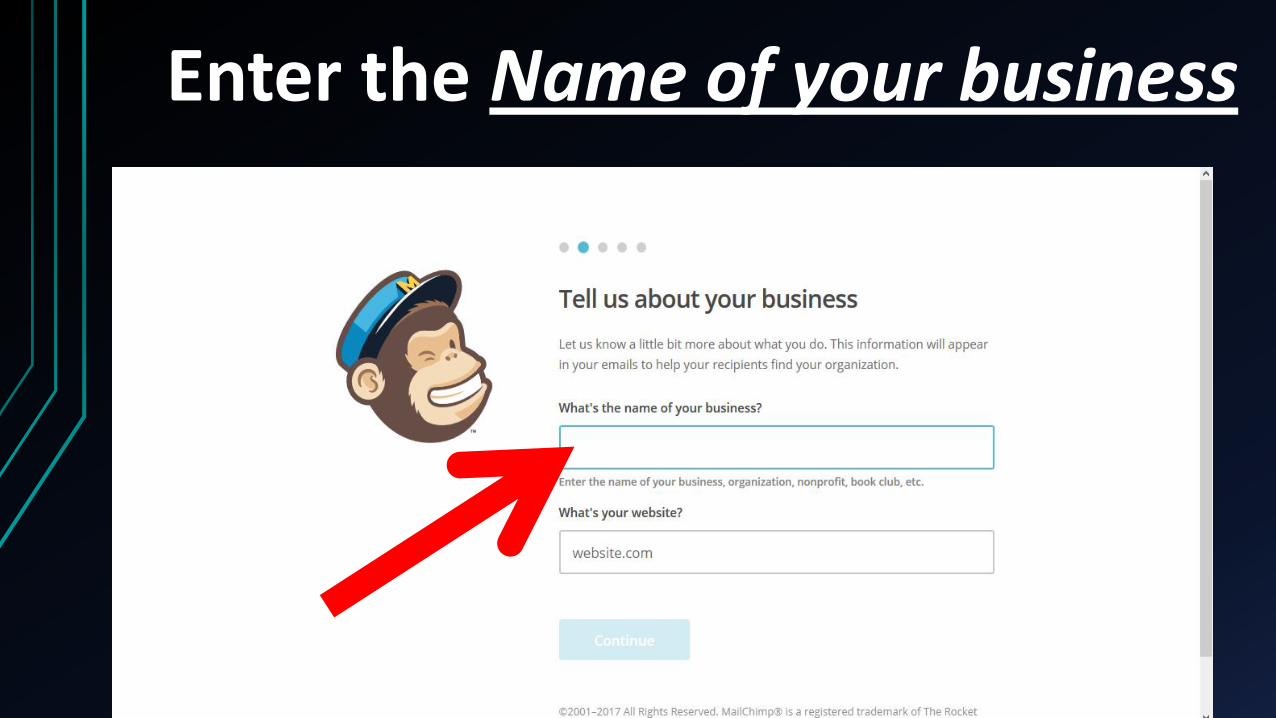
Enter the Name of your business

Enter your website
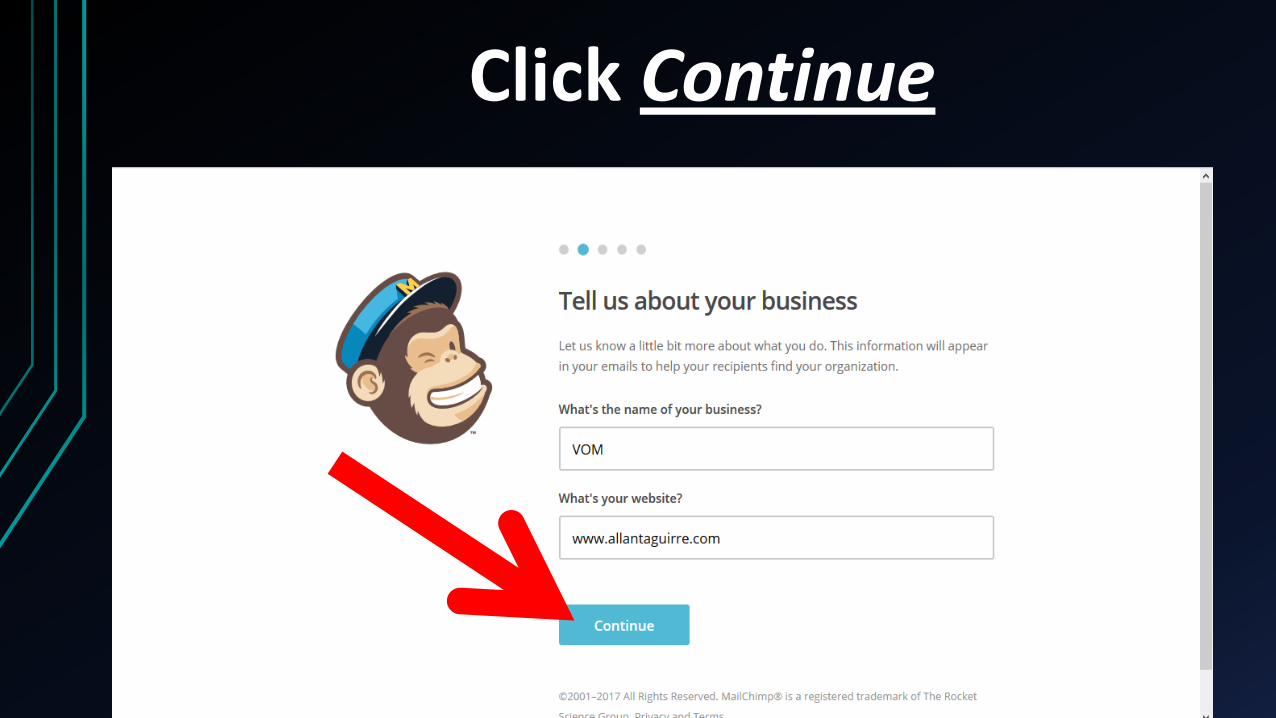
Click Continue
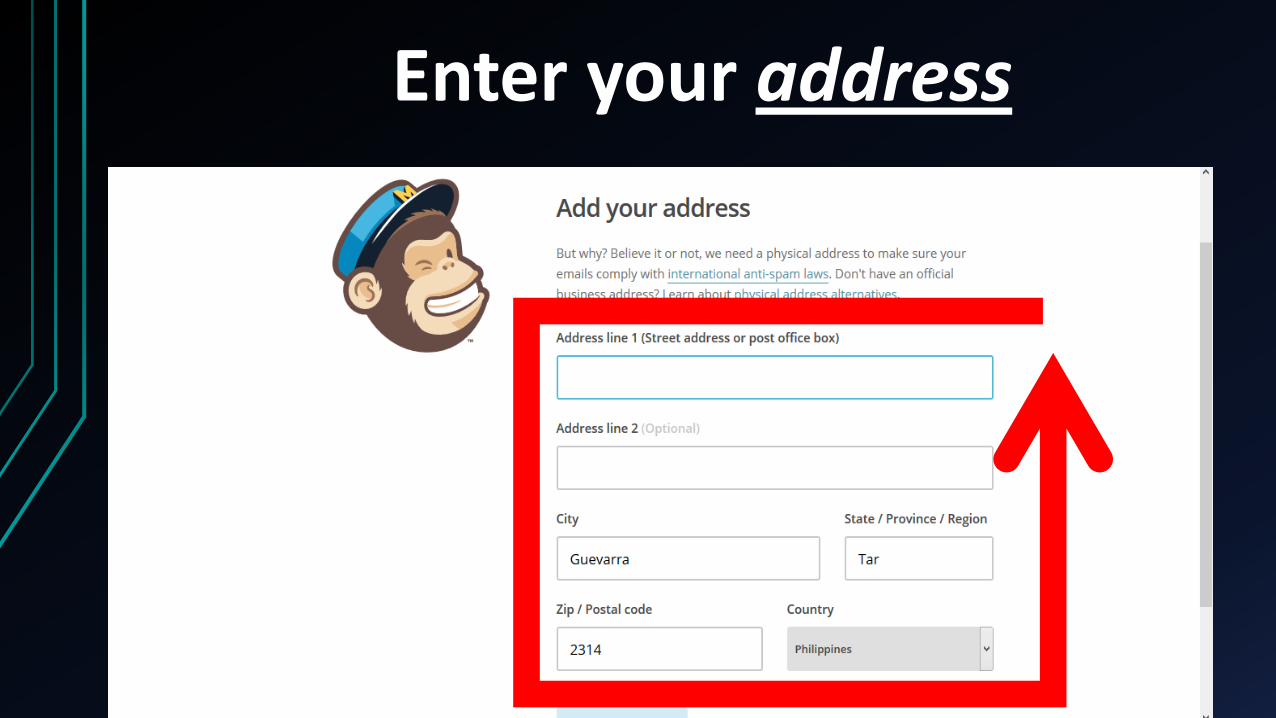
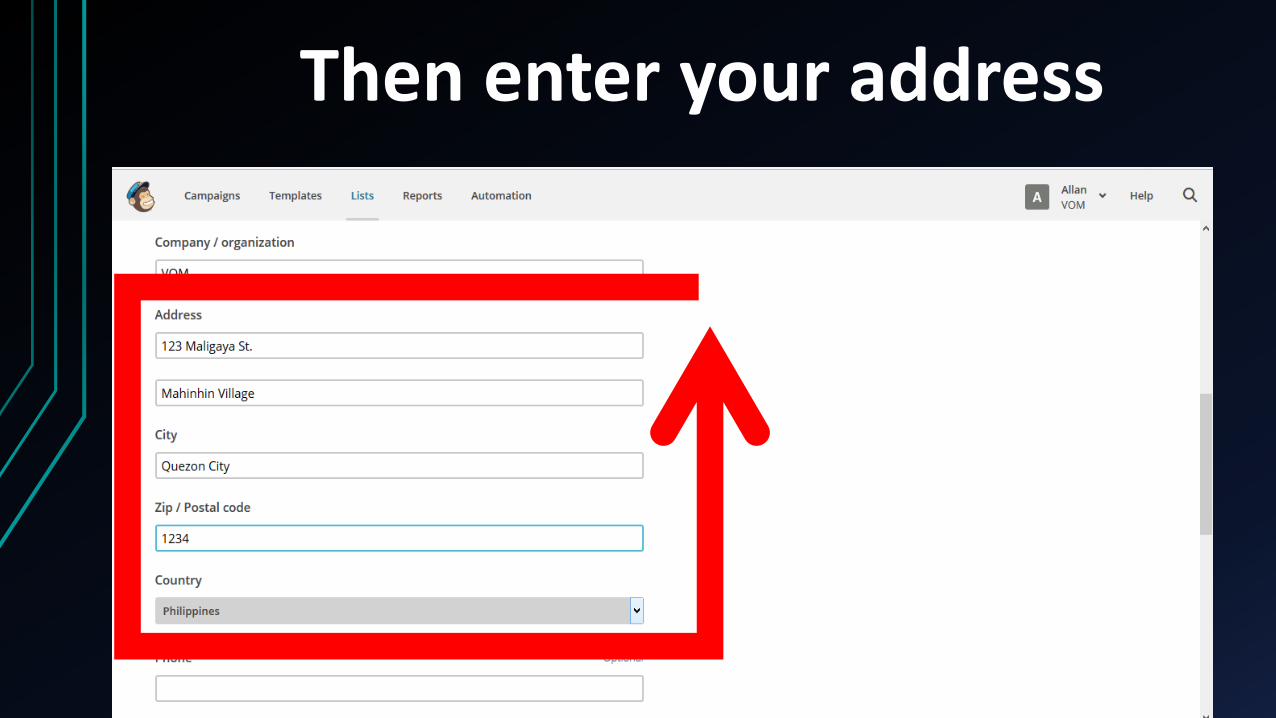
Enter your address
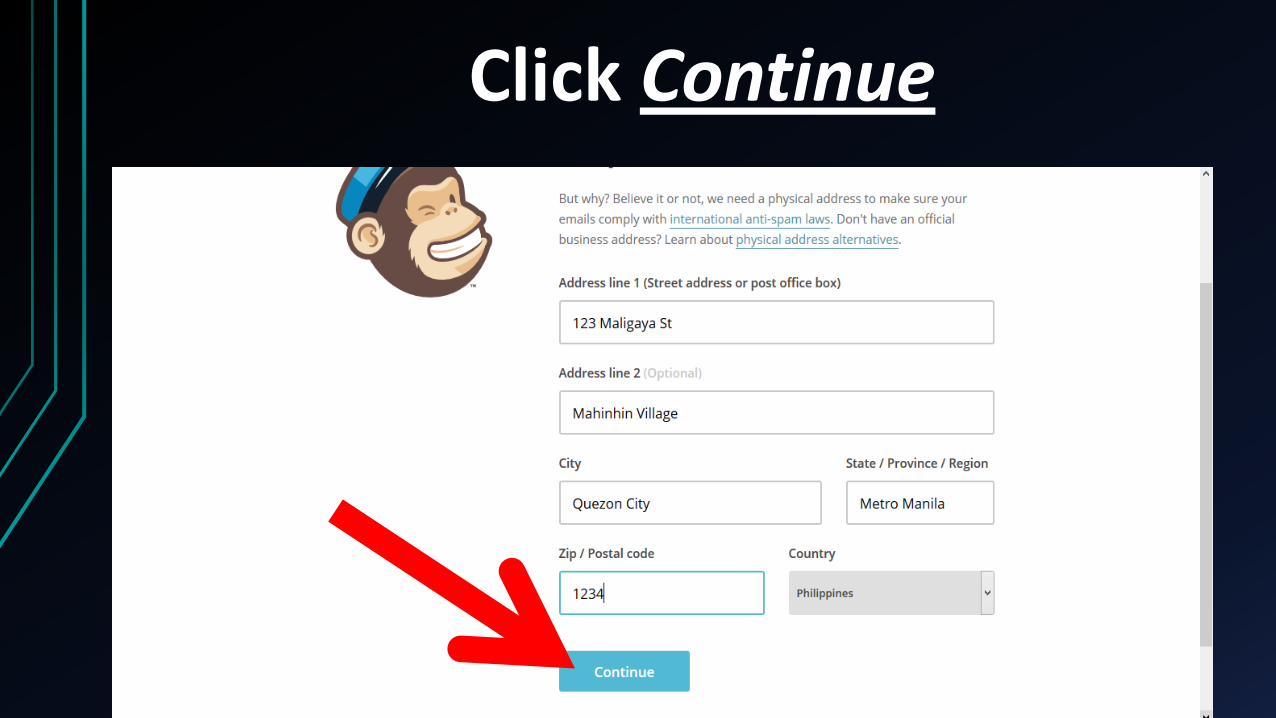
Click Continue
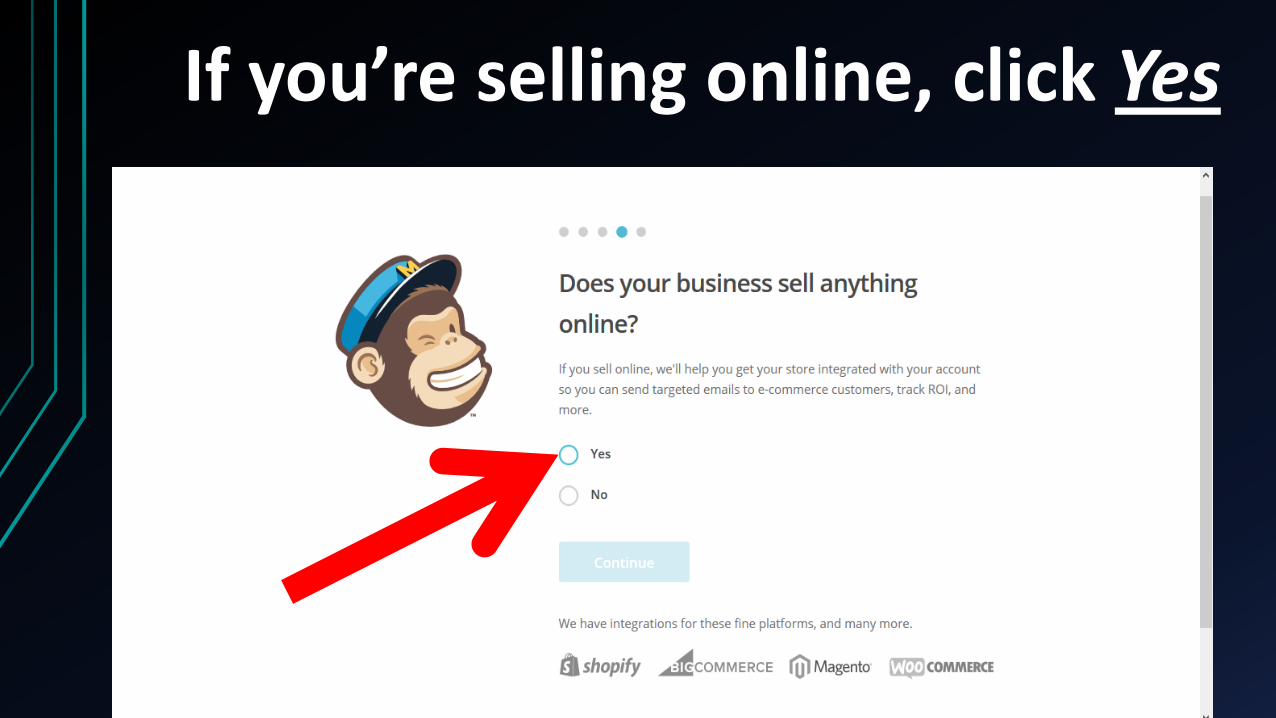
If you’re selling online, click Yes
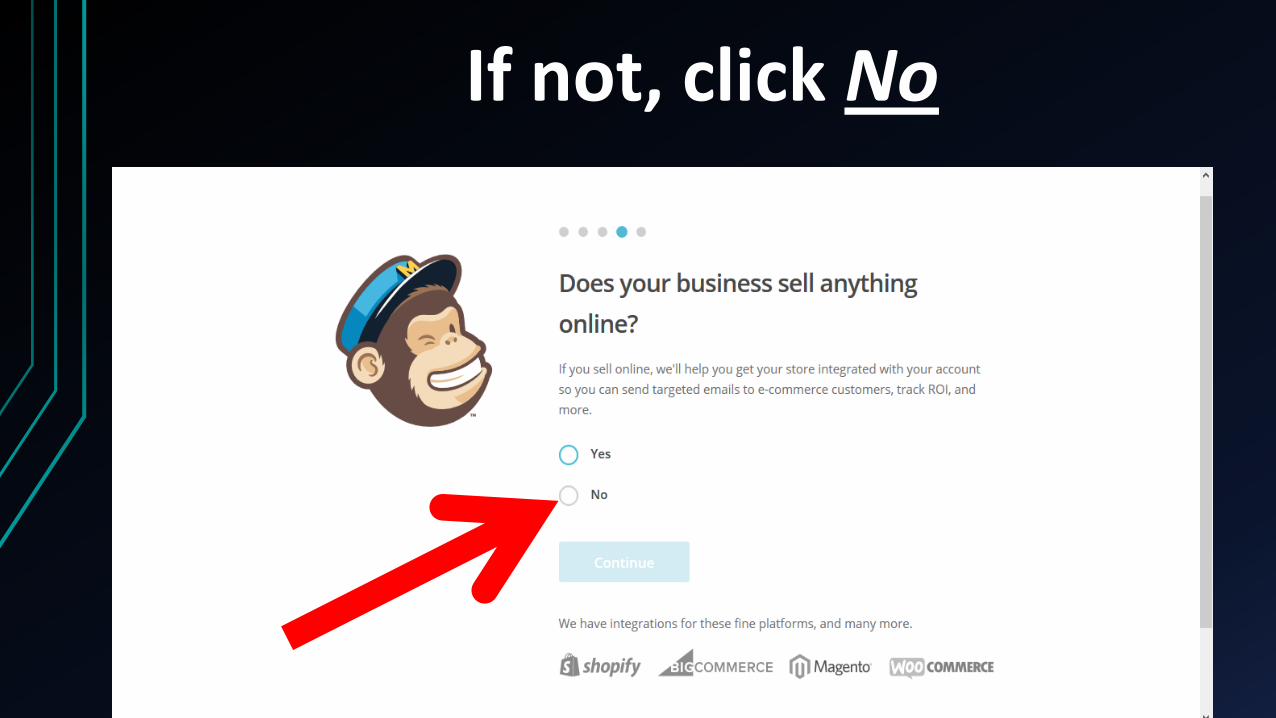
If not, click No
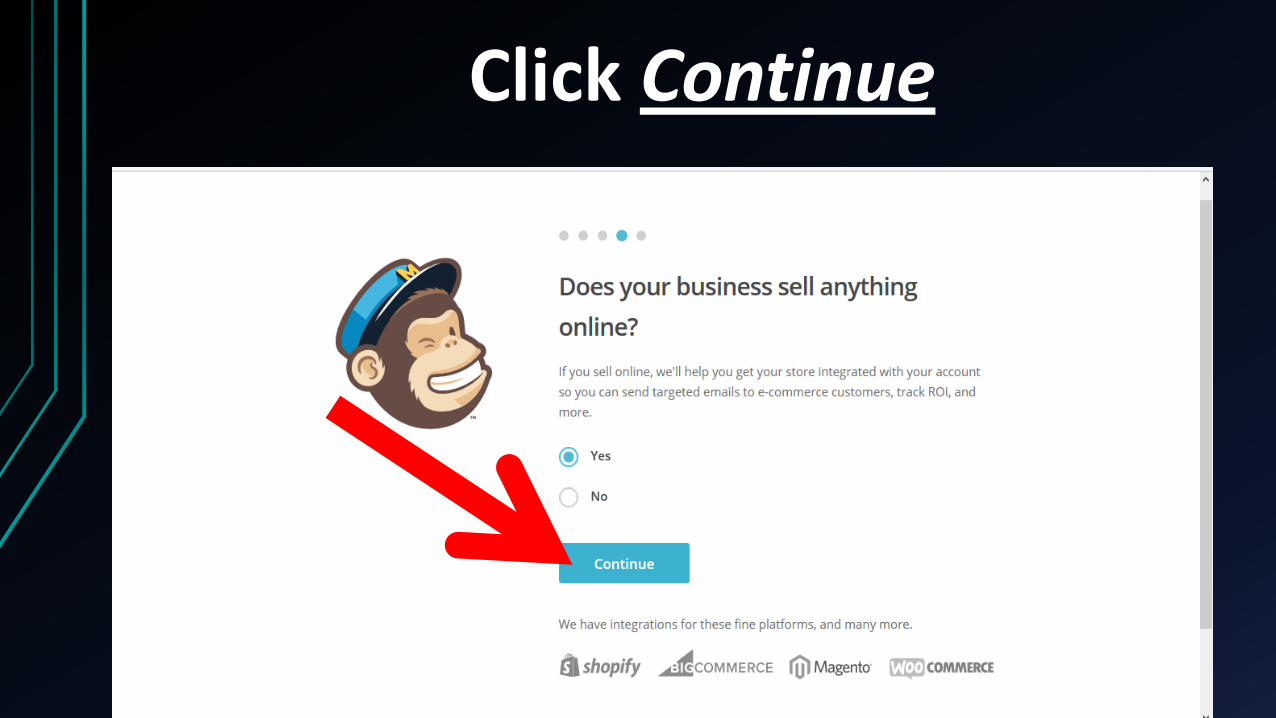
Click Continue
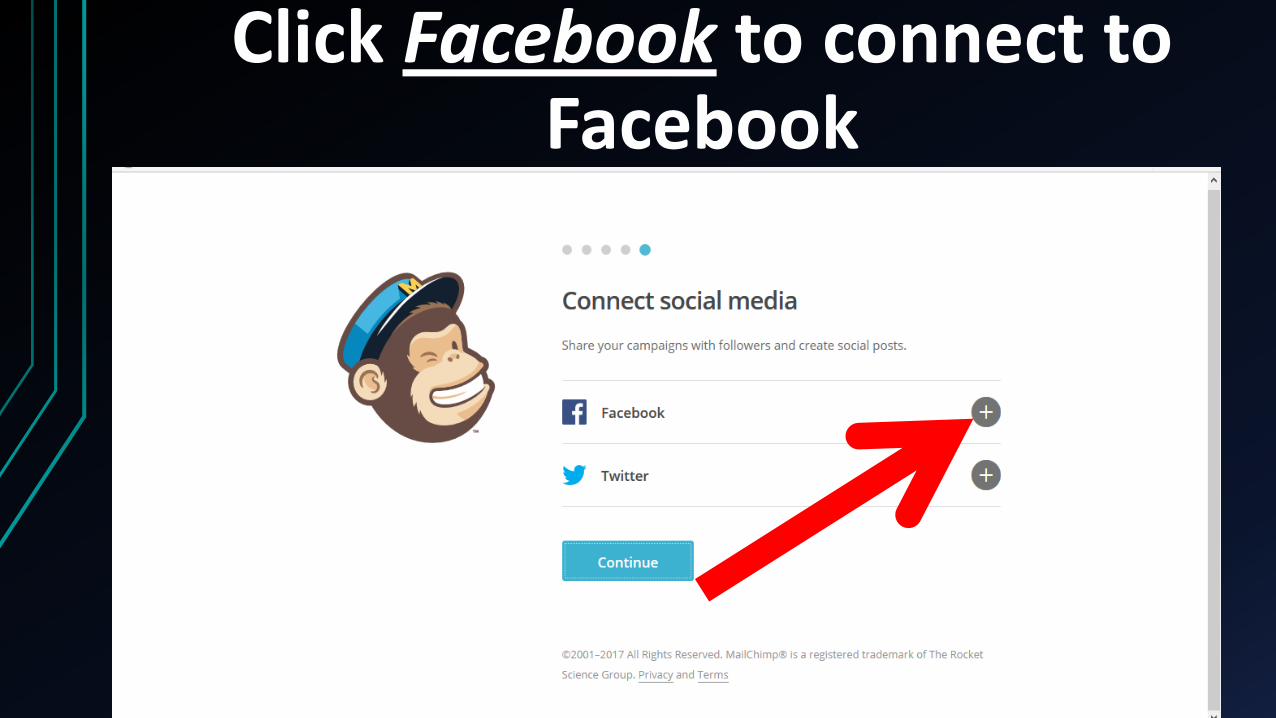
Click Facebook to connect to Facebook
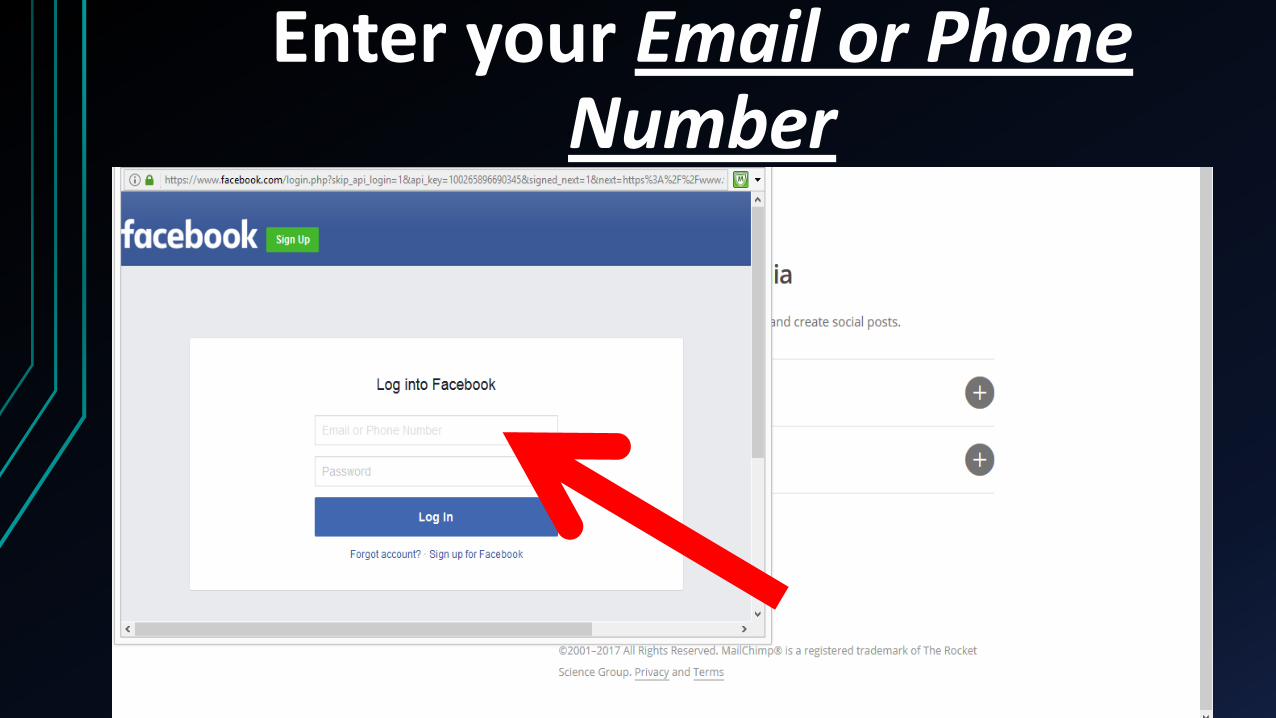
Enter your Email or Phone Number
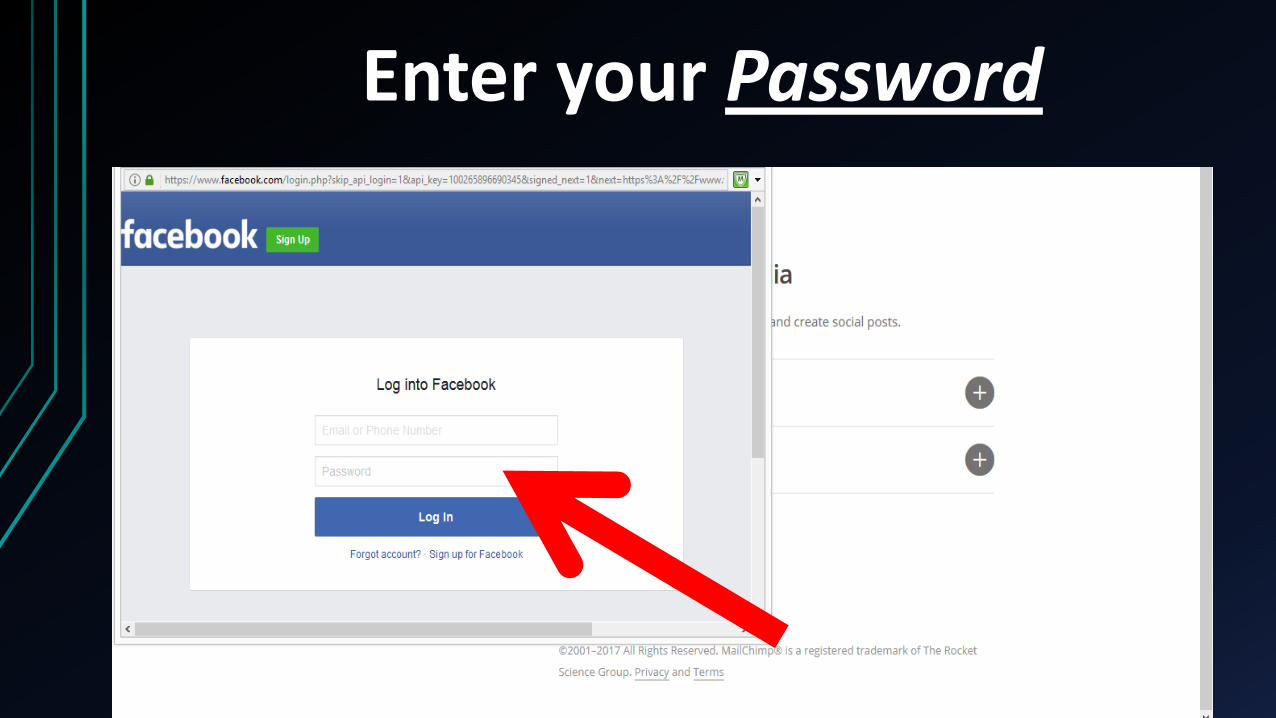
Enter your Password
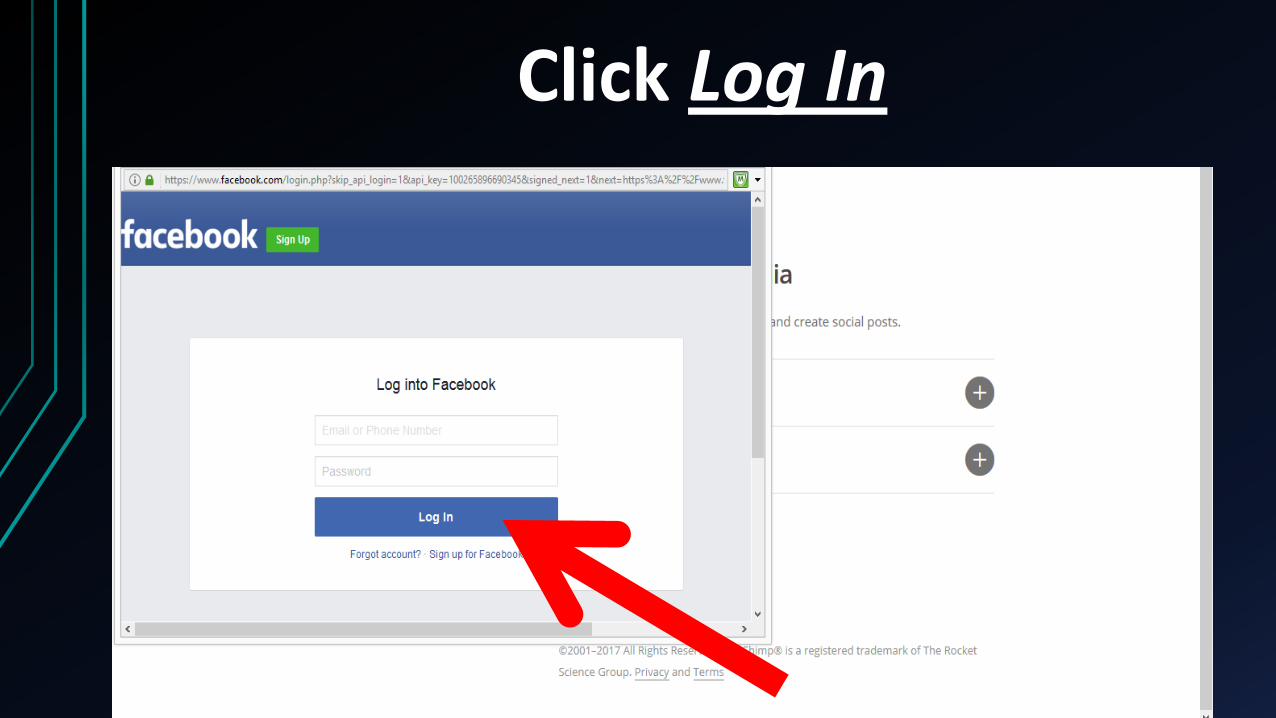
Click Log In
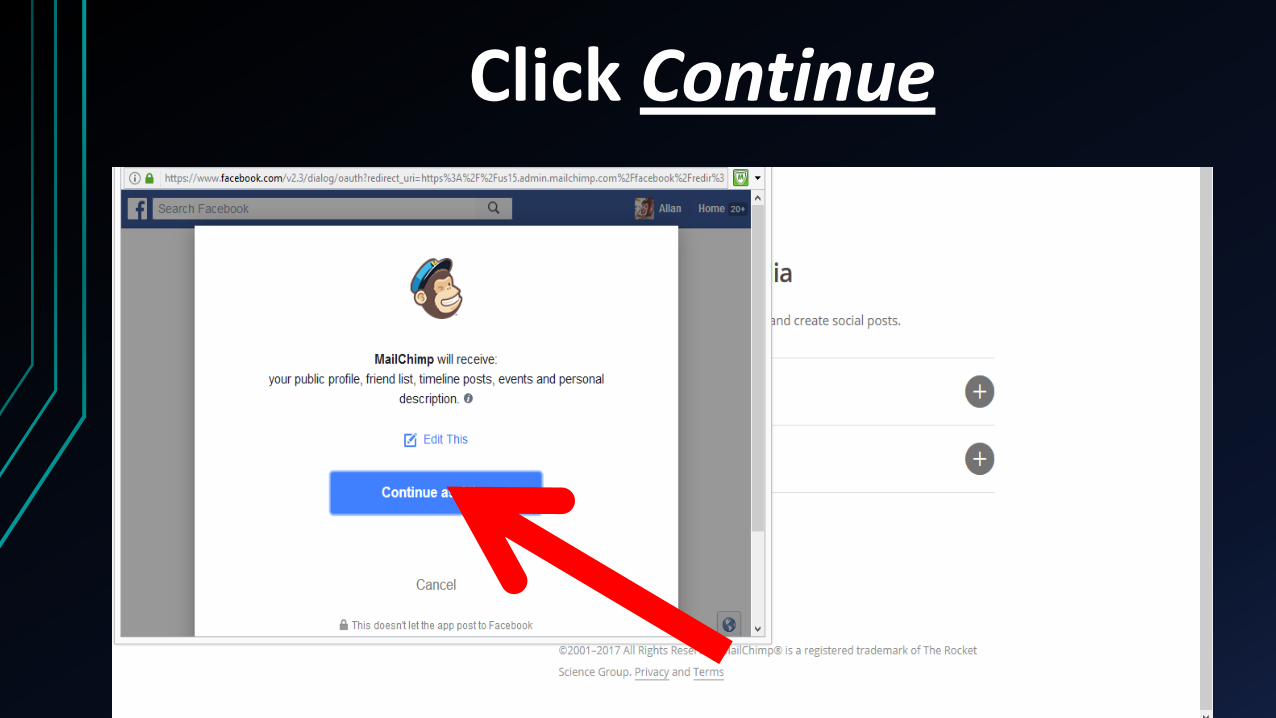
Click Continue
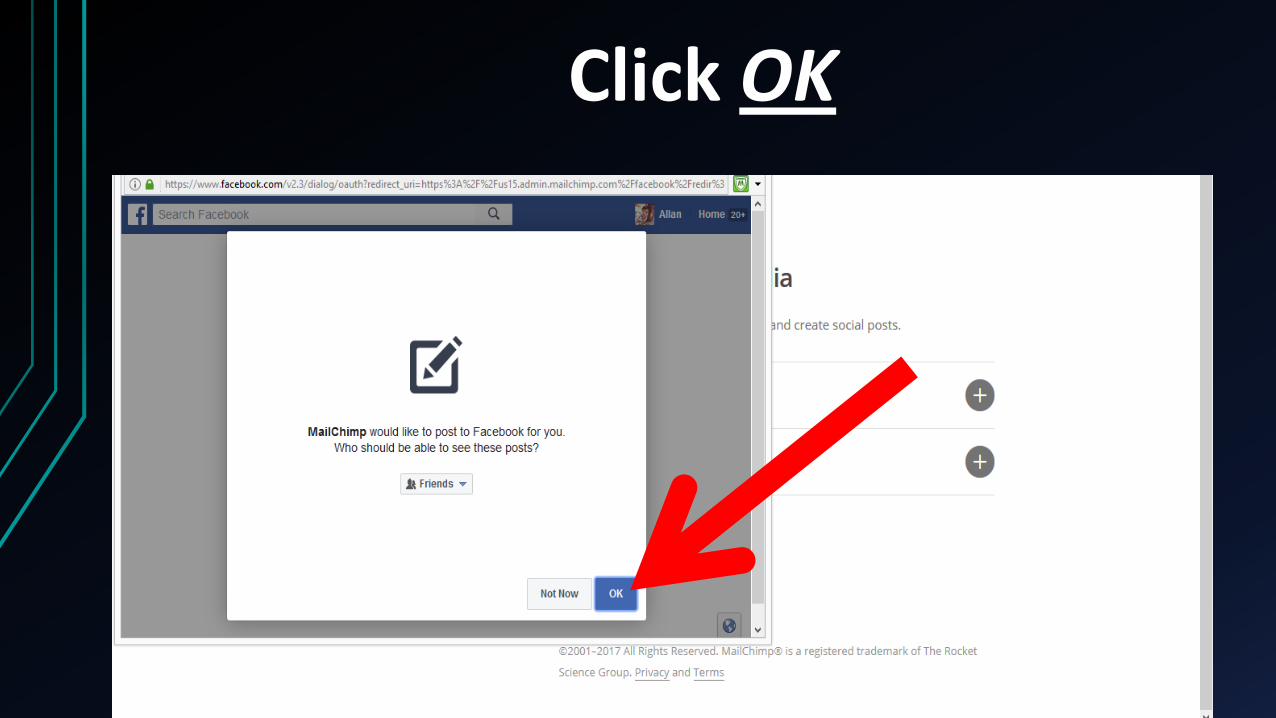
Click OK
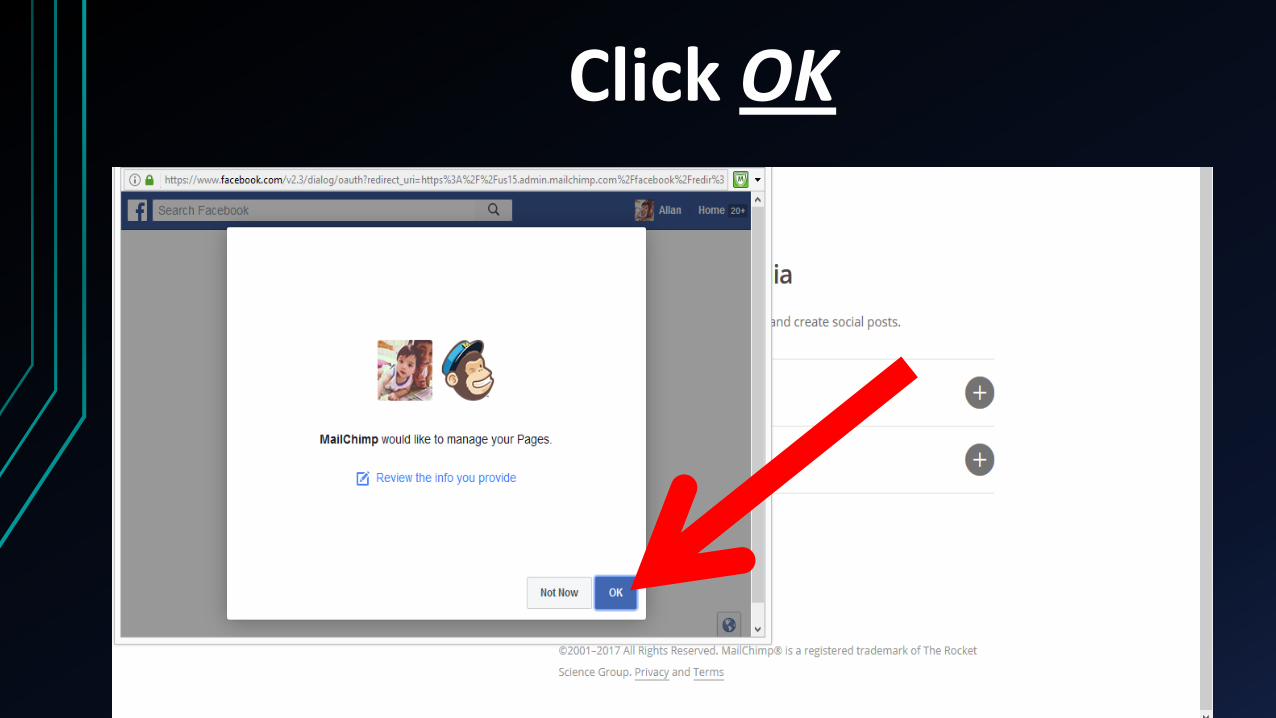
Click OK
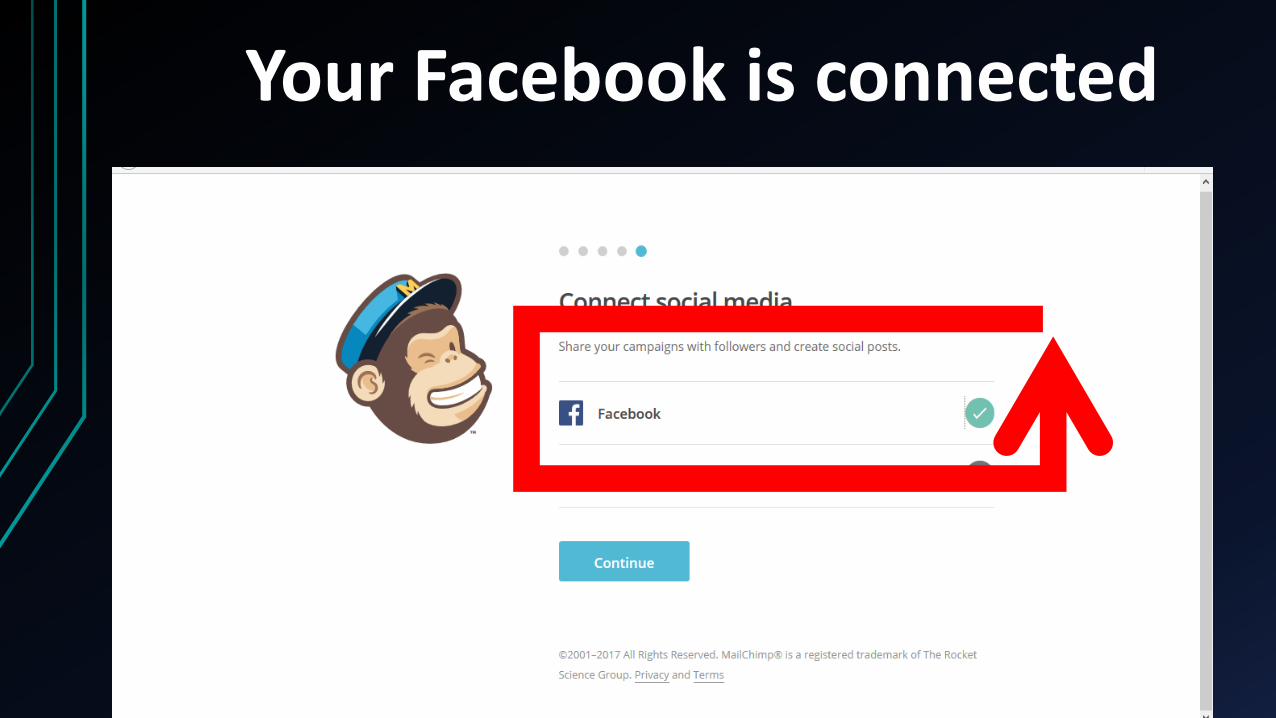
Your Facebook is connected
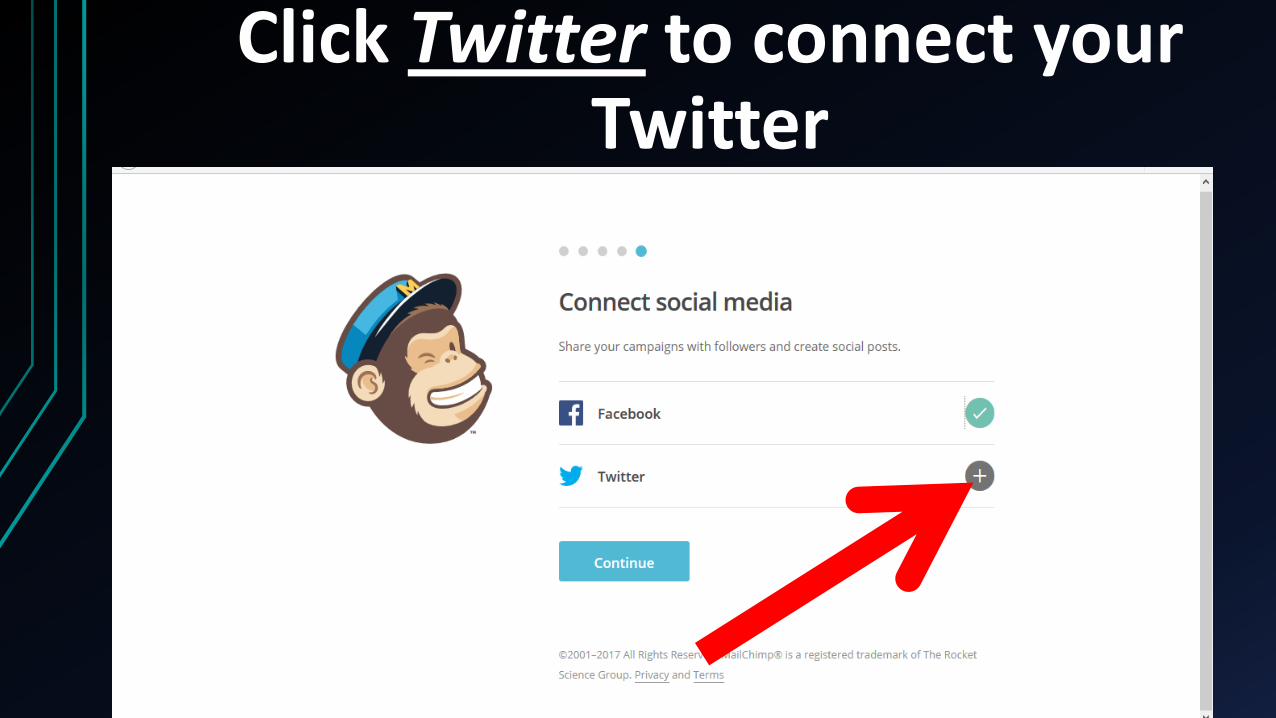
Click Twitter to connect your Twitter
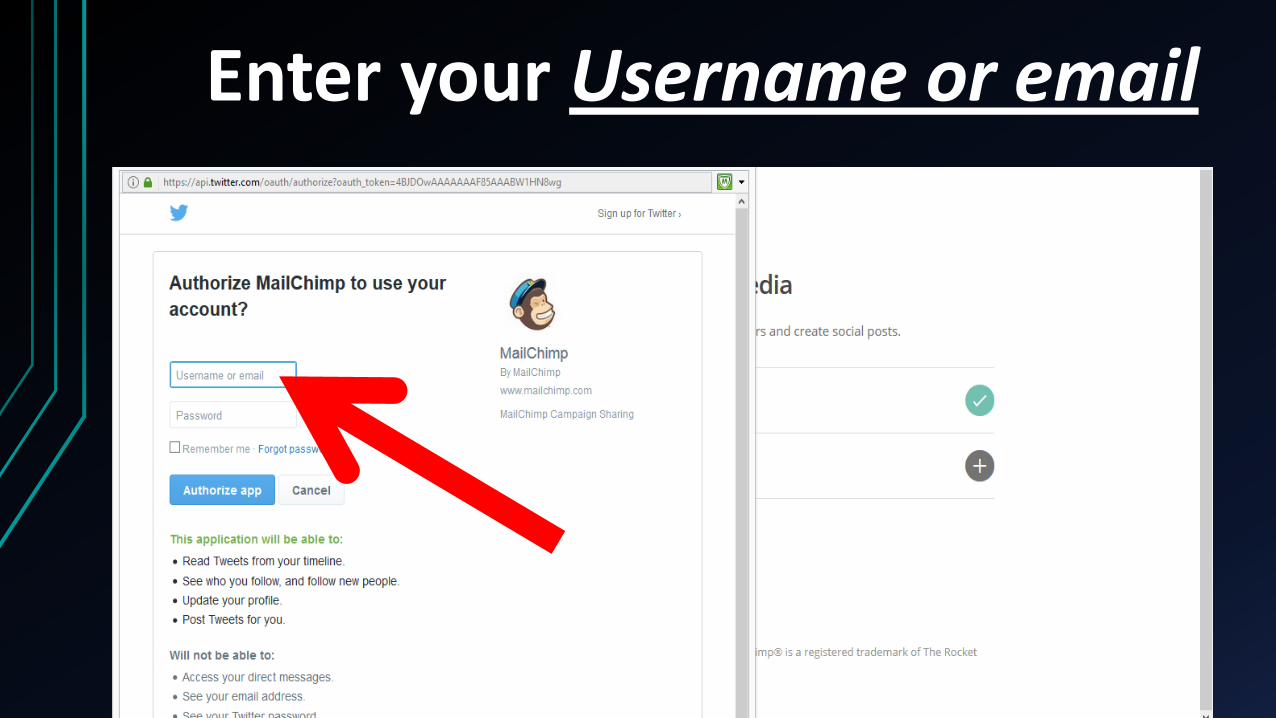
Enter your Username or email
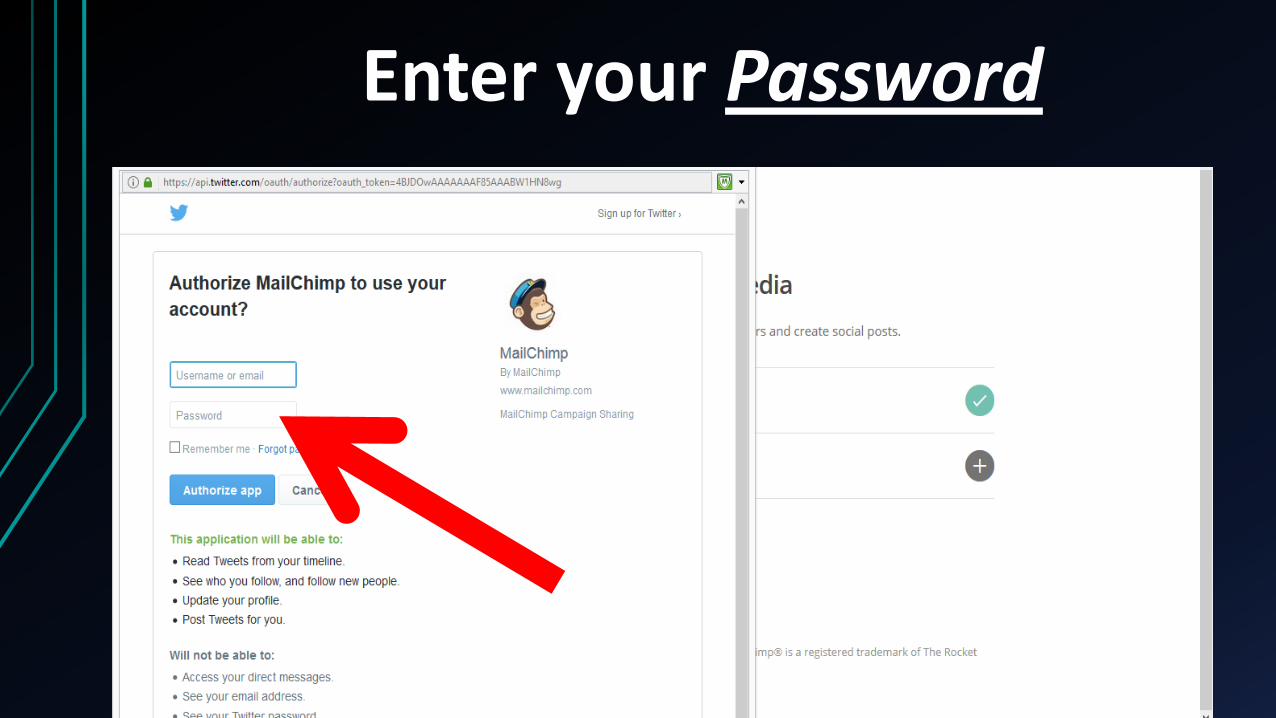
Enter your Password
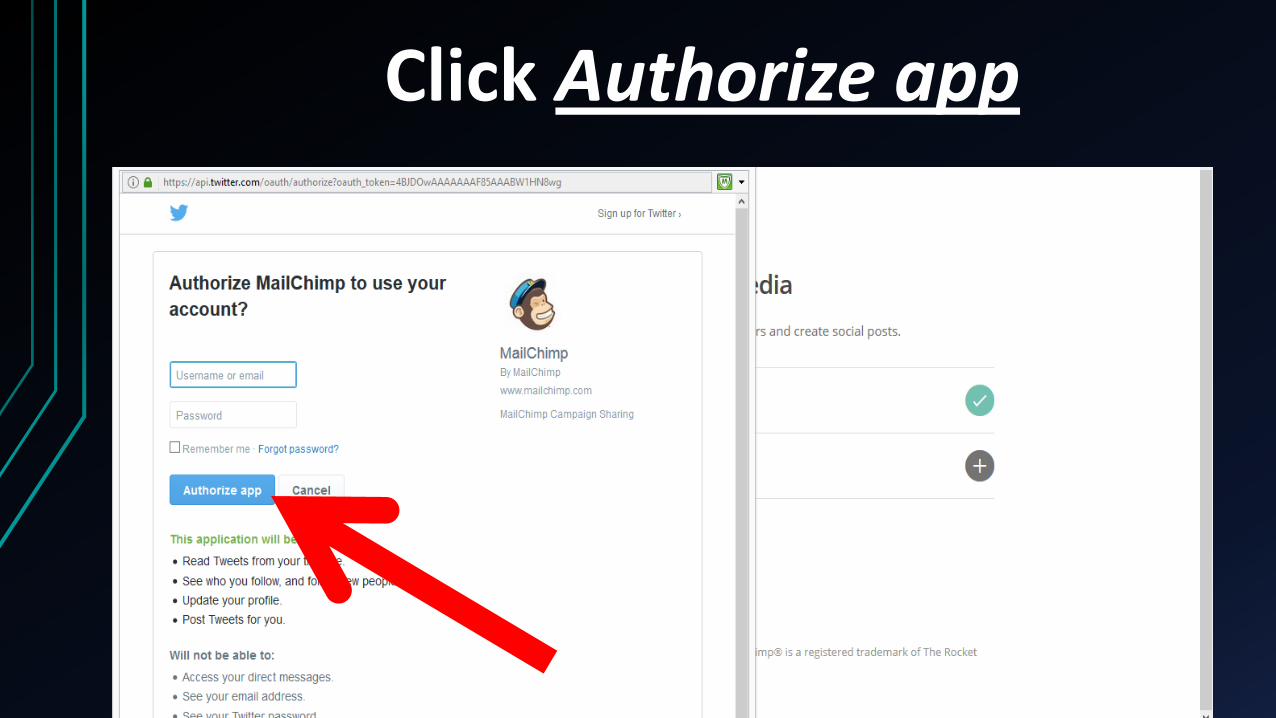
Click Authorize app
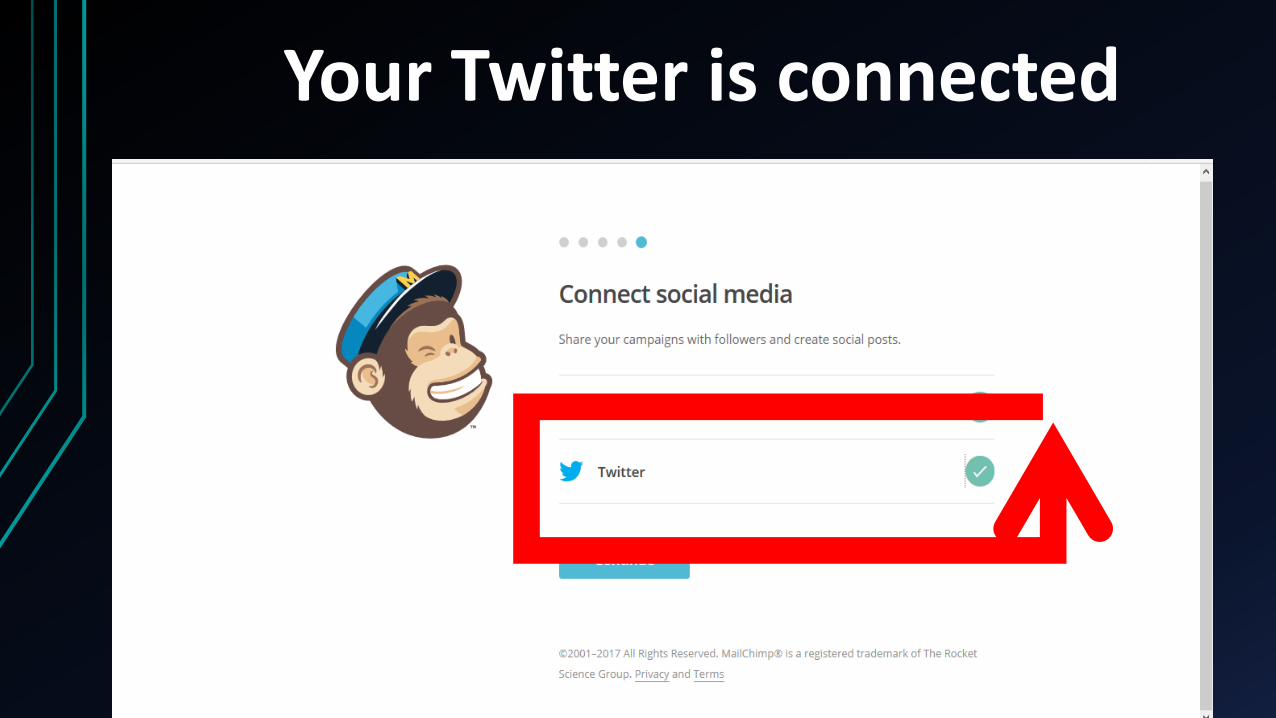
Your Twitter is connected

Click Continue
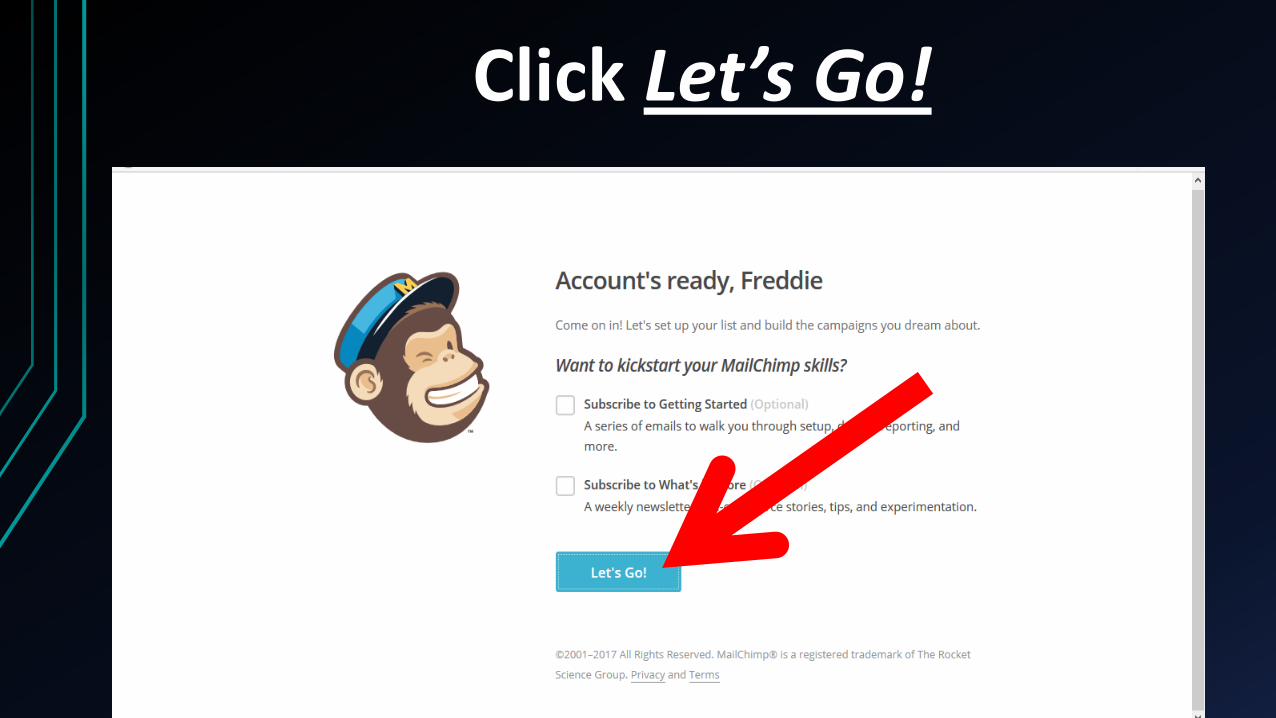
Click Let’s Go!
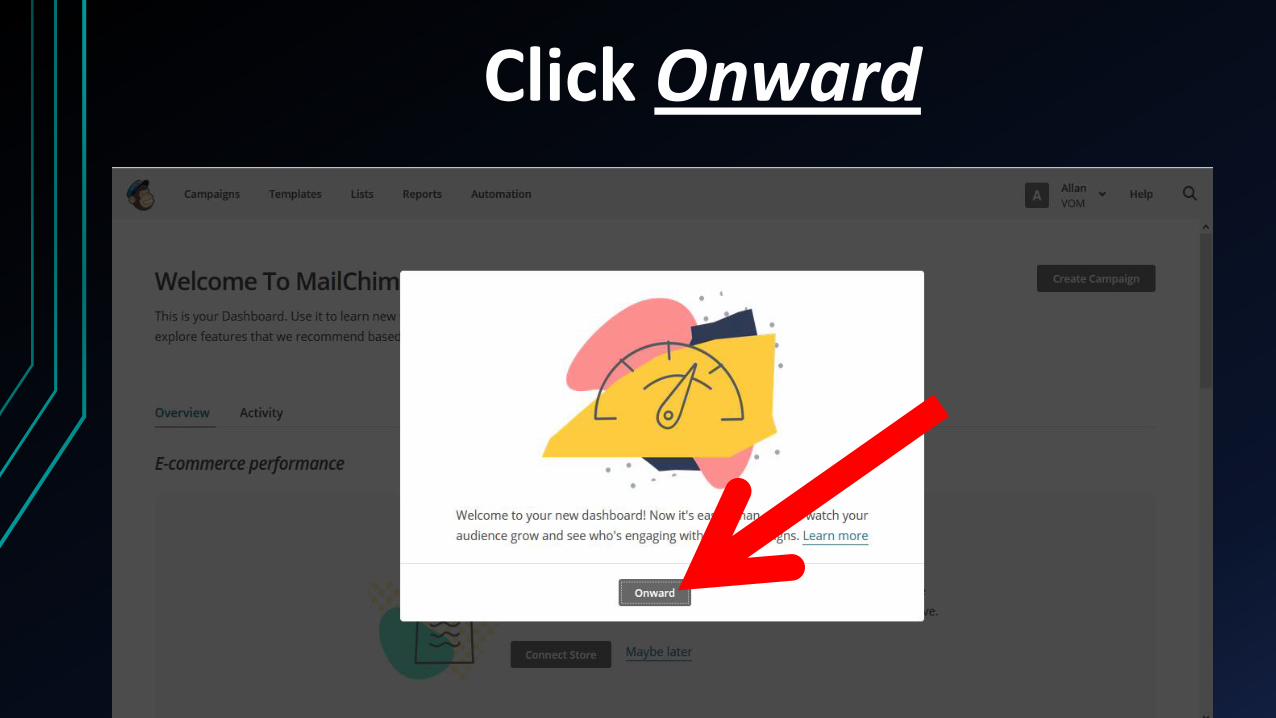
Click Onward
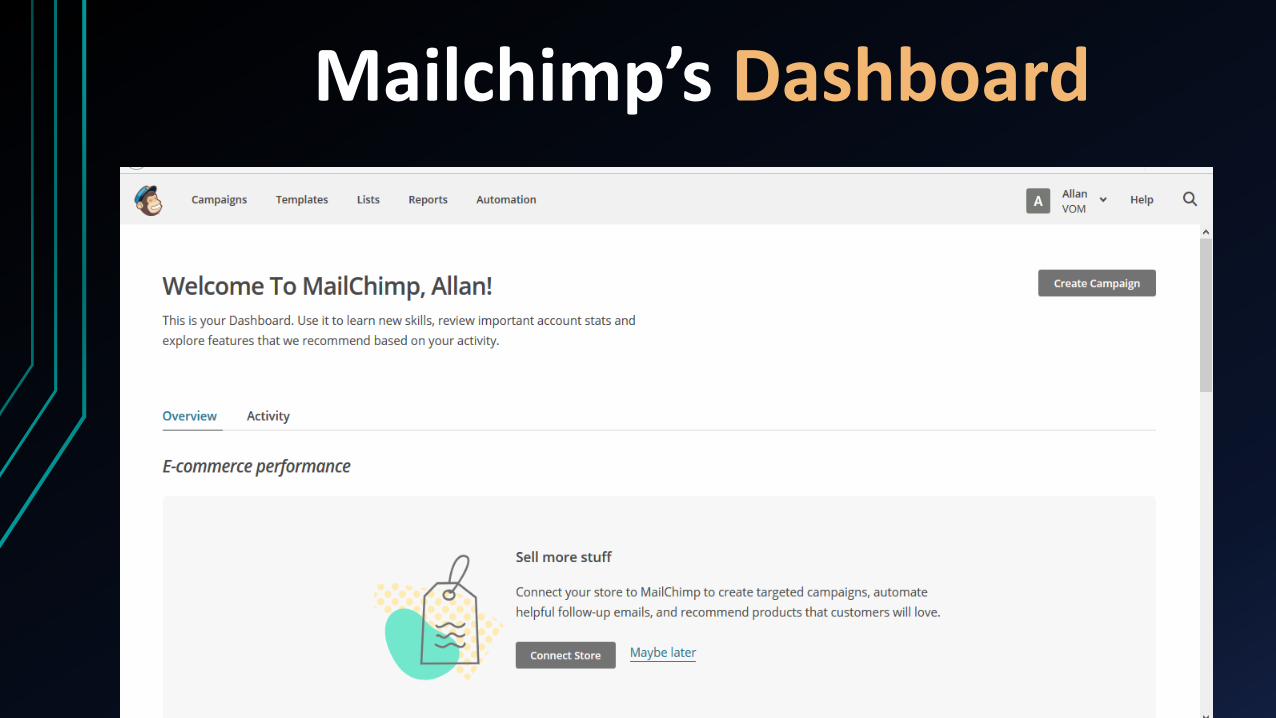
Mailchimp’s Dashboard
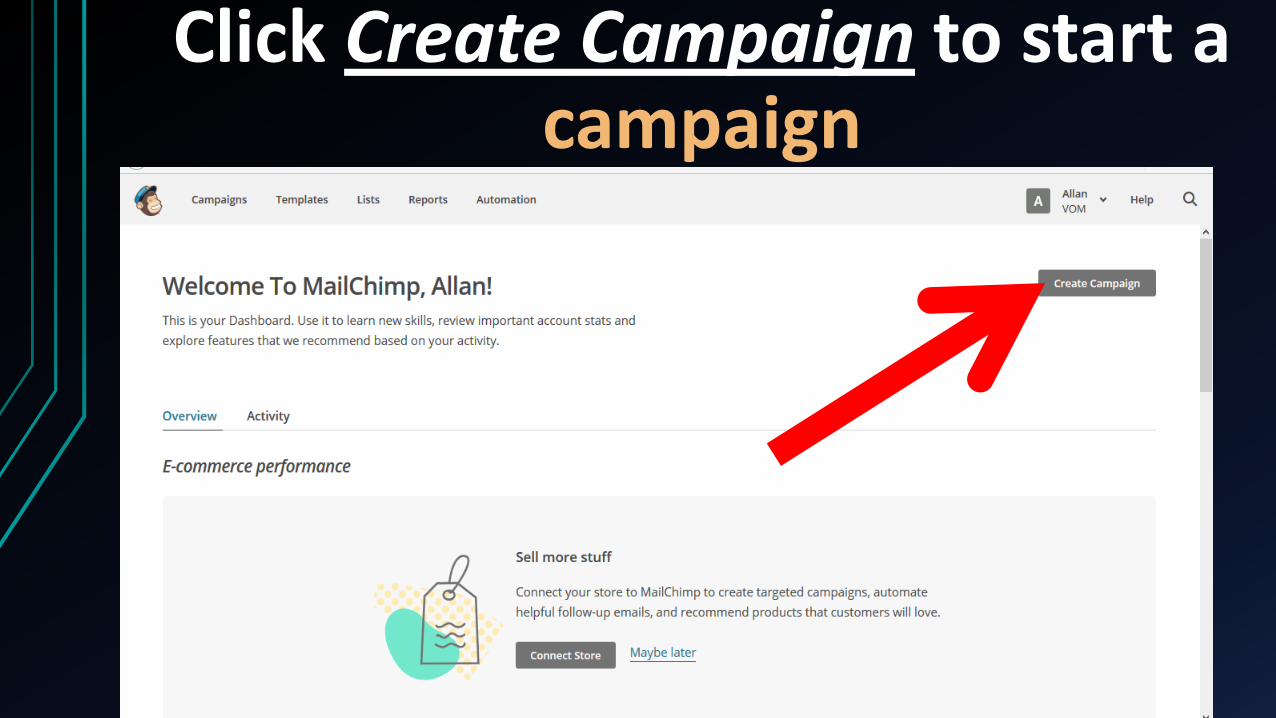
Click Create Campaign to start a campaign
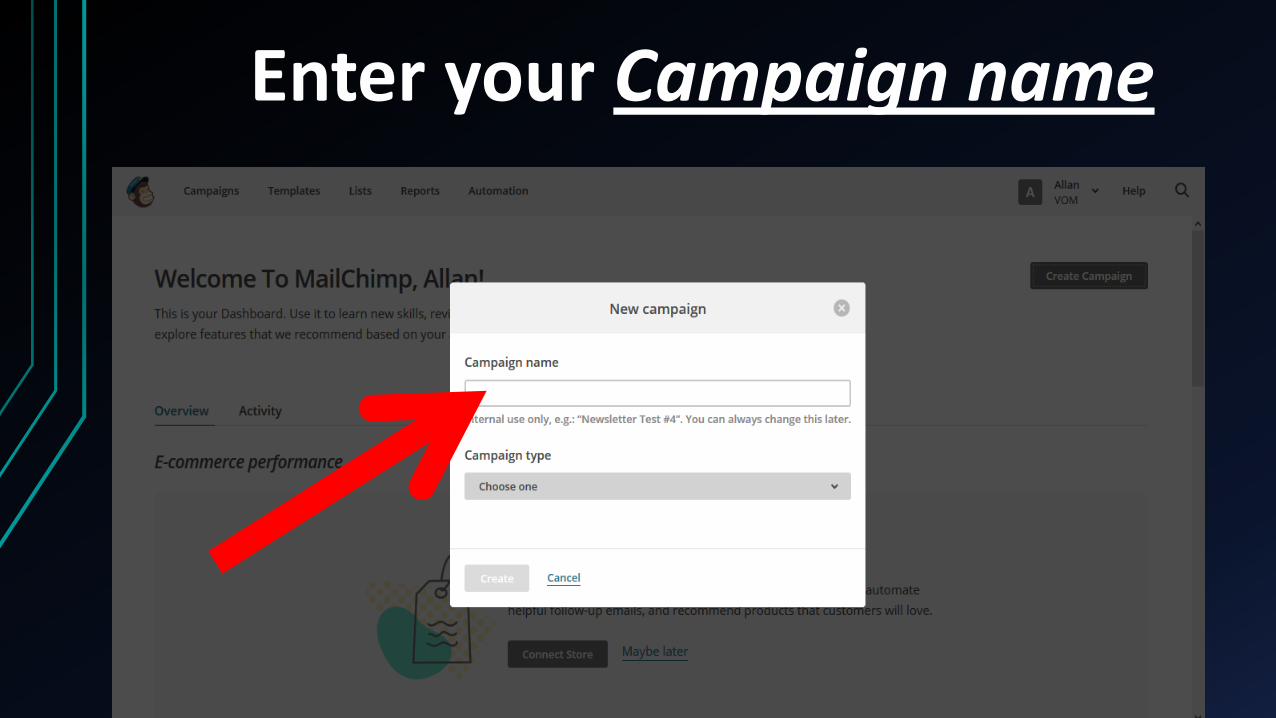
Enter your Campaign name
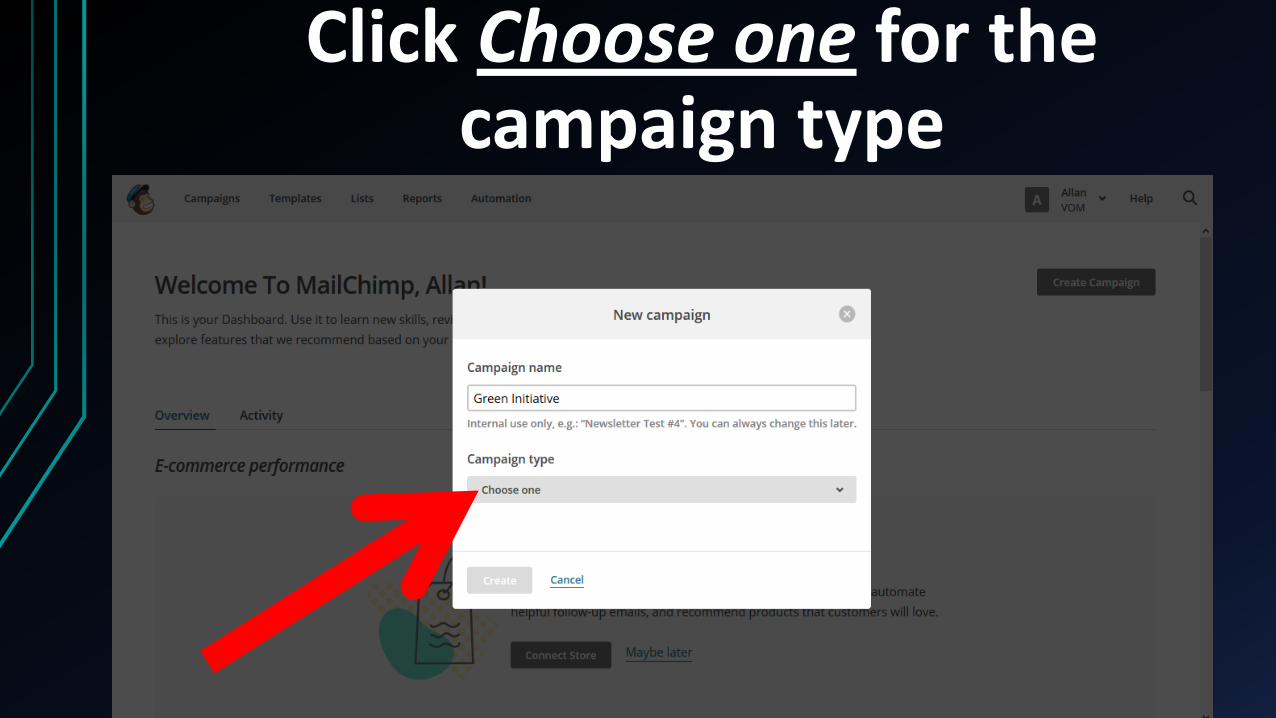
Click Choose one for the campaign type
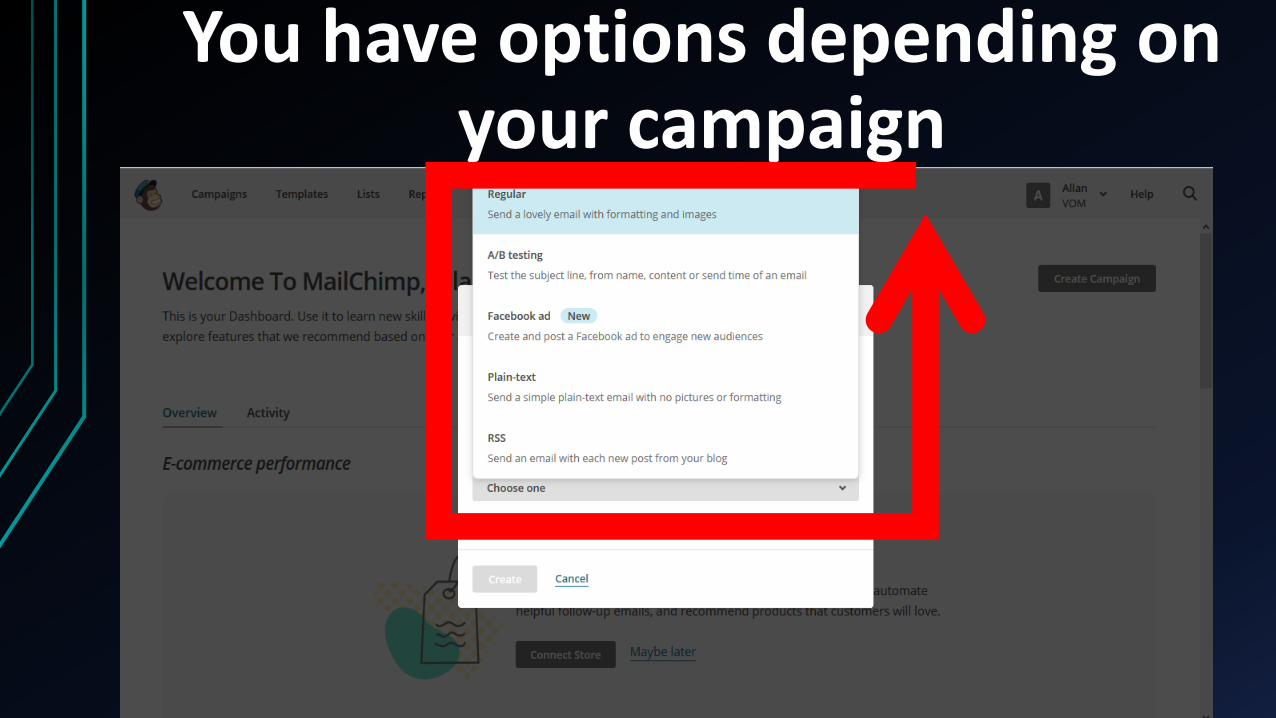
You have options depending on your campaign
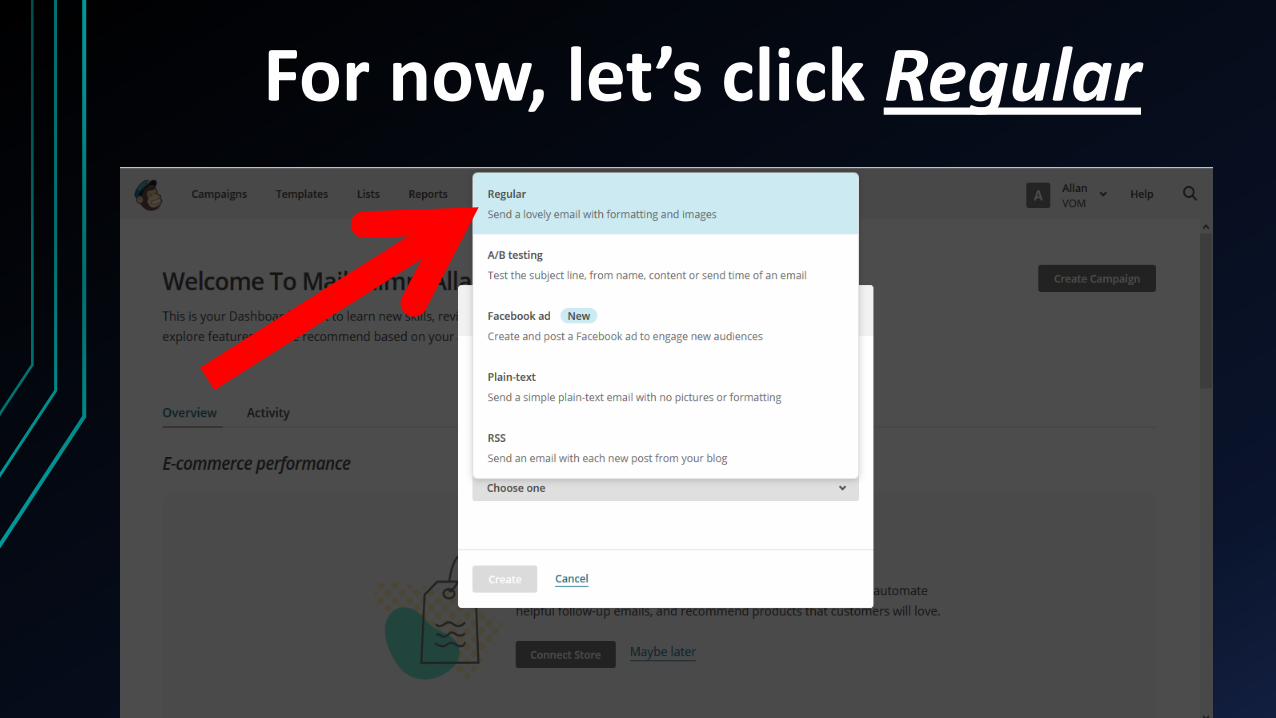
For now, let’s click Regular
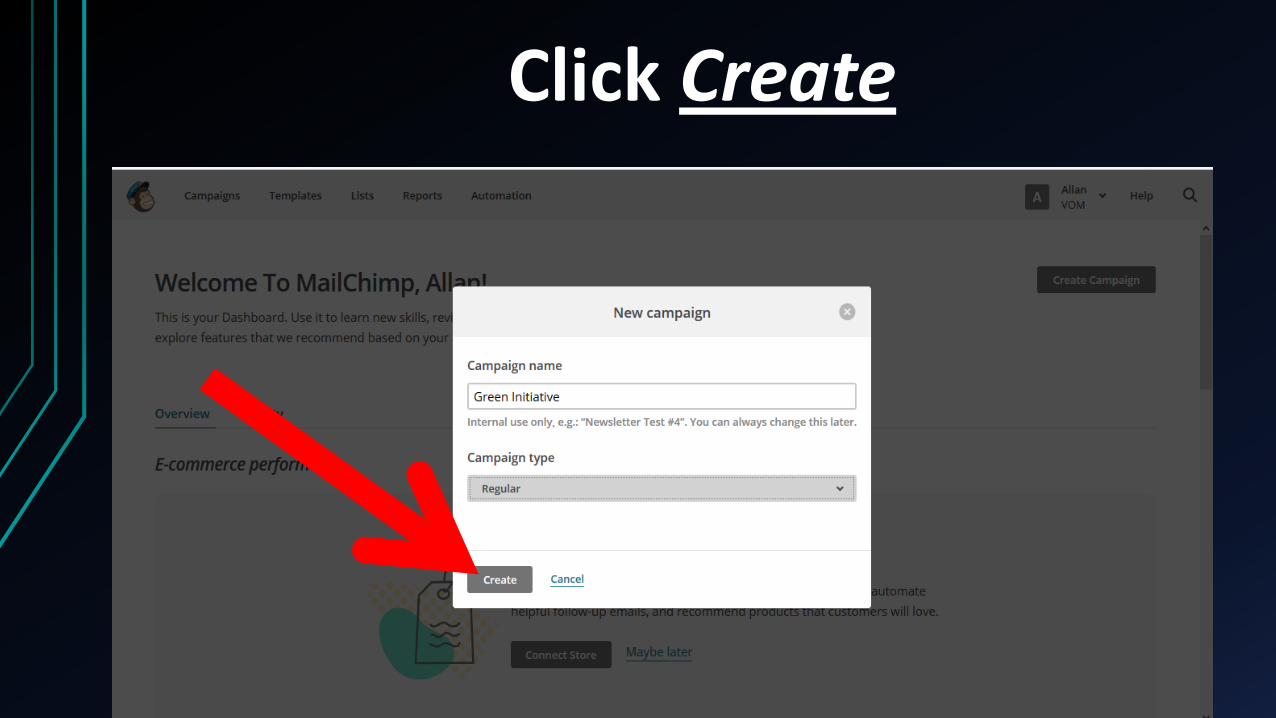
Click Create
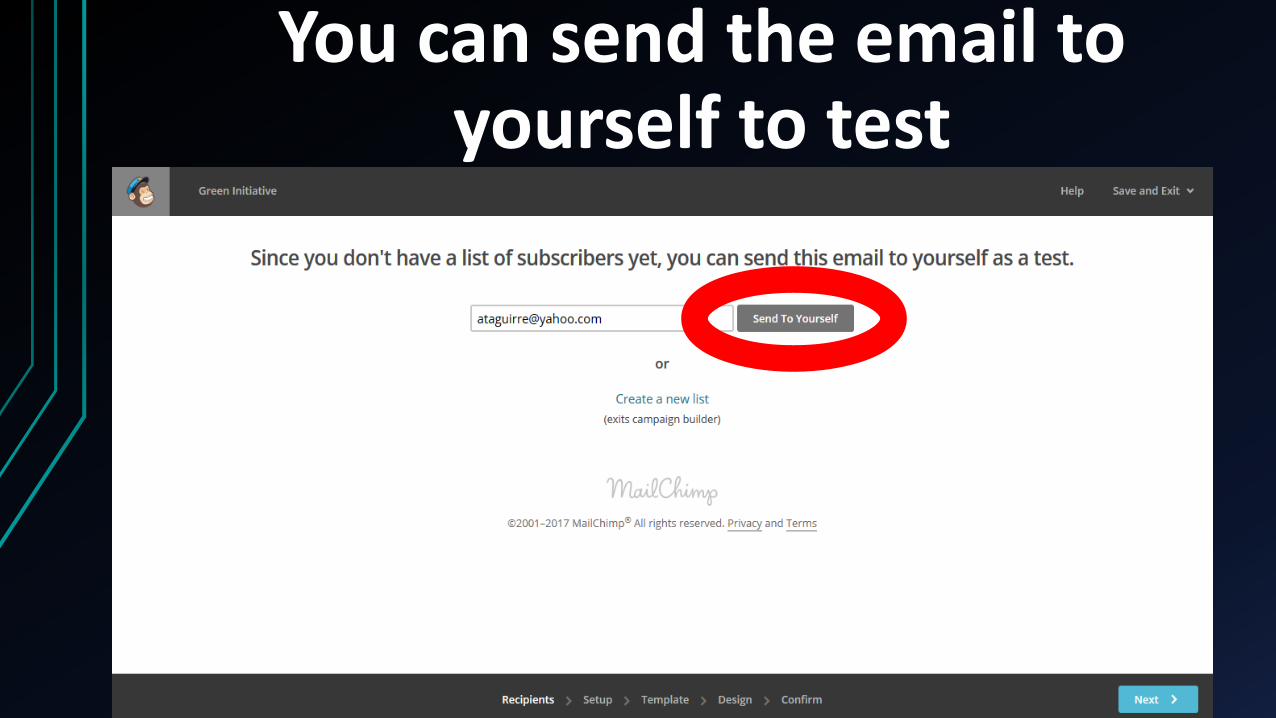
You can send the email to yourself to test
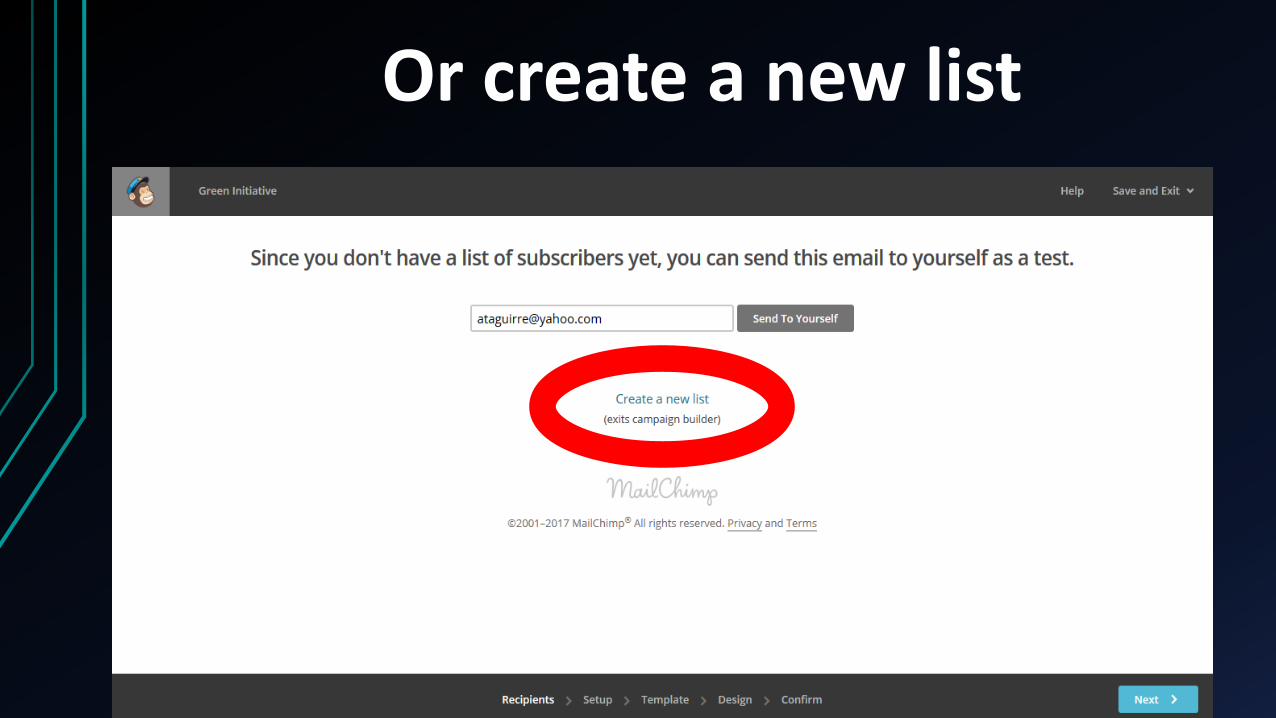
Or create a new list
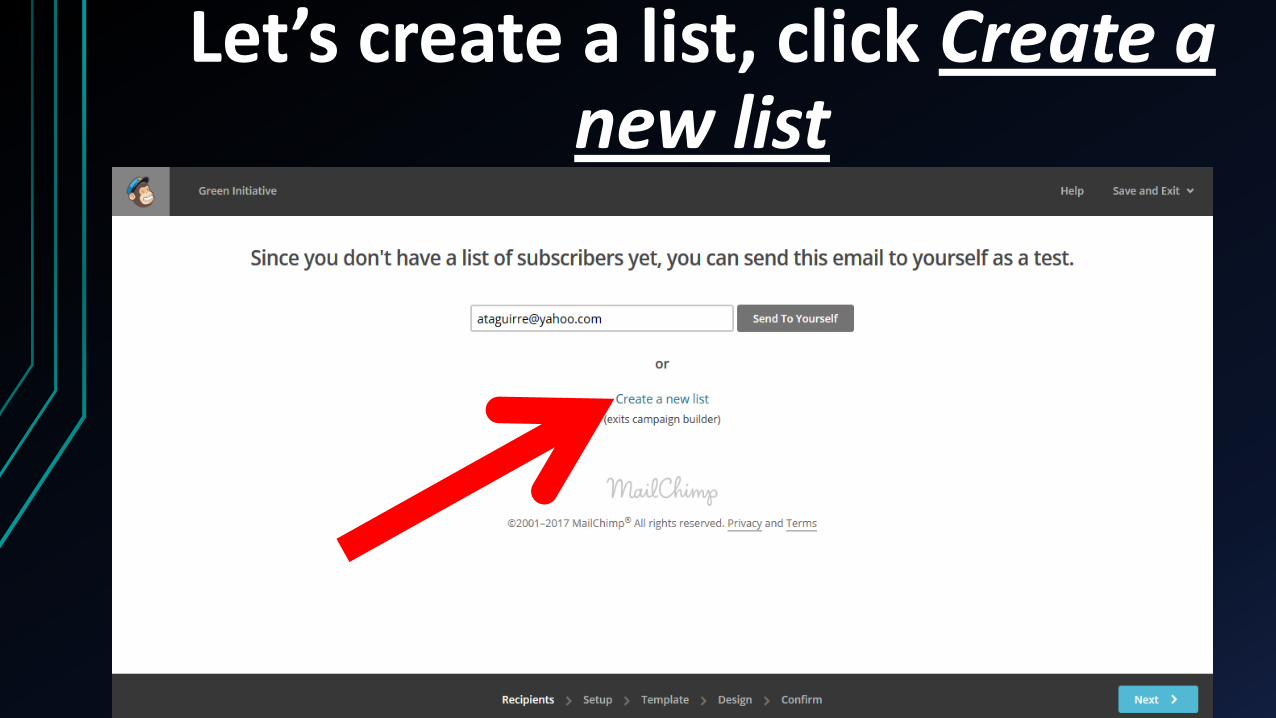
Let’s create a list, click Create a new list
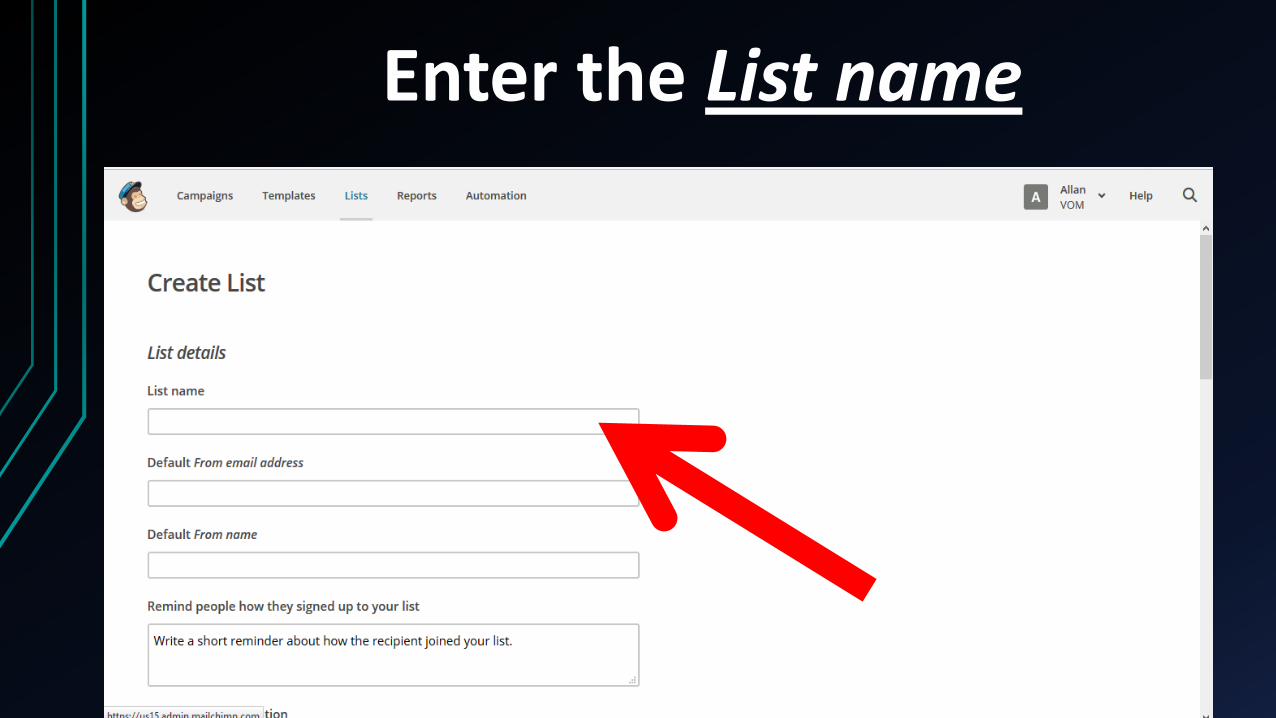
Enter the List name
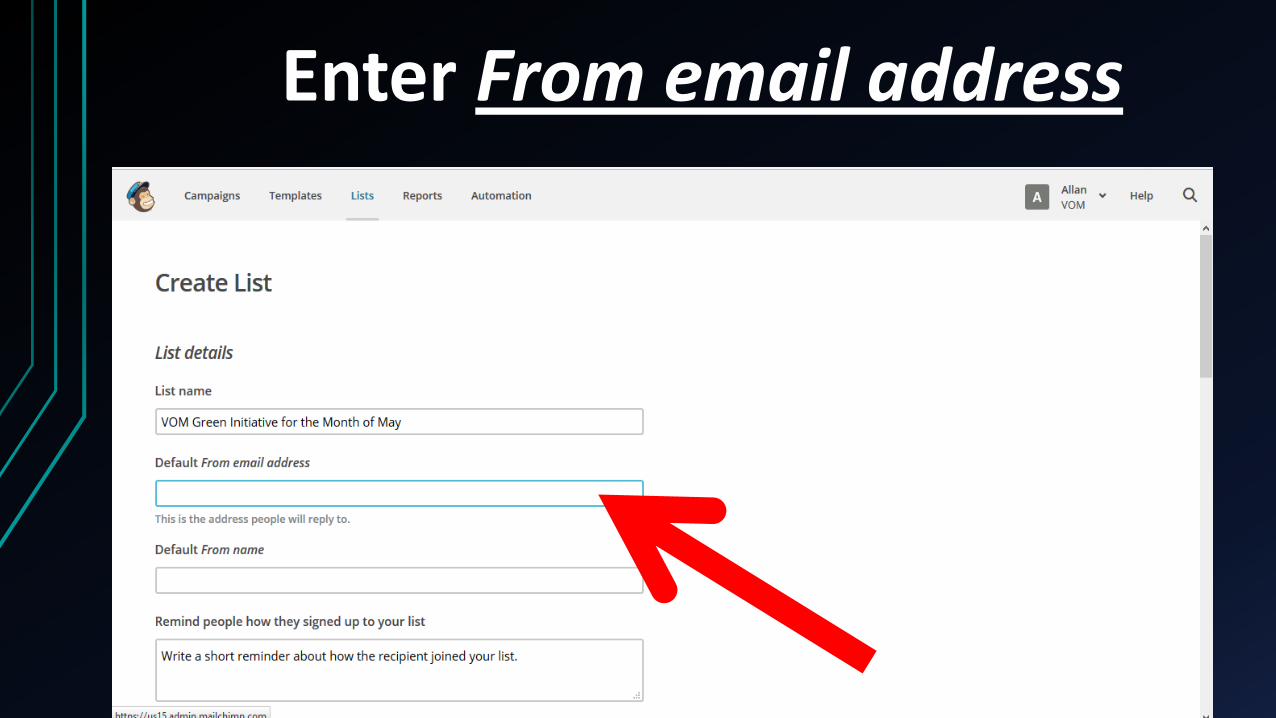
Enter From email address
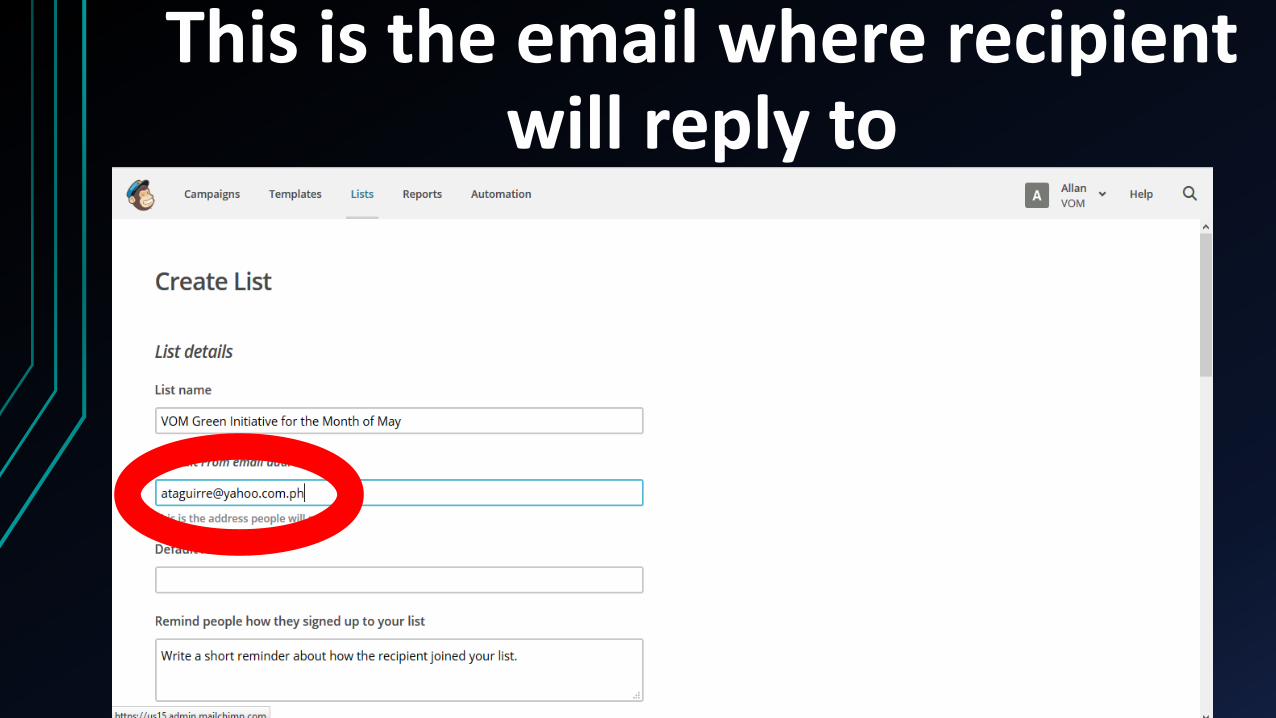
This is the email where recipient will reply to
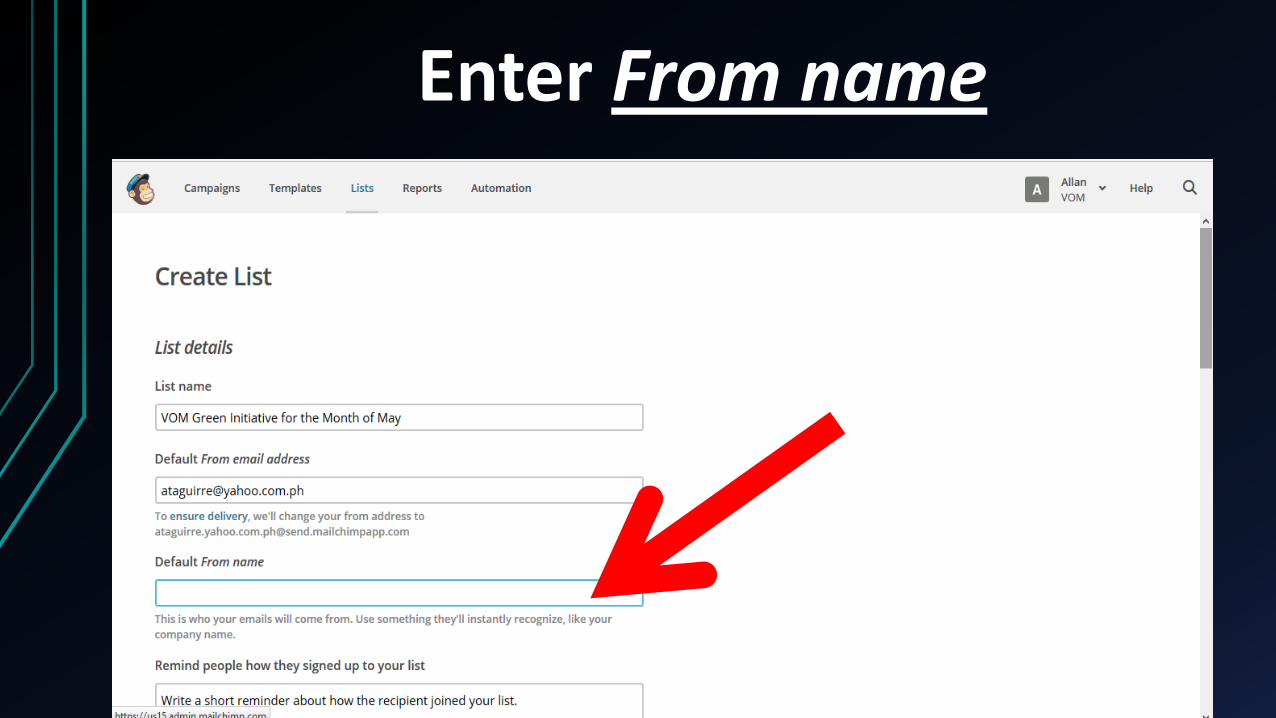
Enter From name
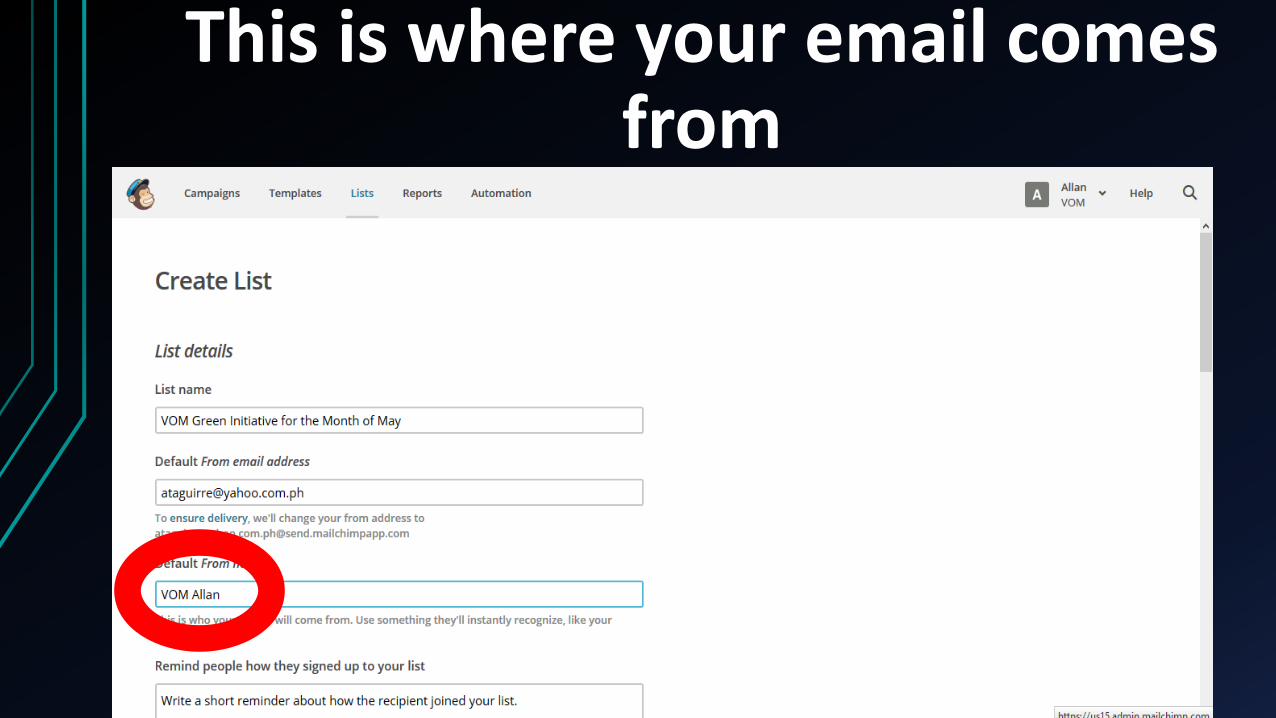
This is where your email comes from
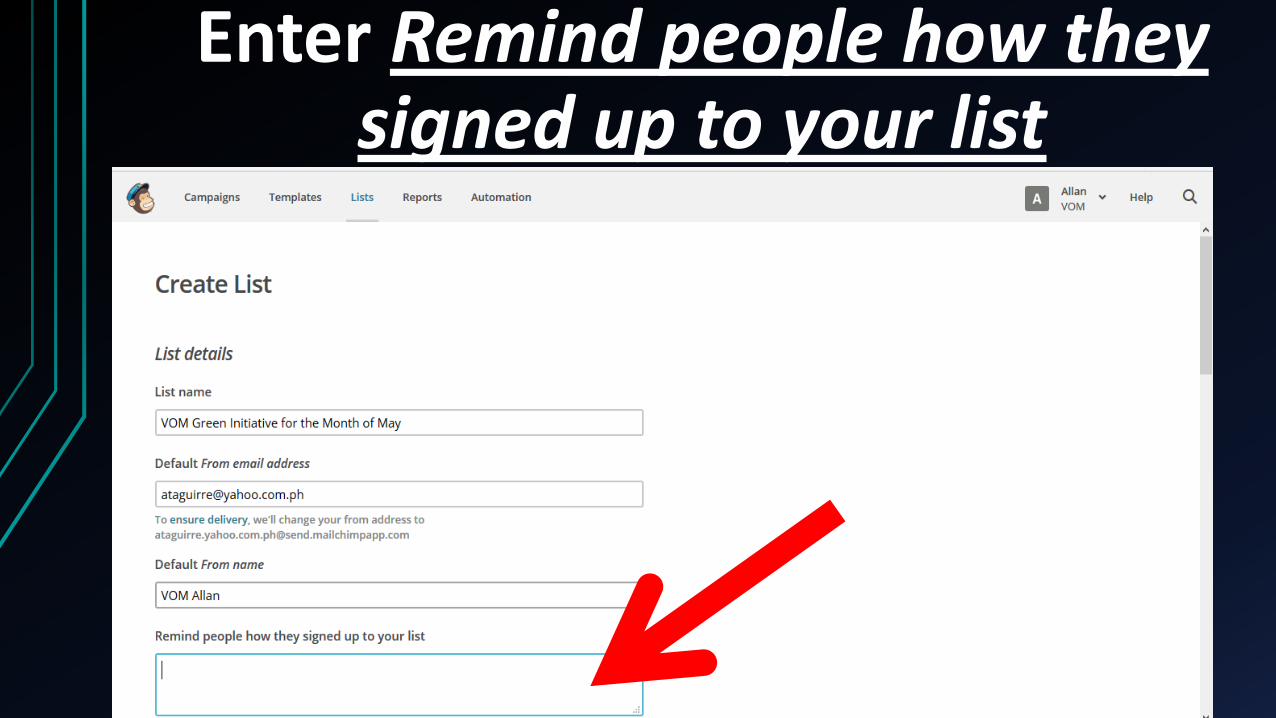
Enter Remind people how they signed up to your list
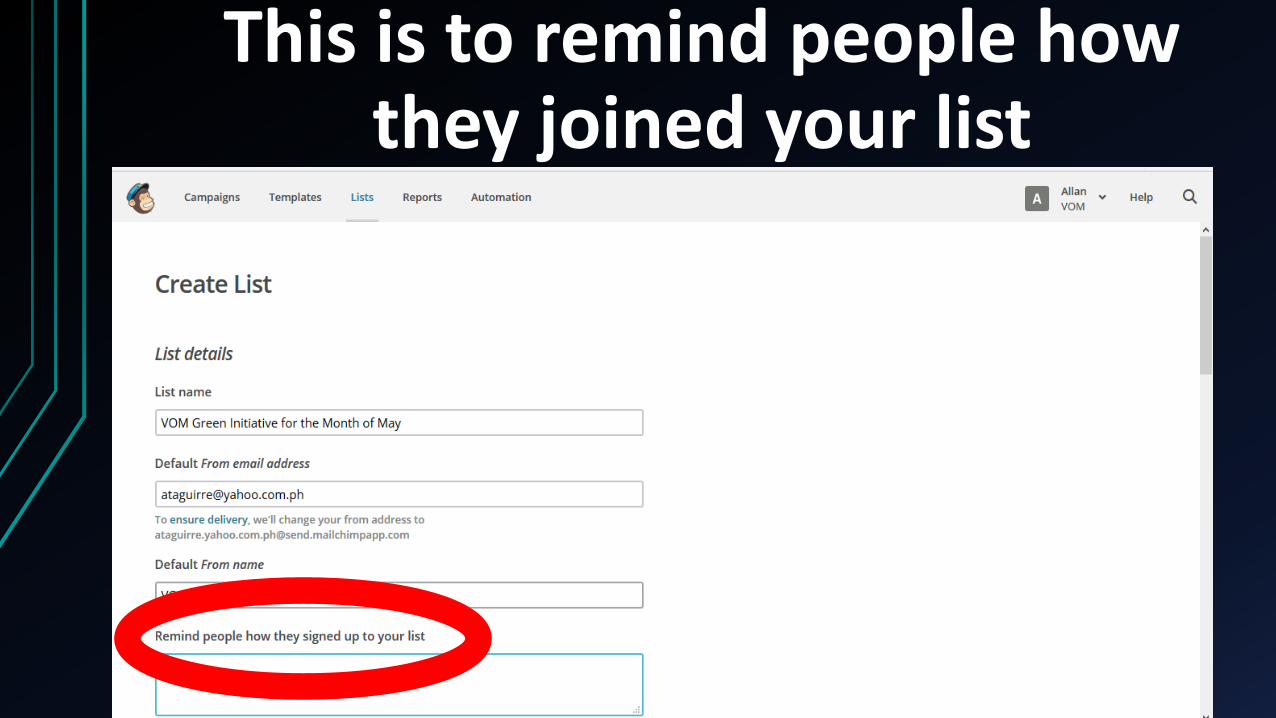
This is to remind people how they joined your list
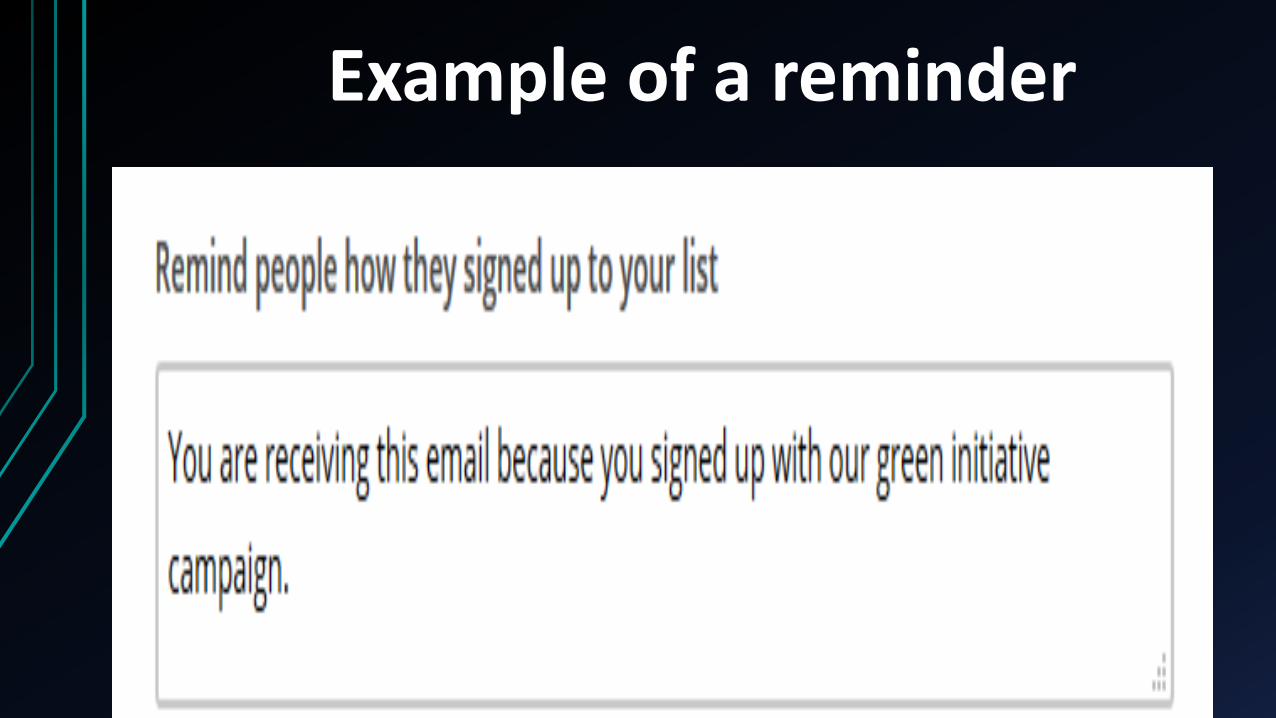
Example of a reminder

Next is to enter your Company
Then enter your address
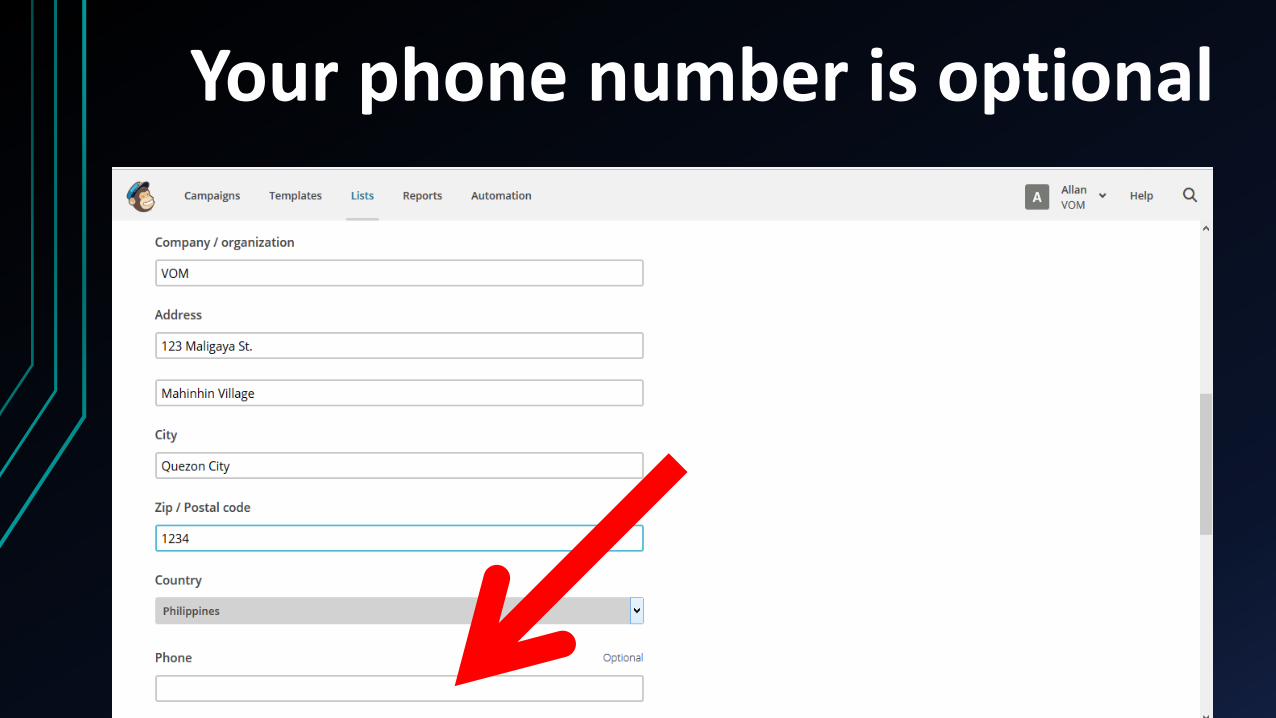
Your phone number is optional
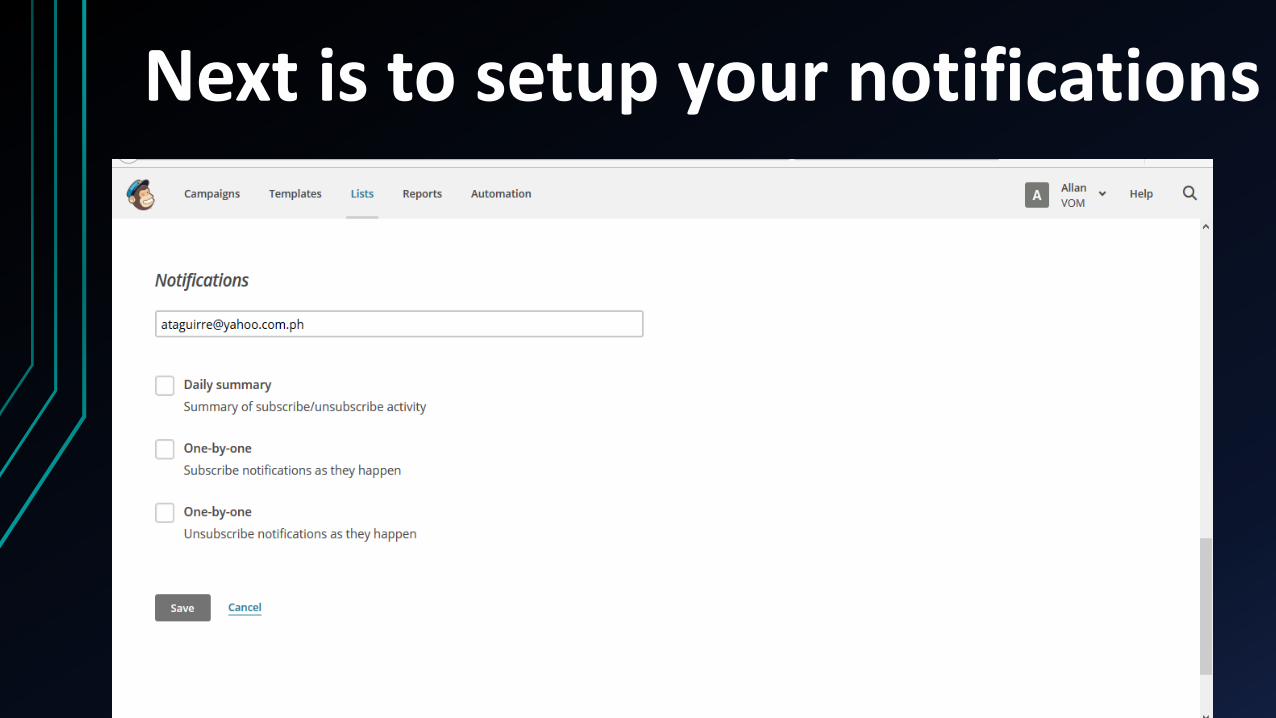
Next is to setup your notifications
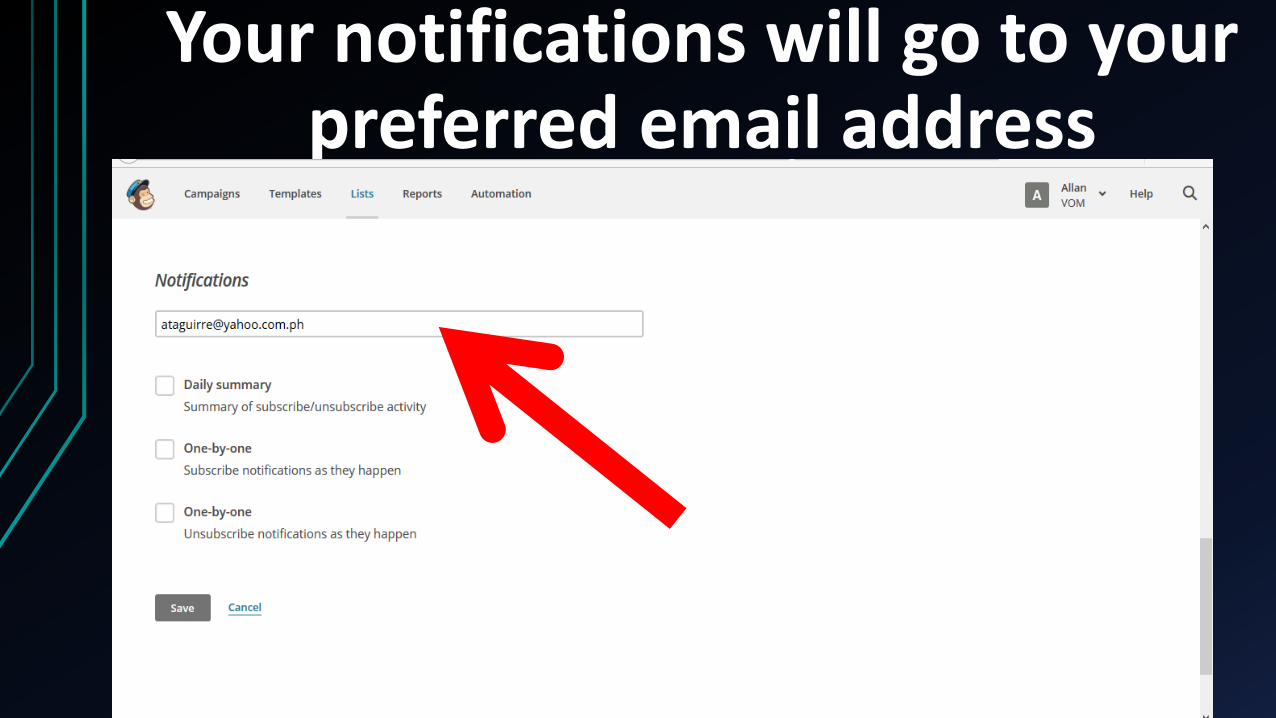
Your notifications will go to your preferred email address
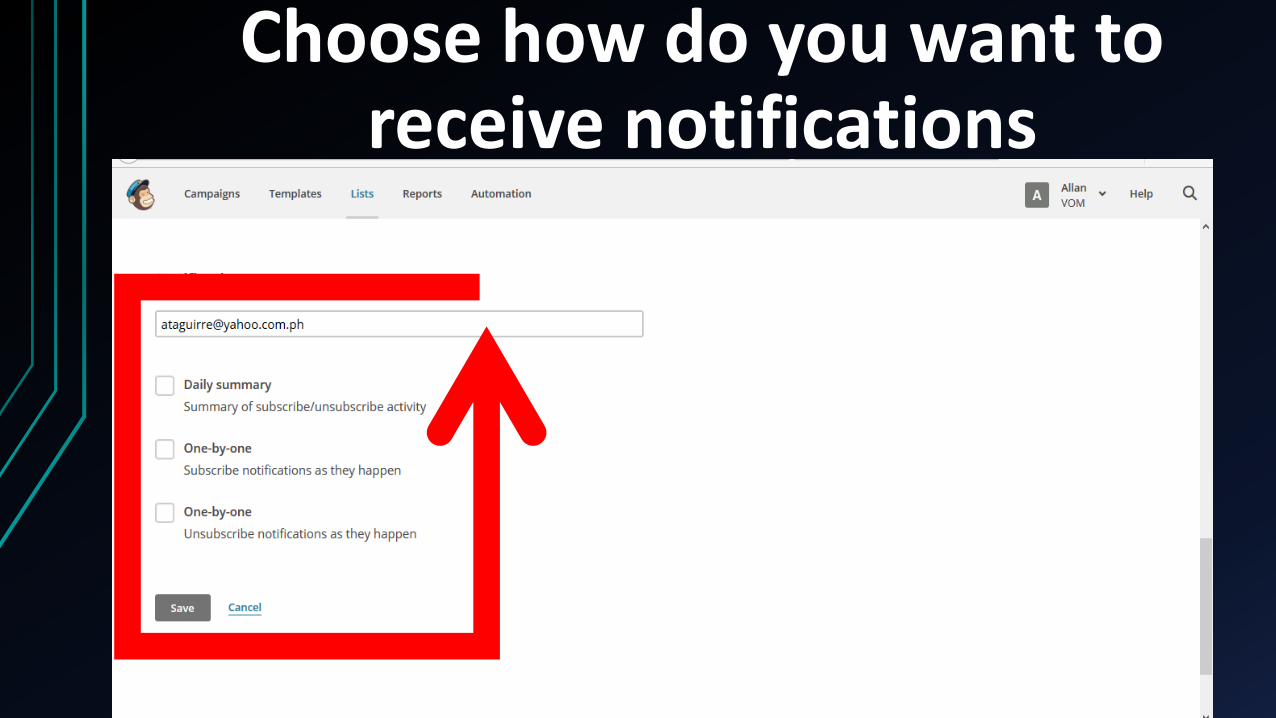
Choose how do you want to receive notifications

You can select more than one option
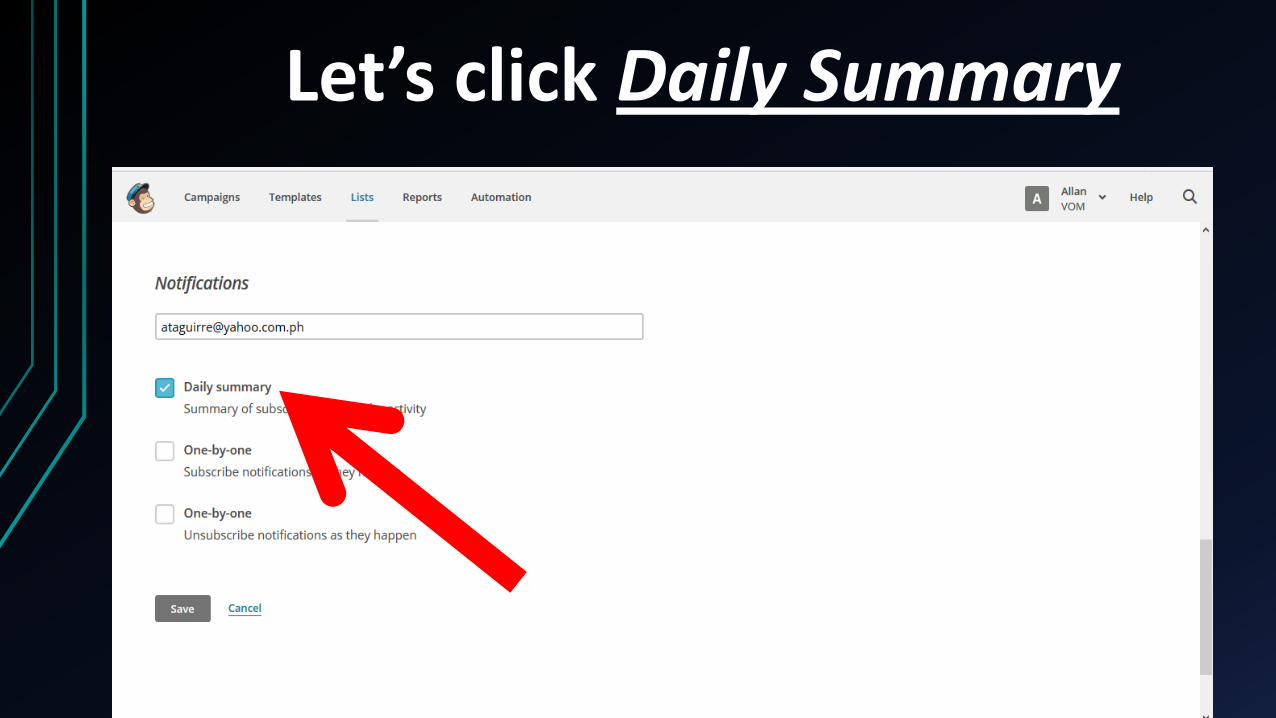
Let’s click Daily Summary
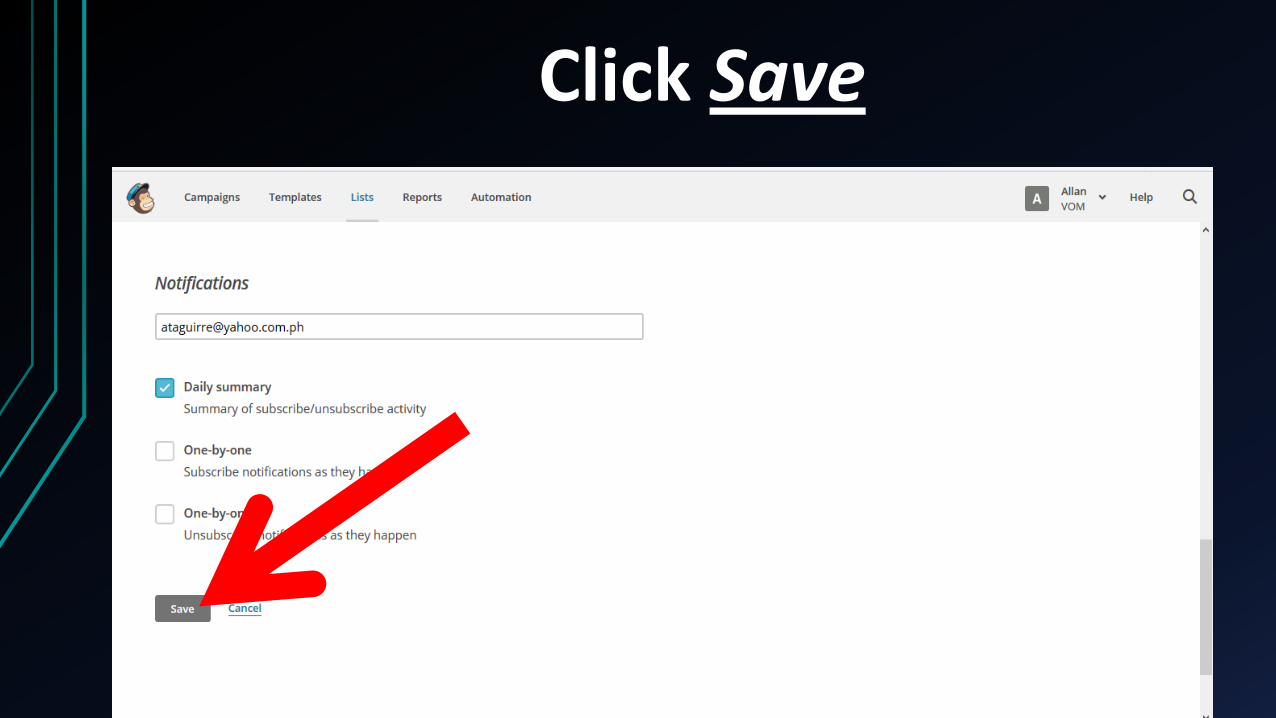
Click Save
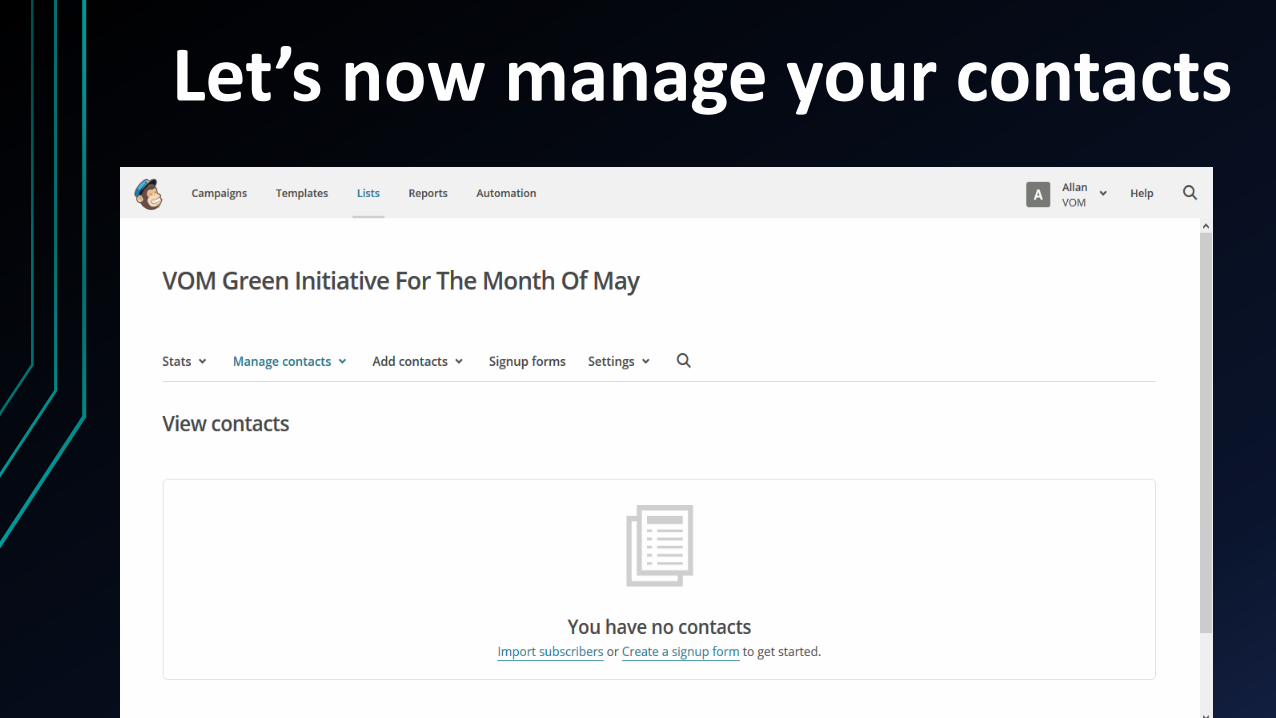
Let’s now manage your contacts
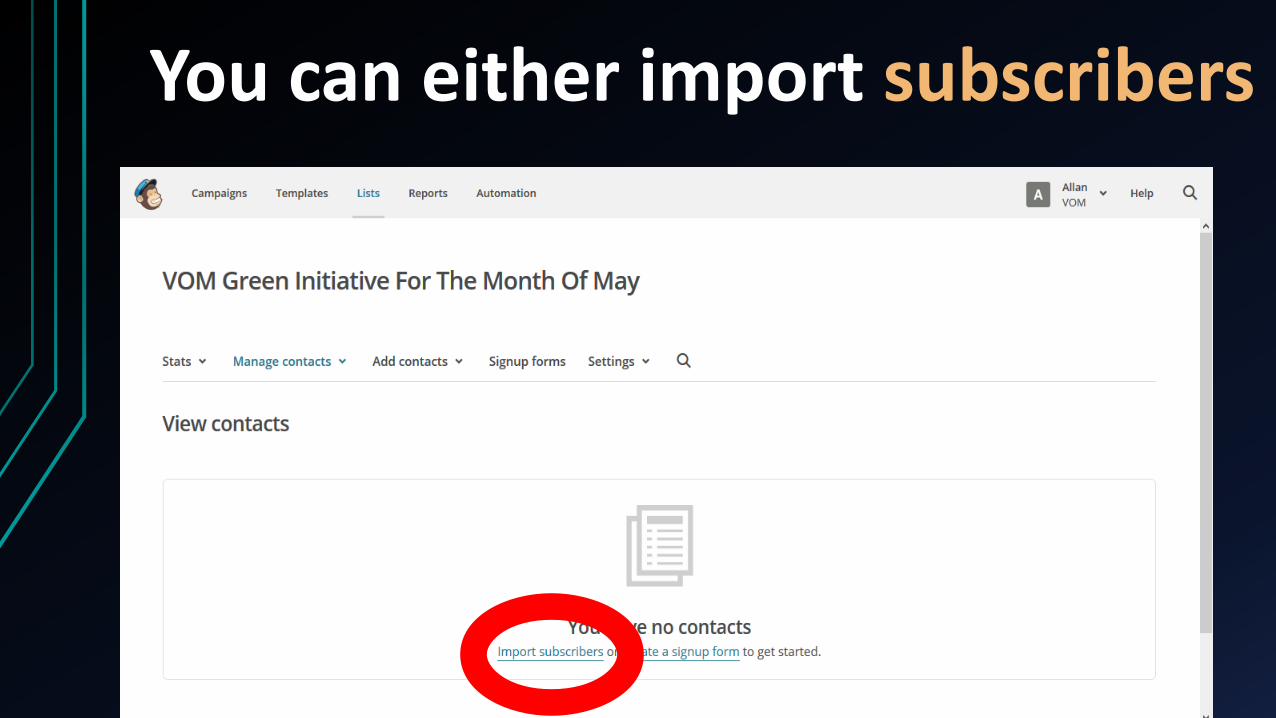
You can either import subscribers
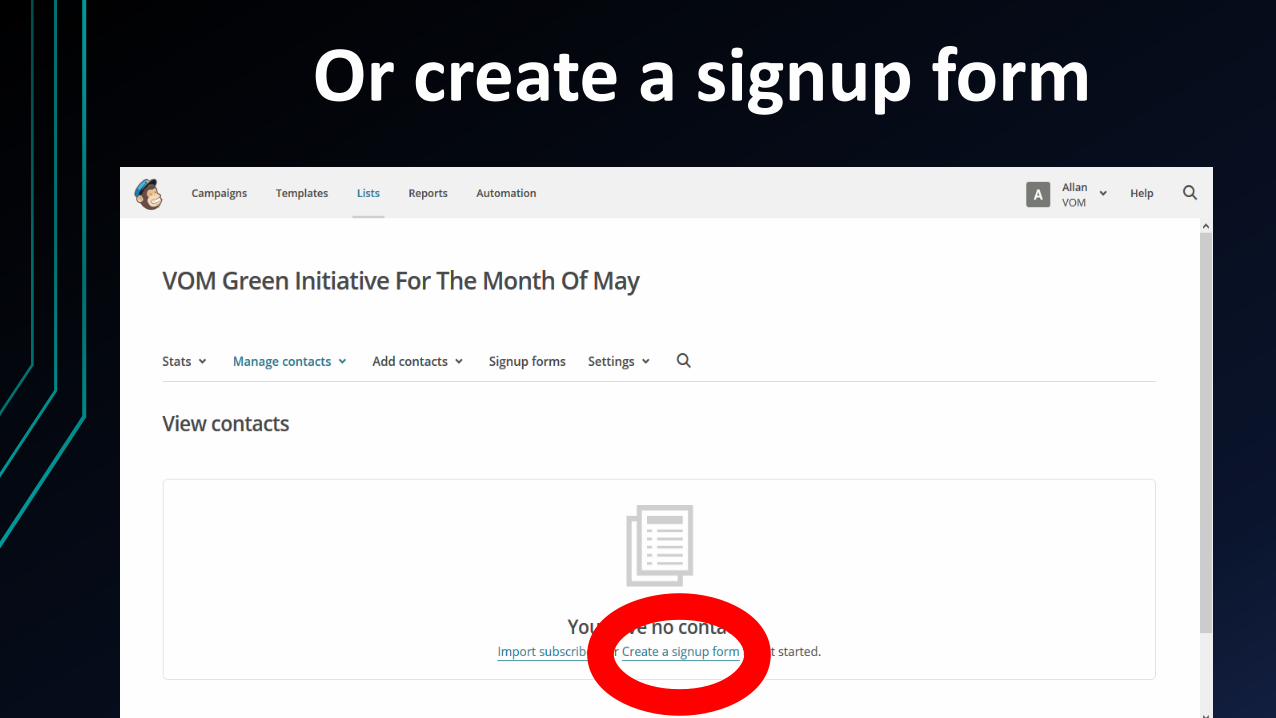
Or create a signup form
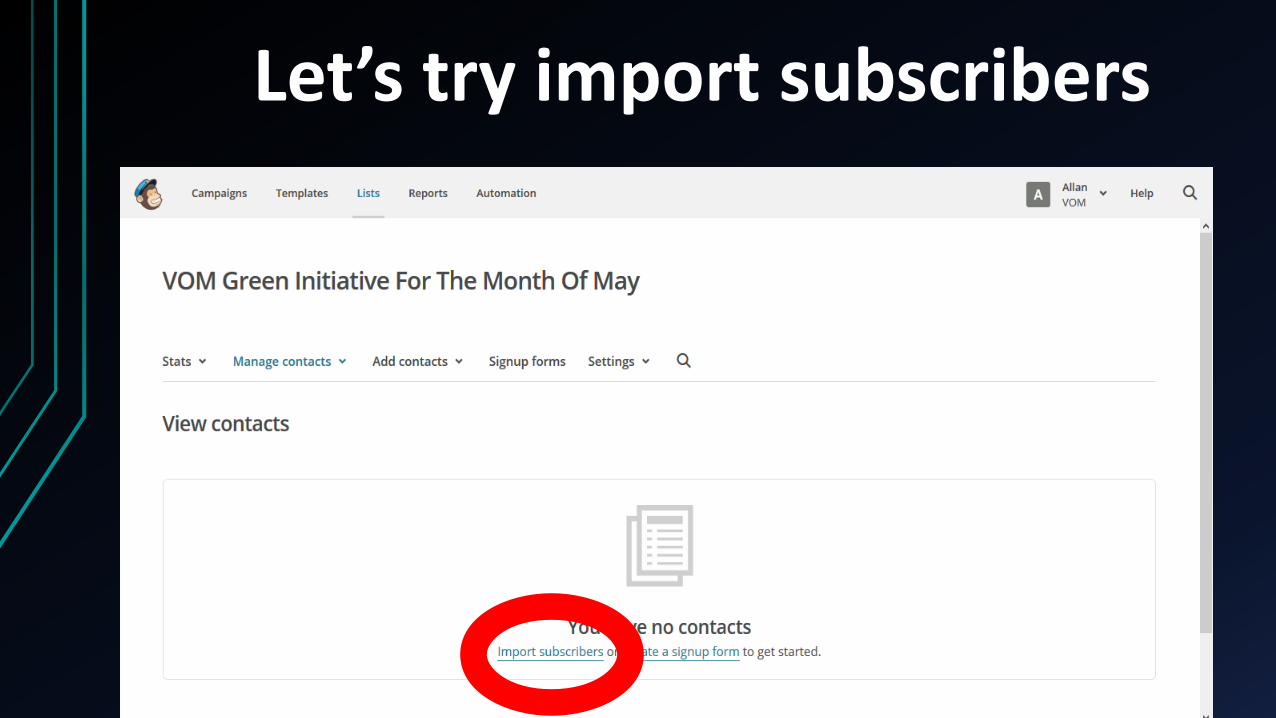
Let’s try import subscribers
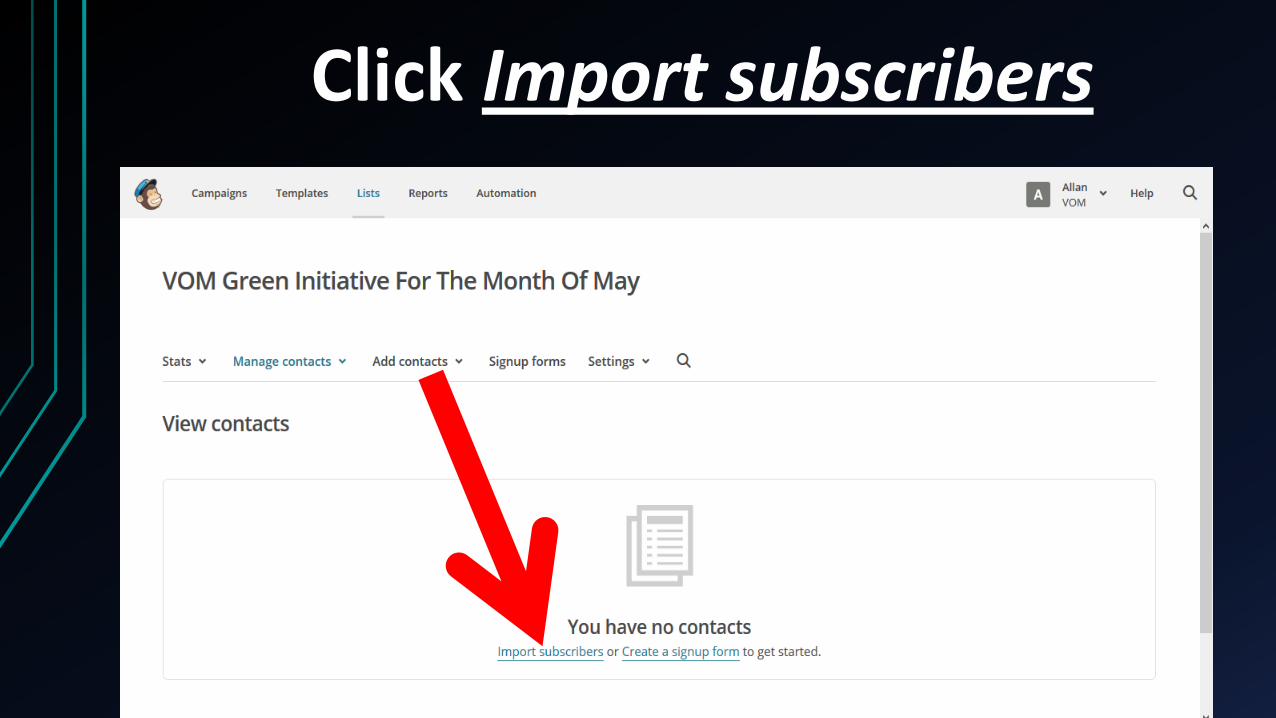
Click Import subscribers
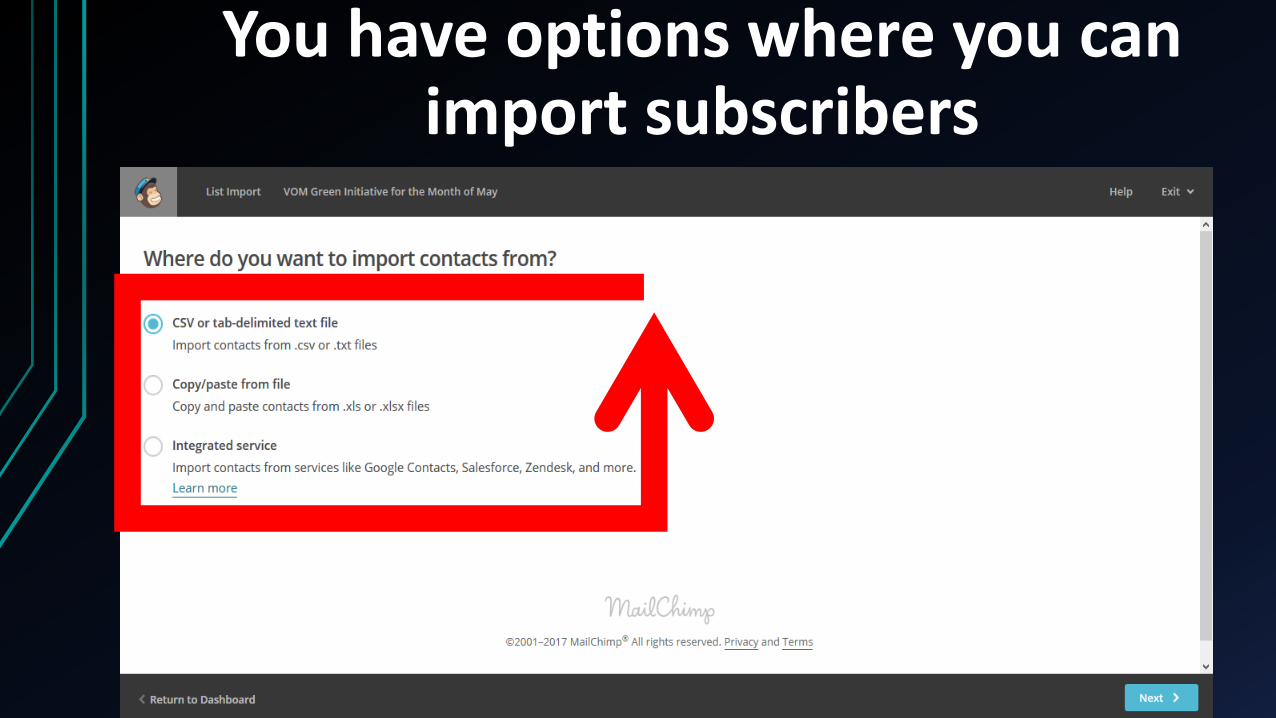
You have options where you can import subscribers
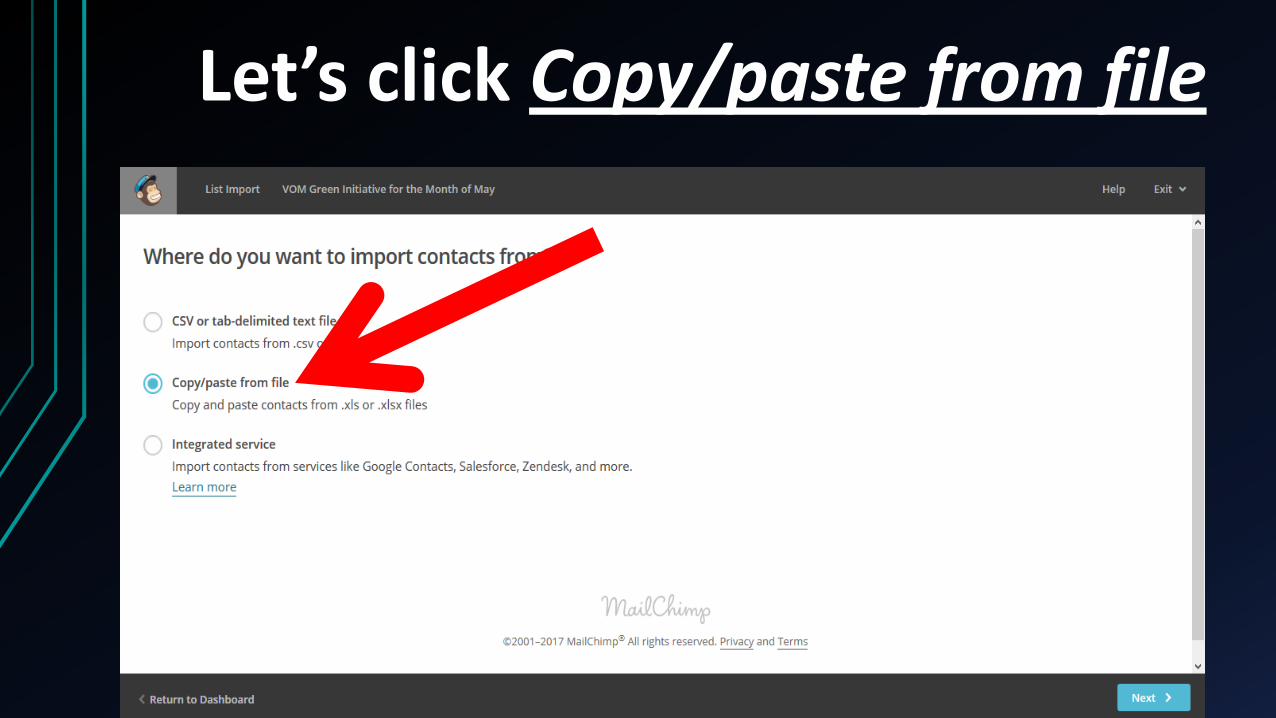
Let’s click Copy/paste from file
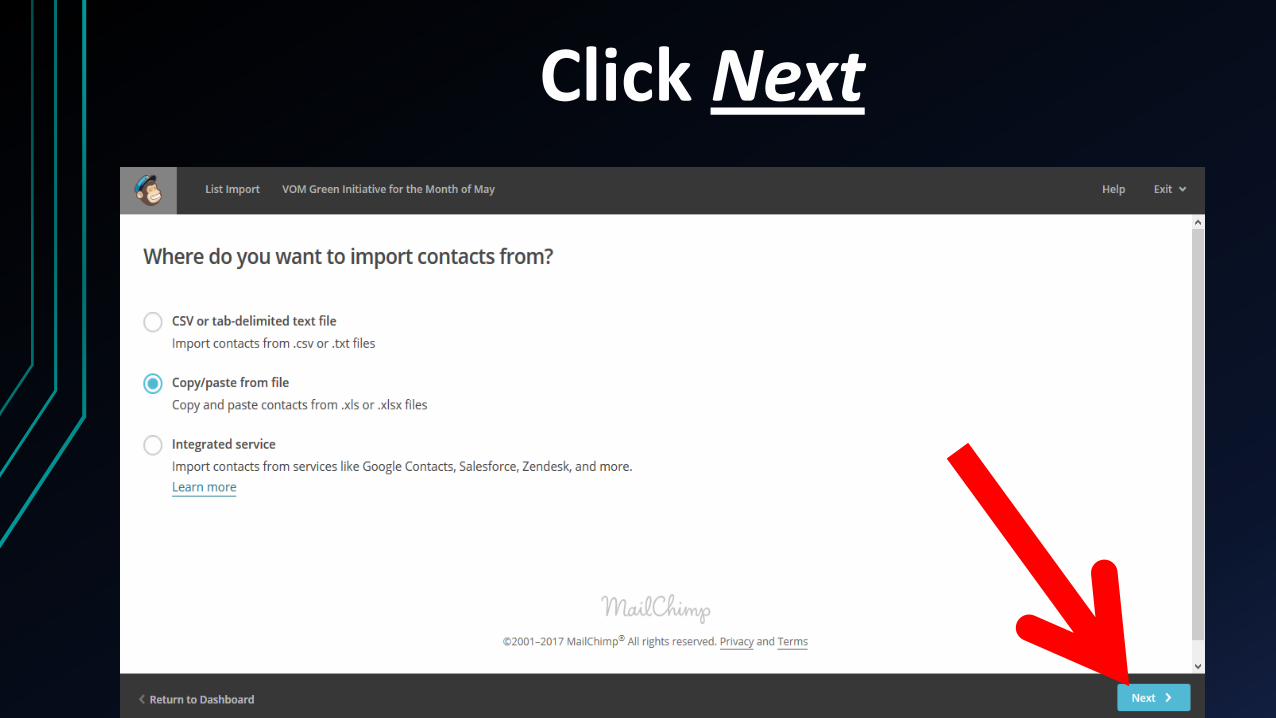
Click Next
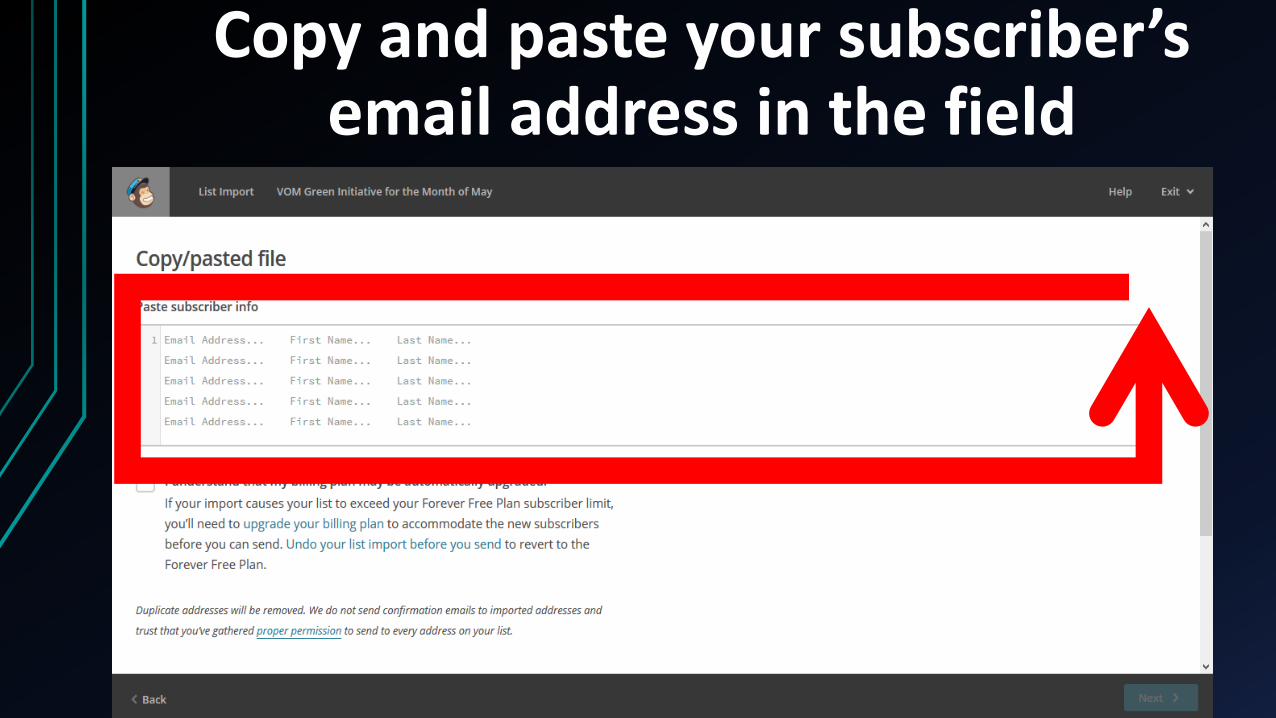
Copy and paste your subscriber’s email address in the field
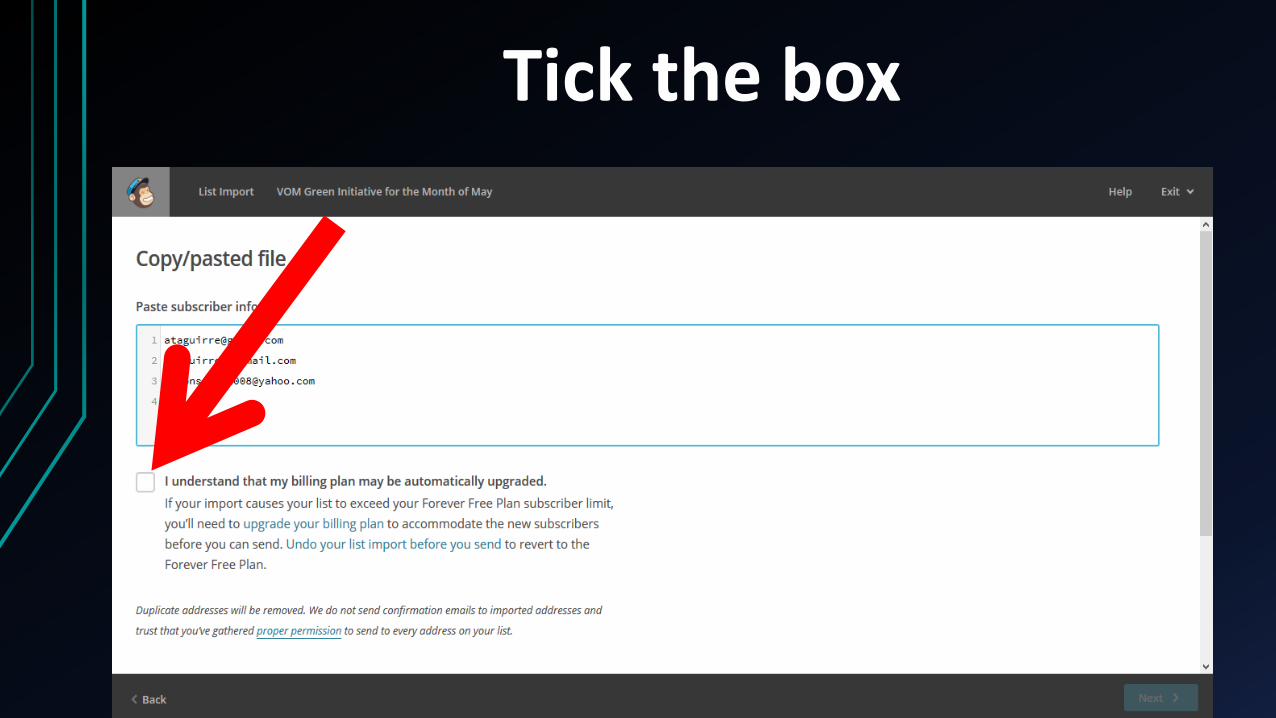
Tick the box
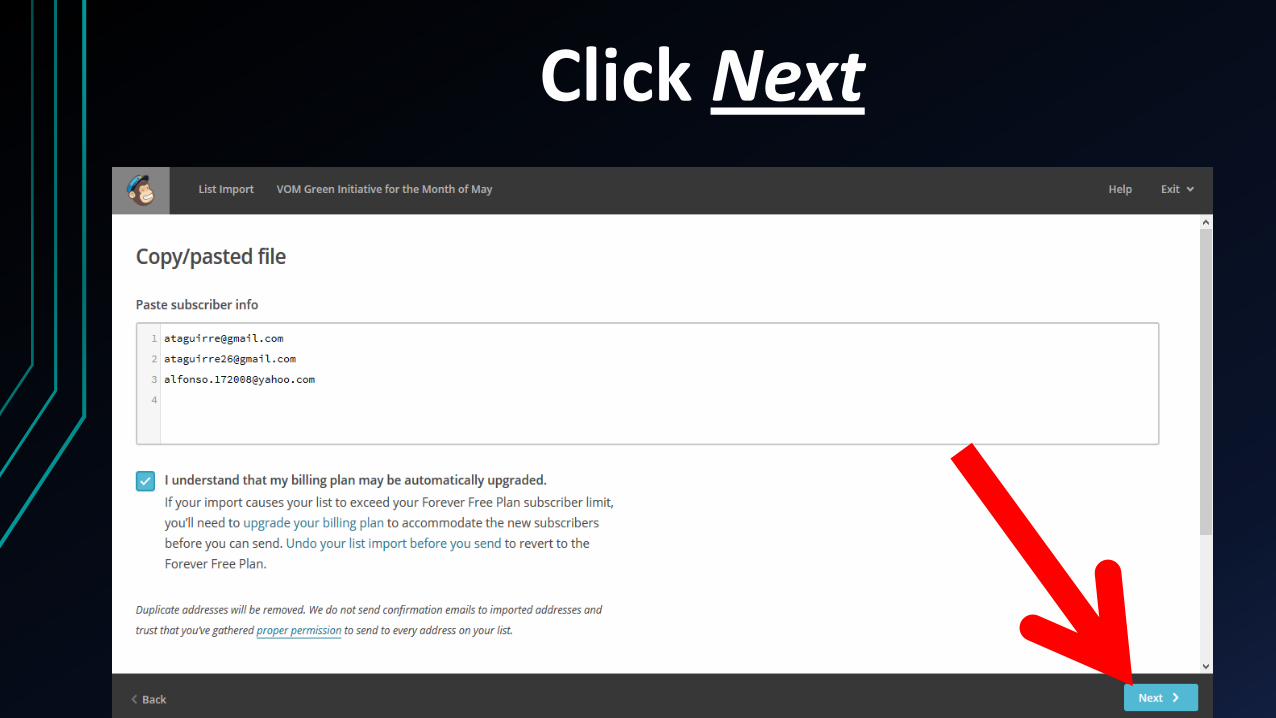
Click Next
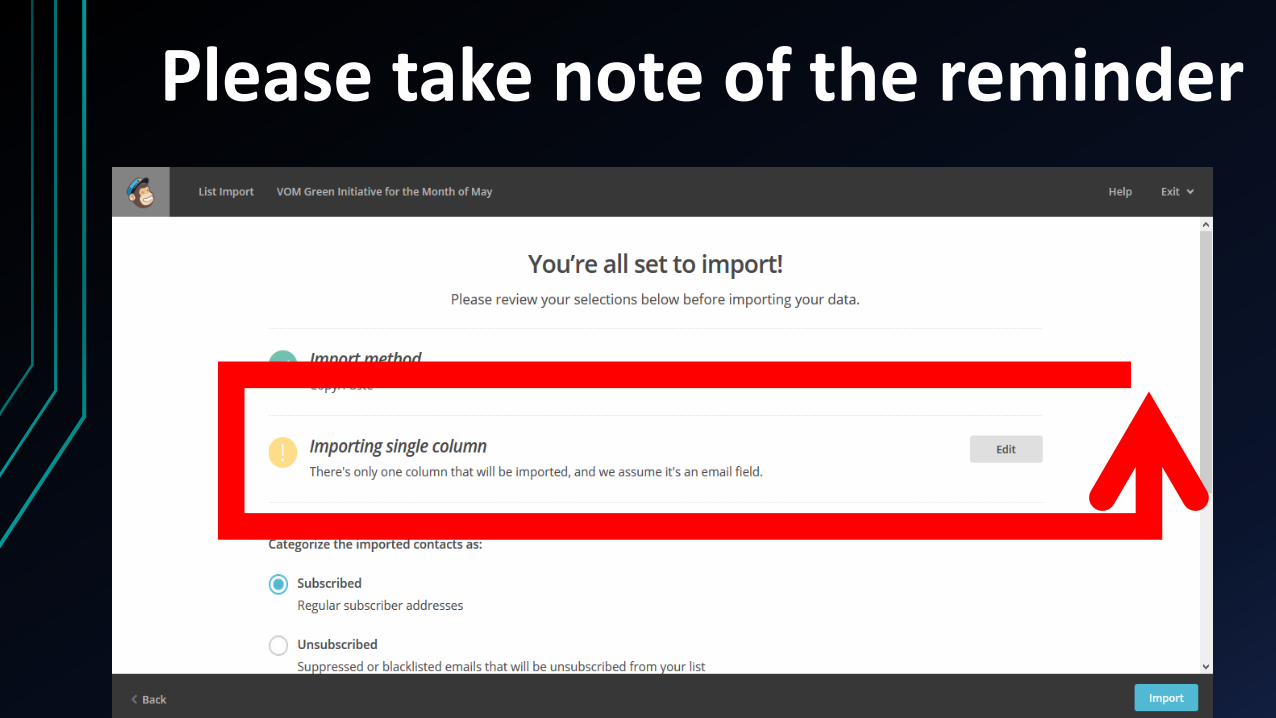
Please take note of the reminder
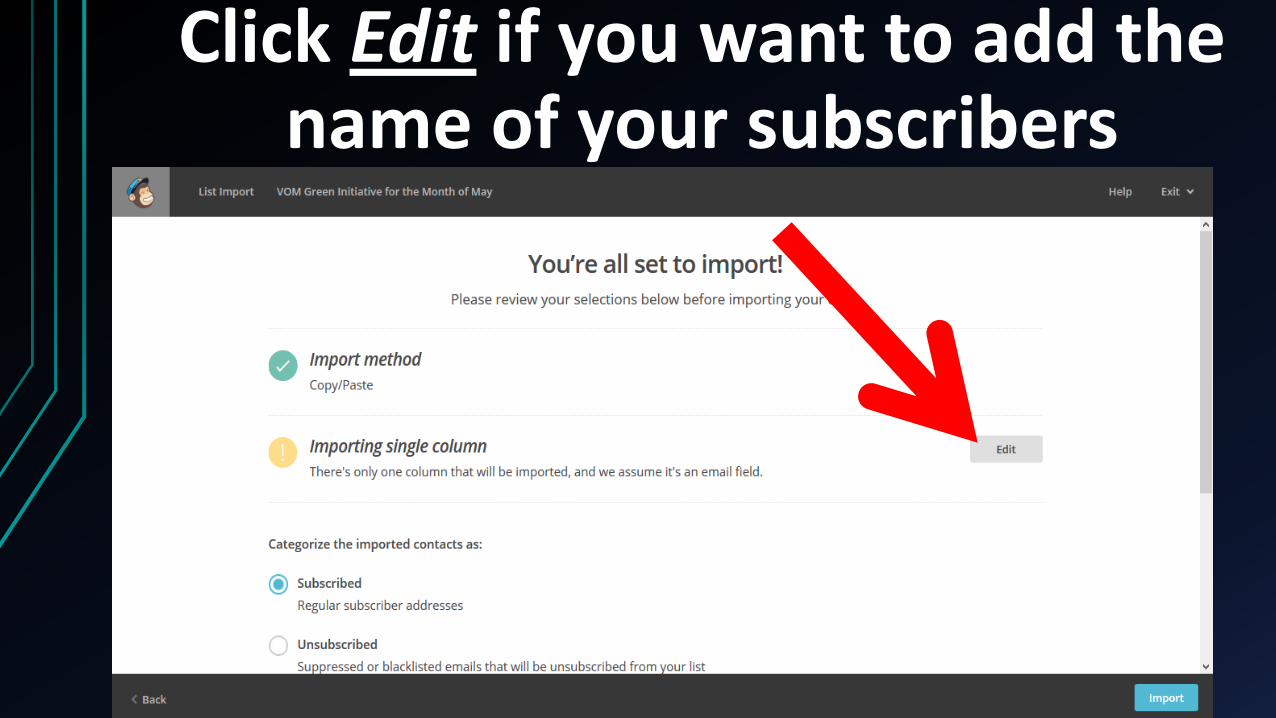
Click Edit if you want to add the name of your subscribers

If not, tick Subscribed
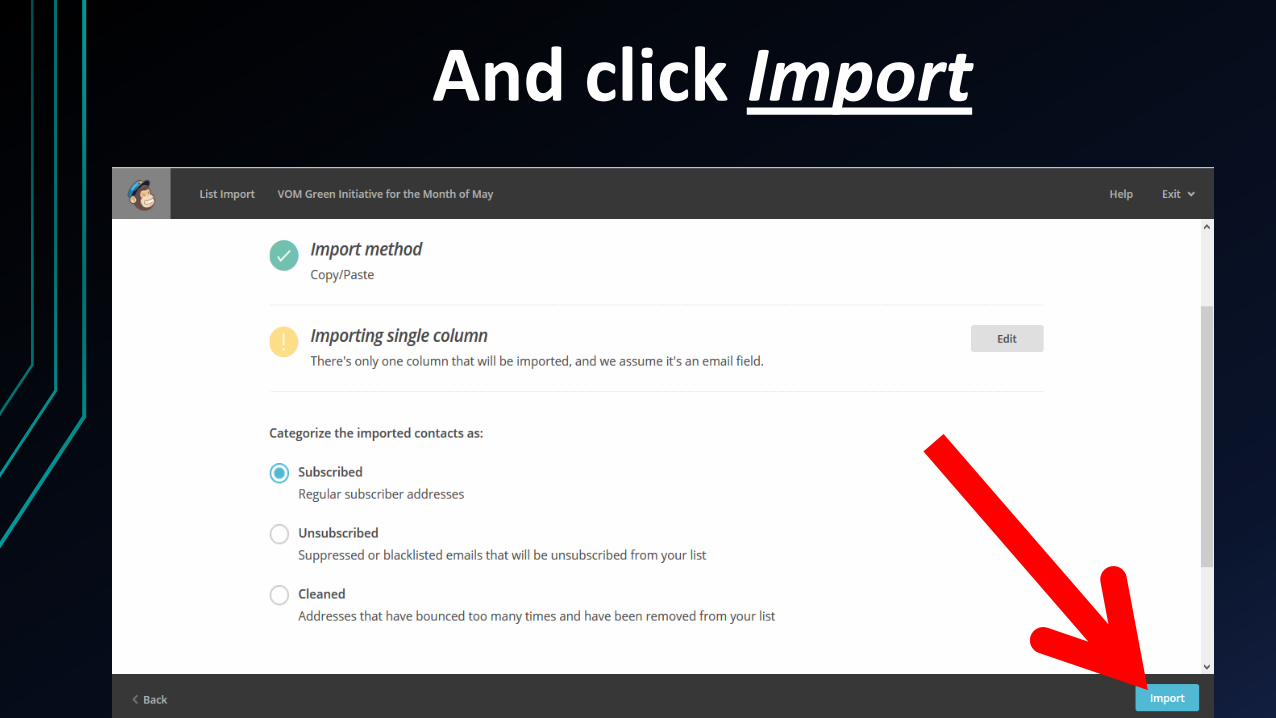
And click Import

You now have your subscribers list

Let’s now create your email
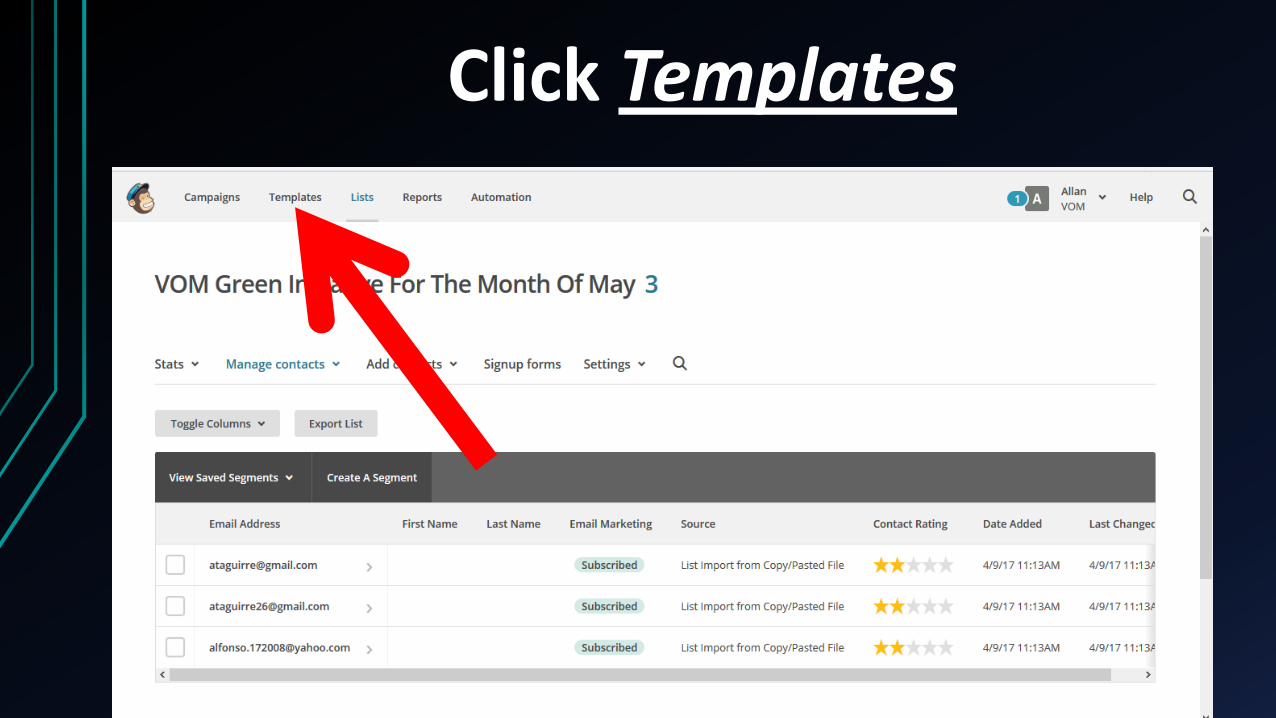
Click Templates
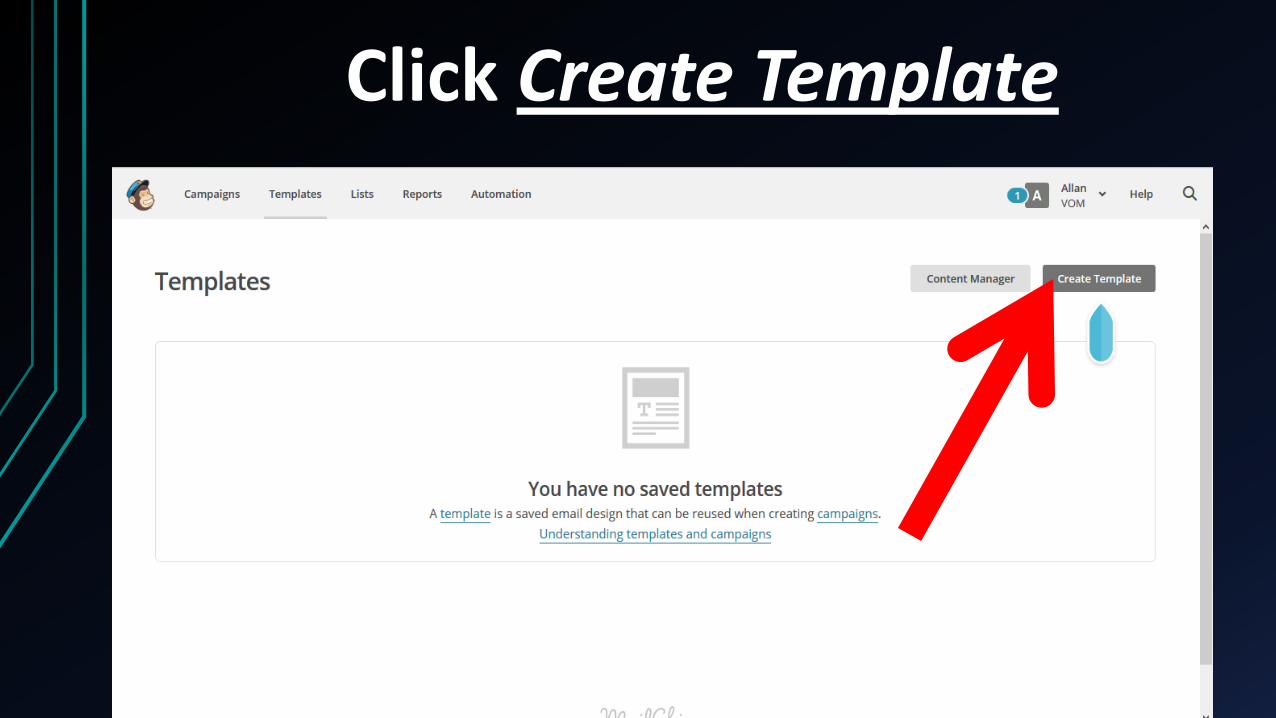
Click Create Template
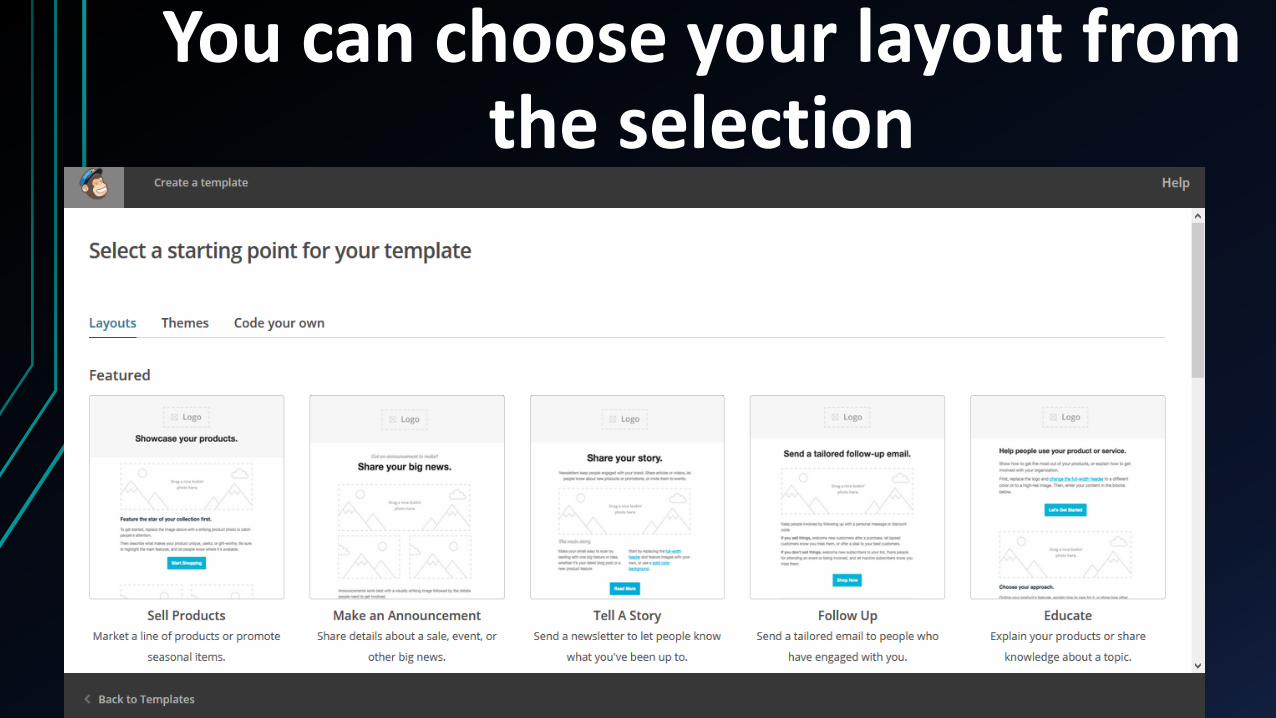
You can choose your layout from the selection
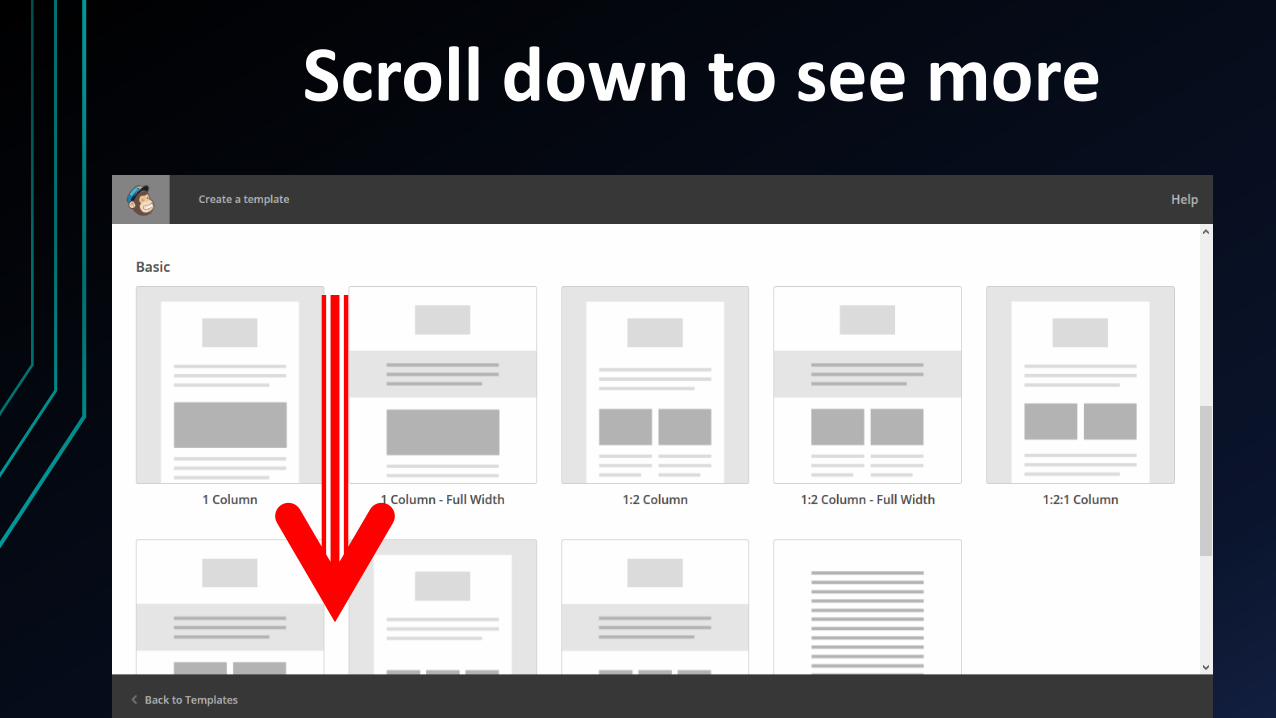
Scroll down to see more
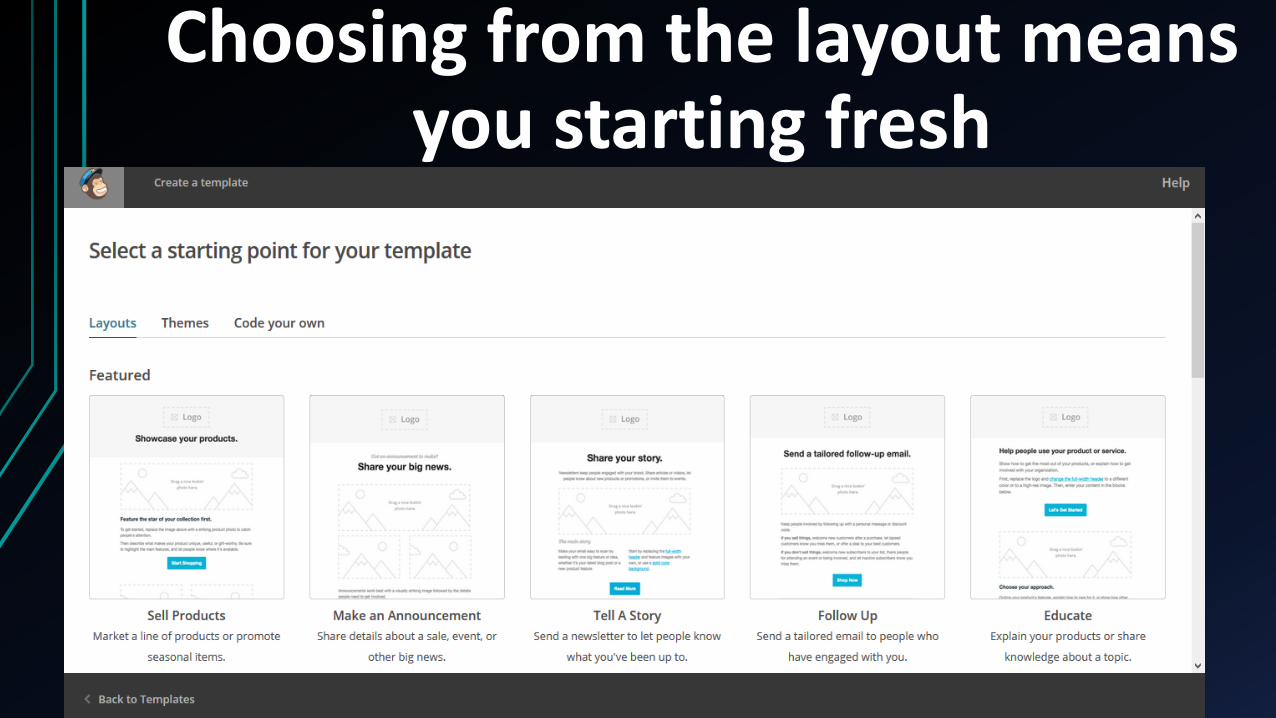
Choosing from the layout means you starting fresh
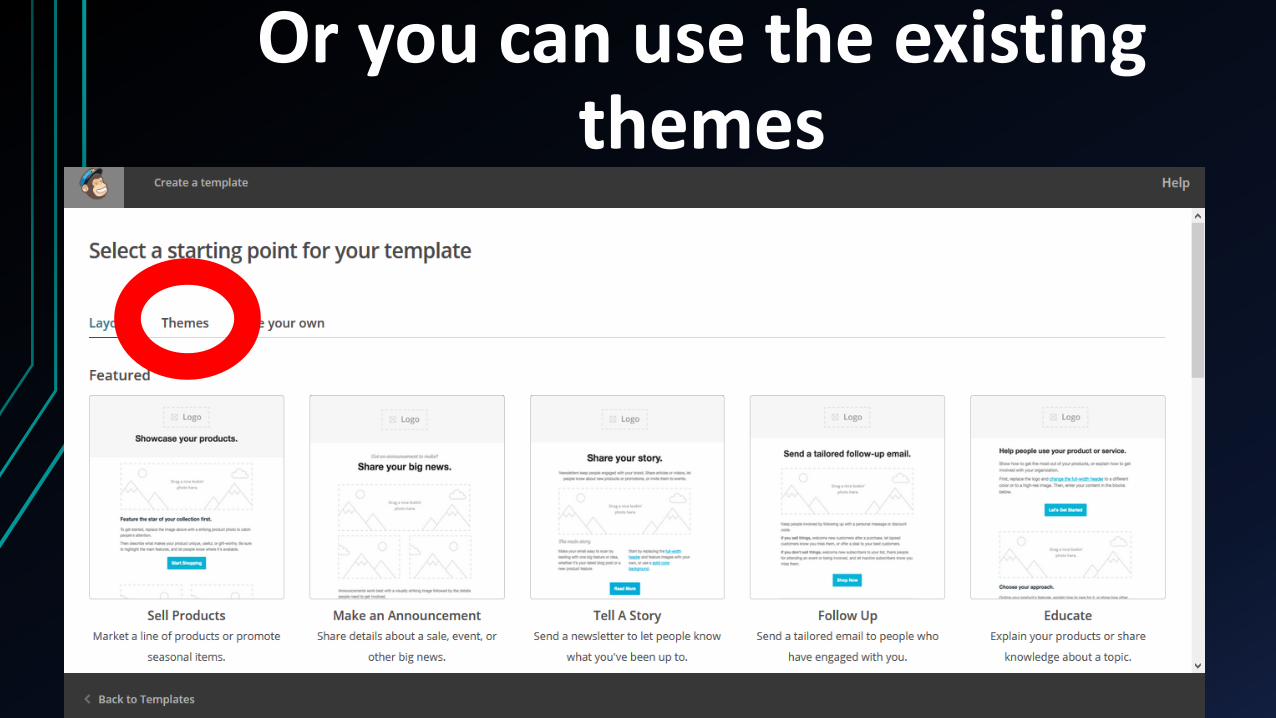
Or you can use the existing themes
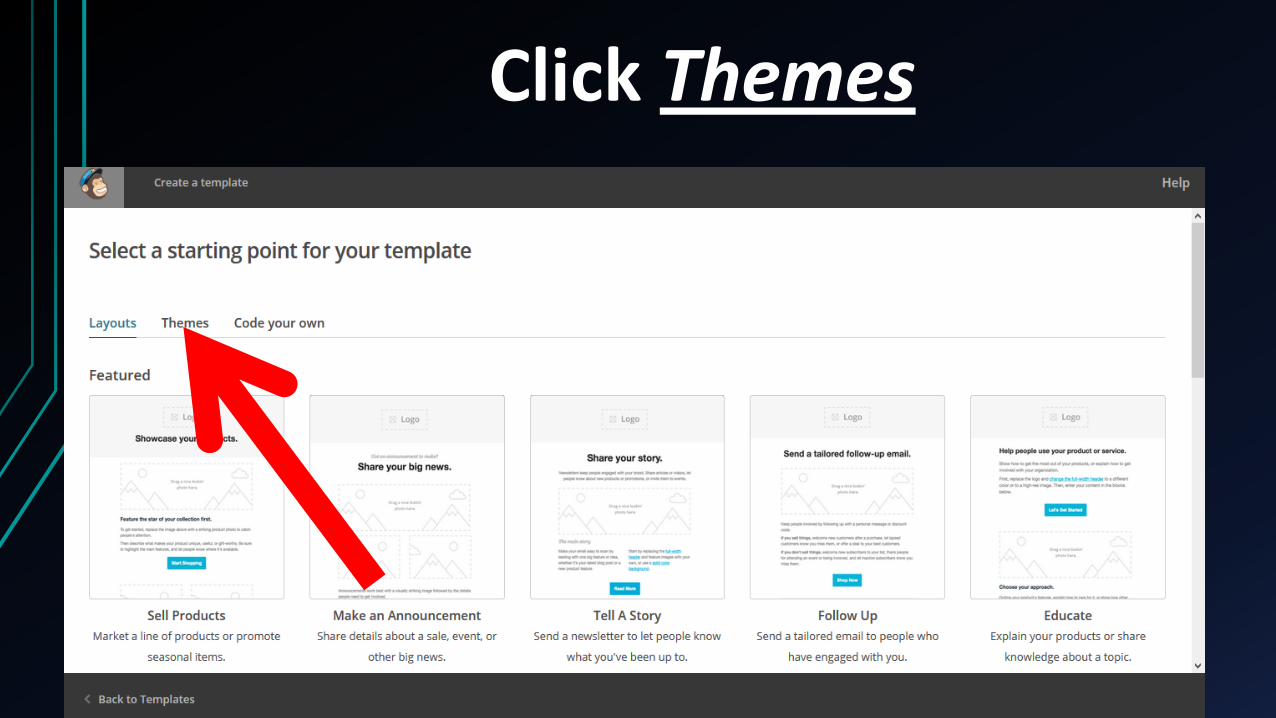
Click Themes
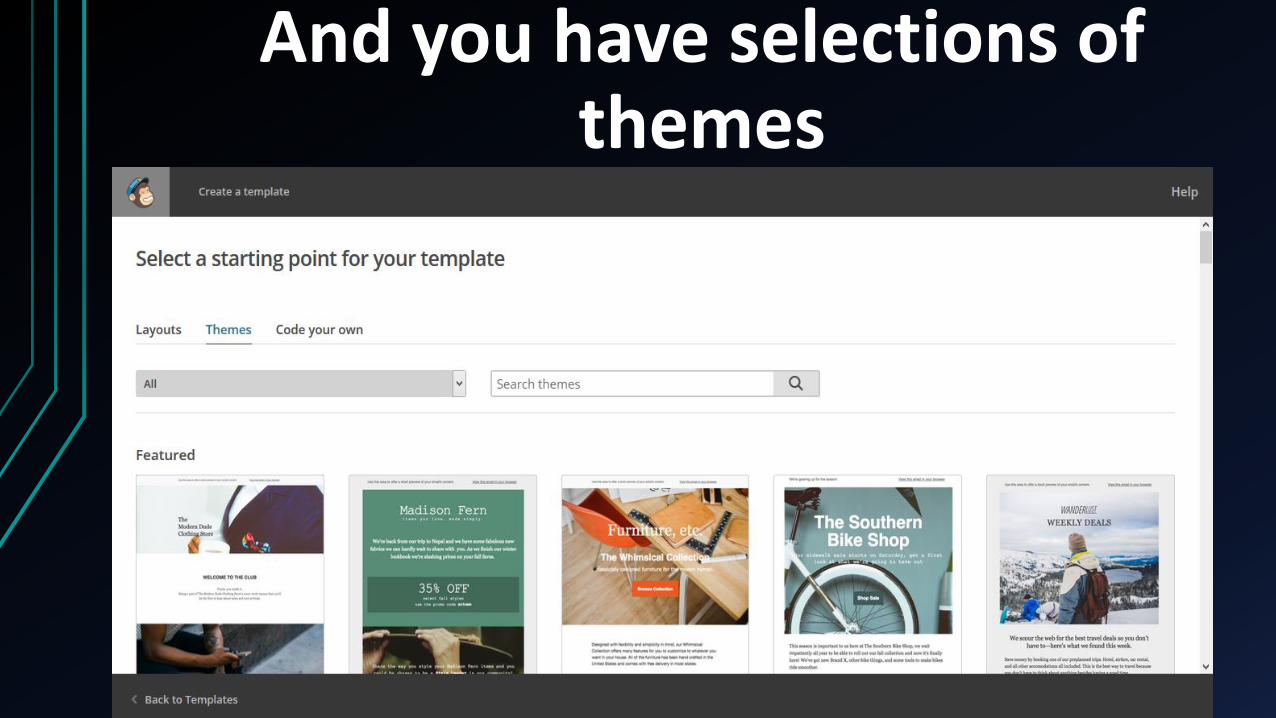
And you have selections of themes
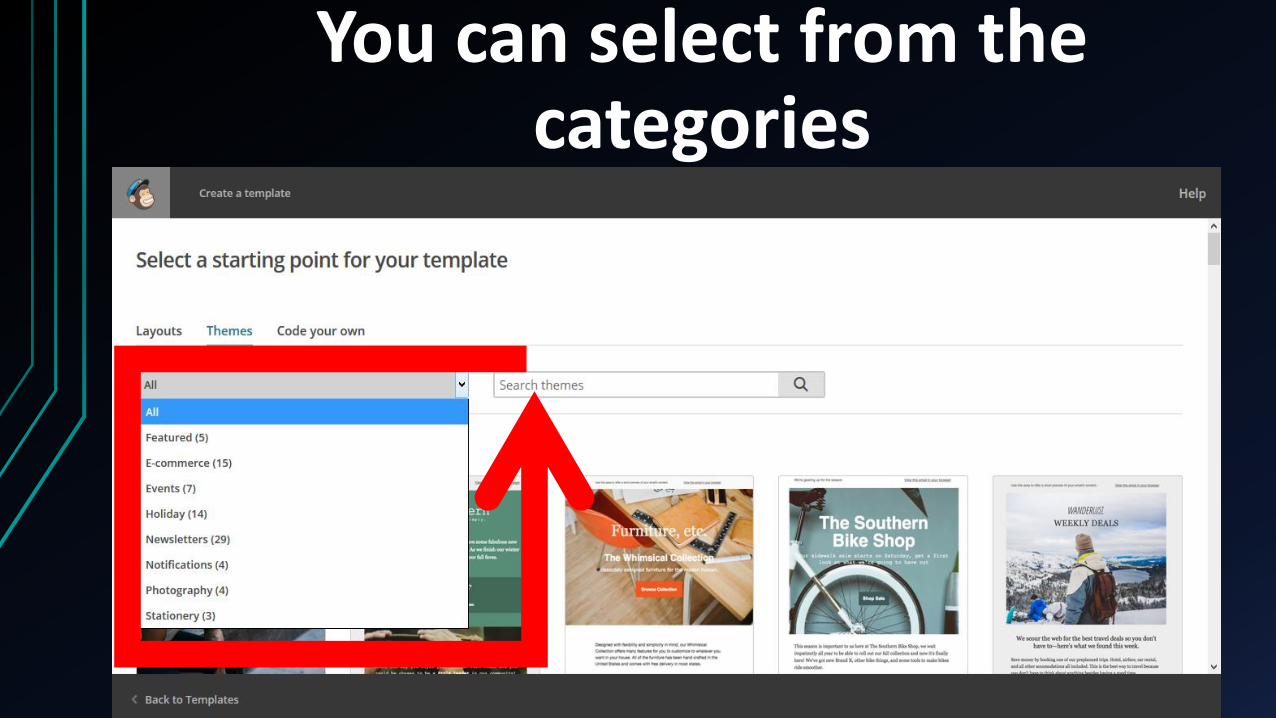
You can select from the categories
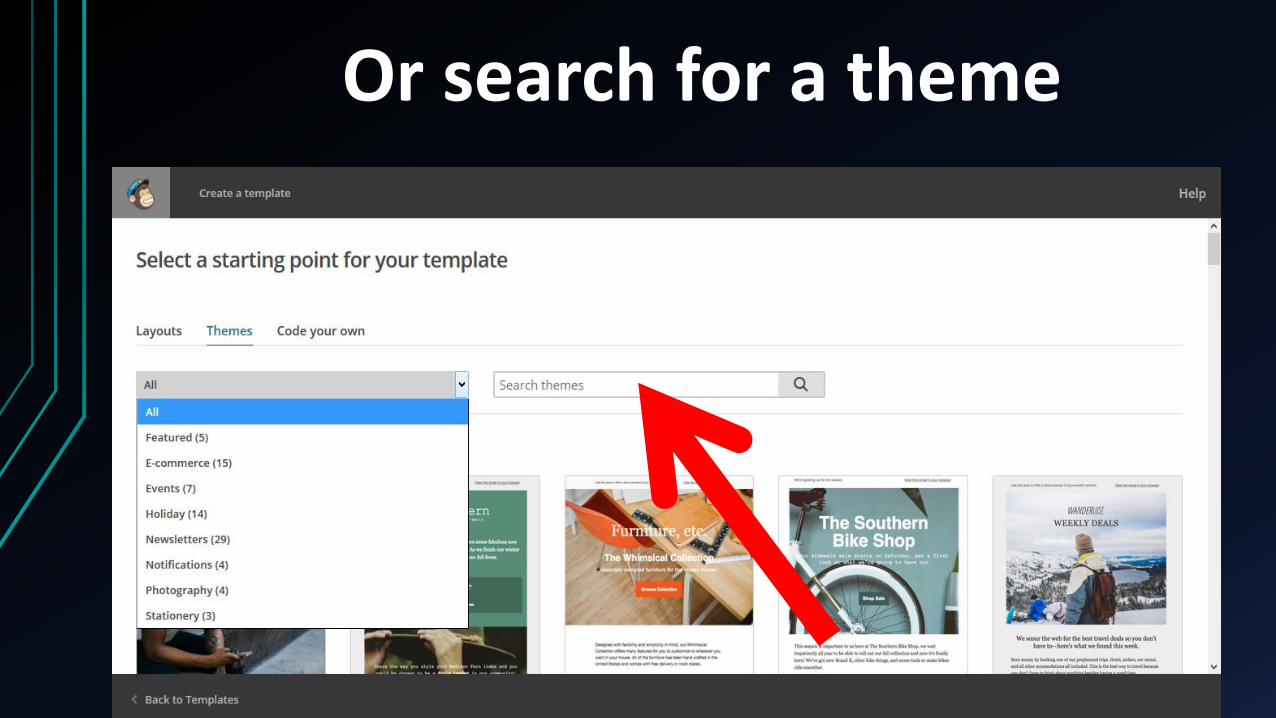
Or search for a theme
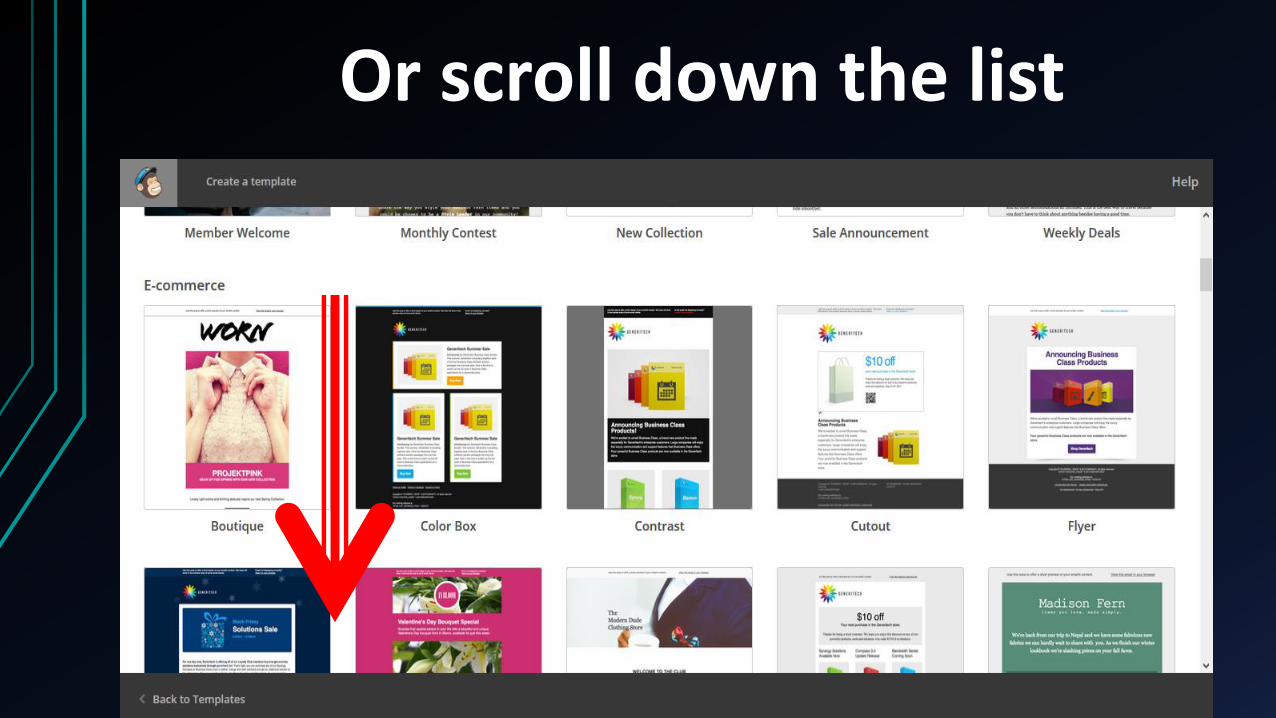
Or scroll down the list
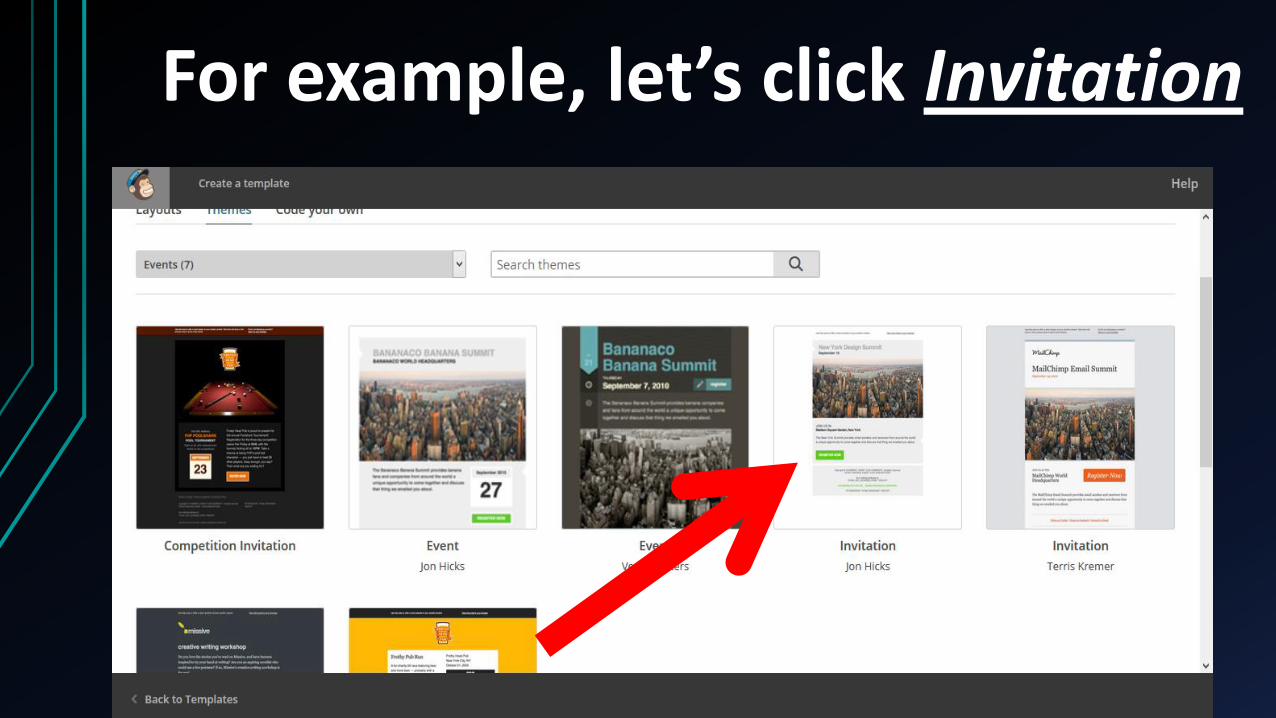
For example, let’s click Invitation
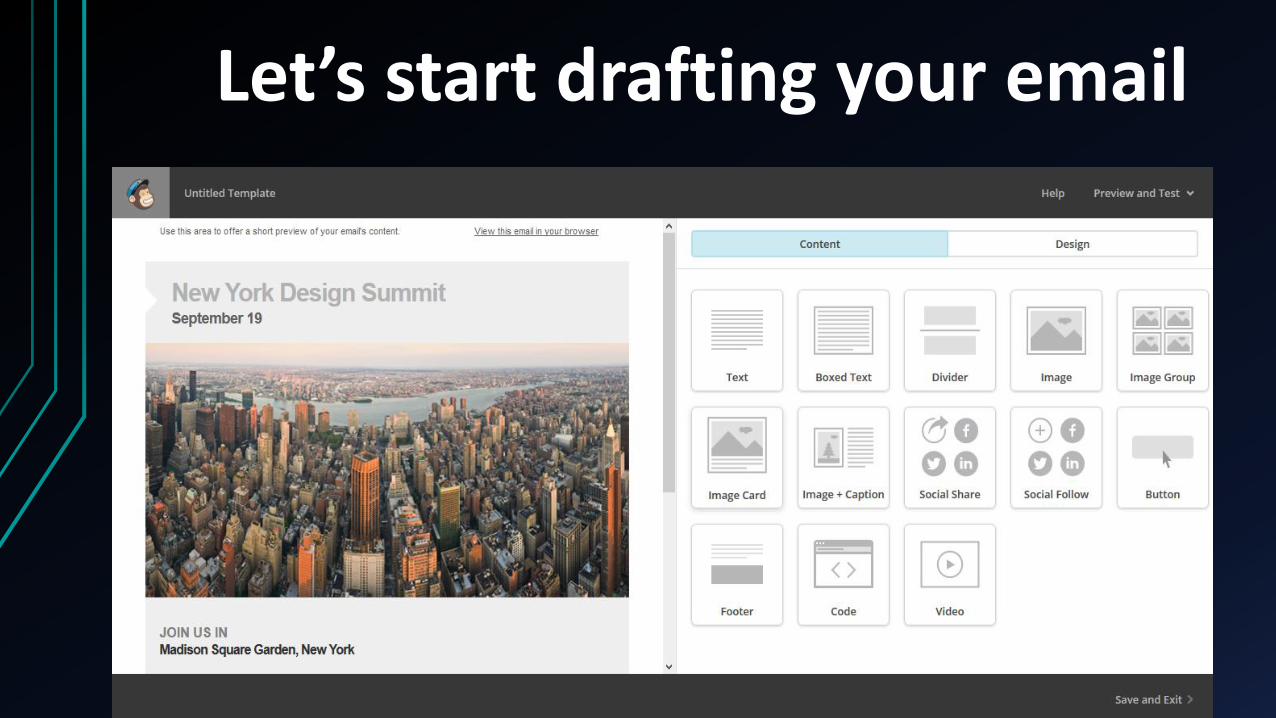
Let’s start drafting your email
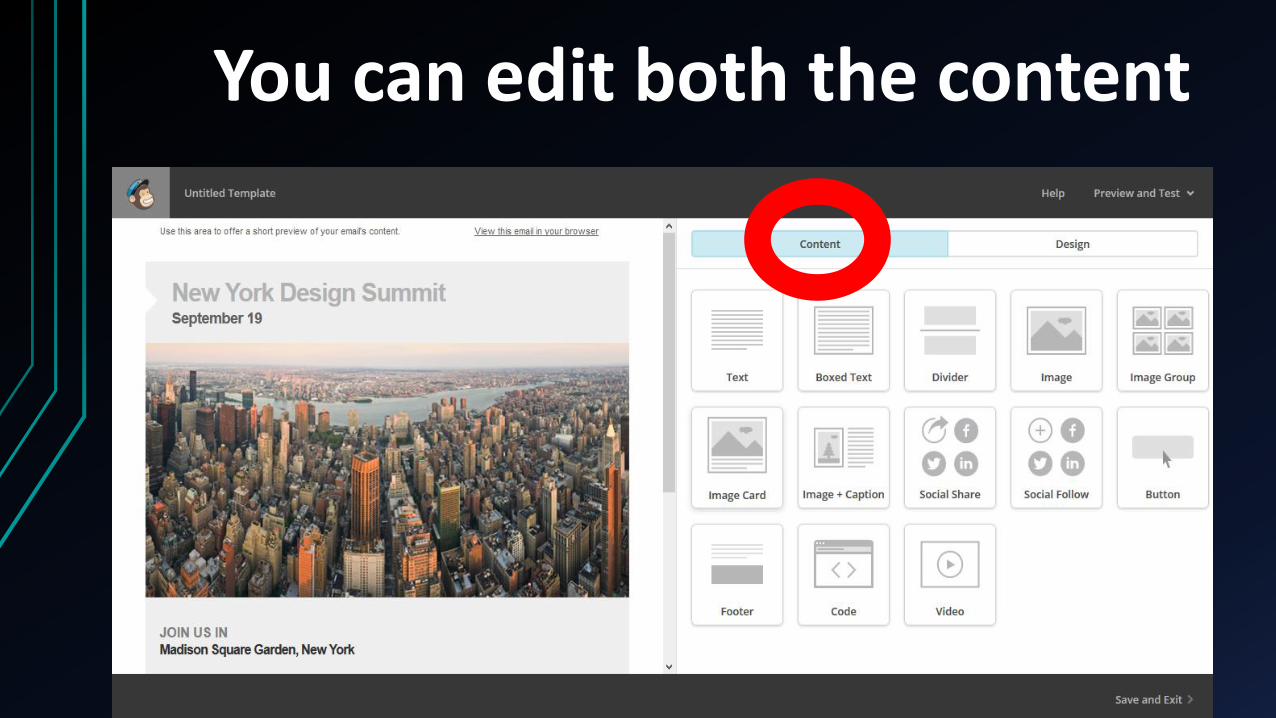
You can edit both the content
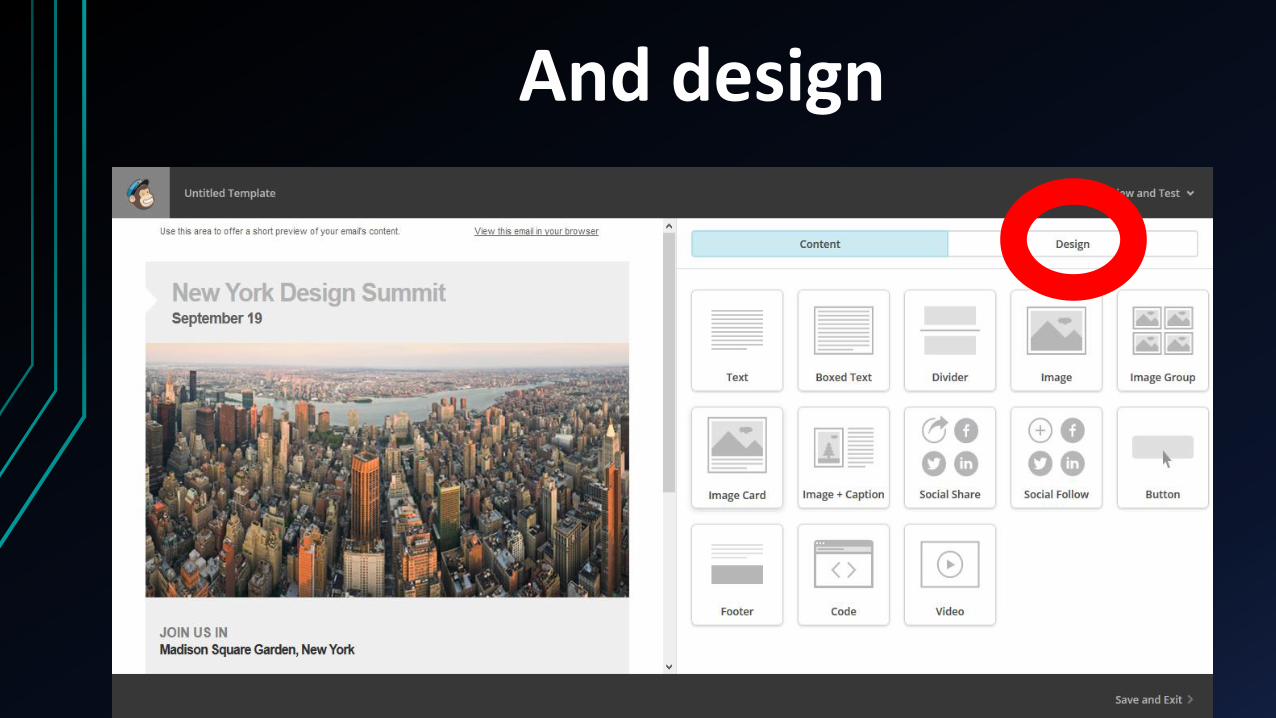
And design
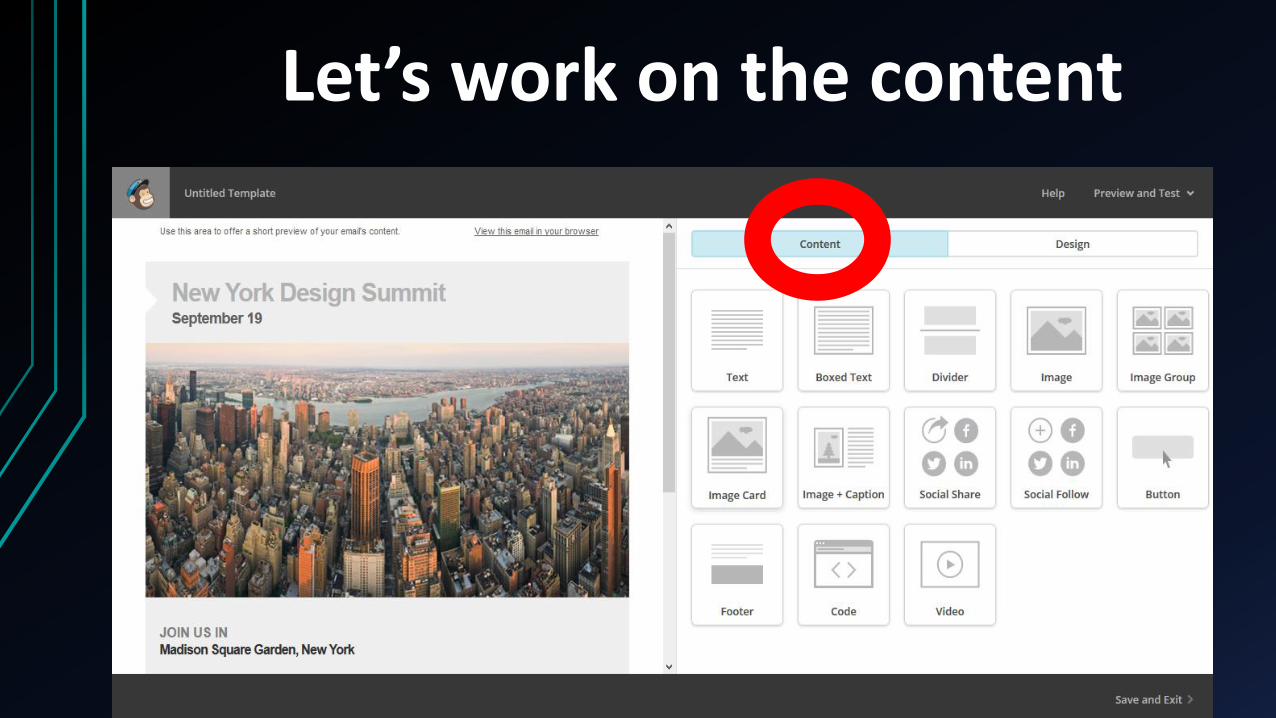
Let’s work on the content
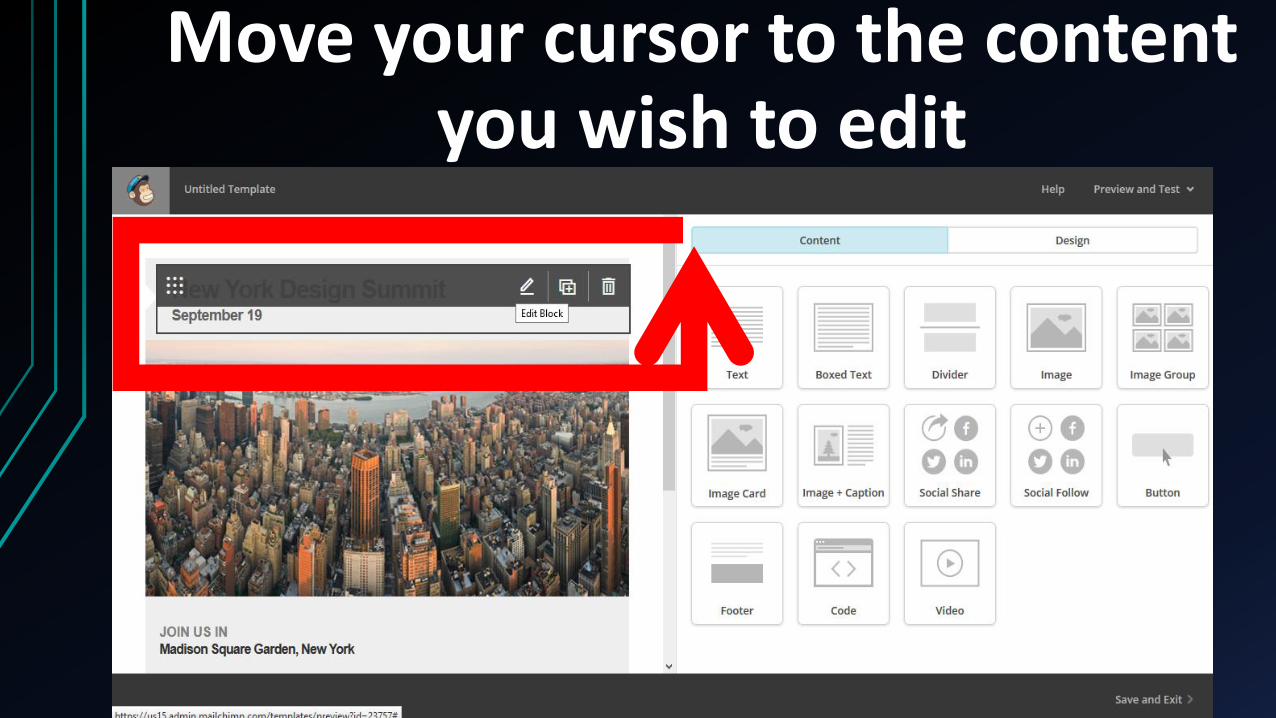
Move your cursor to the content you wish to edit
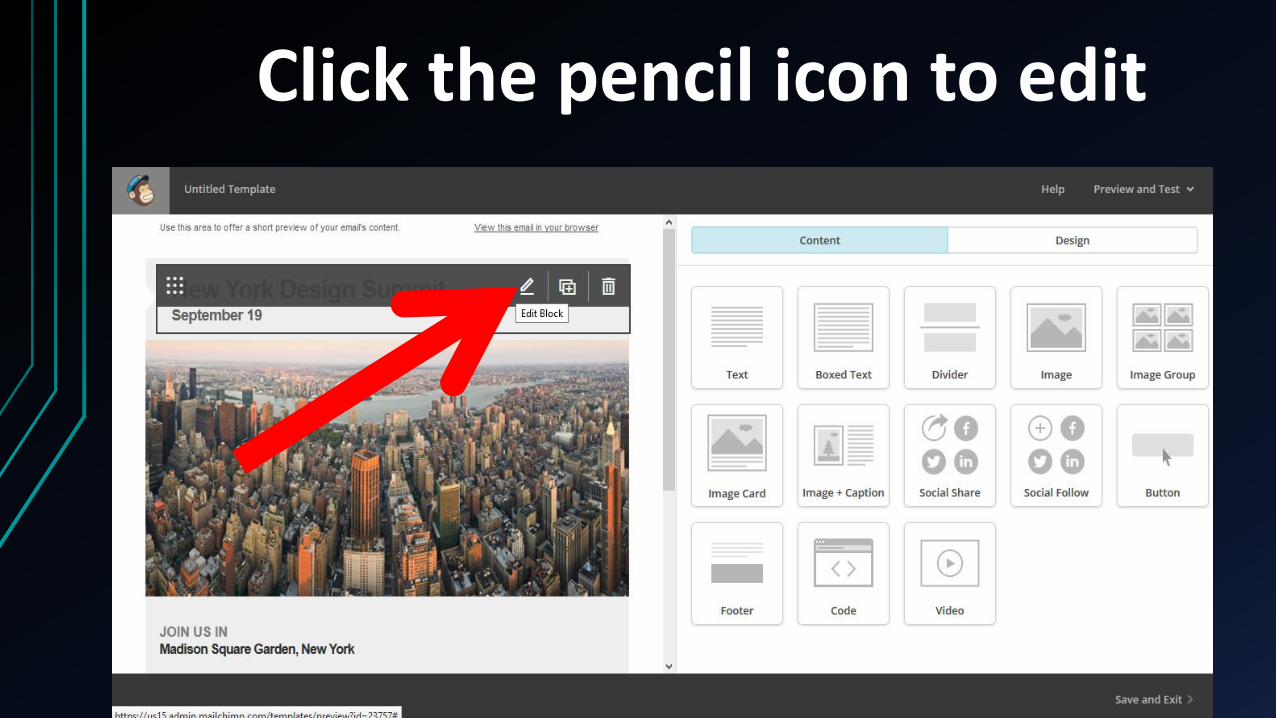
Click the pencil icon to edit
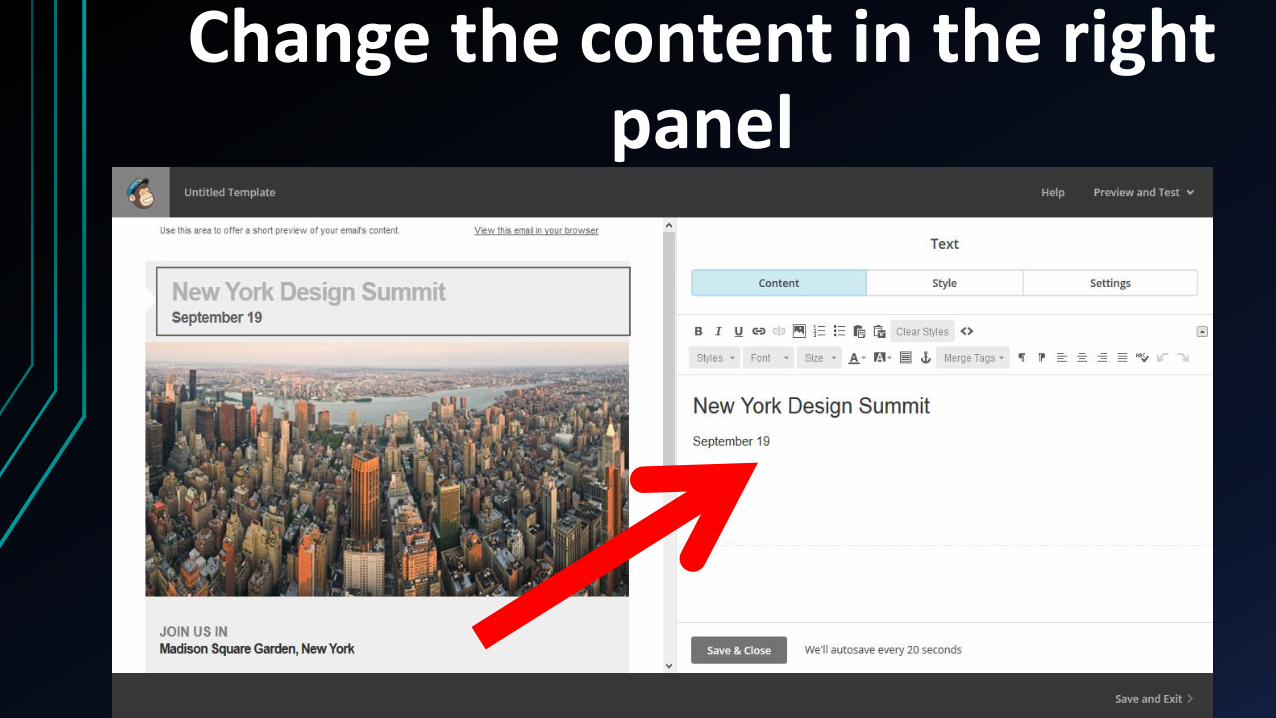
Change the content in the right panel
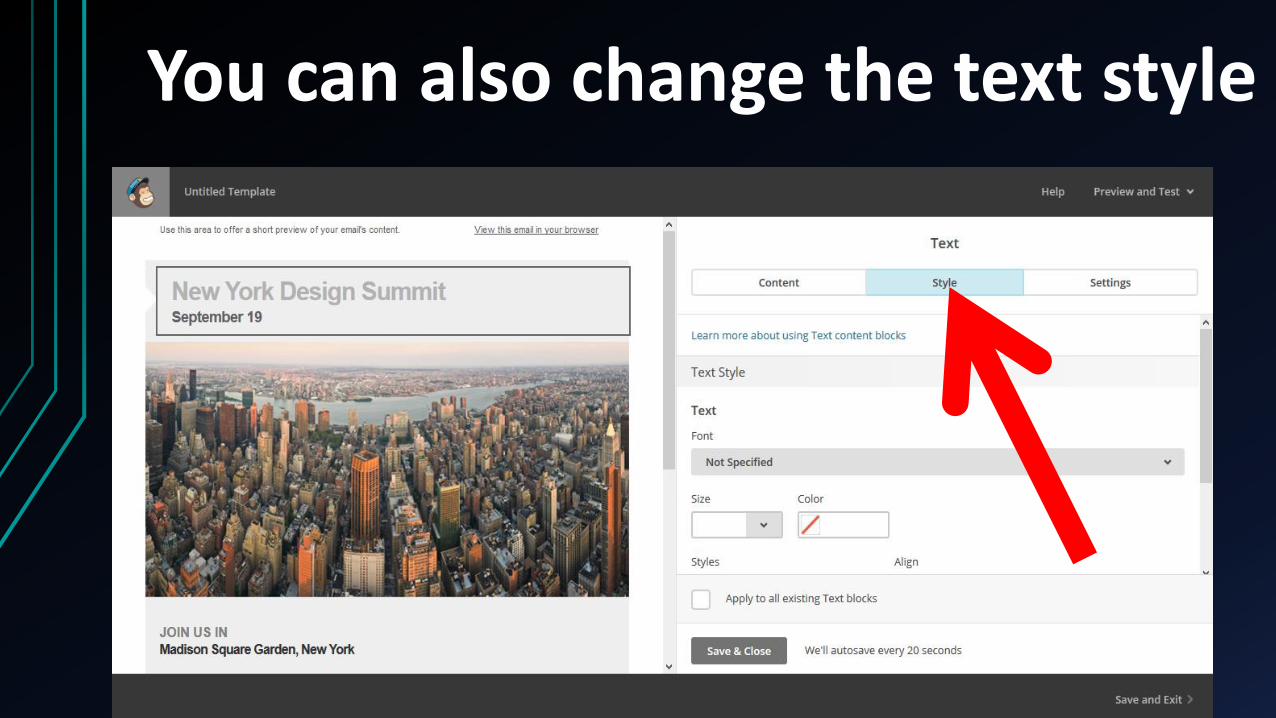
You can also change the text style
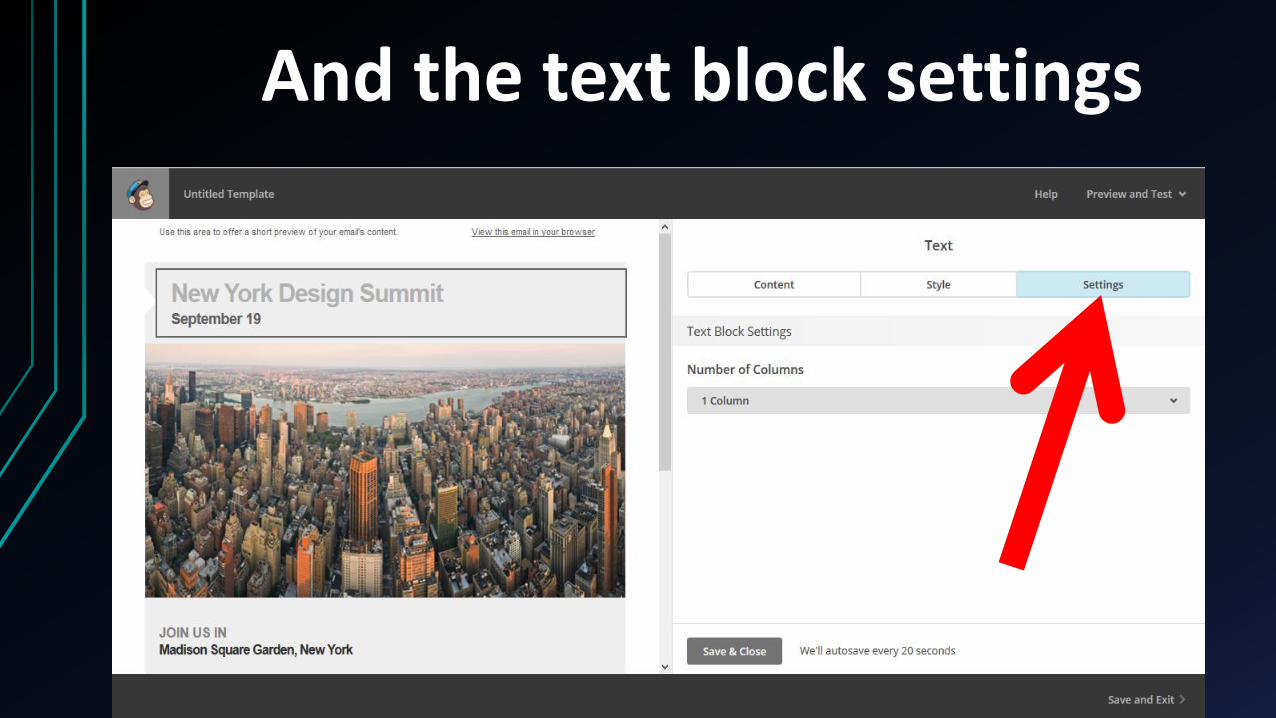
And the text block settings
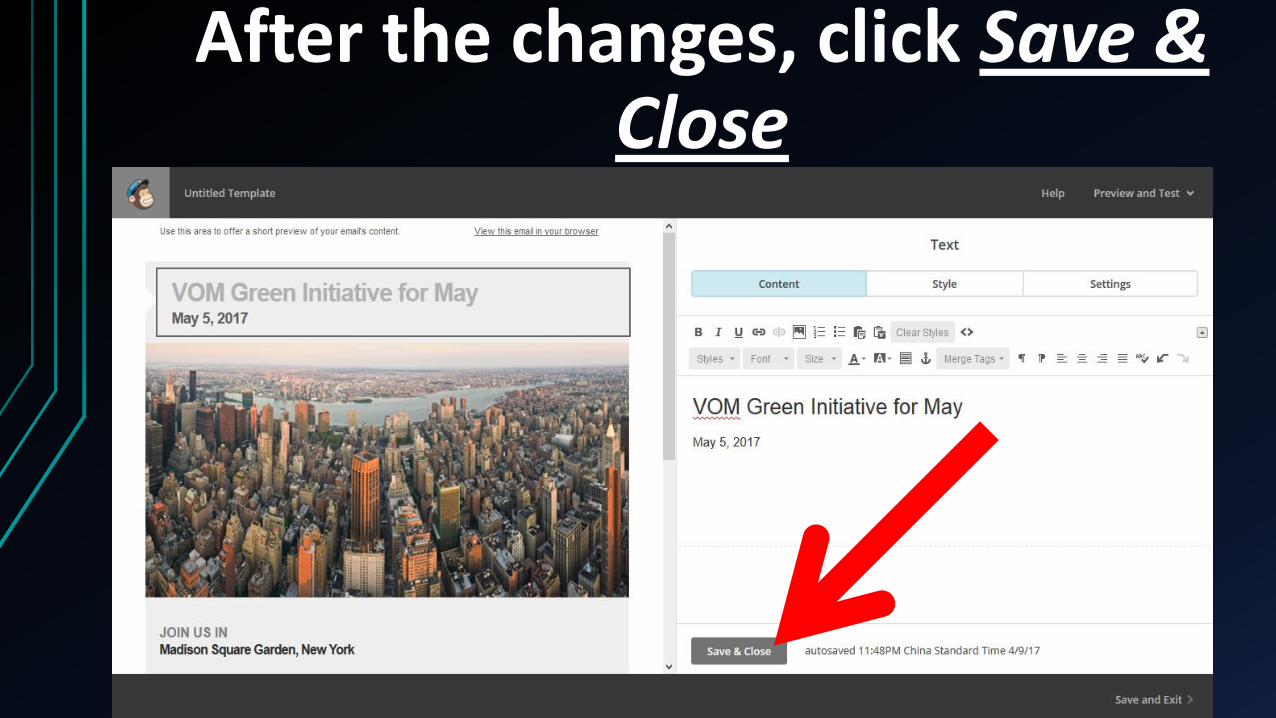
After the changes, click Save & Close
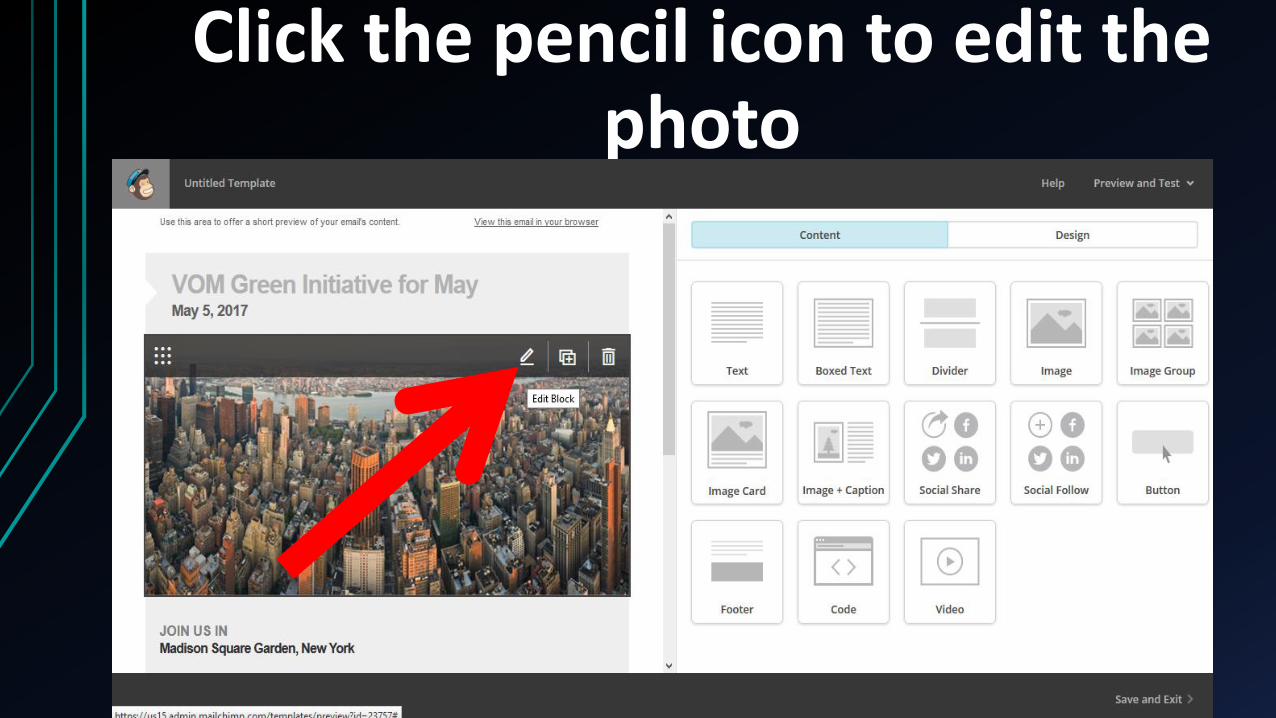
Click the pencil icon to edit the photo

You can choose what to do with the photo
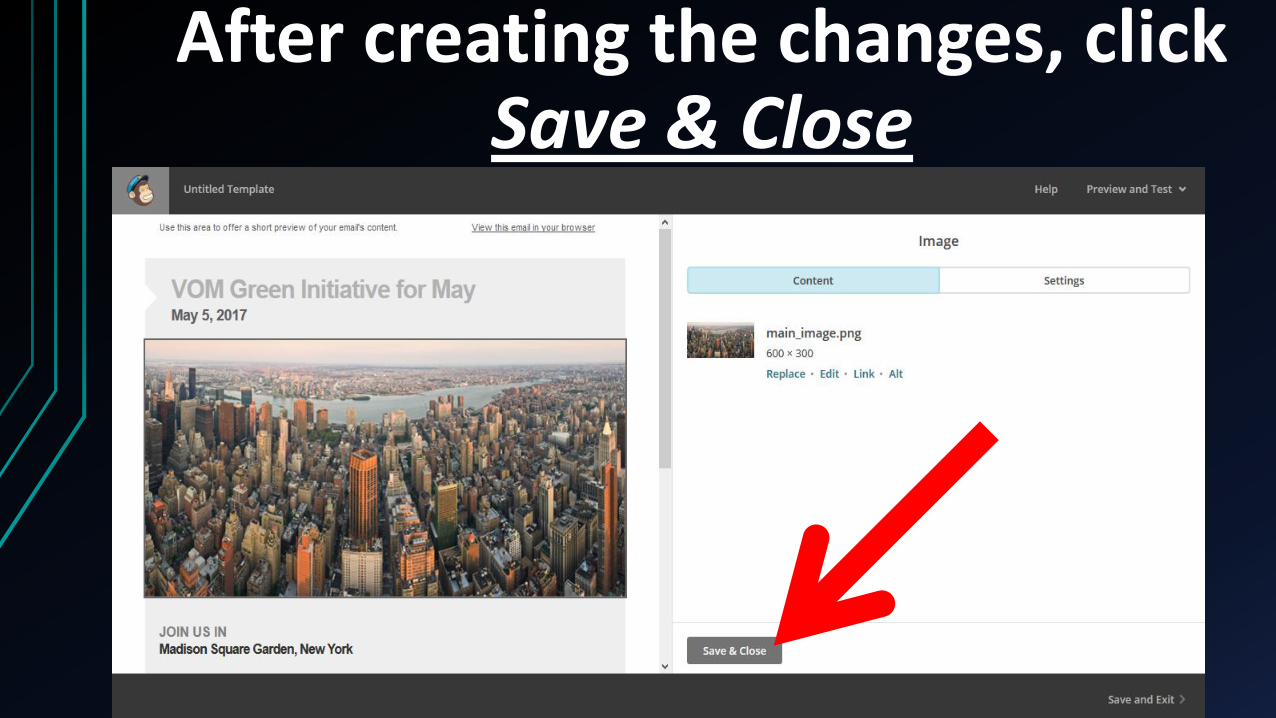
After creating the changes, click Save & Close
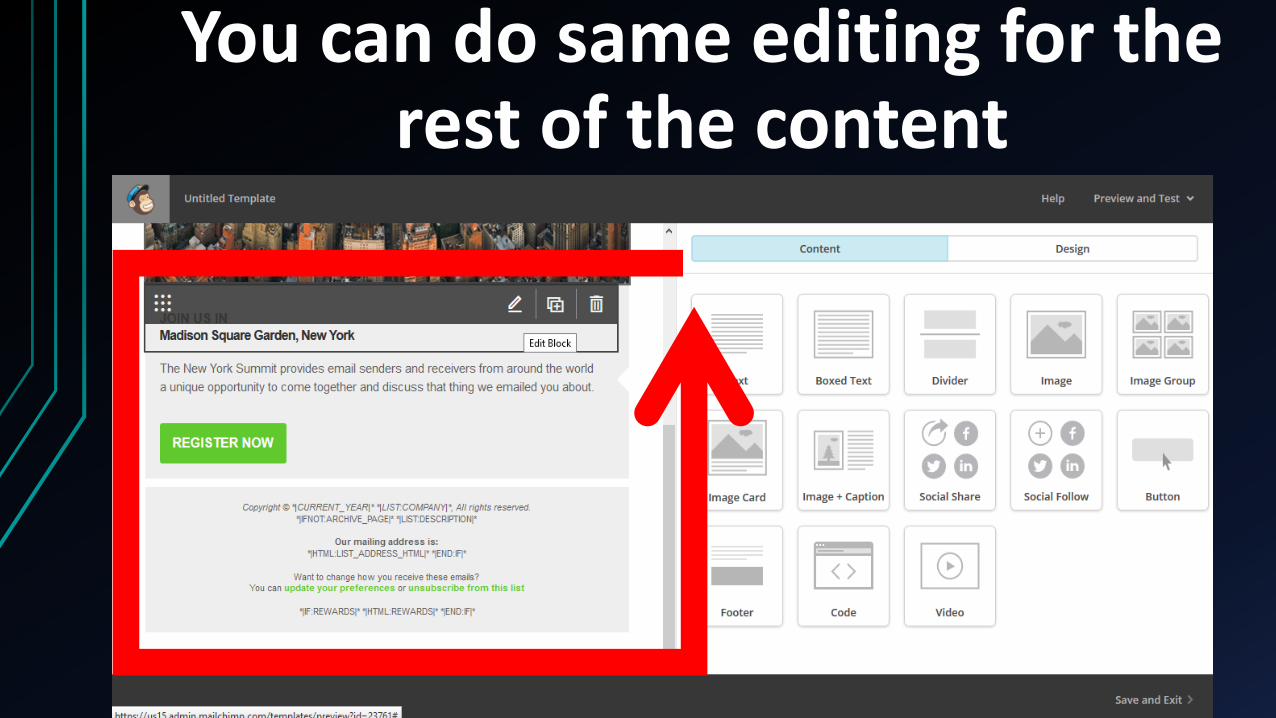
You can do same editing for the rest of the content
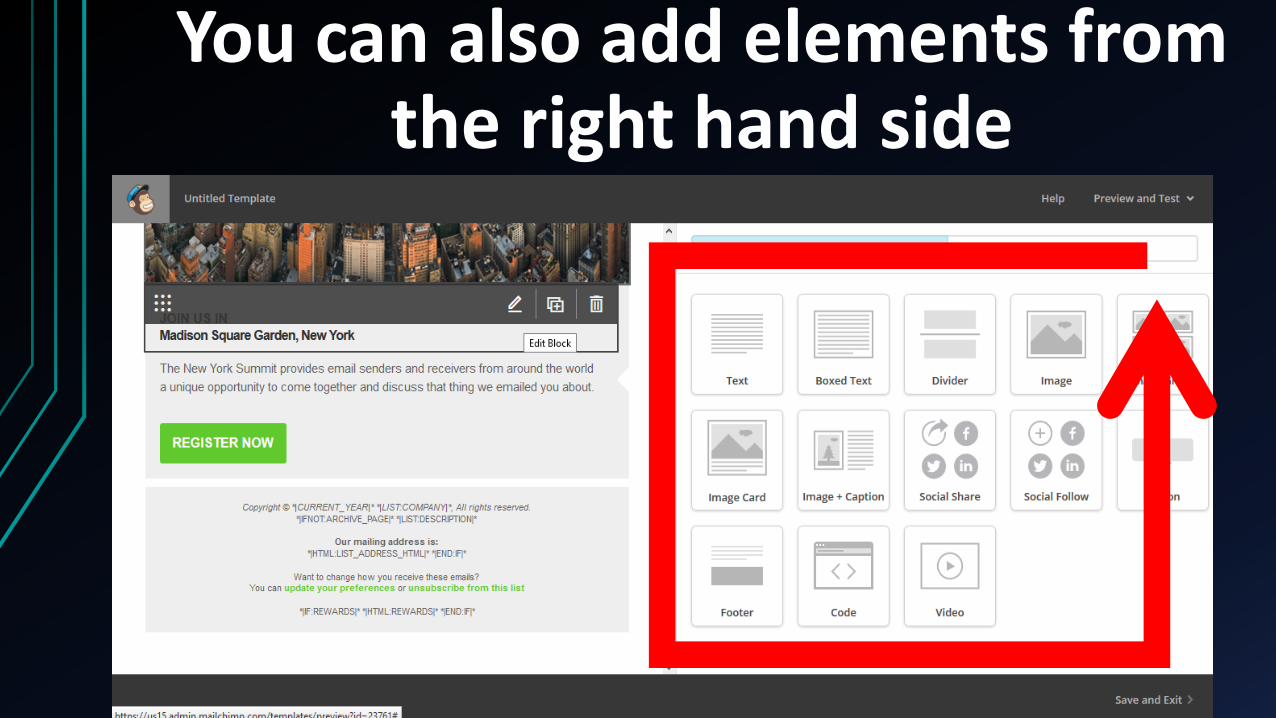
You can also add elements from the right hand side
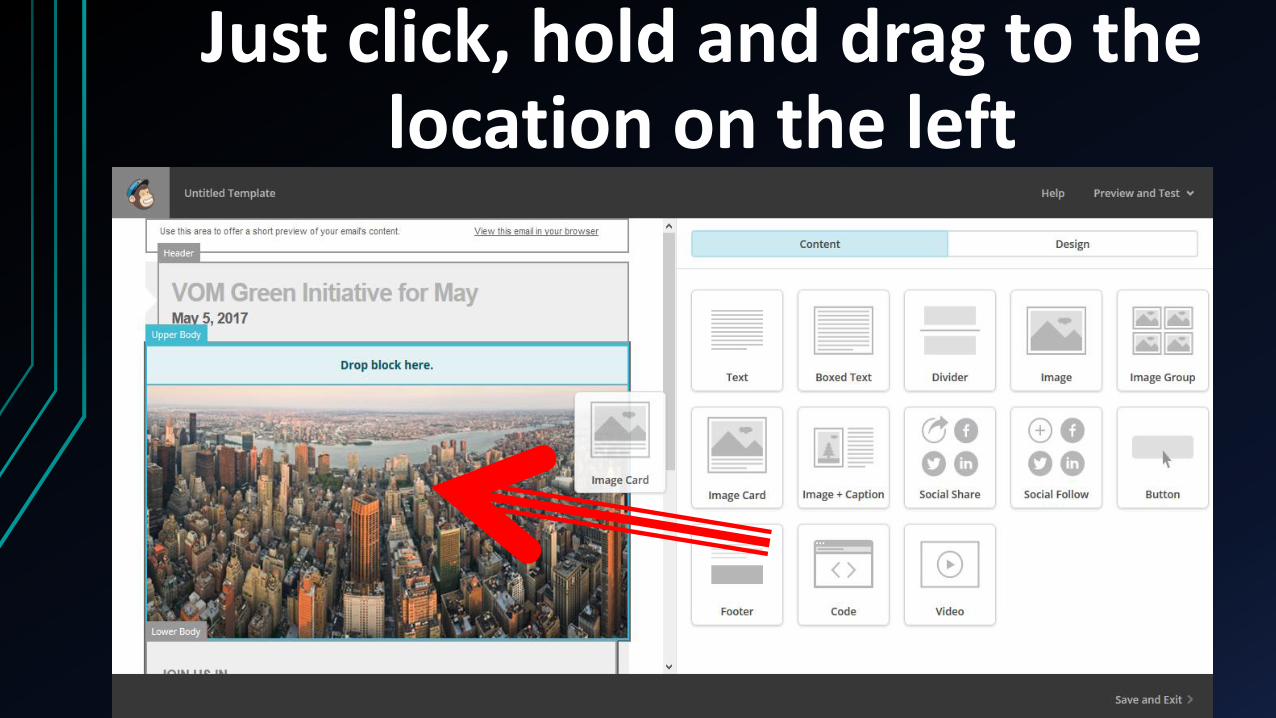
Just click, hold and drag to the location on the left
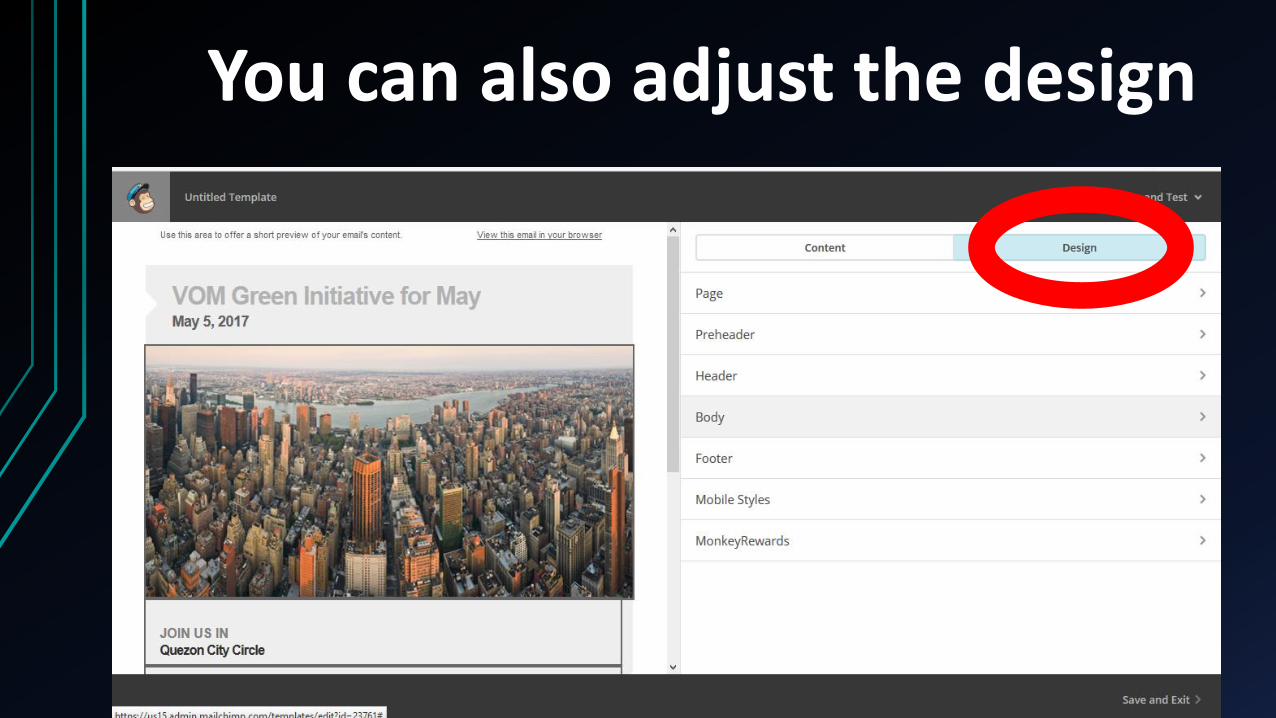
You can also adjust the design
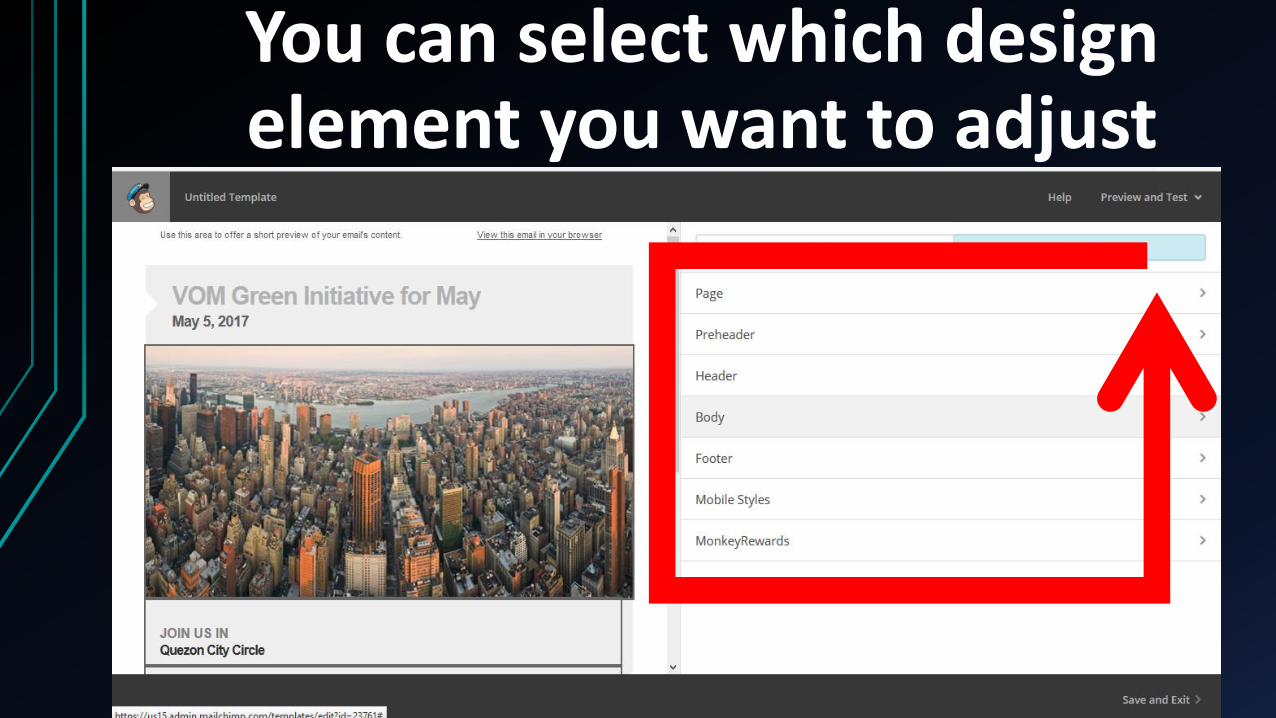
You can select which design element you want to adjust
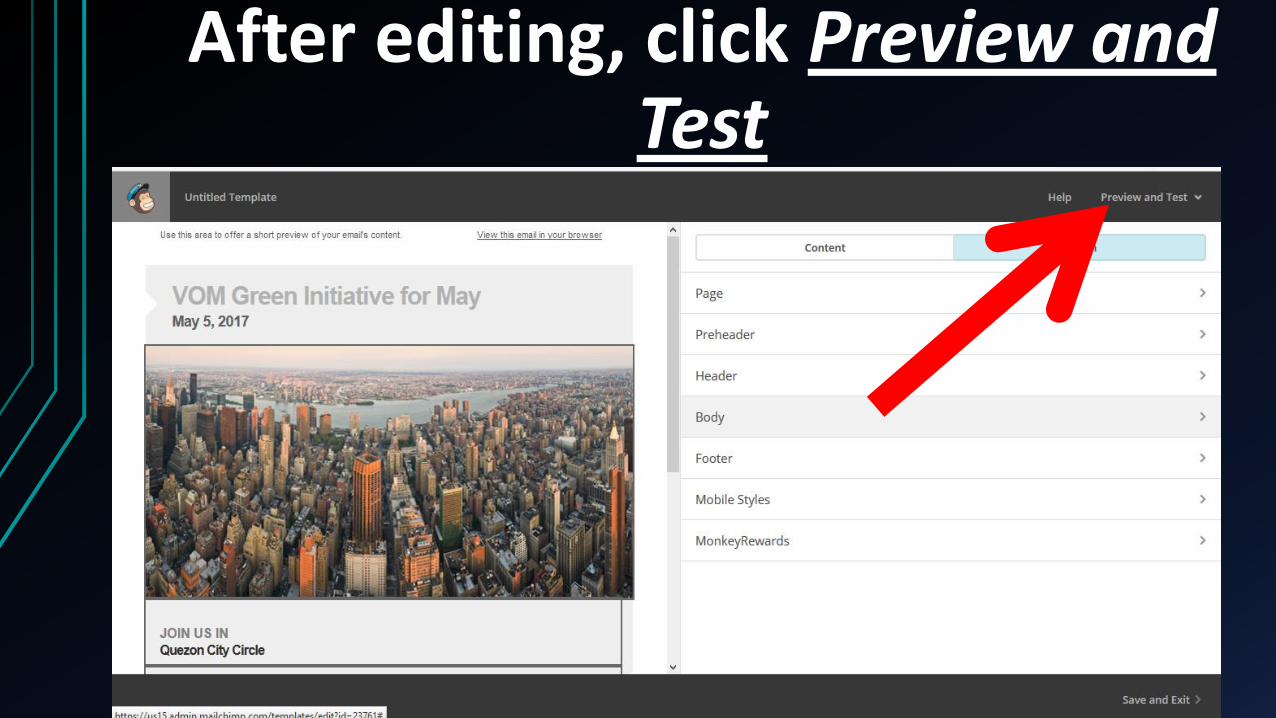
After editing, click Preview and Test
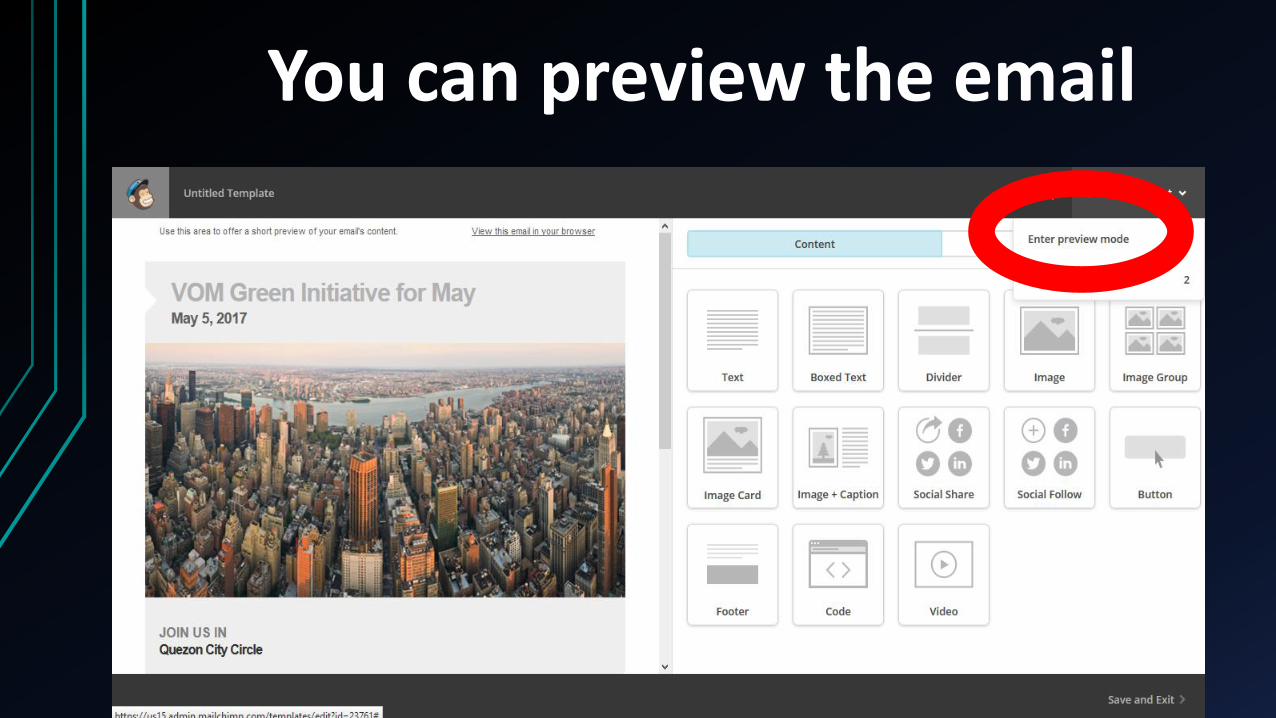
You can preview the email
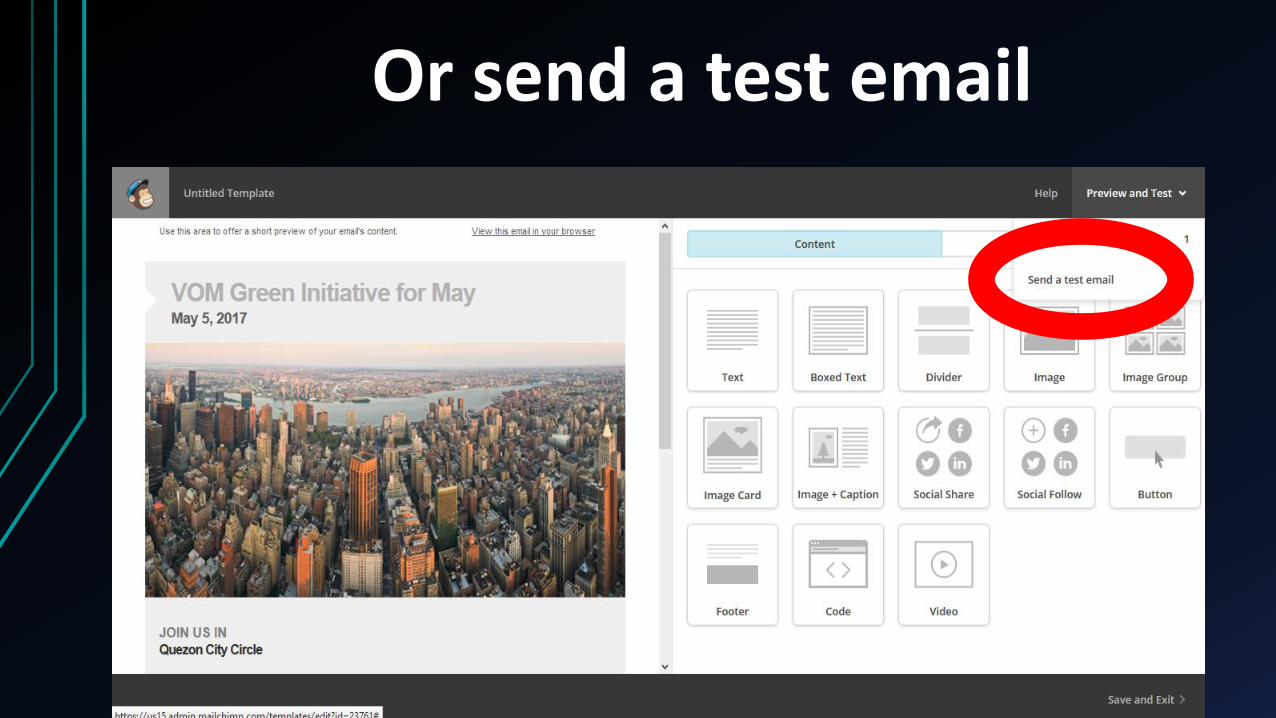
Or send a test email
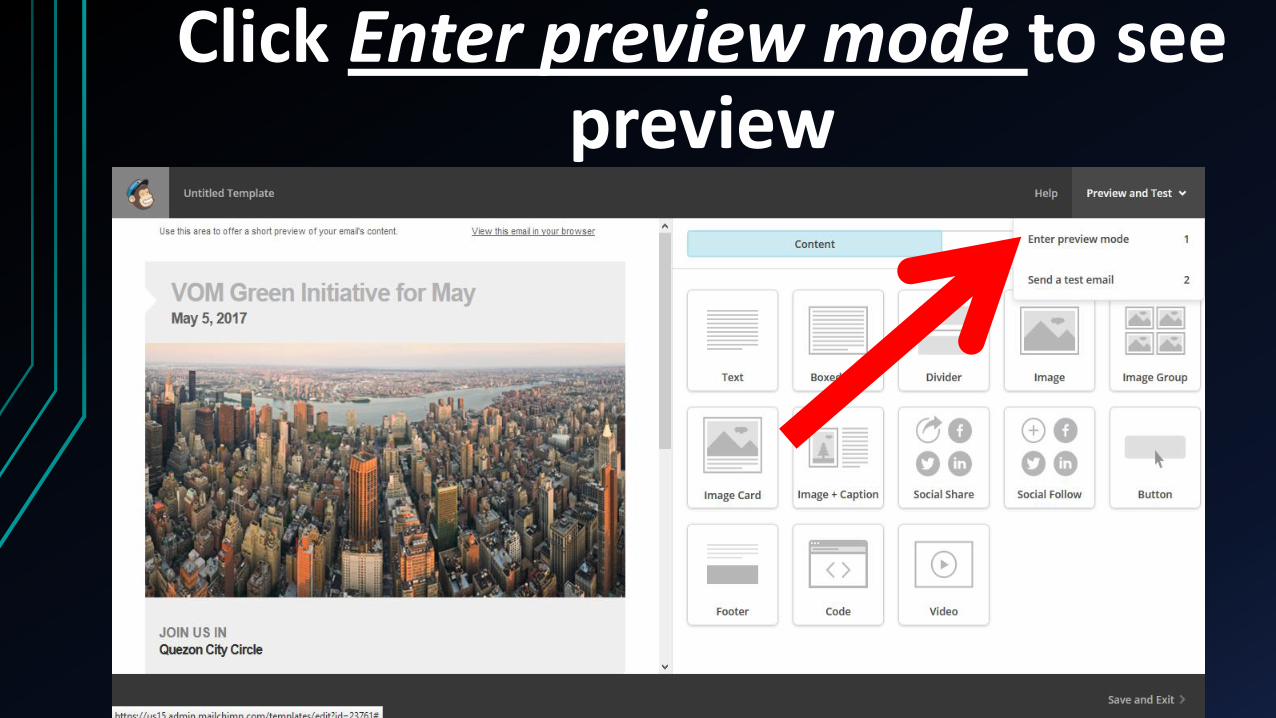
Click Enter preview mode to see preview
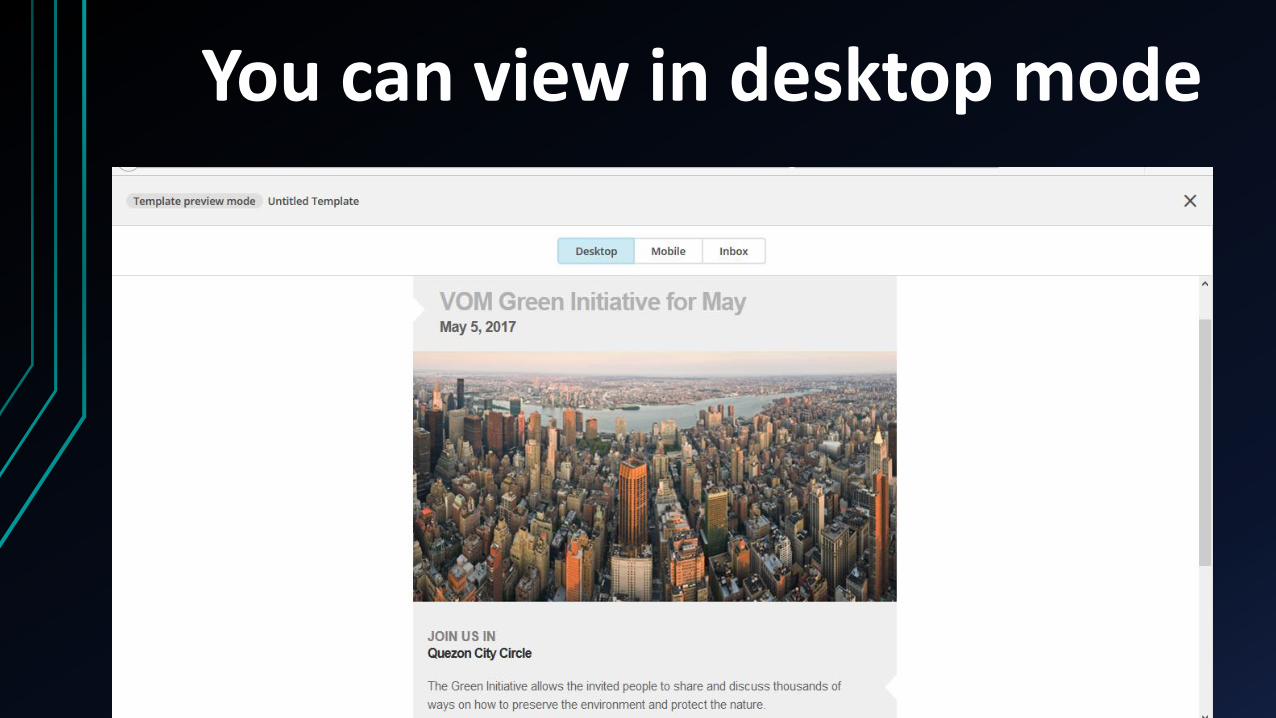
You can view in desktop mode
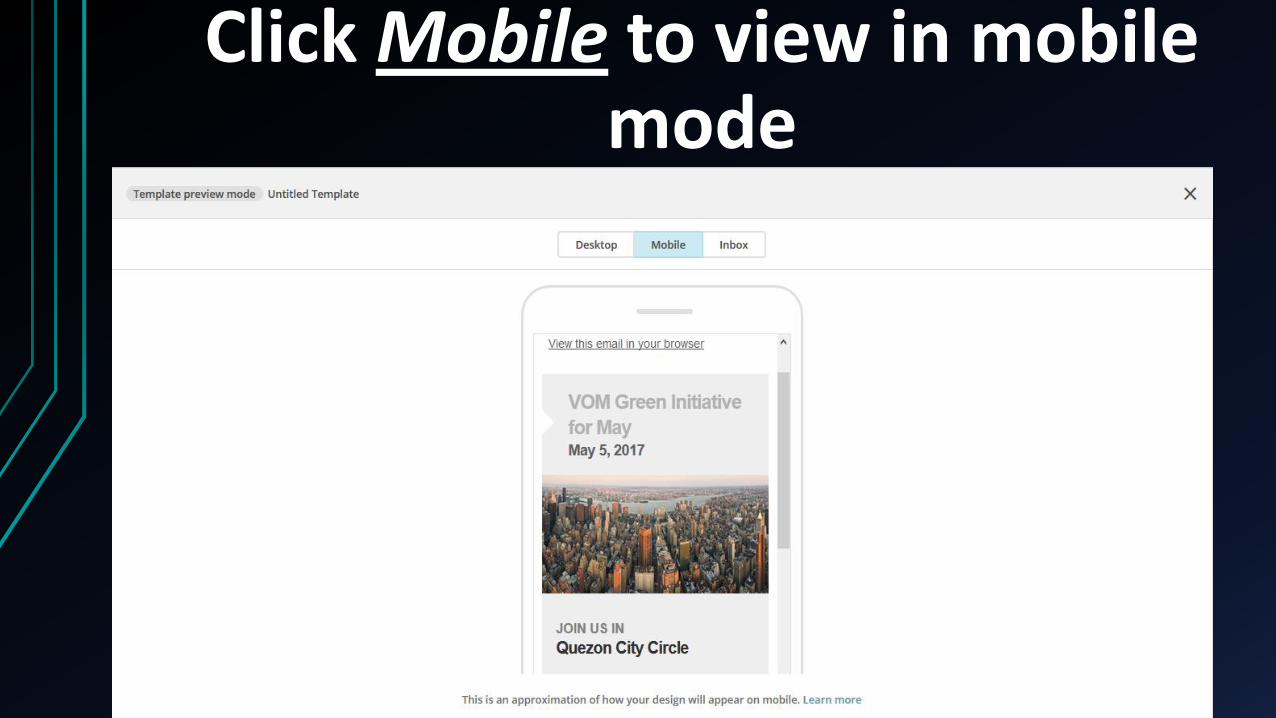
Click Mobile to view in mobile mode

Click Send a test email to test
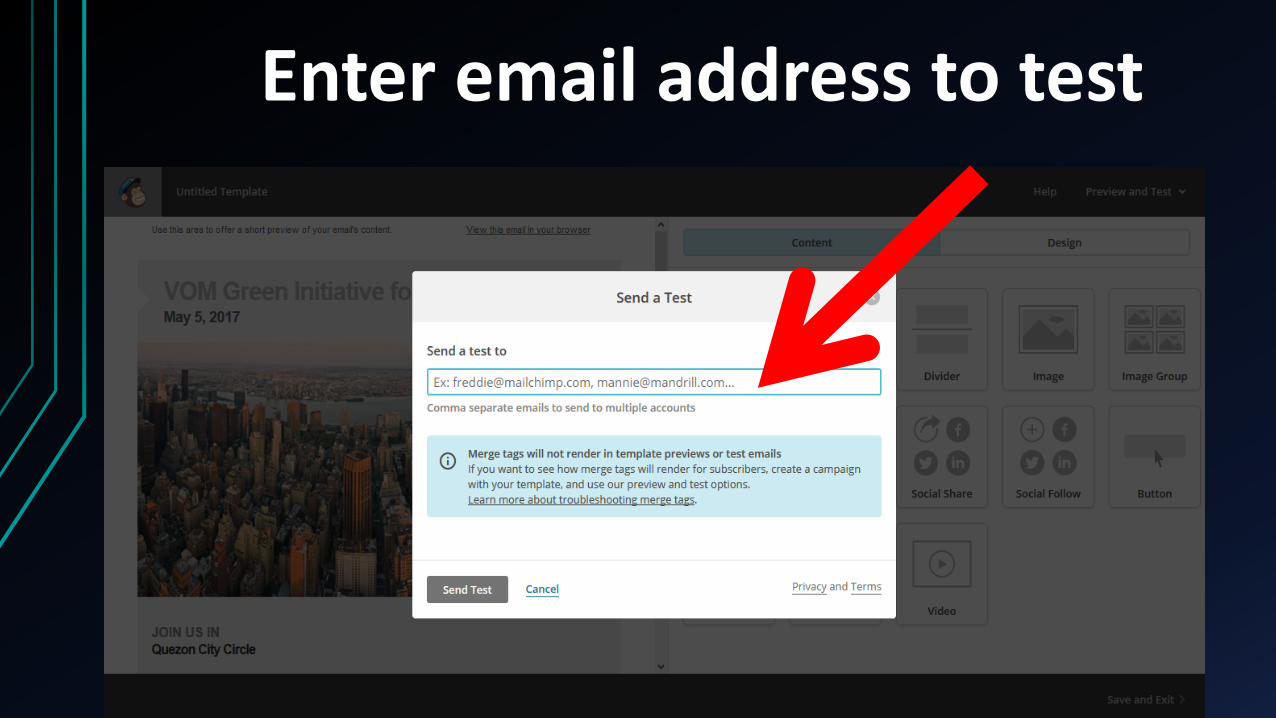
Enter email address to test
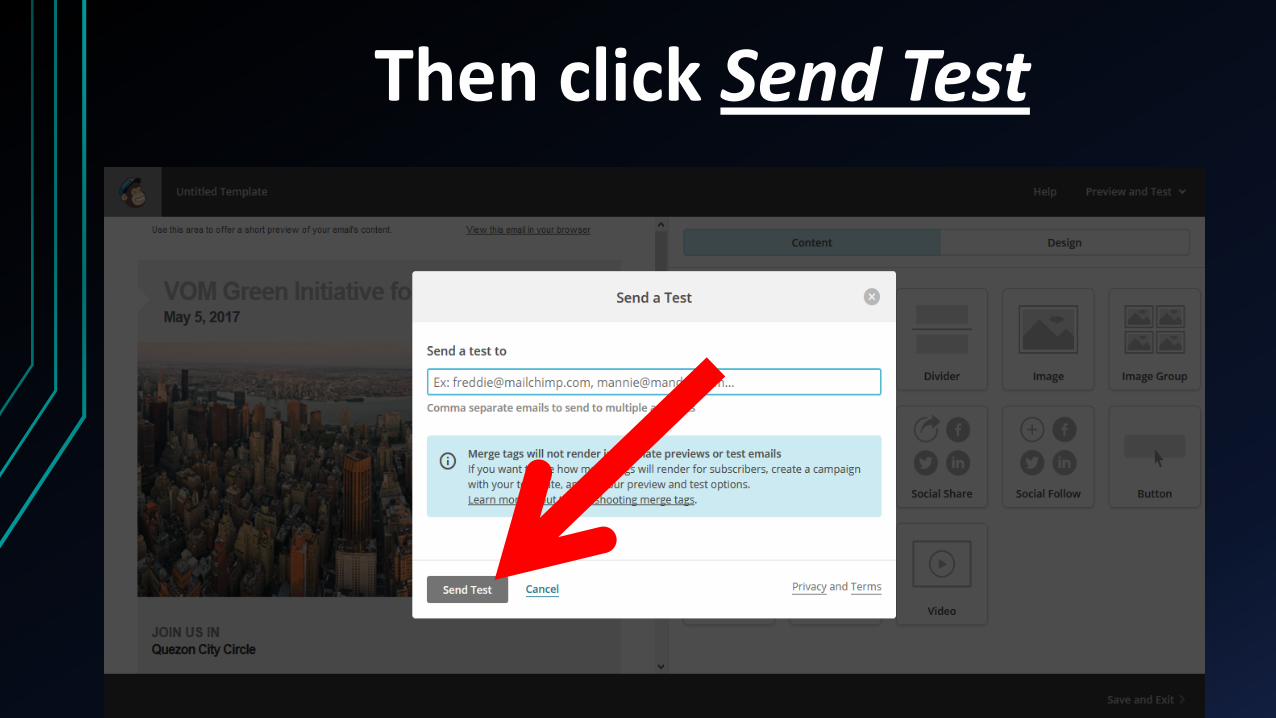
Then click Send Test
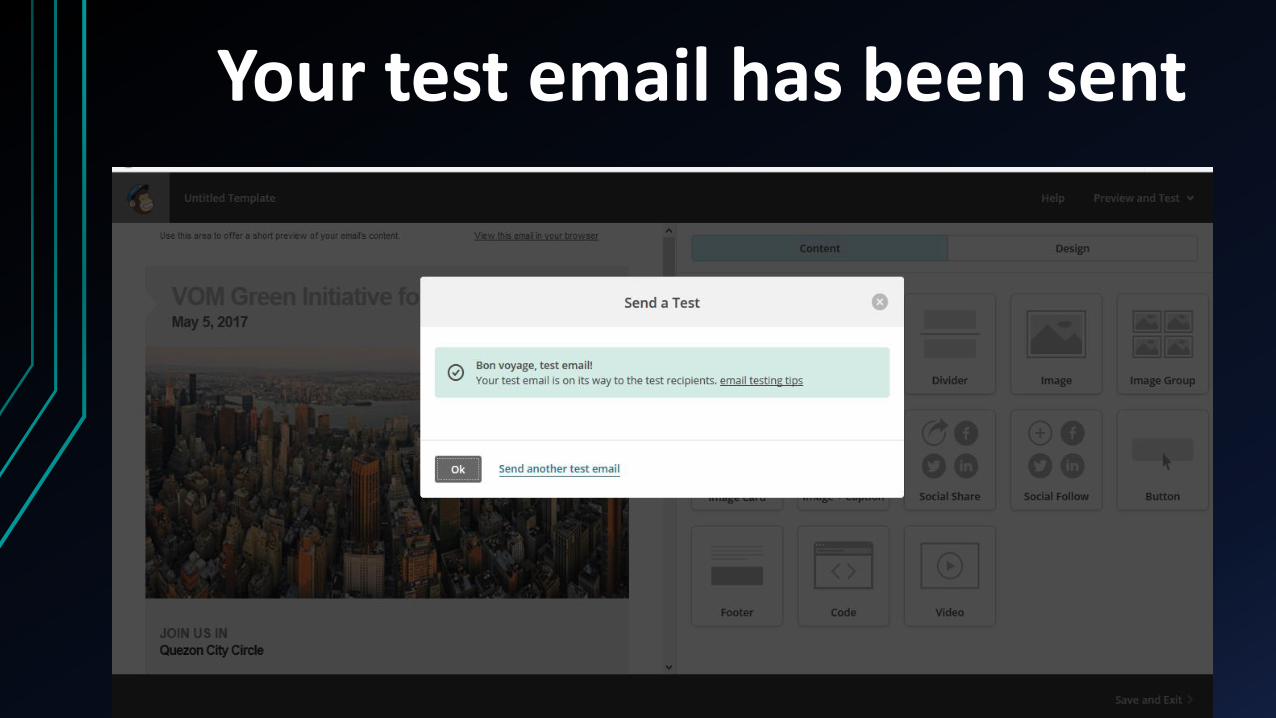
Your test email has been sent
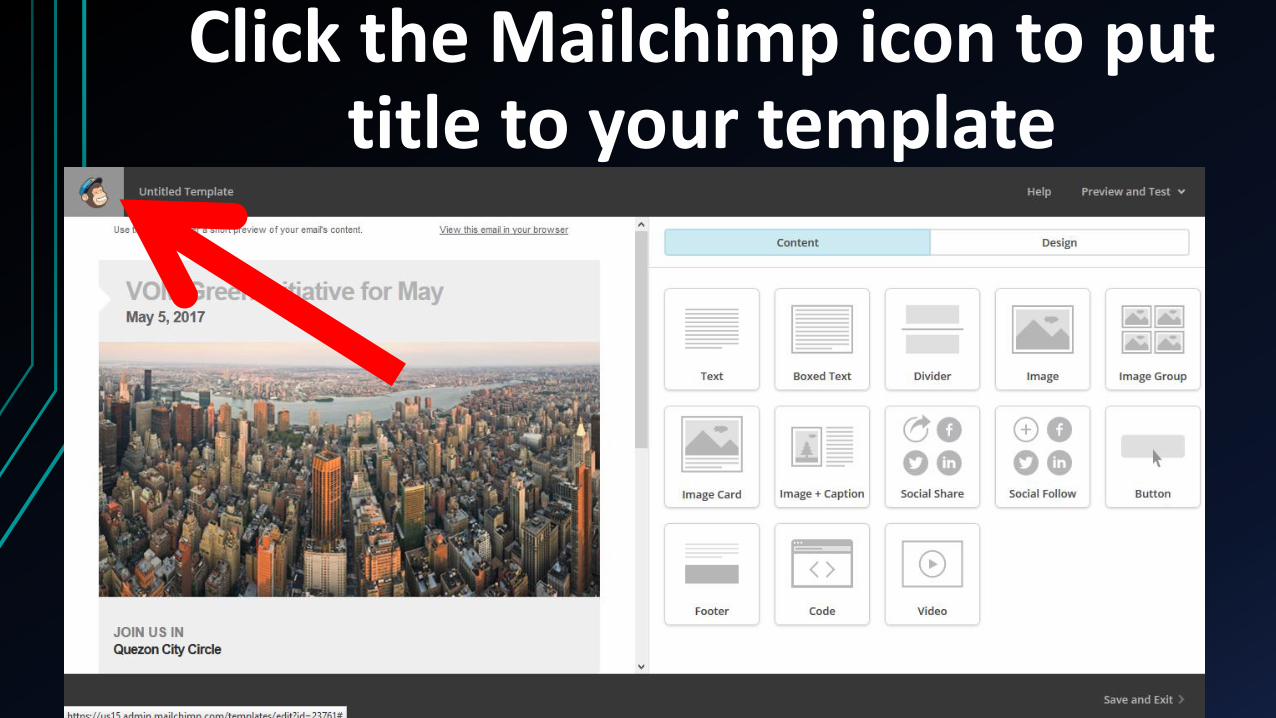
Click the Mailchimp icon to put title to your template
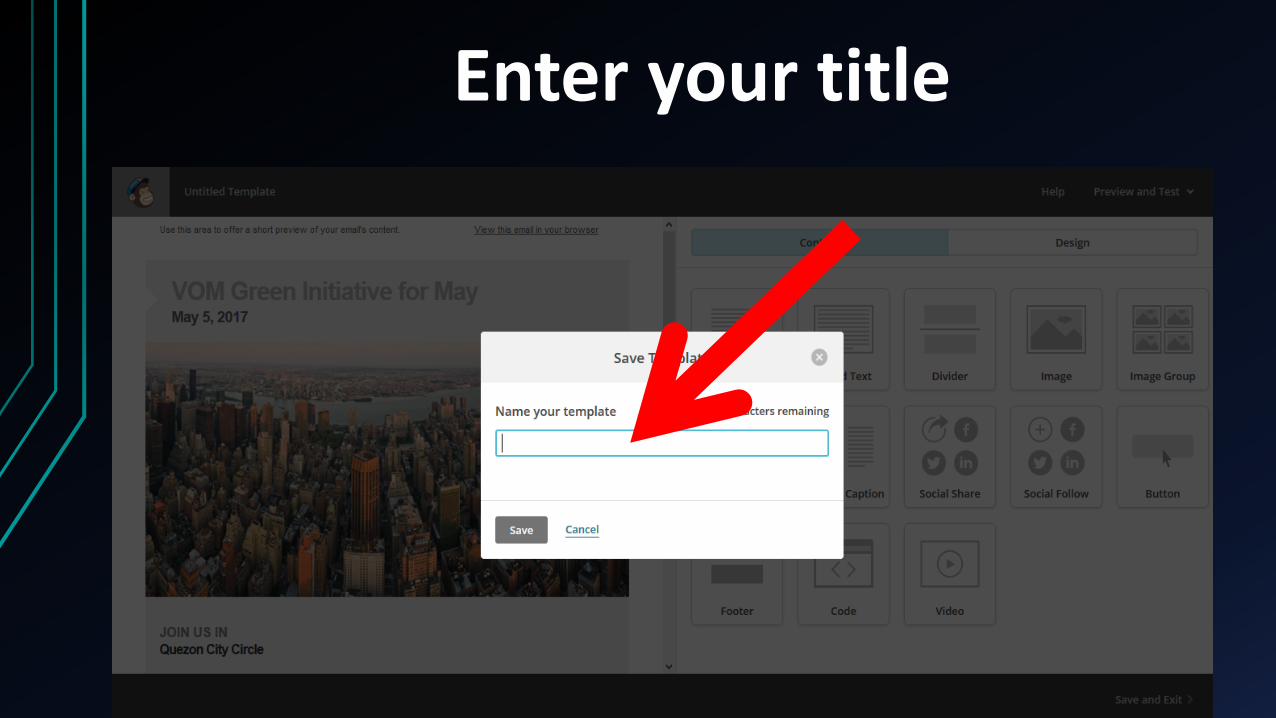
Enter your title
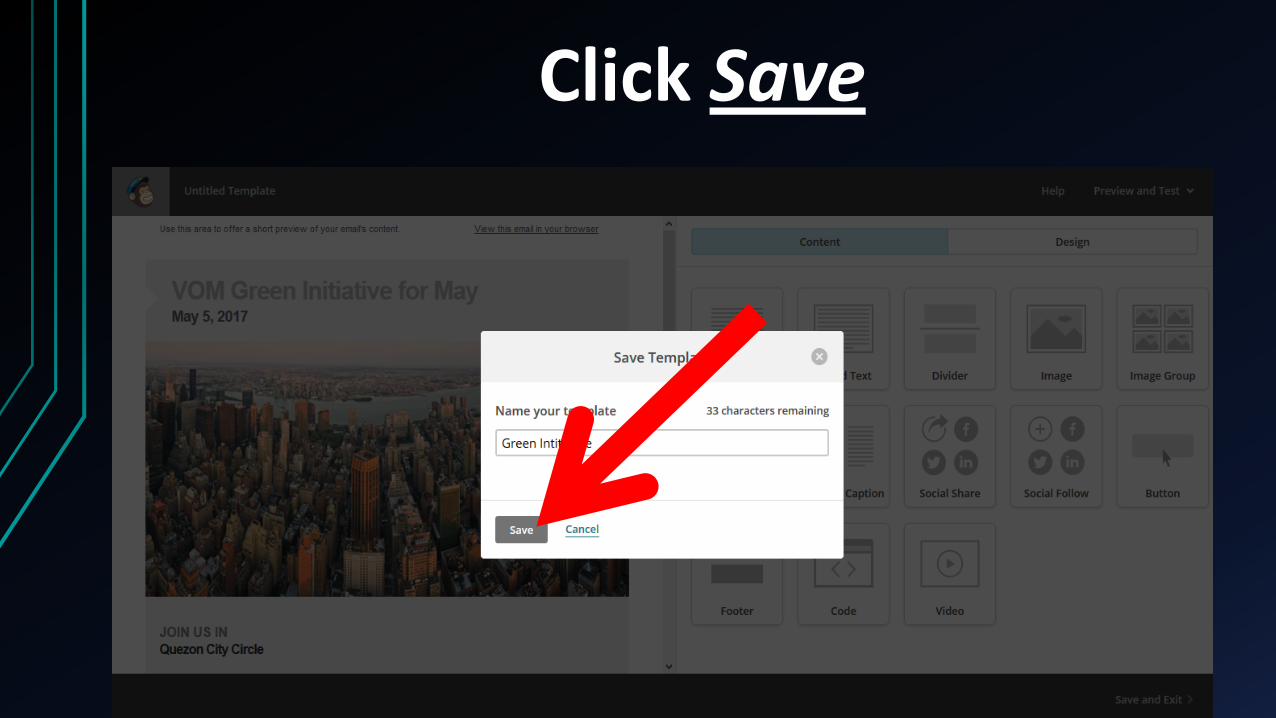
Click Save
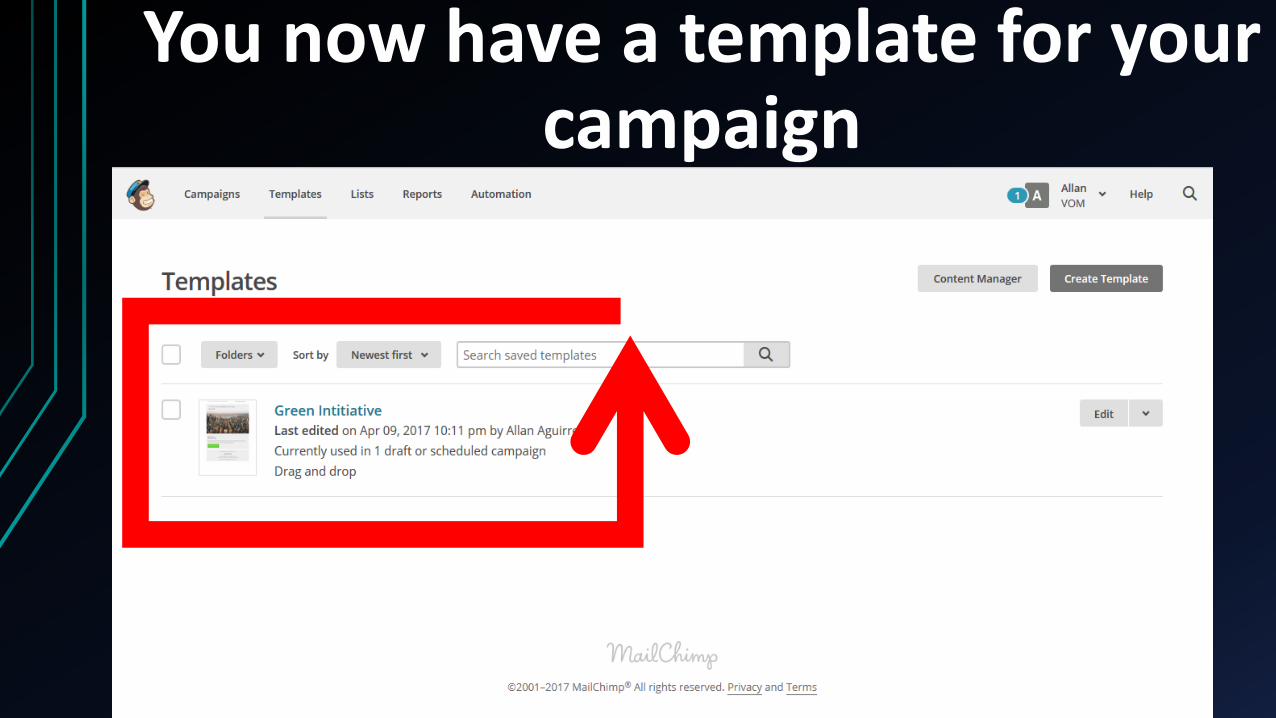
You now have a template for your campaign
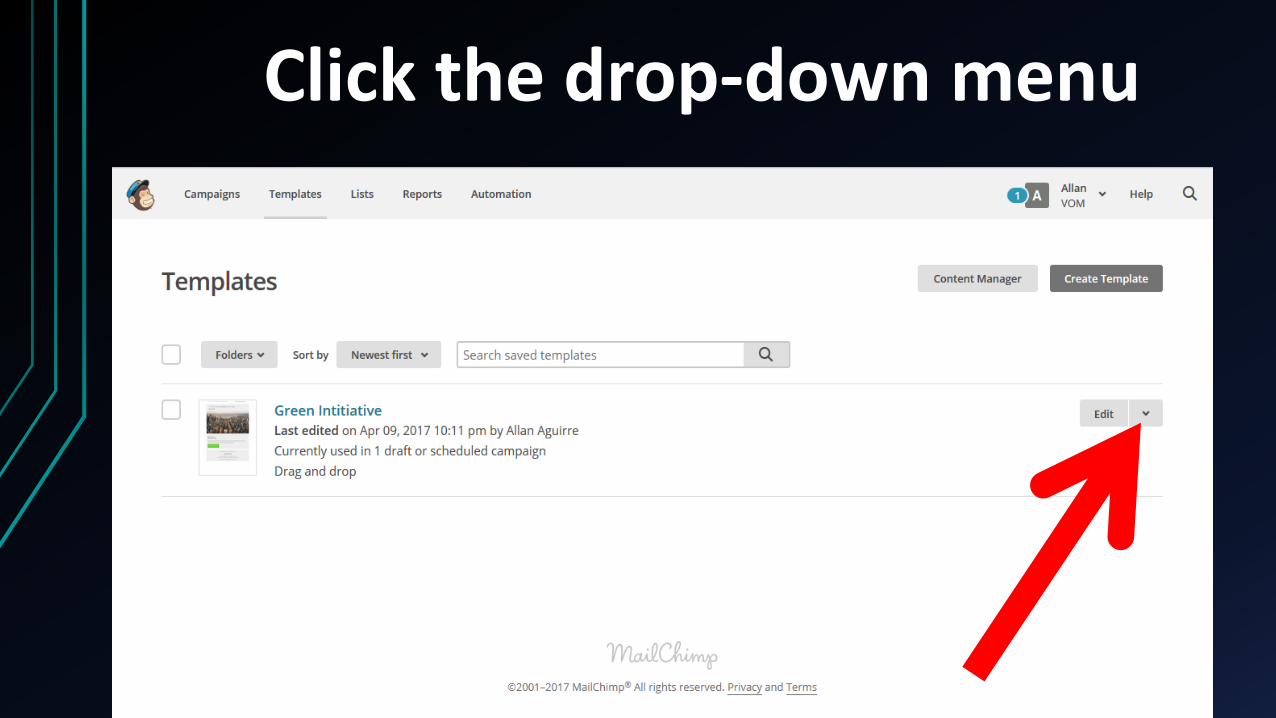
Click the drop-down menu
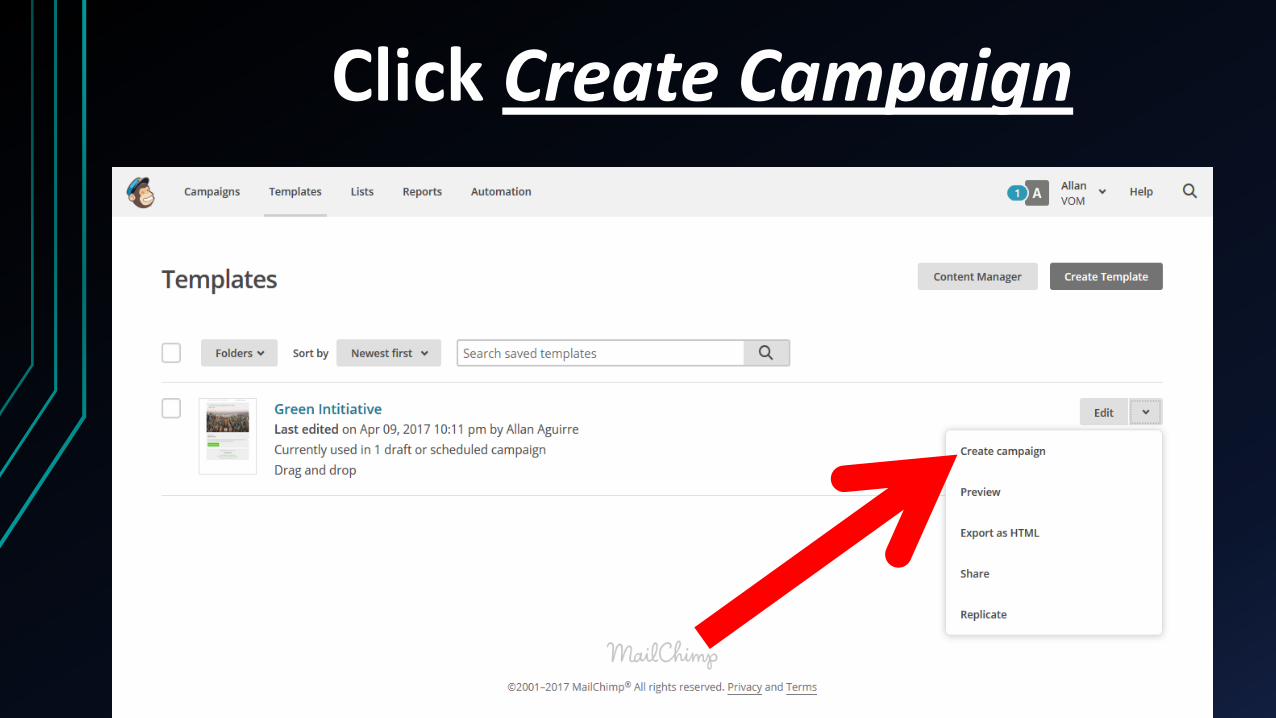
Click Create Campaign
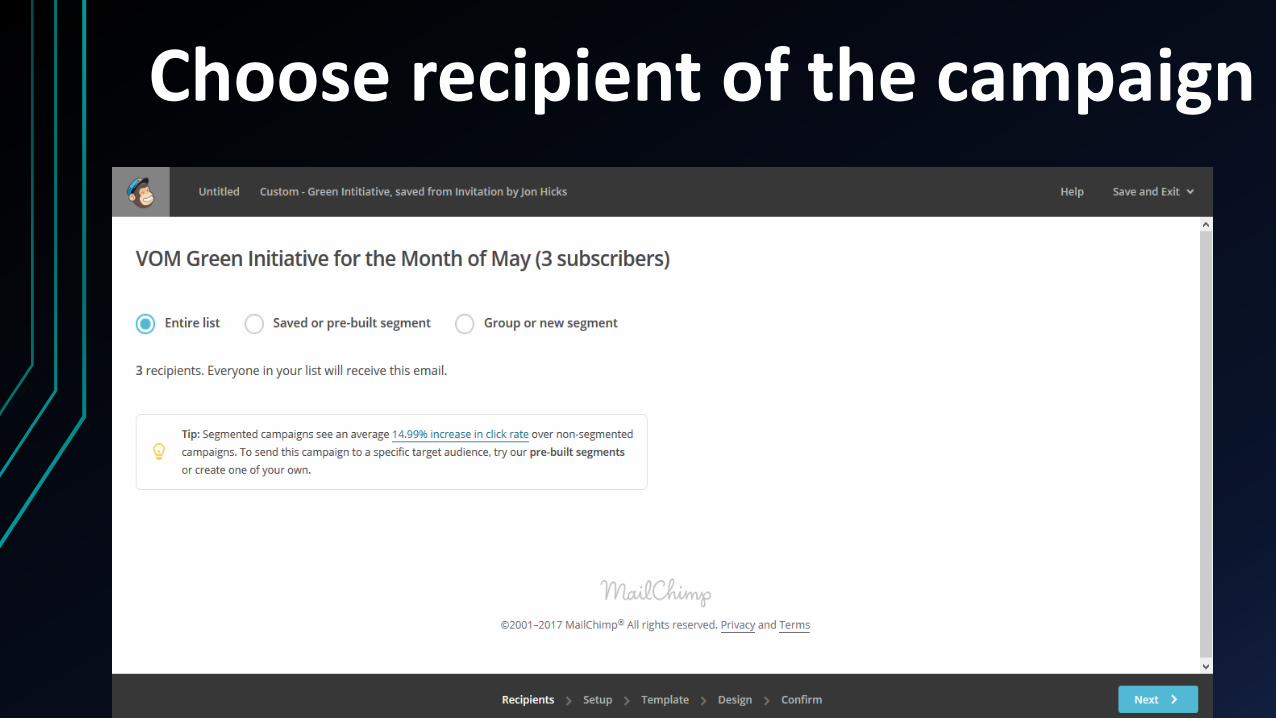
Choose recipient of the campaign
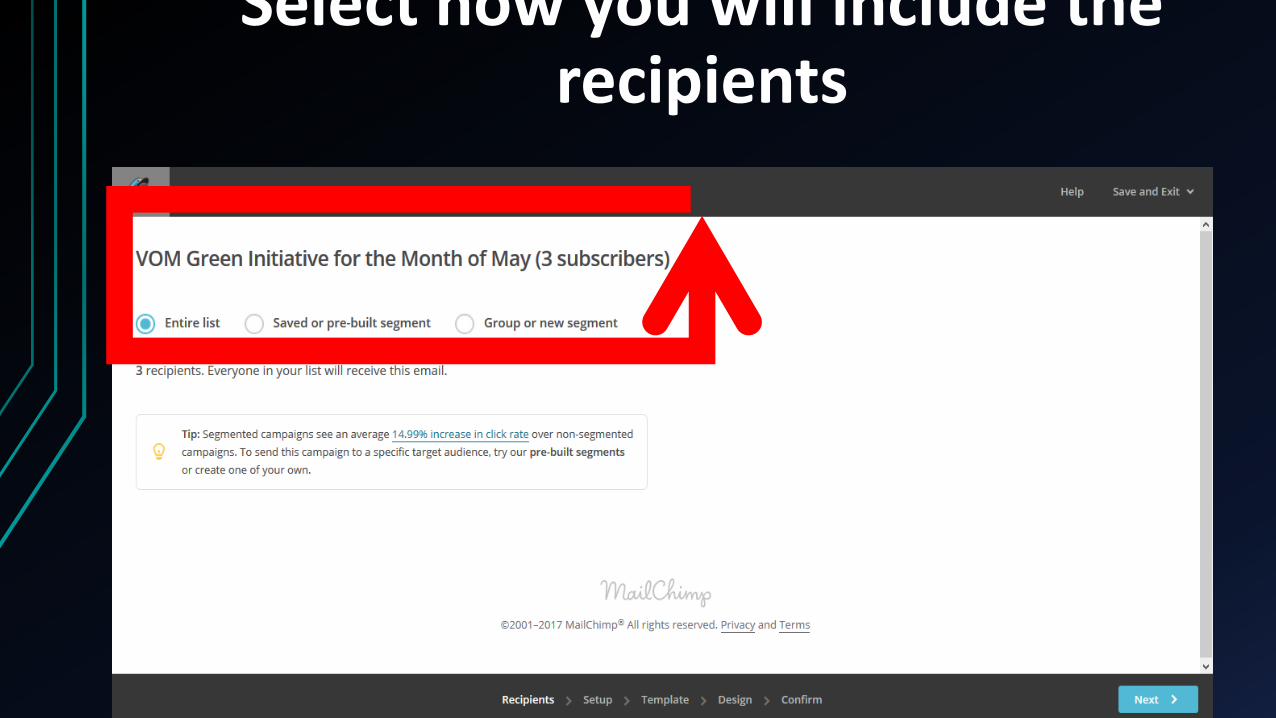
Select how you will include the recipients
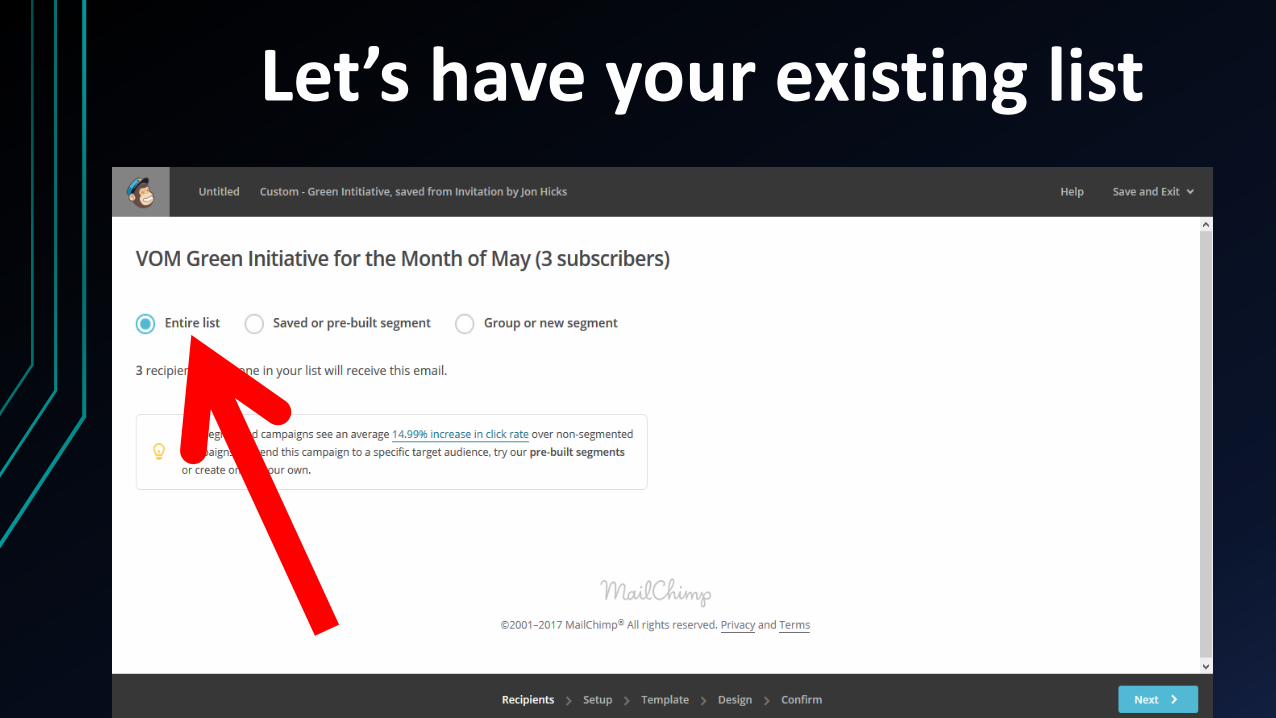
Let’s have your existing list
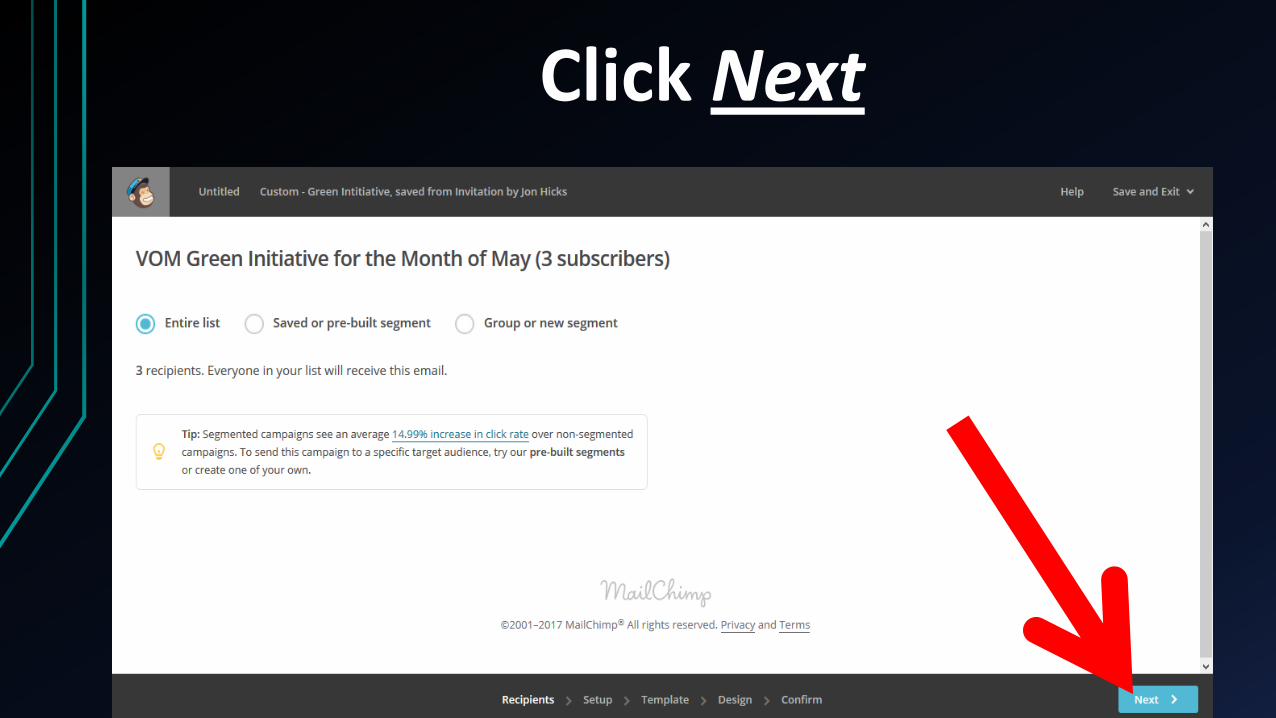
Click Next
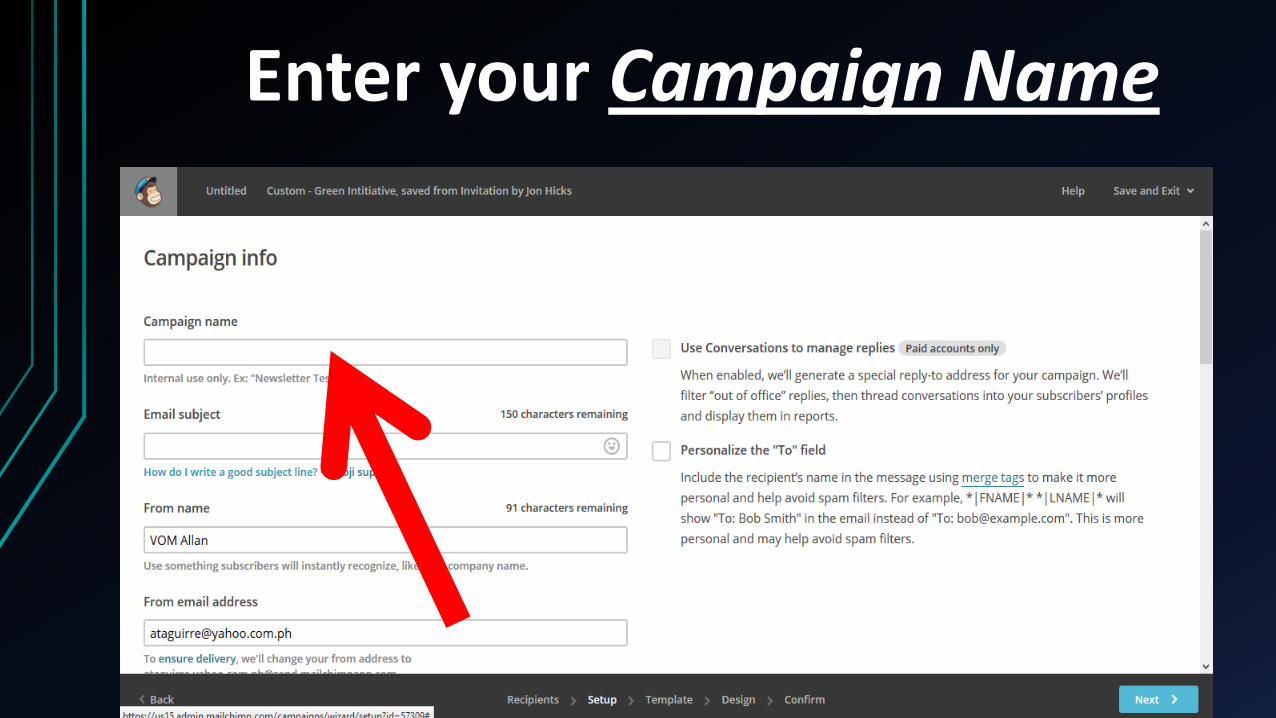
Enter your Campaign Name
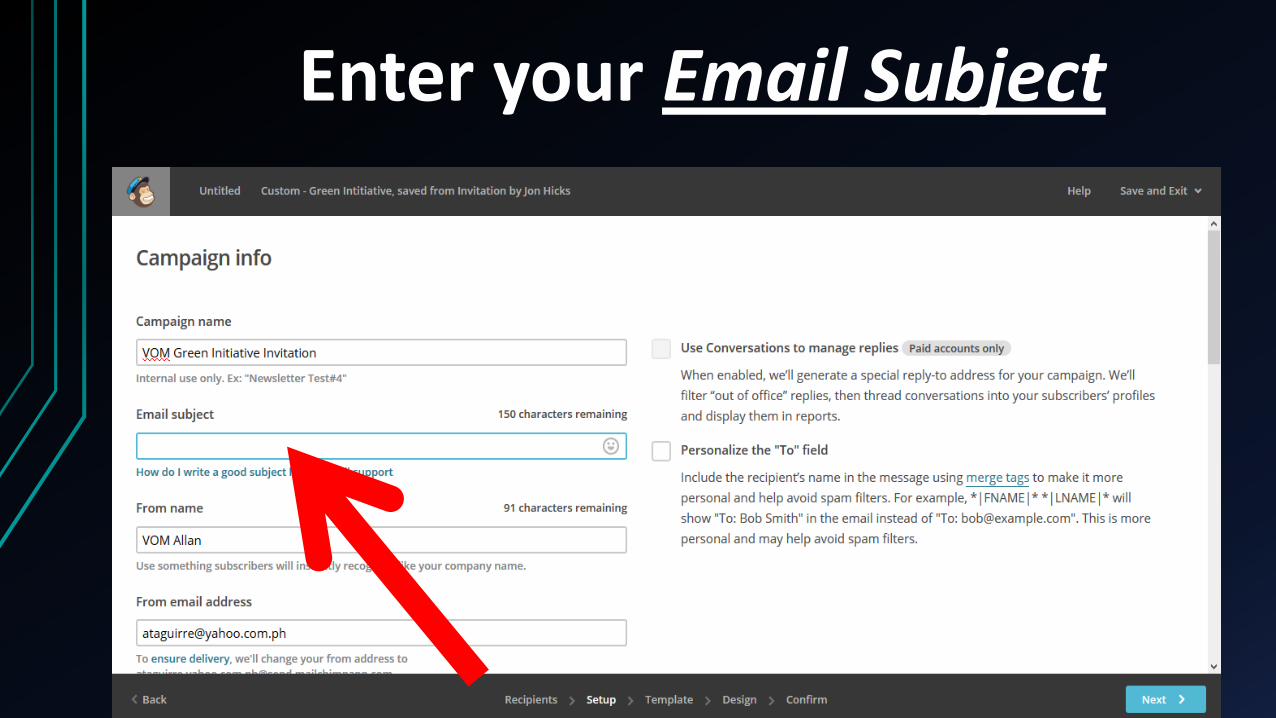
Enter your Email Subject
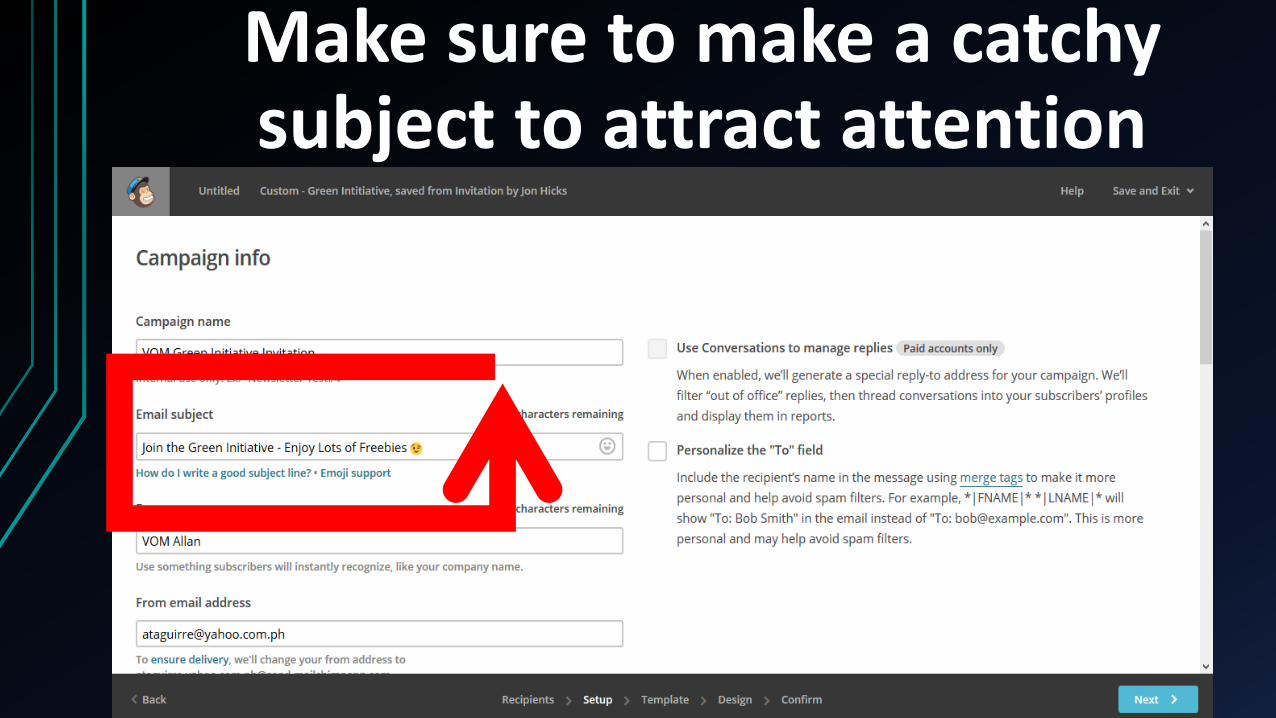
Make sure to make a catchy subject to attract attention
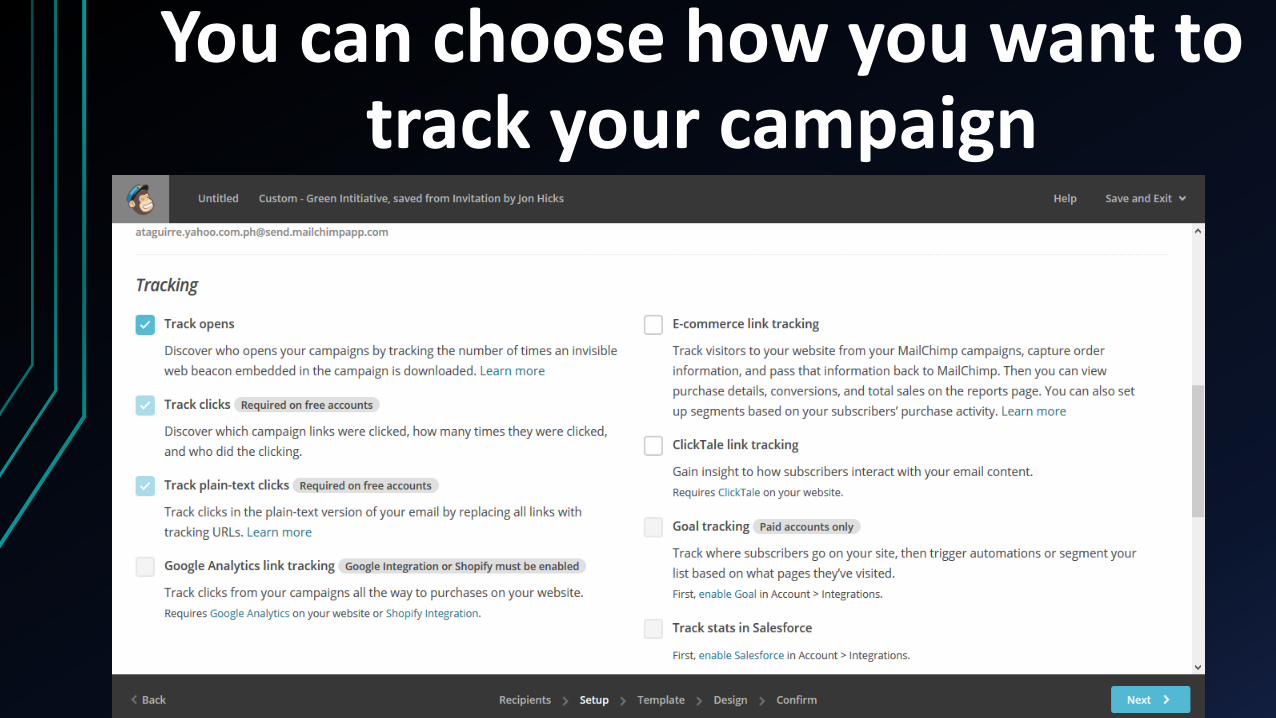
You can choose how you want to track your campaign
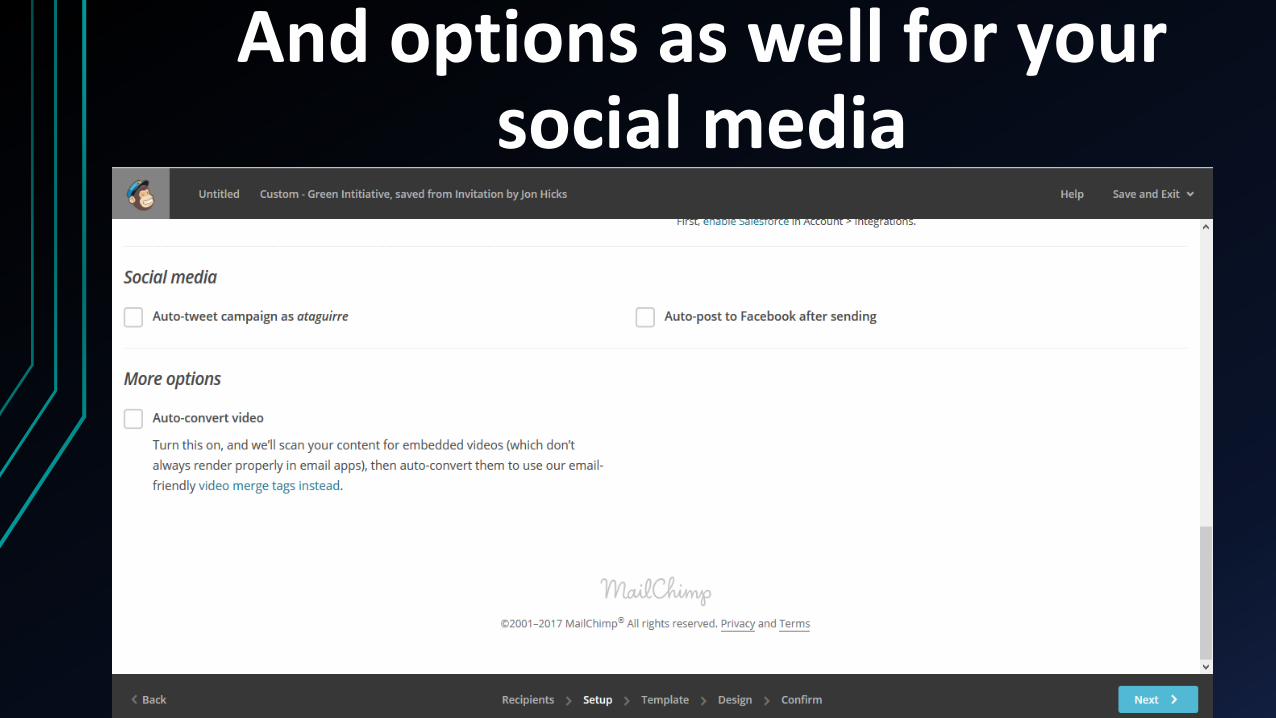
And options as well for your social media
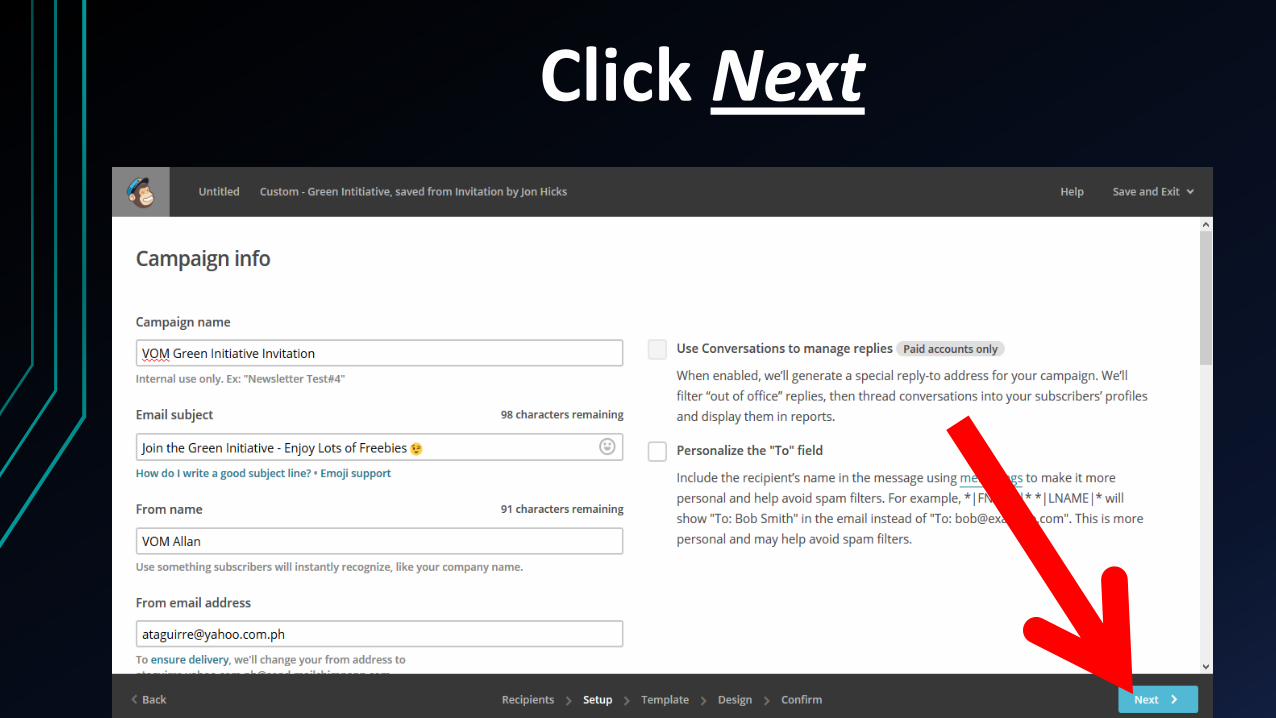
Click Next
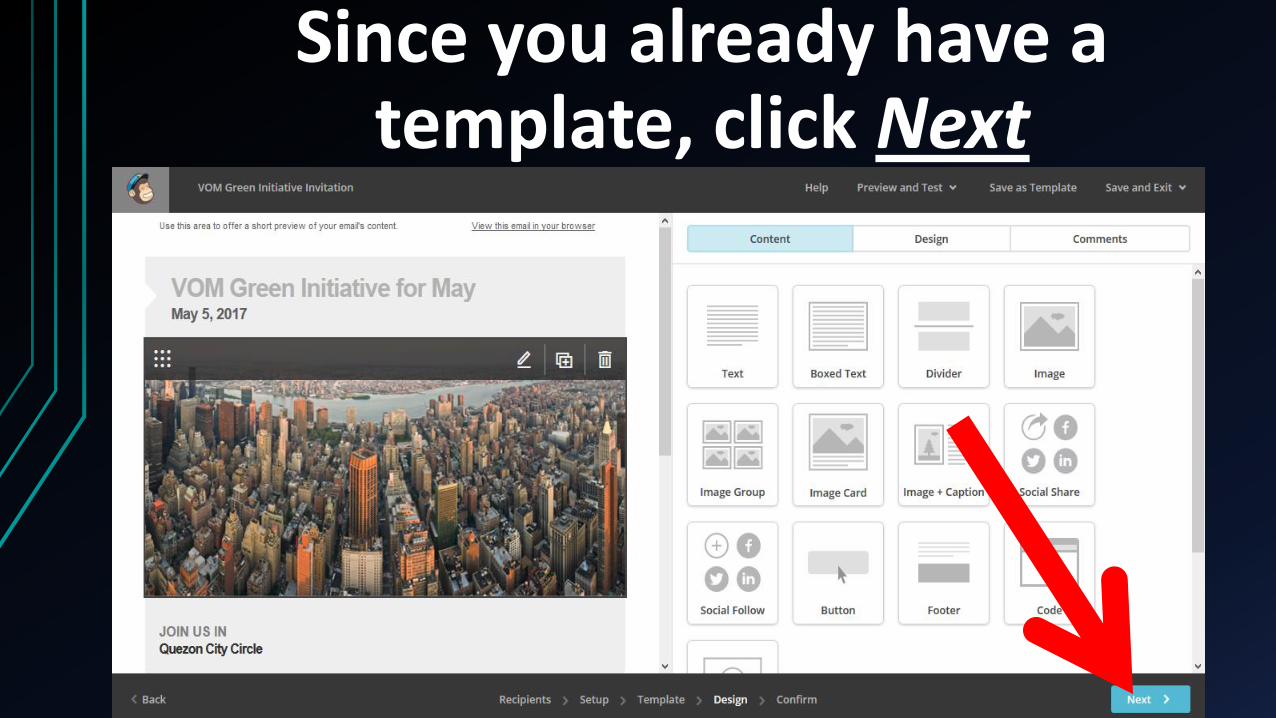
Since you already have a template, click Next
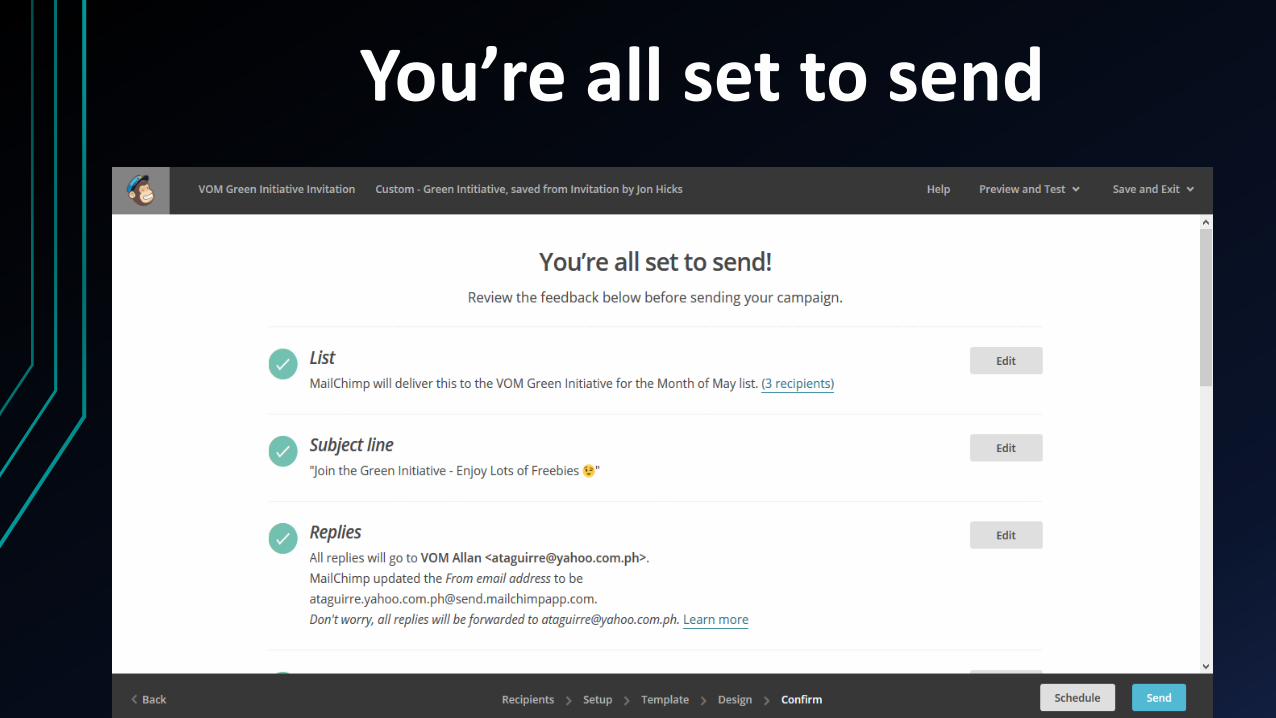
You’re all set to send
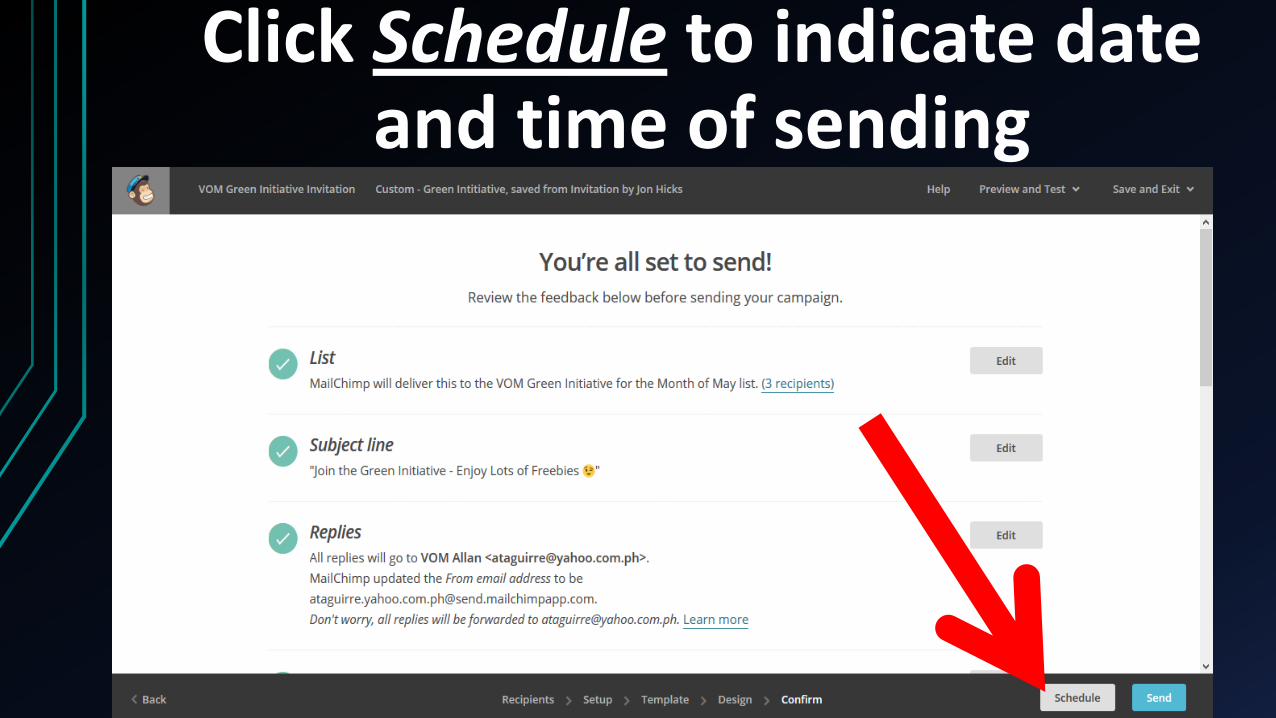
Click Schedule to indicate date and time of sending
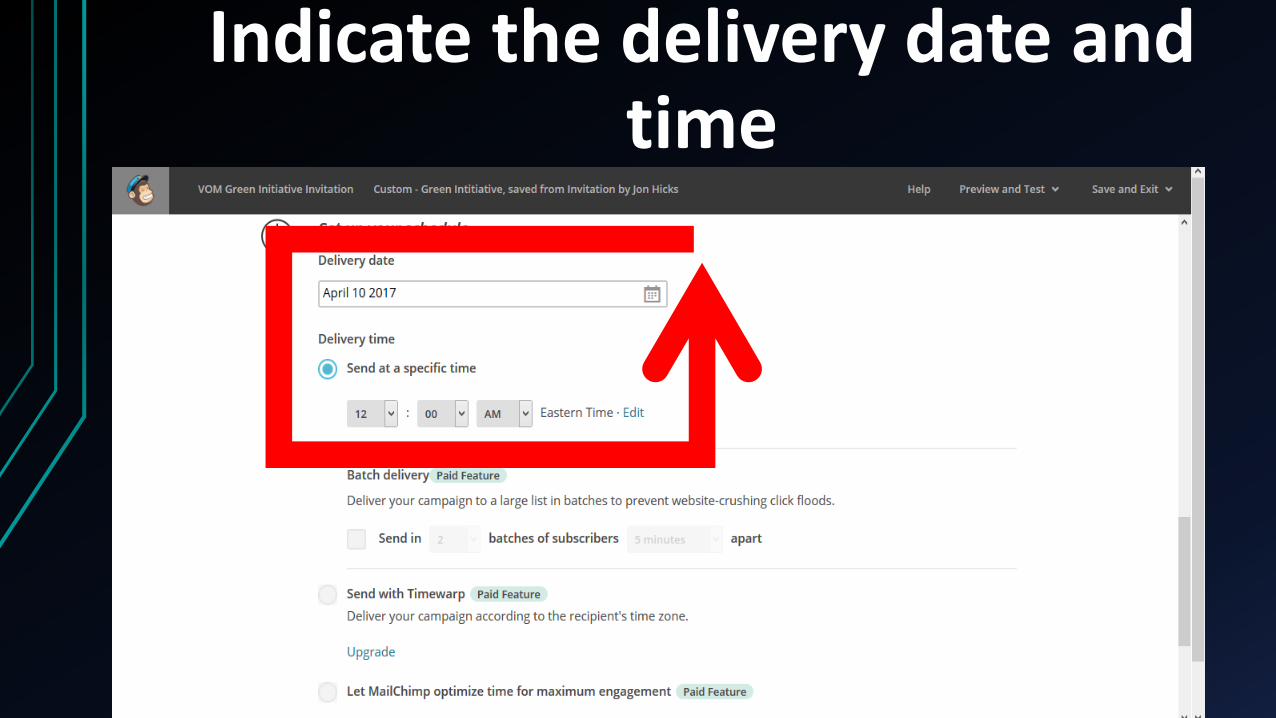
Indicate the delivery date and time
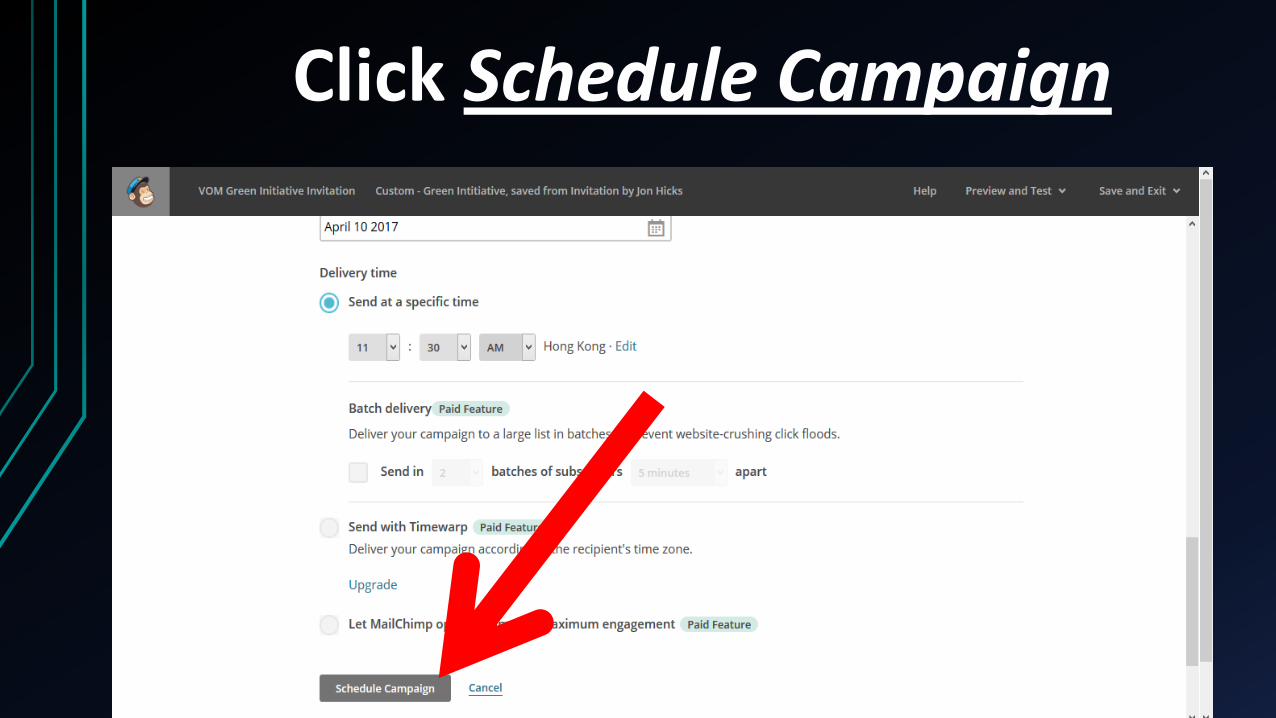
Click Schedule Campaign
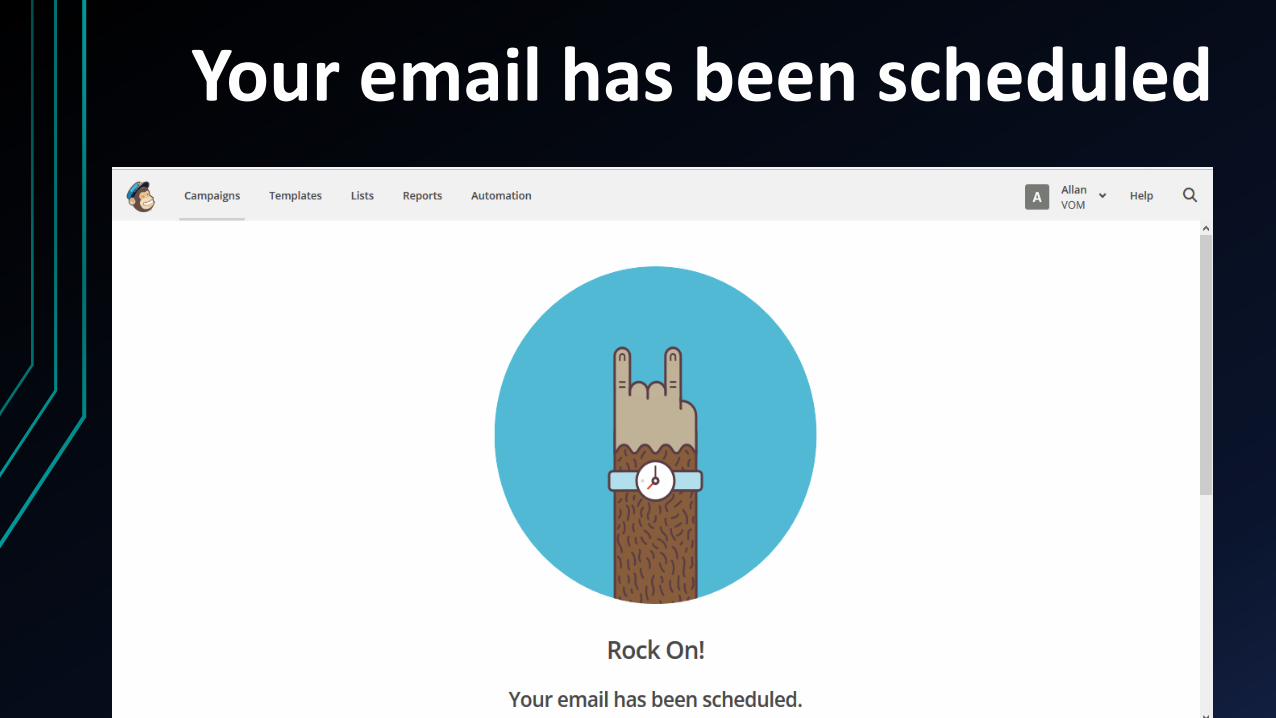
Your email has been scheduled
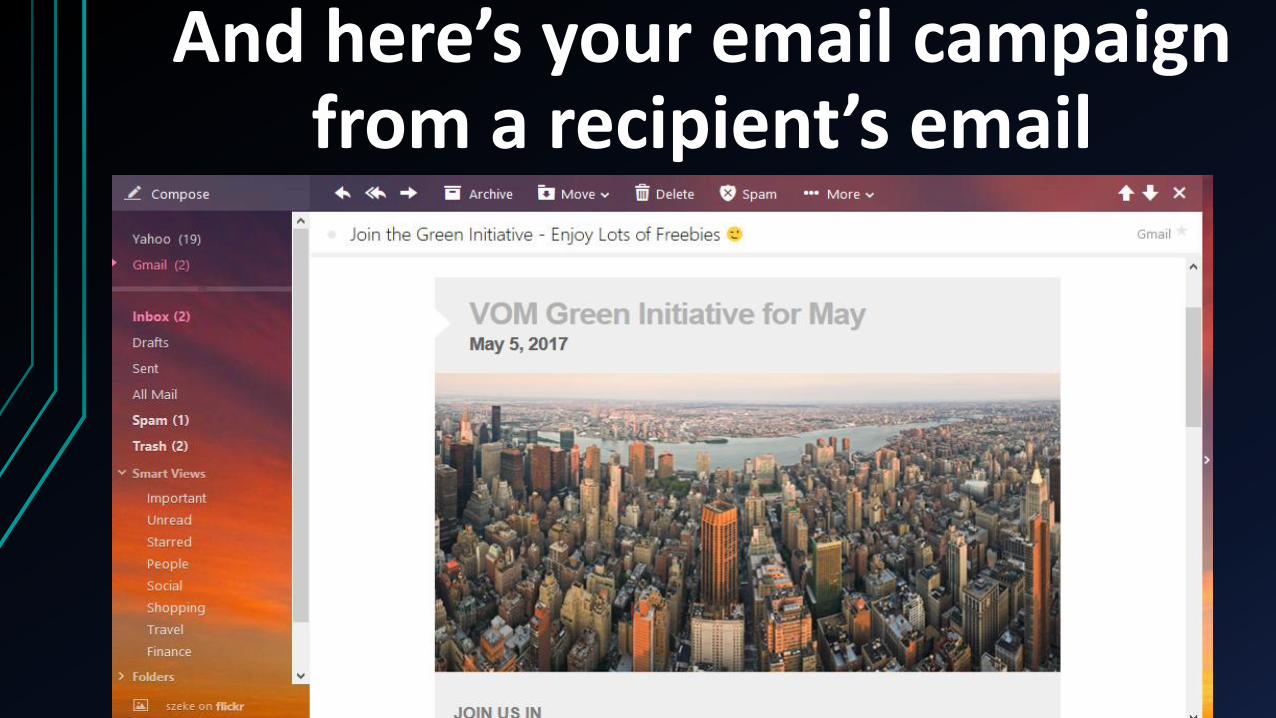
And here’s your email campaign from a recipient’s email

“Business has only two functions – marketing
and innovation” - Milan Kundera