guide craft badge ideas. step 1: you will need a foil tray, marbling ink, skewer and thin card...
TRANSCRIPT

Guide Craft Badge Ideas

Step 1: You will need a foil tray, marbling ink, skewer and thin
card
Clause 2: Use one of the following techniques to decorate paper; calligraphy, rubber stamping, quilling,
stencilling or marbling
TASK: You are going to marble a sheet of paper to make a cover for your notebook.
Step2: Pour in water till its about 1-2cm
deep.
Step 3: Add some drops of marbling ink
into the tray
Step 4: Use the skewer to mix the ink and make patterns.
Step 5: Lay the paper down onto the ink.
Step 6:Make sure the paper is flat but not under the water .
Step 7: Gently peel back the paper from
one end.
Step 8: Leave to dry till completely flat.
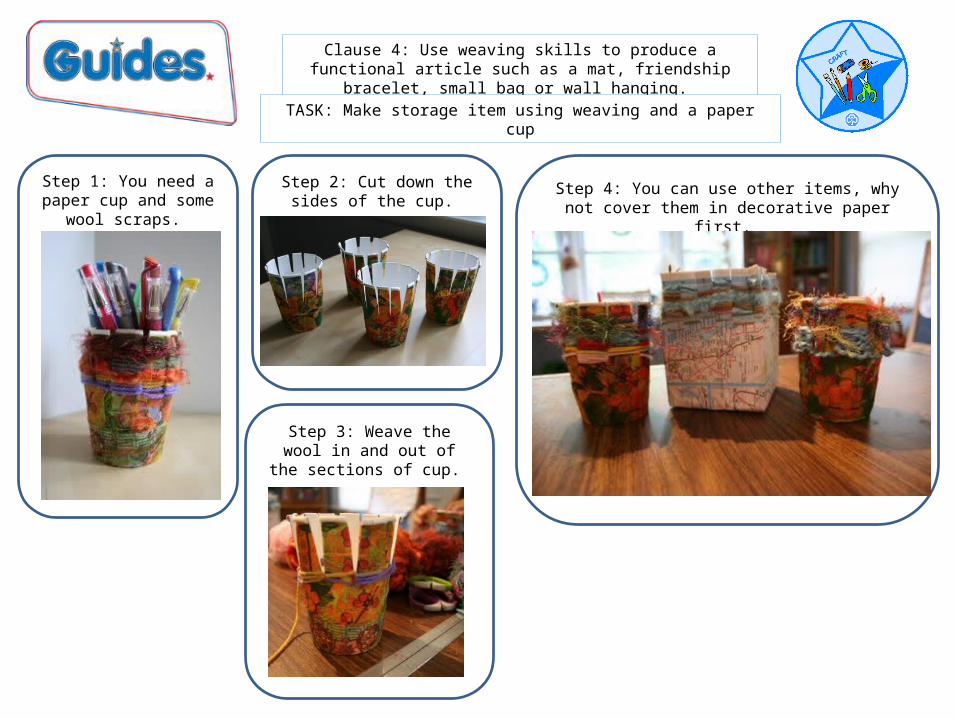
Clause 4: Use weaving skills to produce a functional article such as a mat, friendship bracelet, small bag or
wall hanging. TASK: Make storage item using weaving and a paper cup
Step 1: You need a paper cup and some
wool scraps.
Step 2: Cut down the sides of the cup.
Step 3: Weave the wool in and out of the sections
of cup.
Step 4: You can use other items, why not cover them in decorative paper first.
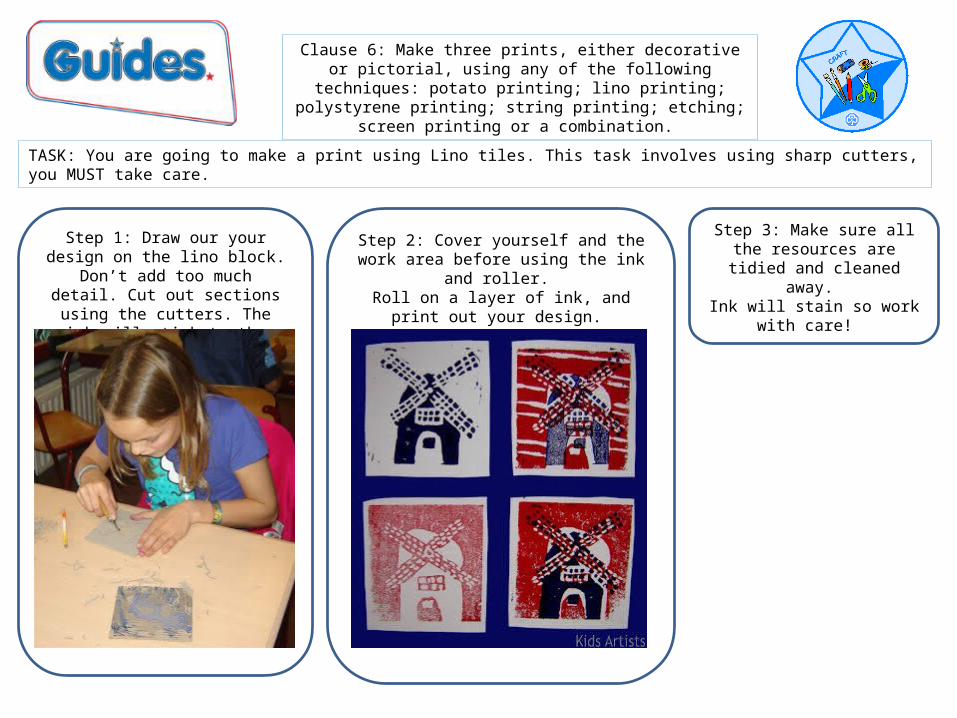
Step 2: Cover yourself and the work area before using the ink and roller. Roll on a layer of ink, and print out
your design.
Step 1: Draw our your design on the lino block. Don’t add
too much detail. Cut out sections using the cutters. The
ink will stick to the raised areas only.
Clause 6: Make three prints, either decorative or pictorial, using any of the following techniques: potato
printing; lino printing; polystyrene printing; string printing; etching; screen printing or a combination.
TASK: You are going to make a print using Lino tiles. This task involves using sharp cutters, you MUST take care.
Step 3: Make sure all the resources are tidied and
cleaned away. Ink will stain so work with
care!

Step 2: Use PVA glue and string to make up your patter. Leave to dry till
next week
Step 1: Draw our your design on a cardboard block.
Keep it simple! Write your name on the back.
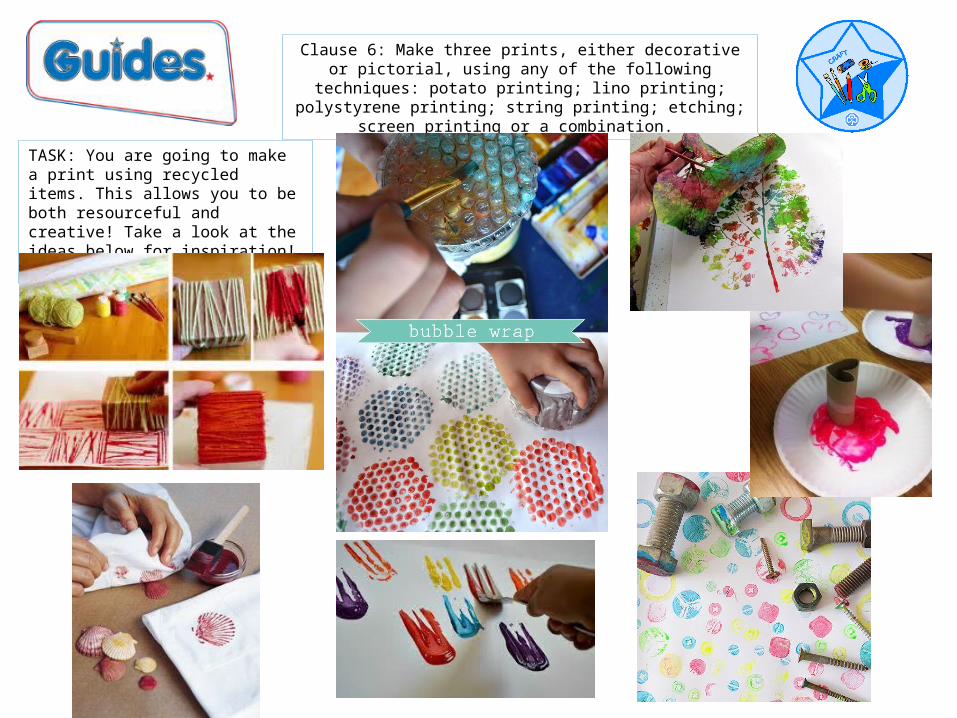
Clause 6: Make three prints, either decorative or pictorial, using any of the following techniques: potato
printing; lino printing; polystyrene printing; string printing; etching; screen printing or a combination.
TASK: You are going to make a print using string. This task will take 2 weeks. 1st week you need to make your printing block. 2nd week you can use this to make your prints.
Step 3: Use a thin layer of painting on your printing block, this will help
to stop the paint running.Experiment with design and layout, to make your final decorative item.
Step 4: Tidy and clean your art area for the next person.
Clause 6: Make three prints, either decorative or pictorial, using any of the following techniques: potato
printing; lino printing; polystyrene printing; string printing; etching; screen printing or a combination.
TASK: You are going to make a print using recycled items. This allows you to be both resourceful and creative! Take a look at the ideas below for inspiration!

Clause 7: Decorate an item of clothing or soft furnishings using one of these techniques.
- Block Printing - Screen Printing - Tie Dying - Painting
TASK: Design a pillowcase which you can use for camps and holidays. It needs to include your name. You should complete a design on the template, then show it to a leader. You should then draw our your design in pencil, before using the fabric pens. You can use buttons or other items to add detail if you wish.

Clause 7: Decorate an item of clothing or soft furnishings using one of these techniques.
- Block Printing - Screen Printing - Tie Dying - Painting
TASK: You are going to tie dye a white t-shirt or other cotton clothing item of your choice. You could make your own neckers to wear as a unit.
Step 1: Tie elastic bands around the t-
shirt
Step 2: Continue along the item, about 5cm apart from each
other.
Step 3: Prepare your cold water dye and using gloves dip it
into the colours. The longer it is left the
brighter!
Step 4: Leave the item out flat to dry.
WARNING Make sure you cover the area you are working in, wear gloves and protective clothing. Follow the instructions on the cold water dye pack, to ensure the dye ‘fixes’
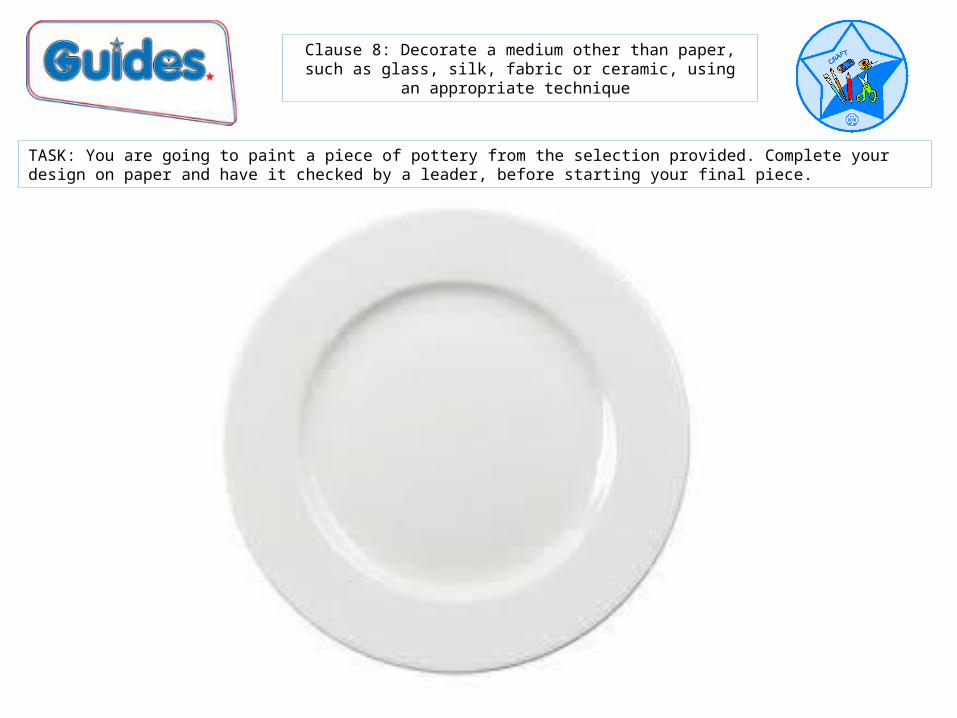
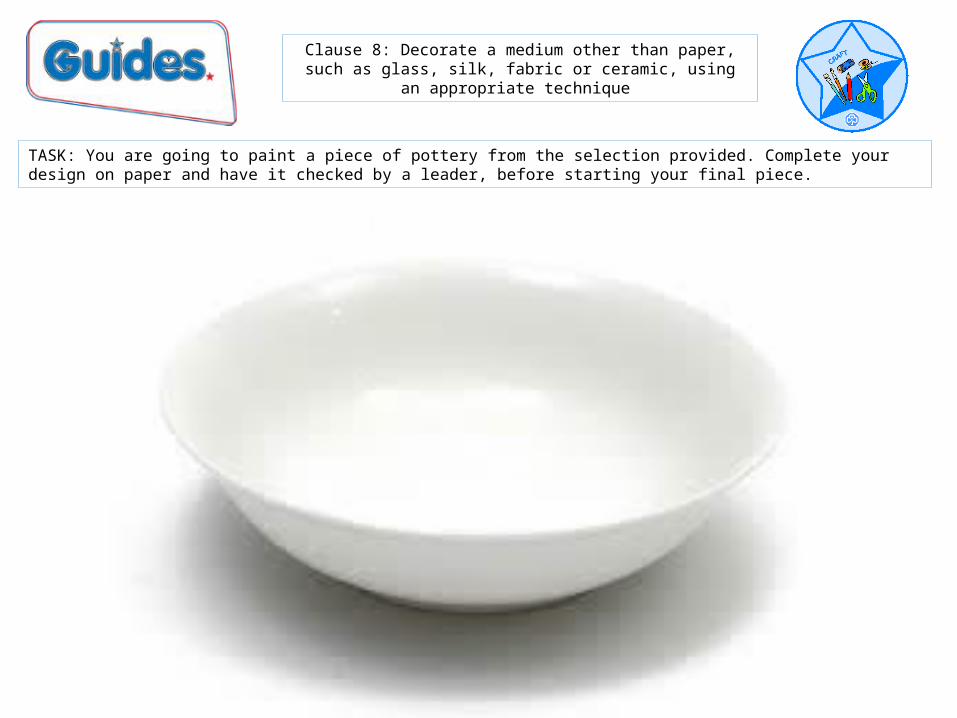
Clause 8: Decorate a medium other than paper, such as glass, silk, fabric or ceramic, using an appropriate
technique
TASK: You are going to paint a piece of pottery from the selection provided. Complete your design on paper and have it checked by a leader, before starting your final piece.
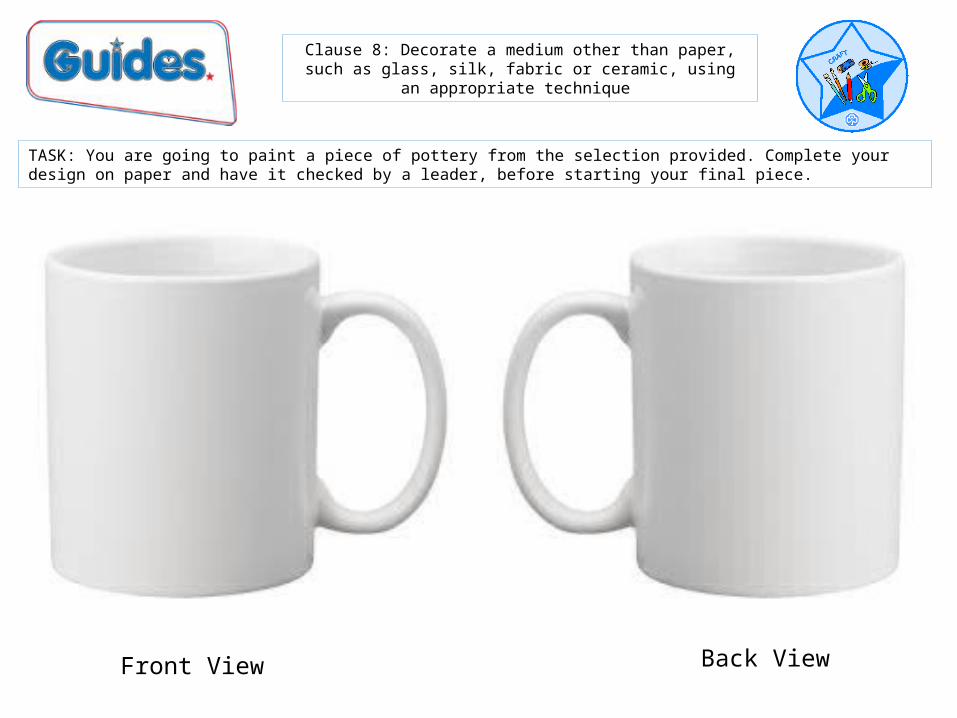
Clause 8: Decorate a medium other than paper, such as glass, silk, fabric or ceramic, using an appropriate
technique
TASK: You are going to paint a piece of pottery from the selection provided. Complete your design on paper and have it checked by a leader, before starting your final piece.
Clause 8: Decorate a medium other than paper, such as glass, silk, fabric or ceramic, using an appropriate
technique
TASK: You are going to paint a piece of pottery from the selection provided. Complete your design on paper and have it checked by a leader, before starting your final piece.
Front View Back View
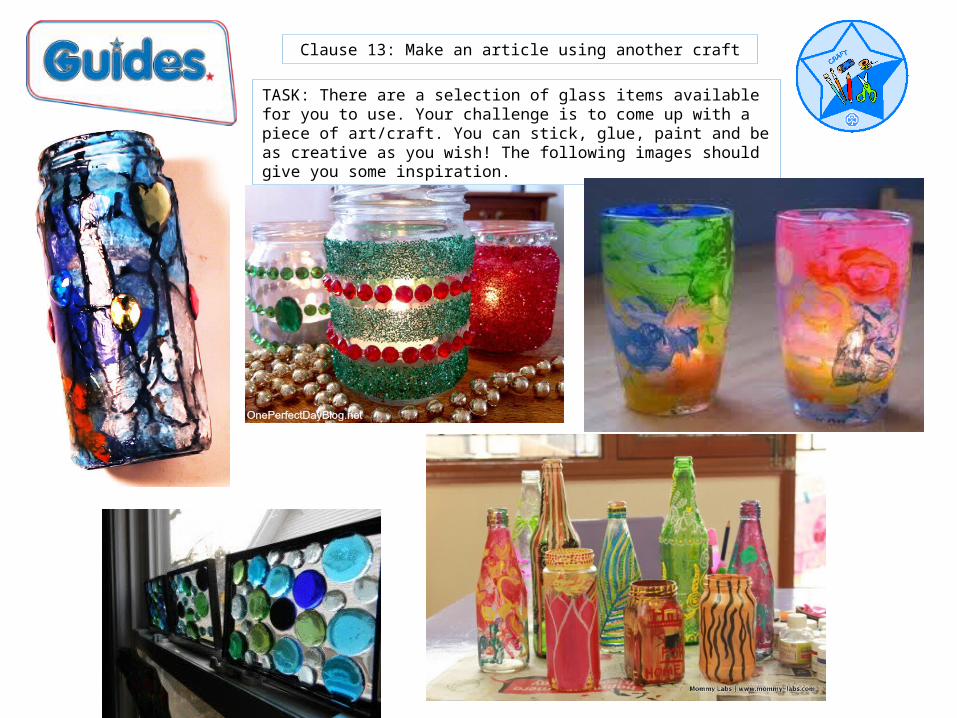
Clause 13: Make an article using another craft
TASK: There are a selection of glass items available for you to use. Your challenge is to come up with a piece of art/craft. You can stick, glue, paint and be as creative as you wish! The following images should give you some inspiration.