django by rj
TRANSCRIPT

A SEMINAR
ON
Prepared by: Mr. Raviraj Solanki

Content
What is Django? A brief history of Django DJANGO MVC - MVT Pattern Django – Environment Django – Creating a Project Django – Apps Life Cycle Django - Creating Views Work with databsae in Djnago Pros of Django Cons of Django Conclusion

What is Djnago?
is a free and open-source web framework, written in Python, which follows the model-view-template (MVT) architectural pattern.
It is maintained by the Django Software Foundation (DSF).
Django is a high-level Python web framework that encourages rapid development and clean, pragmatic design.
Django makes it easier to build better web apps quickly and with less code.
History of Django
2003: Started by Adrian Holovaty and Simon Willison as an internal project at the Lawrence Journal-World newspaper.
2005: Released July 2005 and named it Django, after the jazz guitarist Django Reinhardt.
2005: Mature enough to handle several high-traffic sites.
Current: Django is now an open source project with contributors across the world.
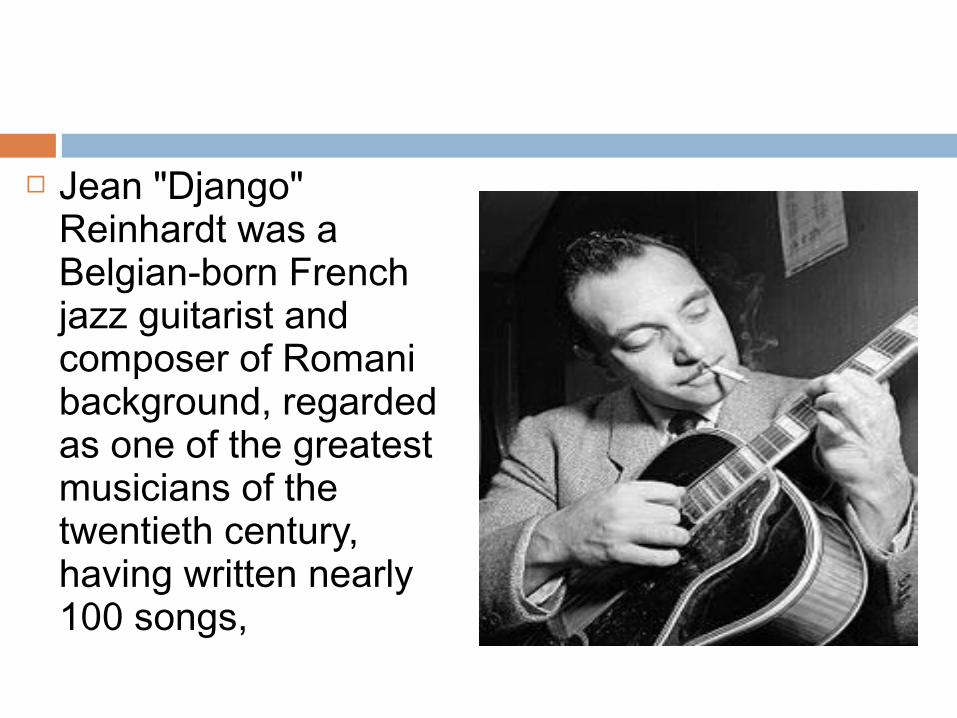
Jean "Django" Reinhardt was a Belgian-born French jazz guitarist and composer of Romani background, regarded as one of the greatest musicians of the twentieth century, having written nearly 100 songs,
Django – Design Philosophies
Django comes with the following design philosophies: Loosely Coupled: Django aims to make each element of its stack
independent of the others.
Less Coding: Less code so in turn a quick development.
Don't Repeat Yourself (DRY): Everything should be developed only in exactly one place instead of repeating it again and again.
Fast Development: Django's philosophy is to do all it can to facilitate hyper-fast development.
Clean Design: Django strictly maintains a clean design throughout its own code and makes it easy to follow best web-development practices.
DJANGO MVC - MVT Pattern
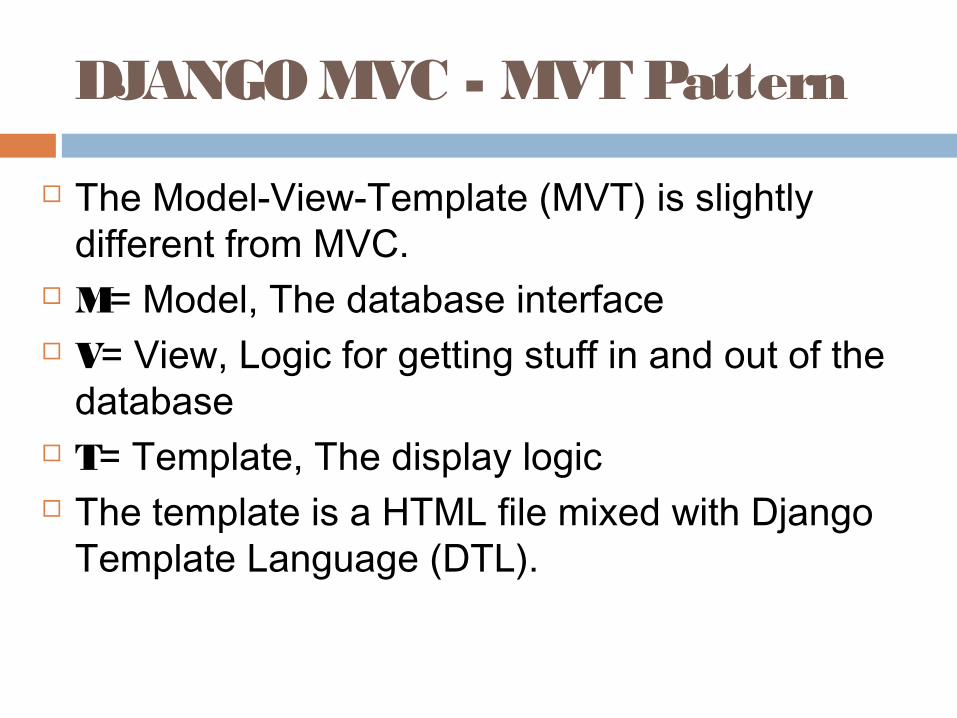
The Model-View-Template (MVT) is slightly different from MVC.
M= Model, The database interface V= View, Logic for getting stuff in and out of the
database T= Template, The display logic The template is a HTML file mixed with Django
Template Language (DTL).
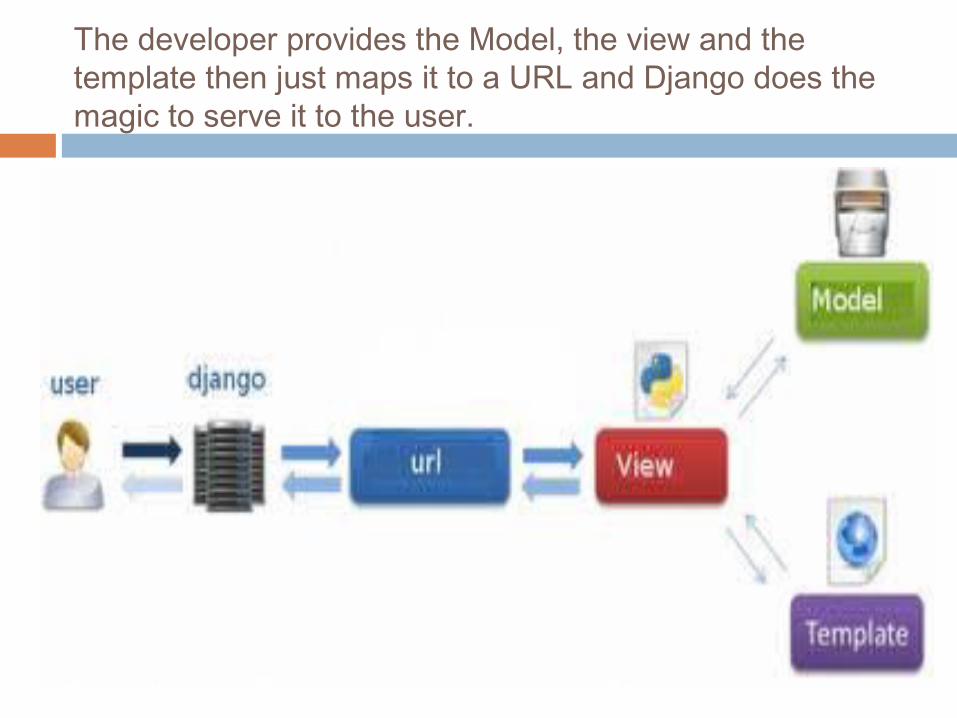
The developer provides the Model, the view and the template then just maps it to a URL and Django does the magic to serve it to the user.

Django – Environment
Step 1 – Installing Python Step 2 - Installing Django
https://www.djangoproject.com/download/ Step 3 – Database Setup Django supports several major database
engines and you can set up any of them based on your comfort. MySQL PostgreSQL SQLite 3 Oracle MongoDb GoogleAppEngine Datastore
Step 4 – Web Server Django comes with a lightweight web server for
developing and testing applications. This server is pre-configured to work with Django,
and more importantly, it restarts whenever you modify the code.

Django – Creating a Project
In Django, every web app you want to create is called a project; and a project is a sum of applications.
An application is a set of code files relying on the MVT pattern.
As example let's say we want to build a website, the website is our project and, the forum, news, contact engine are applications.
A project is a collection of configuration and apps for a particular website.
A project can contain multiple apps. An app can be in multiple projects.

Create a Project
Whether you are on Windows or Linux, just get a terminal or a cmd prompt and navigate to the place you want your project to be created, then use this code:
$ django-admin startproject myproject This will create a "myproject" folder with the following
structure: myproject/
manage.py myproject/
__init__.py settings.py urls.py wsgi.py
The Project Structure
The “myproject” folder is just your project container, it actually contains two elements:
manage.py: This file is kind of your project local django-admin for interacting with your project via command line (start the development server, sync db...). To get a full list of command accessible via manage.py you can use the code:
$ python manage.py help

The “myproject” subfolder: This folder is the actual python package of your project. It contains four files:
__init__.py: Just for python, treat this folder as package.
settings.py: As the name indicates, your project settings.
urls.py: All links of your project and the function to call.
wsgi.py: If you need to deploy your project over Web Server Gateway Interface (WSGI).

Django also supports:
MySQL (django.db.backends.mysql) PostGreSQL
(django.db.backends.postgresql_psycopg2) Oracle (django.db.backends.oracle) and
NoSQL DB MongoDB (django_mongodb_engine)
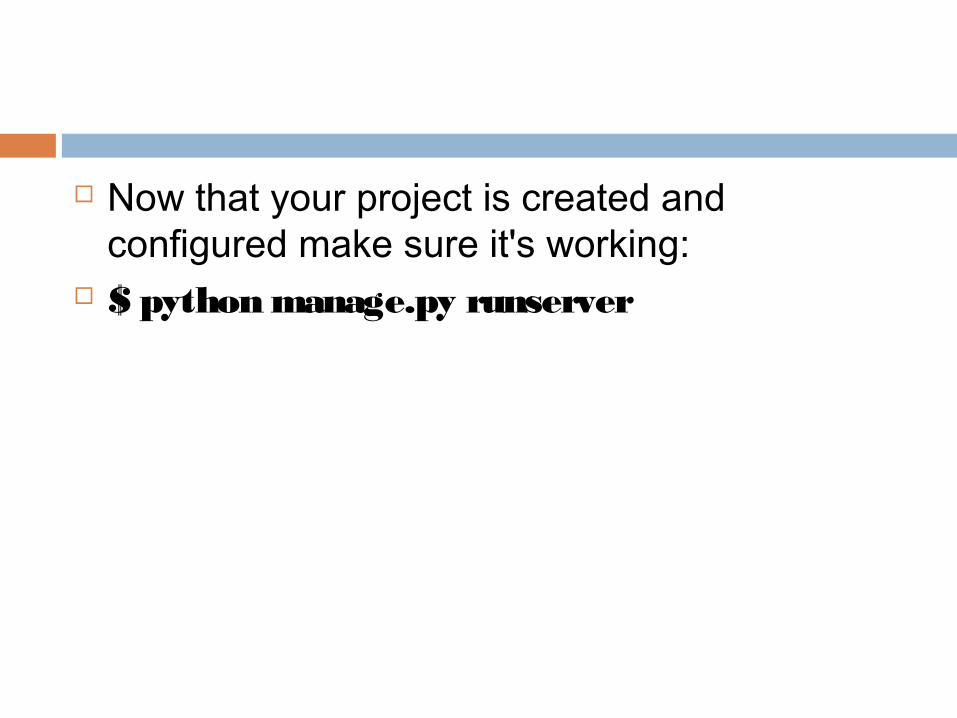
Now that your project is created and configured make sure it's working:
$ python manage.py runserver
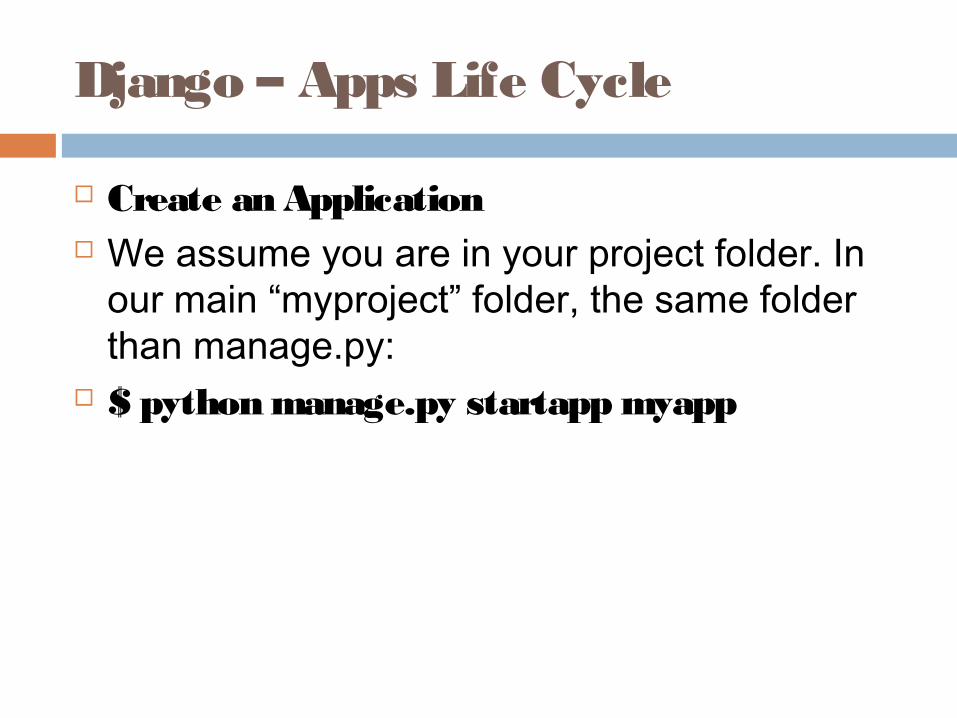
Django – Apps Life Cycle
Create an Application We assume you are in your project folder. In
our main “myproject” folder, the same folder than manage.py:
$ python manage.py startapp myapp

You just created myapp application and like project, Django create a “myapp” folder with the application structure:
myapp/ __init__.py admin.py models.py tests.py views.py
__init__.py: python handles this folder as a package. admin.py: This file helps you make the app modifiable in the
admin interface. models.py: This is where all the application models are stored. tests.py: This is where your unit tests are. views.py: This is where your application views are.

Changing the port & server’s IP
By default, the runserver command starts the development server on the internal IP at port 8000.
If you want to change the server’s port, pass it as a command-line argument. For instance, this command starts the server on port 8080:
$ python manage.py runserver 8080 If you want to change the server’s IP, pass it along
with the port. So to listen on all public IPs (useful if you want to show off your work on other computers on your network), use:
$ python manage.py runserver 0.0.0.0:8000

Django - Creating Views
A view function, or “view” for short, is simply a Python function that takes a web request and returns a web response.
This response can be the HTML contents of a Web page, or a redirect, or a 404 error, or an XML document, or an image, etc.
Example: You use view to create web pages, note that you need to associate a view to a URL to see it as a web page.
In Django, views have to be created in the app views.py file.

Write your first view
Open the file myapp/views.py and put the following Python code in it:myapp/views.py
from django.http import HttpResponsedef index(request): return HttpResponse("Hello, world. You're at the myapp index.")
•HttpResponse to render the HTML•see this view as a page we just need to map it to a URL
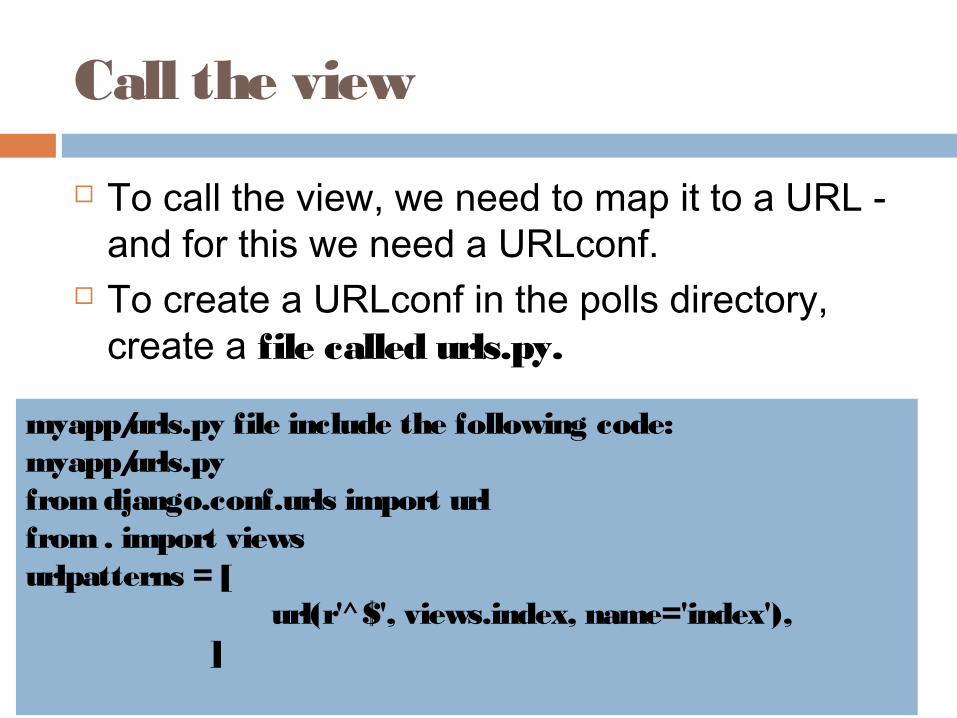
Call the view
To call the view, we need to map it to a URL - and for this we need a URLconf.
To create a URLconf in the polls directory, create a file called urls.py.
myapp/urls.py file include the following code:myapp/urls.pyfrom django.conf.urls import url from . import views urlpatterns = [ url(r'^$', views.index, name='index'), ]

The next step is to point the root URLconf at the myapp.urls module.
In myproject/urls.py, add an import for django.conf.urls.include and insert an include() in the urlpatterns list, so you have:
myproject/urls.py
from django.conf.urls import include, urlfrom django.contrib import admin
urlpatterns = [ url(r'^myapp/', include(‘myapp.urls')), url(r'^admin/', admin.site.urls),]
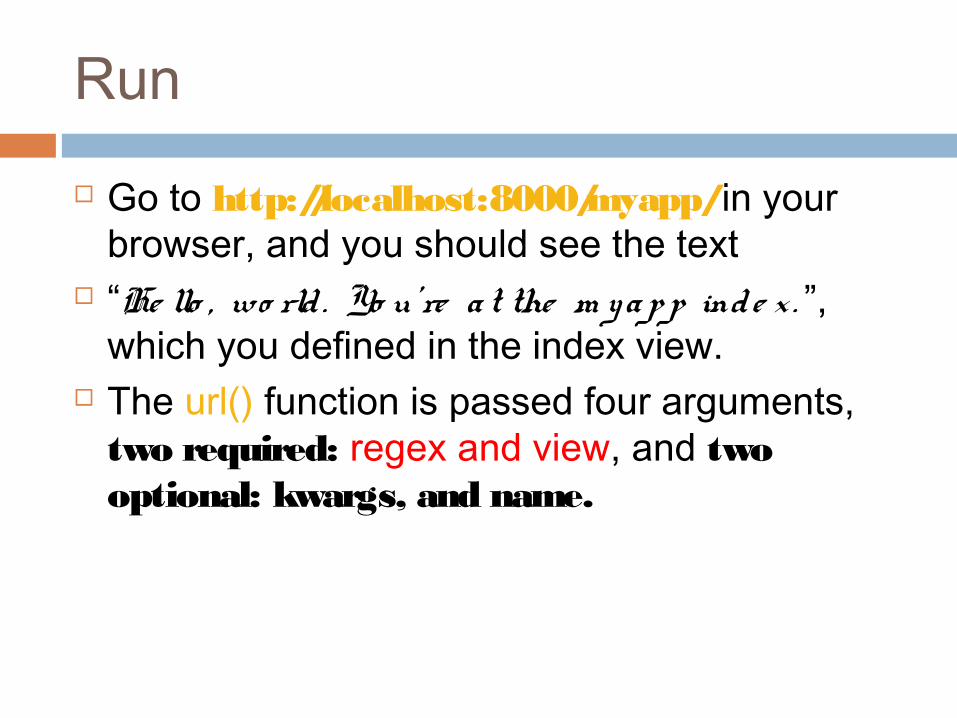
Run
Go to http://localhost:8000/myapp/ in your browser, and you should see the text
“He llo , wo rld . Yo u’re a t the m ya p p ind e x . ”, which you defined in the index view.
The url() function is passed four arguments, two required: regex and view, and two optional: kwargs, and name.
When to use include() You should always use include()
when you include other URL patterns.
admin.site.urls is the only exception to this.
Templates in Django
A template is just an HTML file, that contains the HTML design of our website.
A Django Template is a sequence of Text that helps in separation of the presentation layer of a document from its data.
A template is simply a text file. It can generate any text-based format (HTML, XML, CSV, etc.).
A Django template is intended to separate the presentation of a document from its data. A template defines placeholders and various bits of basic logic (template tags) that regulate how the document should be displayed. Usually, templates are used for producing HTML.
Django – Template System
Django makes it possible to separate python and HTML, the python goes in views and HTML goes in templates. To link the two, Django relies on the render function and the Django Template language.
The Render Function This function takes three parameters: Request: The initial request.
The path to the template: This is the path relative to the TEMPLATE_DIRS option in the project settings.py variables.
Dictionary of parameters: A dictionary that contains all variables needed in the template. This variable can be created or you can use locals() to pass all local variable declared in the view.
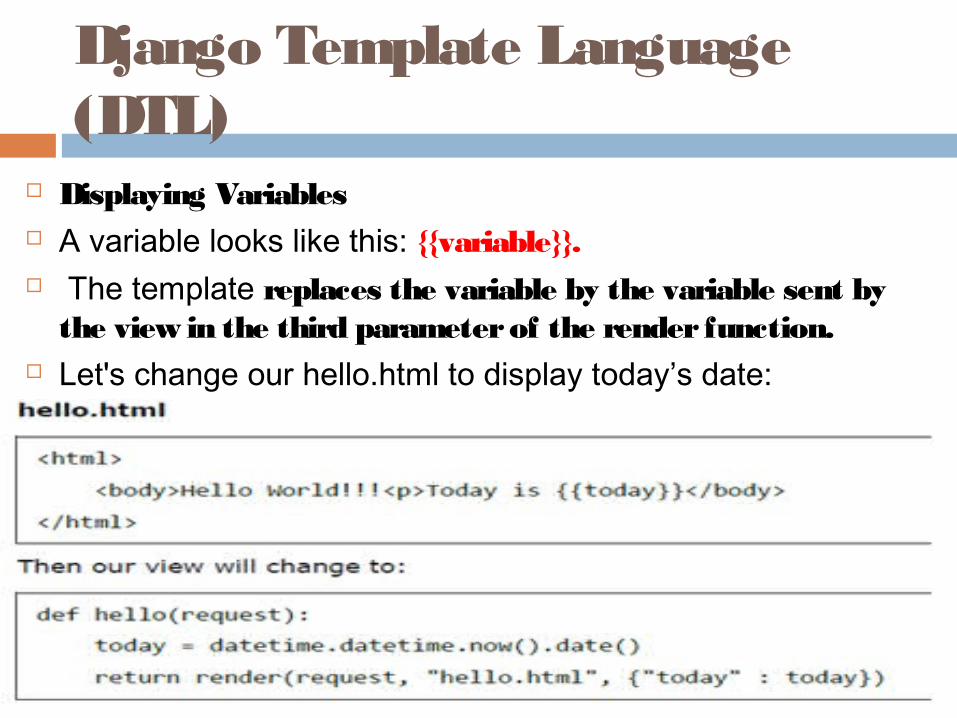
Django Template Language (DTL)
Displaying Variables A variable looks like this: {{variable}}. The template replaces the variable by the variable sent by
the view in the third parameter of the render function. Let's change our hello.html to display today’s date:
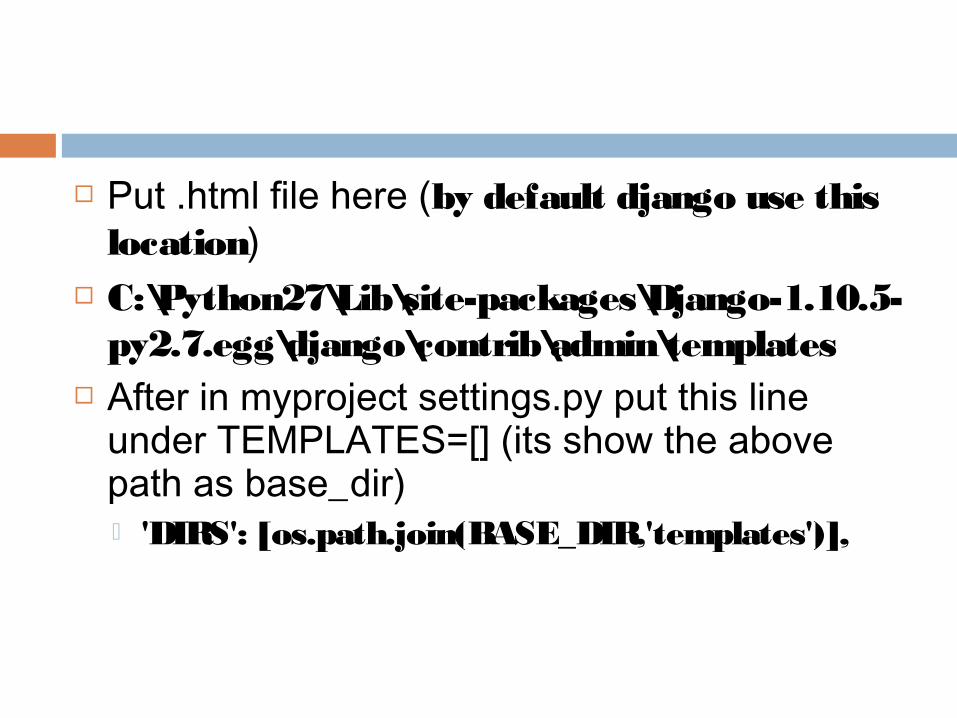
Put .html file here (by default django use this location)
C:\Python27\Lib\site-packages\Django-1.10.5-py2.7.egg\django\contrib\admin\templates
After in myproject settings.py put this line under TEMPLATES=[] (its show the above path as base_dir) 'DIRS': [os.path.join(BASE_DIR,'templates')],

Call the view for html
Create urls.py under myapp dirs n put this code.
from django.conf.urls import url from . import views urlpatterns = [ url(' ',views.hello), ]
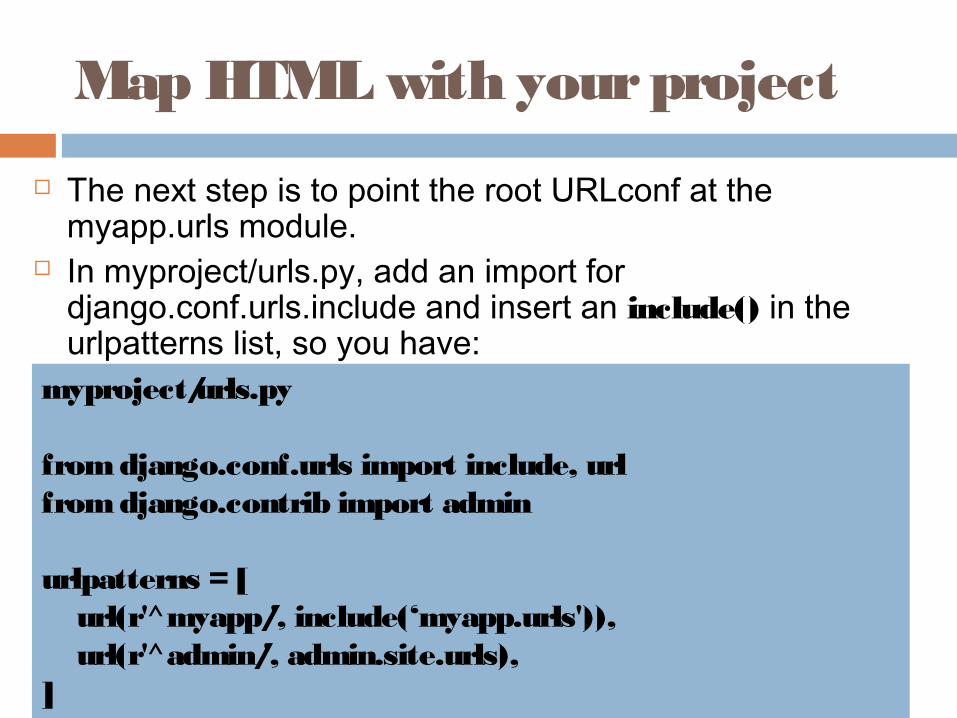
Map HTML with your project
The next step is to point the root URLconf at the myapp.urls module.
In myproject/urls.py, add an import for django.conf.urls.include and insert an include() in the urlpatterns list, so you have:
myproject/urls.py
from django.conf.urls import include, urlfrom django.contrib import admin
urlpatterns = [ url(r'^myapp/', include(‘myapp.urls')), url(r'^admin/', admin.site.urls),]
Work with databsae in Djnago
Database setup open up myproject/settings.py. It’s a normal Python module with module-level
variables representing Django settings. By default, the configuration uses SQLite.

Creating Models
define your models – essentially, your database layout, with additional metadata.
A model is a class that represents table or collection in our DB, and where every attribute of the class is a field of the table or collection.
Models are defined in the app/models.py (in our example: myapp/models.py)

steps
Create models (data structure of our app) Set the full path of db in myproject/setting.py Set app name in installed_app Run manage.py migrate --run-syncdb for default
table creation. Create superuser (admin) using manage.py
createsuperuser Setting admin for register our model Check the structure in browser

Save this in myapp/models.py
from django.db import models
# Create your models here.class BlogPost(models.Model): title=models.CharField(max_length=150) body=models.TextField() timestamp=models.DateTimeField()
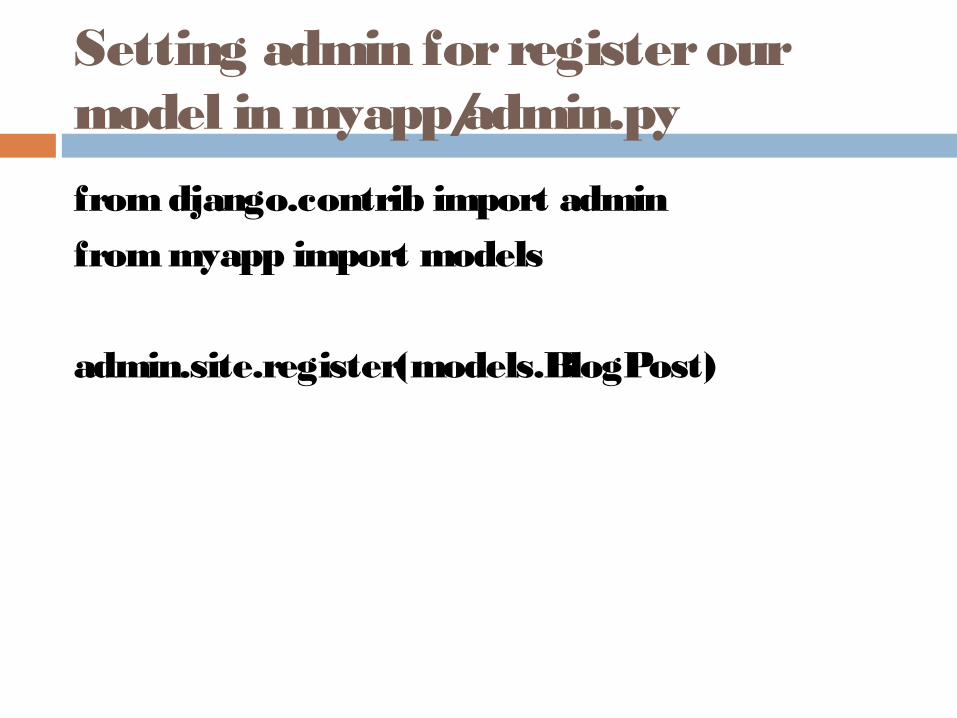
Setting admin for register our model in myapp/admin.py
from django.contrib import adminfrom myapp import models
admin.site.register(models.BlogPost)

Before launching your server, to access your Admin Interface, you need to initiate the database:
python manage.py migrate --run-syncdb syncdb will create necessary tables or collections
depending on your db type, necessary for the admin interface to run.
Even if you don't have a superuser, you will be prompted to create one.
If you already have a superuser or have forgotten it, you can always create one using the following code:
$ python manage.py createsuperuser
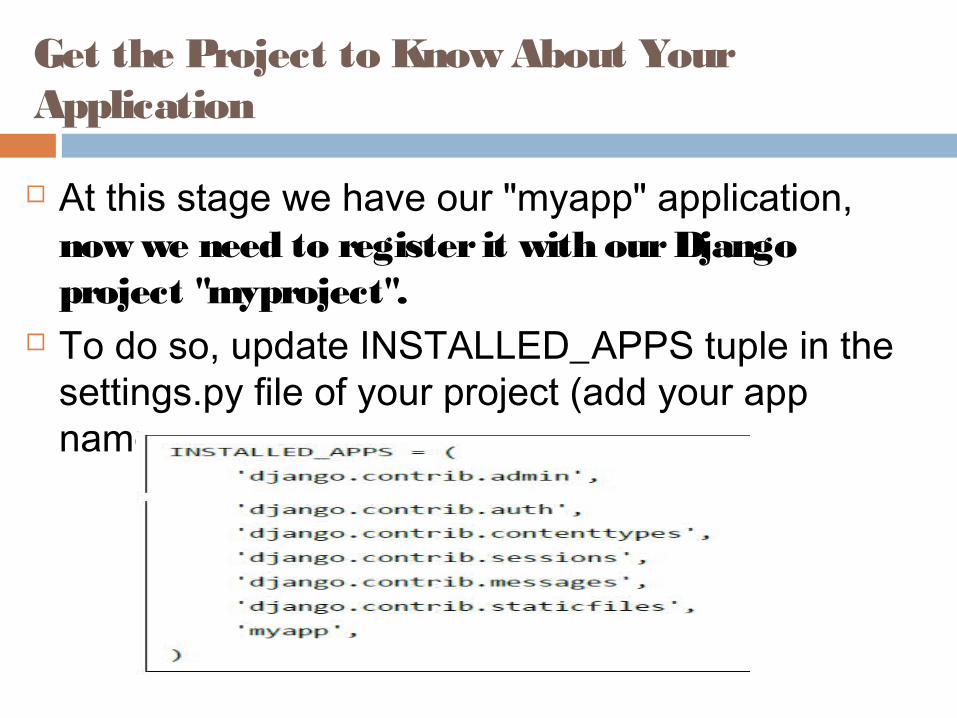
Get the Project to Know About Your Application
At this stage we have our "myapp" application, now we need to register it with our Django project "myproject".
To do so, update INSTALLED_APPS tuple in the settings.py file of your project (add your app name):

Now just run the server: $ python manage.py runserver And your admin interface is accessible at:
http://127.0.0.1:8000/admin/

Once connected with your superuser account, you will see the following screen:
That interface will let you administrate Django groups and users, and all registered models in your app.
The interface gives you the ability to do at least the "CRUD" (Create, Read, Update, Delete) operations on your models.

Pros of Django
Object-Relational Mapping (ORM) Support: Django provides a bridge between the data model and the database engine, and supports a large set of database systems including MySQL, Oracle, Postgres, etc.
Multilingual Support: Django supports multilingual websites through its built-in internationalization system. So you can develop your website, which would support multiple languages.

Framework Support: Django has built-in support for Ajax, RSS, Caching and various other frameworks.
Administration GUI: Django provides a nice ready-to-use user interface for administrative activities.
Development Environment: Django comes with a lightweight web server to facilitate end-to-end application development and testing.

Cons of Django
Not the best for small projects Heavy because we have to use the whole
django Less code but we have to manage lot of stuff. Configuration is more Required MVT
Who uses Django
Pinterest Event brite Prezi Bitbucket Nasa offcial website Spotify Instagram