communigate pro setup guide videomail value added services · communigate pro setup guide for...
TRANSCRIPT
QuickStart Guide
CommuniGate Pro Setup Guide
for VideoMail Value Added Services
February 2009
Table of Contents 1. Overview ......................................................................................................1
2. Installing the Adobe Flash Media Server ..................................................3 2.1. Installing Flash Media Server on Windows.................................................... 3 2.2. Installing Flash Media Server on Linux.......................................................... 3 2.3. Example Installation on Windows .................................................................. 4 2.4. Verify the Installation....................................................................................... 8
2.4.1. Run the VOD service................................................................................. 8 2.4.2. Run the live service ................................................................................... 9 2.4.3. Example of Test ...................................................................................... 10
3. Integration with CommuniGate Pro .........................................................11 3.1. DNS Record and CommuniGate Pro Alias................................................... 11 3.2. Install Pronto! Flash Media Server Application........................................... 11
3.2.1. CommuniGate Pro and Flash Media Server on the same machine ........ 12 3.2.2. CommuniGate Pro and Flash Media Server on different machines ........ 14
3.3. Conclusion...................................................................................................... 14
1. Overview Unified Communications SaaS providers are developing applications around specific vertical markets to keep up with new demands1. According to The Key to UC Revenue Success: It’s the Apps!, a research study produced by Light Reading’s VoIP Services Insider, Rich Media applications utilizing HD audio and video are some of the hottest potential revenue streams UC SaaS providers can leverage with triple play and Video on Demand (VOD) investments. "Despite next-gen service trappings surrounding Unified Communications, customers want from UC what they have always wanted from conventional voice, video, and data offerings -- saved time, saved money, and increased productivity," says Denis Culver, author of the study and senior analyst for Light Reading. She adds, "As they look to expand the user base for UC, vendors and service providers know they need to emphasize the practical aspects of UC adoption." The CommuniGate Pro Unified Communications platform and its Web 2.0 Flash based client Pronto! have supported HD video and audio since early 2008. The VideoMail feature was added to the Pronto! client starting with version 2.2. It helps service providers differentiate from their competition and offer VAS applications. Pronto! VideoMail provides a powerful VAS for various subscriber profiles and enables service providers to build modular services for each target group. VideoMail features include:
Recording of VideoMails within Pronto! Sharing VideoMails Uploading and saving VideoMails on the network or locally with the
Pronto! on AIR version VideoMail is an application for both residential and business subscribers. Pronto! VideoMail allows the users to record and share their VideoMails on the network. It is a powerful VAS for business subscribers who can use it to record a speech with their CEO or a share training tutorial.
1 http://www.emediaworld.com/press_release/release_detail.php?id=137754
How to Set-up CommuniGate Pro for Video Mail | © CommuniGate Systems – February 2009 1
This document is designed to provide a guide for setting up the CommuniGate Pro Unified Communications platform to support Pronto! VideoMail. There are three main stages:
Installation and Verification of the Adobe Flash Media Server Proper configuration of Domain Name Services (DNS) Integration of the Flash Media Server with CommuniGate Pro
How to Set-up CommuniGate Pro for Video Mail | © CommuniGate Systems – February 2009 2
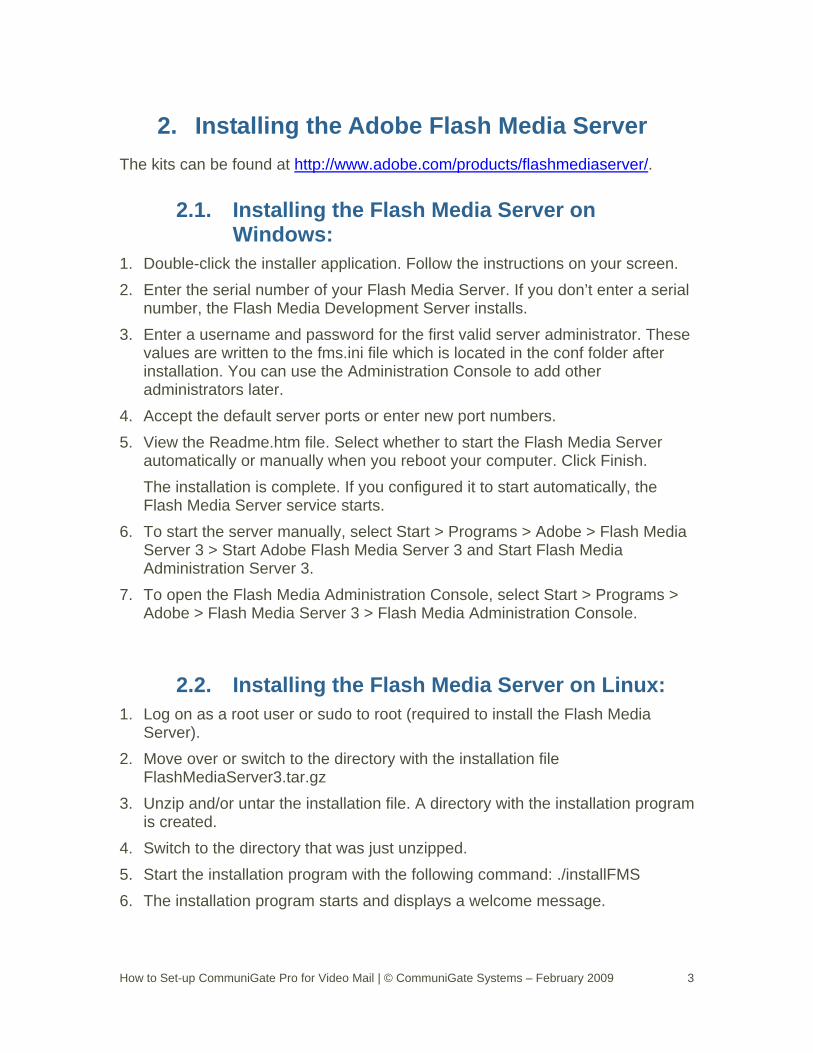
2. Installing the Adobe Flash Media Server The kits can be found at http://www.adobe.com/products/flashmediaserver/.
2.1. Installing the Flash Media Server on Windows:
1. Double-click the installer application. Follow the instructions on your screen. 2. Enter the serial number of your Flash Media Server. If you don’t enter a serial
number, the Flash Media Development Server installs. 3. Enter a username and password for the first valid server administrator. These
values are written to the fms.ini file which is located in the conf folder after installation. You can use the Administration Console to add other administrators later.
4. Accept the default server ports or enter new port numbers. 5. View the Readme.htm file. Select whether to start the Flash Media Server
automatically or manually when you reboot your computer. Click Finish. The installation is complete. If you configured it to start automatically, the Flash Media Server service starts.
6. To start the server manually, select Start > Programs > Adobe > Flash Media Server 3 > Start Adobe Flash Media Server 3 and Start Flash Media Administration Server 3.
7. To open the Flash Media Administration Console, select Start > Programs > Adobe > Flash Media Server 3 > Flash Media Administration Console.
2.2. Installing the Flash Media Server on Linux: 1. Log on as a root user or sudo to root (required to install the Flash Media
Server). 2. Move over or switch to the directory with the installation file
FlashMediaServer3.tar.gz 3. Unzip and/or untar the installation file. A directory with the installation program
is created. 4. Switch to the directory that was just unzipped. 5. Start the installation program with the following command: ./installFMS 6. The installation program starts and displays a welcome message.
How to Set-up CommuniGate Pro for Video Mail | © CommuniGate Systems – February 2009 3

7. Click Enter to start the installation. Follow the installation instructions on your screen. During the process you will be asked to:
Enter a serial number. If you don’t enter a serial number, the Flash Media Development Edition Server installs.
Enter the installation directory and ports which the server will use. Enter an administrative username and password for the first valid
server administrator. These values are written to the fms.ini file which is located inside of the conf folder after the installation.
Enter a user for the Flash Media Server processes to run as. The default is the "nobody" user. (The user you select is also the owner of the Flash Media Server files.) Your choices are written to the fms.ini file. You can edit the fms.ini file to modify this and other security properties later, if needed.
8. Review the summary of the installation options you have chosen. The options are displayed in the installer.
9. To start the server manually, go to the installation directory (default is /opt/adobe/fms/). Use the command ./fmsmgr server start to start Flash Media Server and ./fmsmgr adminserver start to start Flash Media Administration Server.
The installation is complete. If you configured it to start automatically, the Flash Media Server service starts.
2.3. Example Installation on Windows Double-click the installer application.
Enter next to continue.
How to Set-up CommuniGate Pro for Video Mail | © CommuniGate Systems – February 2009 4
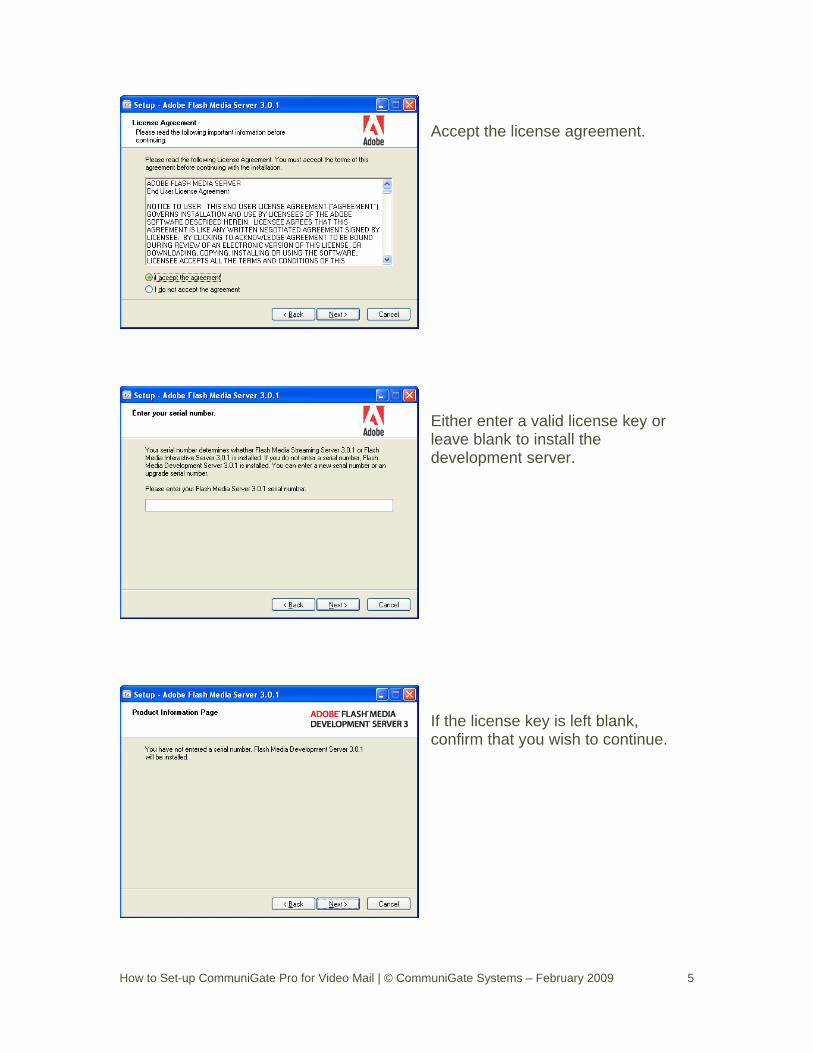
Accept the license agreement.
ment server.
ntinue.
Either enter a valid license key or leave blank to install the develop
If the license key is left blank, confirm that you wish to co
How to Set-up CommuniGate Pro for Video Mail | © CommuniGate Systems – February 2009 5
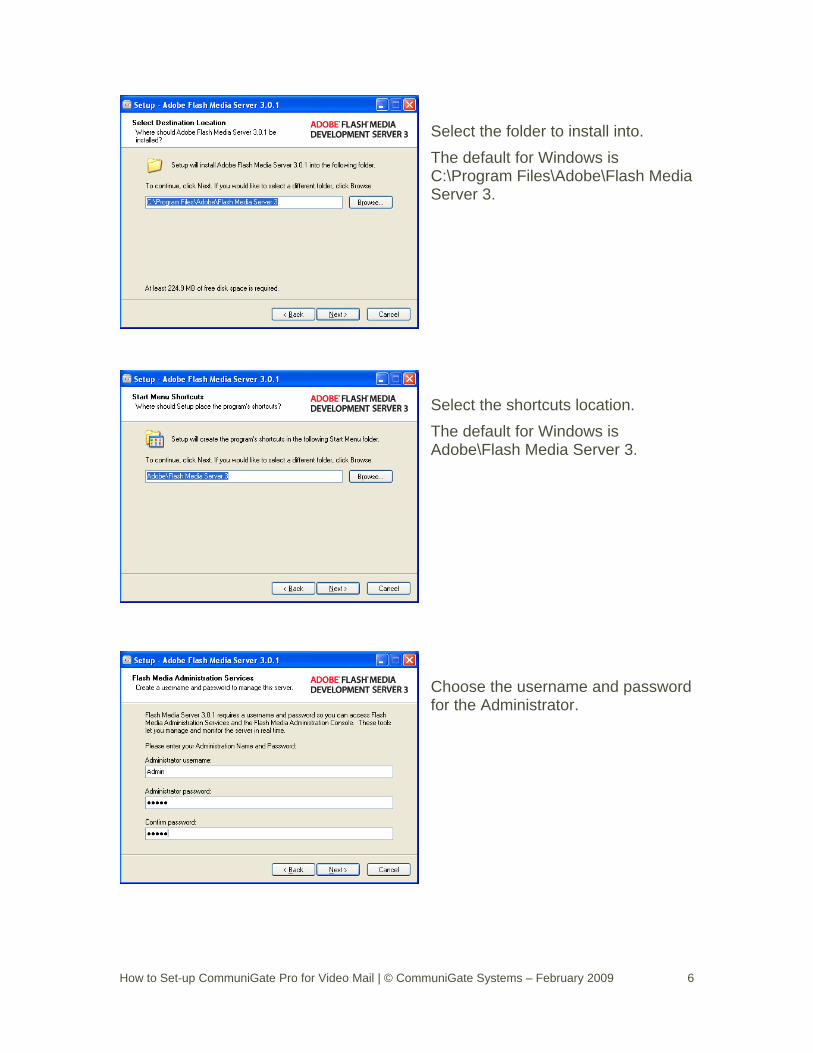
The default for Windows is C:\Program Files\Adobe\Flash Media Server 3.
elect the shortcuts location. he default for Windows is dobe\Flash Media Server 3.
hoose the username and password or the Administrator.
Select the folder to install into.
STA
Cf
How to Set-up CommuniGate Pro for Video Mail | © CommuniGate Systems – February 2009 6

Choose which ports to use. The defaults are: 1935 for the Server 1111 for the Administrator
onfirm the installation.
he installation proceeds.
C
T
How to Set-up CommuniGate Pro for Video Mail | © CommuniGate Systems – February 2009 7
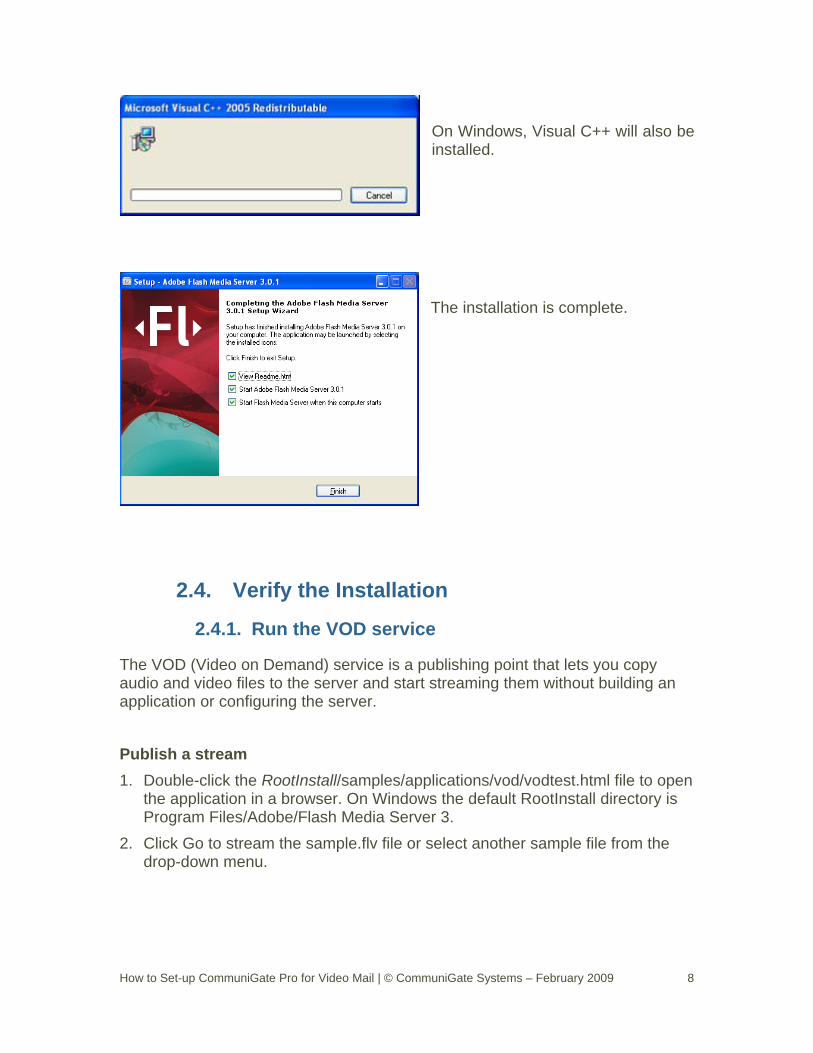
On Windows, Visual C++ will also be
he installation is complete.
audapp
Publish a stream 1. Double-click the RootInstall/samples/applications/vod/vodtest.html file to open
the application in a browser. On Windows the default RootInstall directory is Program Files/Adobe/Flash Media Server 3.
2. Click Go to stream the sample.flv file or select another sample file from the drop-down menu.
installed.
T
2.4. Verify the Installation
2.4.1. Run the VOD service
The VOD (Video on Demand) service is a publishing point that lets you copy io and video files to the server and start streaming them without building an lication or configuring the server.
How to Set-up CommuniGate Pro for Video Mail | © CommuniGate Systems – February 2009 8
3. If you don’t see the video playing, take the following steps: Verify that the RootInstall/applications/vod directory is installed and
contains the following files: allowedHTMLdomains.txt allowedSWFdomains.txt Application.xml main.far
The RootInstall/applications/vod/media folder should contain the media files. If any files are missing, uninstall and reinstall the server. Use the Services window (Windows) or the service window (Linux) to
verify that the Flash Media Server and the Flash Media Administration Server are running.
Verify that the URL in the sample vod client is rtmp://localhost/vod/sample.flv.
Check the system logs for errors. Contact Adobe Support.
For information about configuring the VOD service for use in a production environment, see the Adobe Flash Media Server Developer Guide.
2.4.2. Run the live service
The live service is a publishing point that lets you use the Flash Media Encoder to stream live video without building a service or configuring the server. Publish and view a live stream 1. Connect a camera to your computer. 2. Open the Flash Media Encoder. Click Start. 3. Double-click the RootInstall/samples/applications/live/livetest.html file to open
the client application in a browser and see the live stream. 4. On Windows the default RootInstall directory is Program Files/Adobe/Flash
Media Server 3. 5. If you can’t see the live stream, do the following:
Verify that the RootInstall/applications/live directory is installed and contains the following files: allowedHTMLdomains.txt allowedSWFdomains.txt
How to Set-up CommuniGate Pro for Video Mail | © CommuniGate Systems – February 2009 9
Application.xml main.far If it doesn’t, uninstall and reinstall the server.
Use the Services window (Windows) or the service window (Linux) to verify that Flash Media Server and Flash Media Administration Server are running.
Verify that the URL in the sample live client is rtmp://localhost/live/livestream.
Verify that the URL in Flash Media Encoder is rtmp://localhost/live and the Stream is livestream.
Check the system logs for errors. Contact Adobe Support.
For information about configuring the live service for use in a production environment, see the Adobe Flash Media Server Developer Guide.
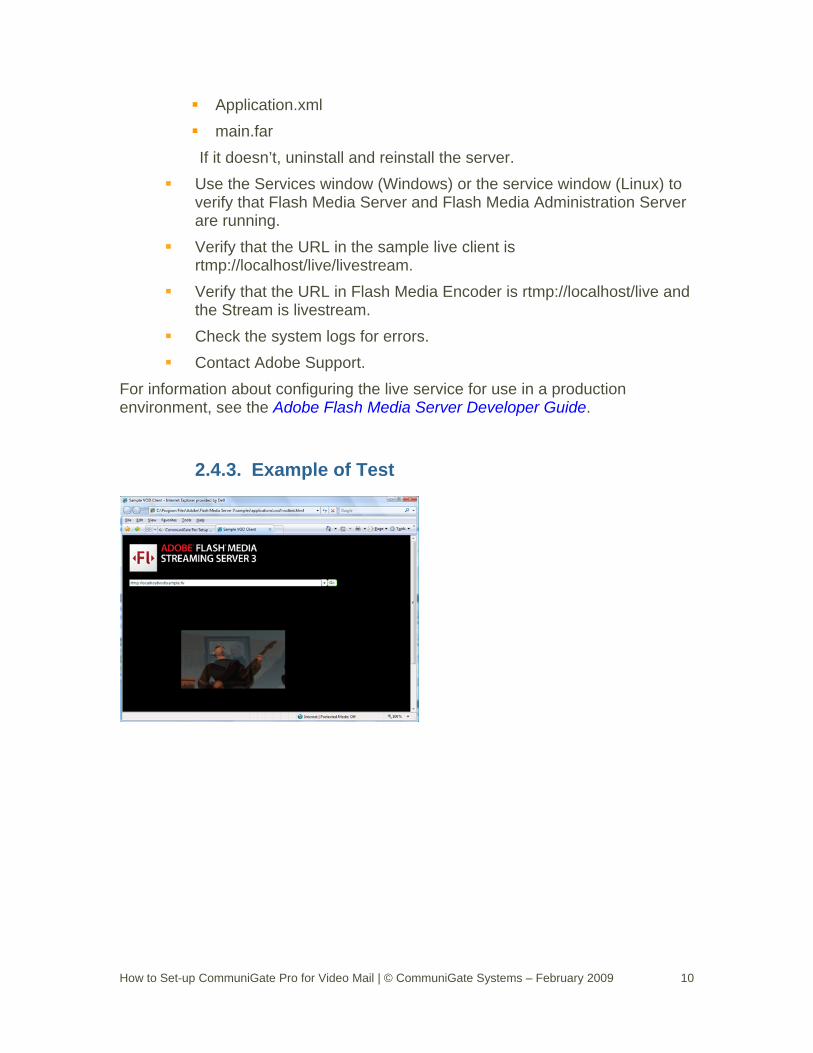
2.4.3. Example of Test
How to Set-up CommuniGate Pro for Video Mail | © CommuniGate Systems – February 2009 10
3. Integration with CommuniGate Pro
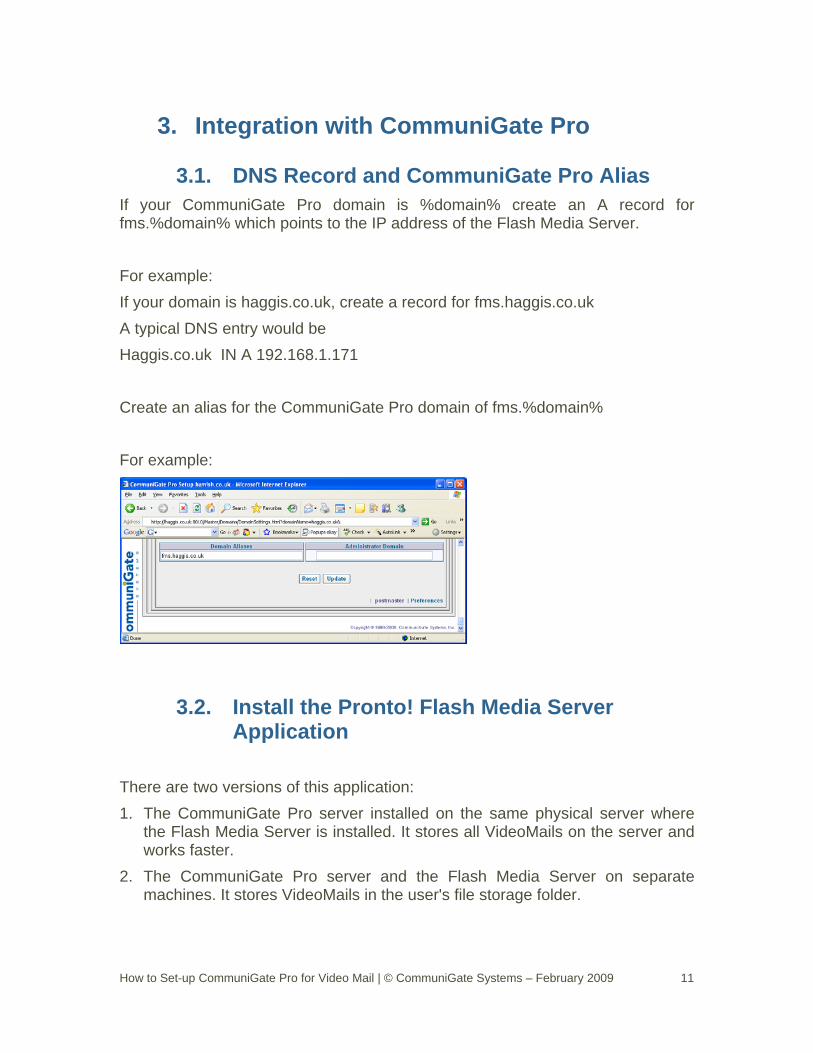
3.1. DNS Record and CommuniGate Pro Alias If your CommuniGate Pro domain is %domain% create an A record for fms.%domain% which points to the IP address of the Flash Media Server. For example: If your domain is haggis.co.uk, create a record for fms.haggis.co.uk A typical DNS entry would be Haggis.co.uk IN A 192.168.1.171 Create an alias for the CommuniGate Pro domain of fms.%domain% For example:
3.2. Install the Pronto! Flash Media Server Application
There are two versions of this application: 1. The CommuniGate Pro server installed on the same physical server where
the Flash Media Server is installed. It stores all VideoMails on the server and works faster.
2. The CommuniGate Pro server and the Flash Media Server on separate machines. It stores VideoMails in the user's file storage folder.
How to Set-up CommuniGate Pro for Video Mail | © CommuniGate Systems – February 2009 11
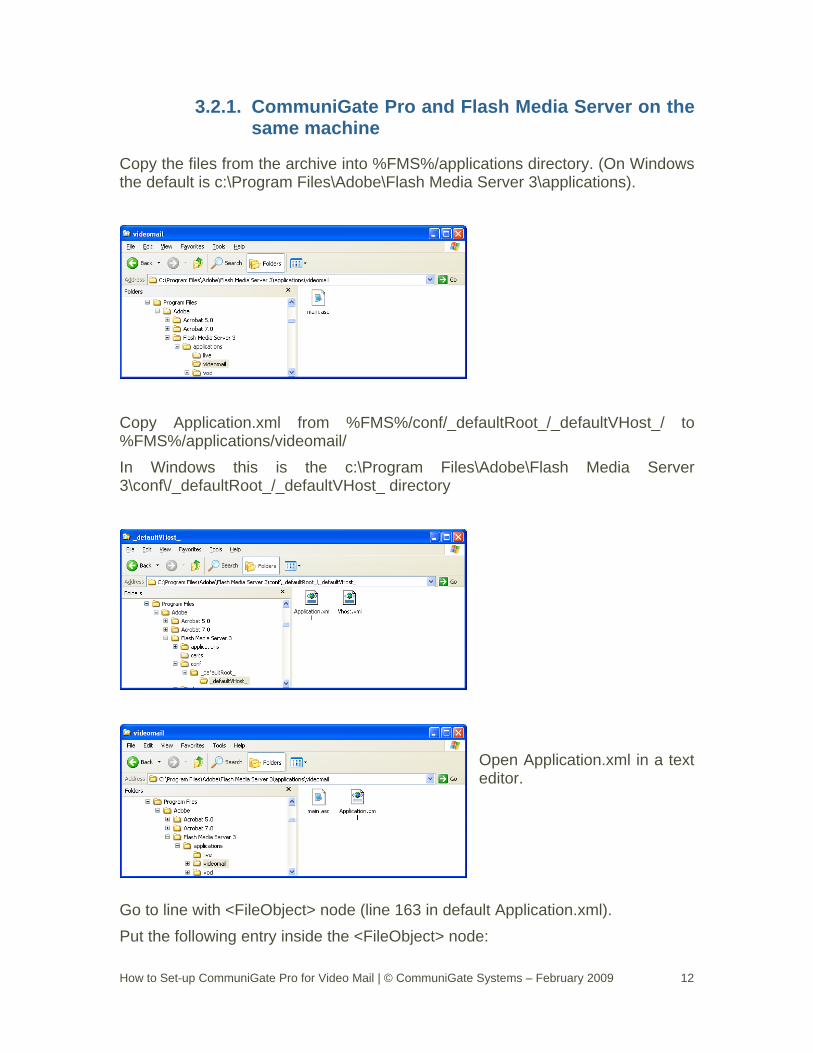
3.2.1. CommuniGate Pro and Flash Media Server on the same machine
Copy the files from the archive into %FMS%/applications directory. (On Windows the default is c:\Program Files\Adobe\Flash Media Server 3\applications).
Copy Application.xml from %FMS%/conf/_defaultRoot_/_defaultVHost_/ to %FMS%/applications/videomail/ In Windows this is the c:\Program Files\Adobe\Flash Media Server 3\conf\/_defaultRoot_/_defaultVHost_ directory
Open Application.xml in a text editor.
Go to line with <FileObject> node (line 163 in default Application.xml). Put the following entry inside the <FileObject> node:
How to Set-up CommuniGate Pro for Video Mail | © CommuniGate Systems – February 2009 12

<VirtualDirectory>/letters_store;%PATH%</VirtualDirectory> Replace %PATH% with %CGP-FILES%\Accounts\cgp-video.macnt\account.web, where %CGP-FILES% is the path to CommuniGate Files folder (C:\CommuniGate Files\ in default Windows installation). The entry should look like this: <FileObject> <!-- --> <VirtualDirectory>/letters_store;C:\CommuniGate Files\Accounts\cgp-video.macnt\account.web\</VirtualDirectory> </FileObject> Create cgp-video account on your CommuniGate Pro server. Make sure that there is an account.web directory for the account created. Check %CGP-FILES%\Accounts\cgp-video.macnt\account.web Copy the contents of the videomailplayerv1.zip to this directory.
How to Set-up CommuniGate Pro for Video Mail | © CommuniGate Systems – February 2009 13
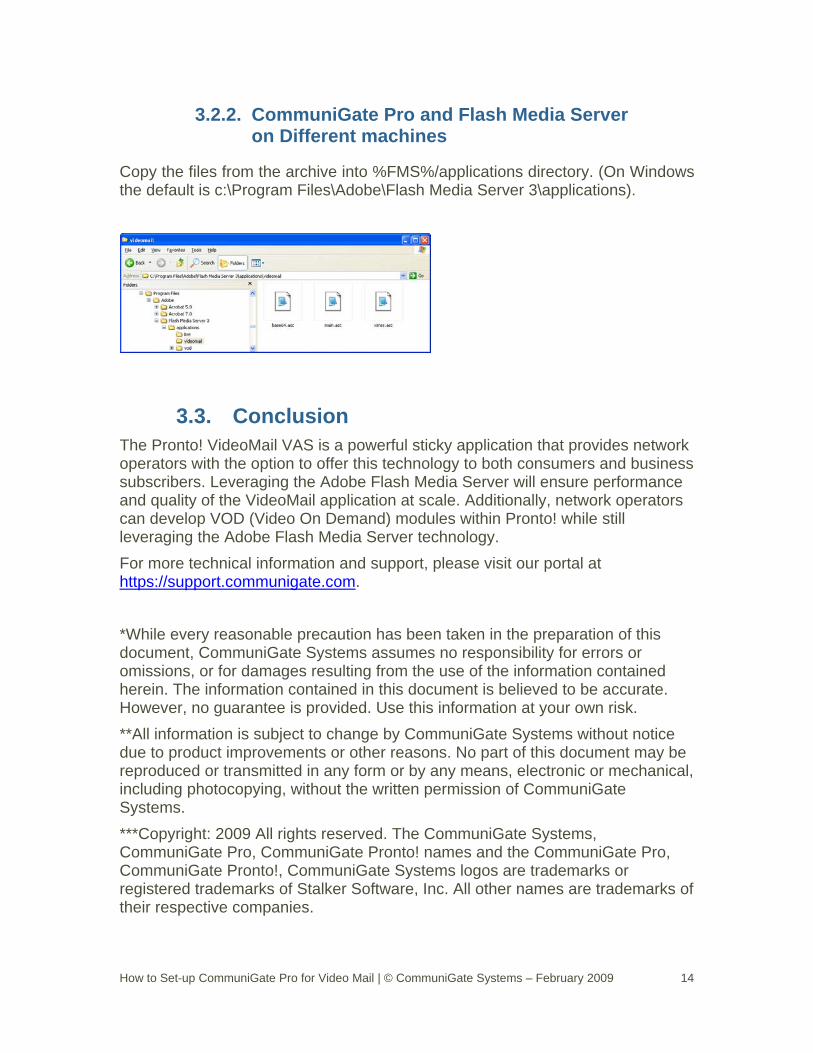
3.2.2. CommuniGate Pro and Flash Media Server on Different machines
Copy the files from the archive into %FMS%/applications directory. (On Windows the default is c:\Program Files\Adobe\Flash Media Server 3\applications).
3.3. Conclusion The Pronto! VideoMail VAS is a powerful sticky application that provides network operators with the option to offer this technology to both consumers and business subscribers. Leveraging the Adobe Flash Media Server will ensure performance and quality of the VideoMail application at scale. Additionally, network operators can develop VOD (Video On Demand) modules within Pronto! while still leveraging the Adobe Flash Media Server technology. For more technical information and support, please visit our portal at https://support.communigate.com. *While every reasonable precaution has been taken in the preparation of this document, CommuniGate Systems assumes no responsibility for errors or omissions, or for damages resulting from the use of the information contained herein. The information contained in this document is believed to be accurate. However, no guarantee is provided. Use this information at your own risk. **All information is subject to change by CommuniGate Systems without notice due to product improvements or other reasons. No part of this document may be reproduced or transmitted in any form or by any means, electronic or mechanical, including photocopying, without the written permission of CommuniGate Systems. ***Copyright: 2009 All rights reserved. The CommuniGate Systems, CommuniGate Pro, CommuniGate Pronto! names and the CommuniGate Pro, CommuniGate Pronto!, CommuniGate Systems logos are trademarks or registered trademarks of Stalker Software, Inc. All other names are trademarks of their respective companies.
How to Set-up CommuniGate Pro for Video Mail | © CommuniGate Systems – February 2009 14