cells lesson 2. starter a reminder about microscopes from lesson 1? click ↑ (2 mins) they all make...
TRANSCRIPT

Cells Lesson 2

Starter
A reminder about microscopes from lesson 1?
Click ↑ (2 mins)
They all make things look bigger!

Learning outcomes
By the end of this lesson:All pupils can:• use a microscope safely and successfully• make a drawing and peer assess using success criteria• Name the basic parts of a cellMost pupils can: • recall functions of each part• describe the differences between a cell, tissue, organ
and system • can calculate magnificationSome pupils can explain ‘cell theory’

What is the difference between these two groups?

Movement ReproductionSensitivity GrowthRespirationExcretion Nutrition

Movement ReproductionSensitivity GrowthRespirationExcretion Nutrition
Living things do all of these.
Non-living things do not.

What are living things made from?
All living things are made from cells.
Cells are the building blocks for every living organism – even me and you!
This is called cell theory.
As cells are very small, we can only see them with the help of a microscope.
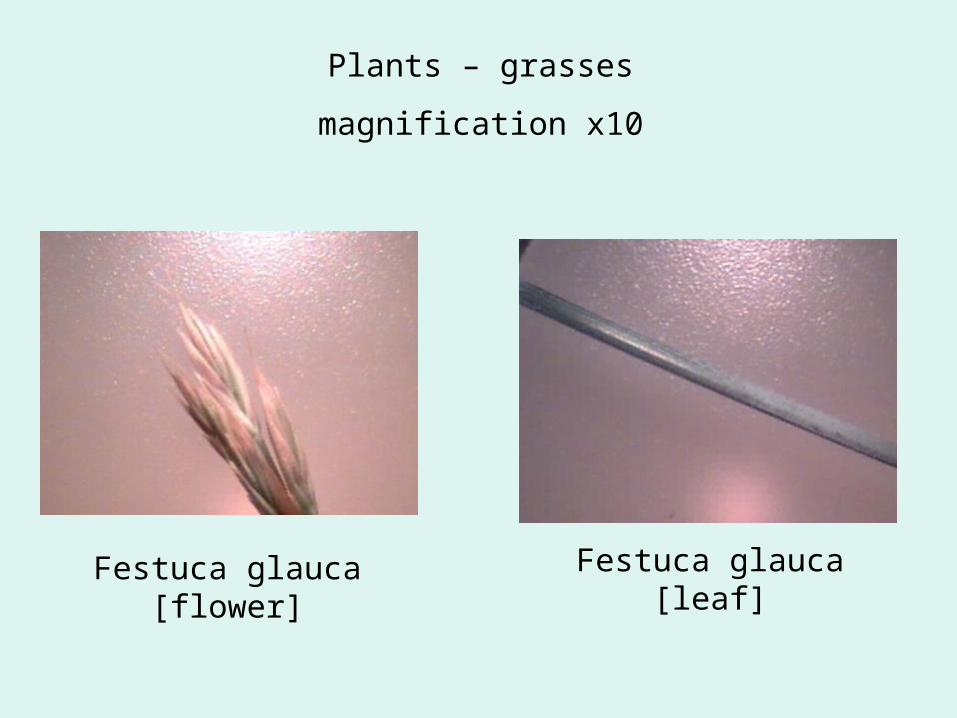
Plants – grasses
magnification x10
Festuca glauca [flower] Festuca glauca [leaf]
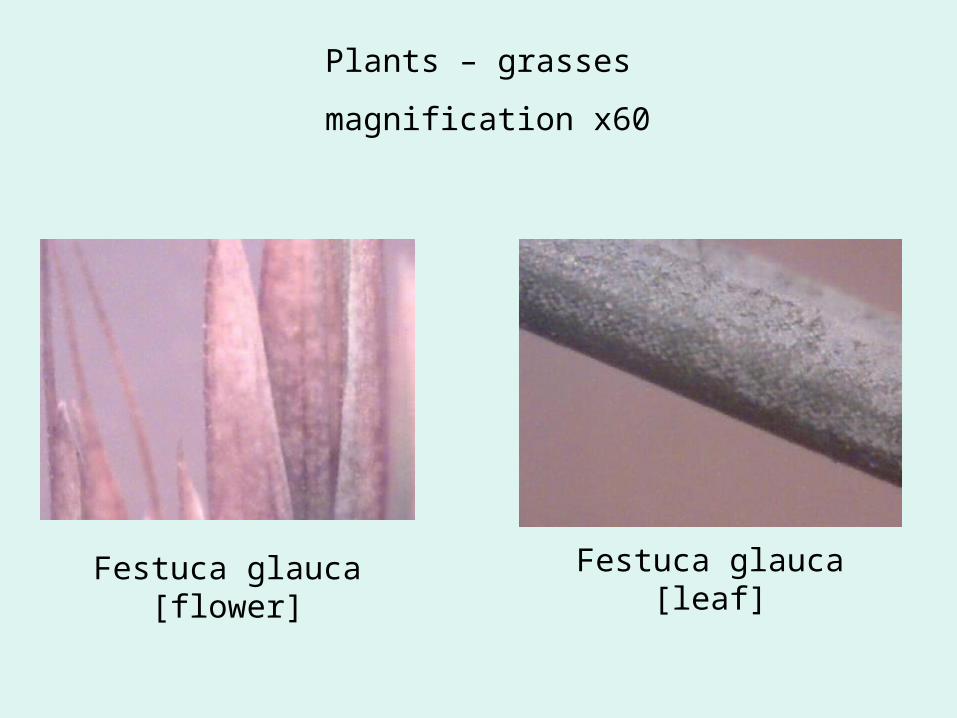
Plants – grasses
magnification x60
Festuca glauca [flower] Festuca glauca [leaf]

Plants – magnification x10
Pansy [flower] Golden hop [leaf]
Top
Bottom

Plants – magnification x60
Kerria japonica [top] Golden hop

Plant tissue – magnification x60
Crassulacean leaf [ts] x60
Dicotyledonous root [ts] x60

Plant tissue – magnification x200
Crassulacean leaf [ts] x200 Dicotyledonous root [ts] x200
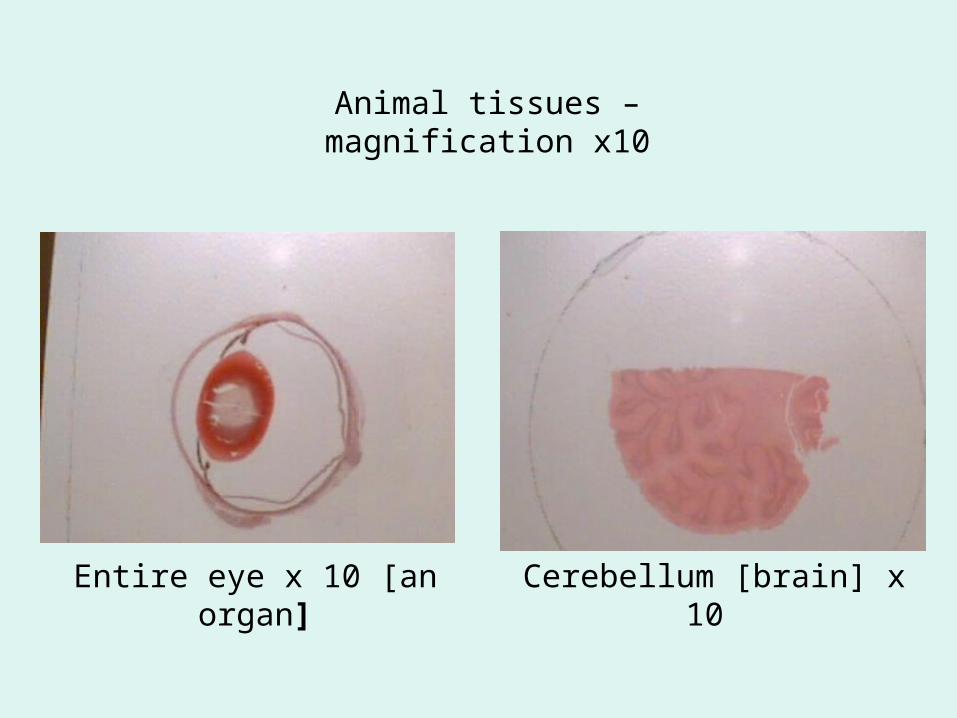
Animal tissues – magnification x10
Entire eye x 10 [an organ] Cerebellum [brain] x 10

Animal tissues – magnification x60
Entire eye x60
Cerebellum [brain] x60
top back front
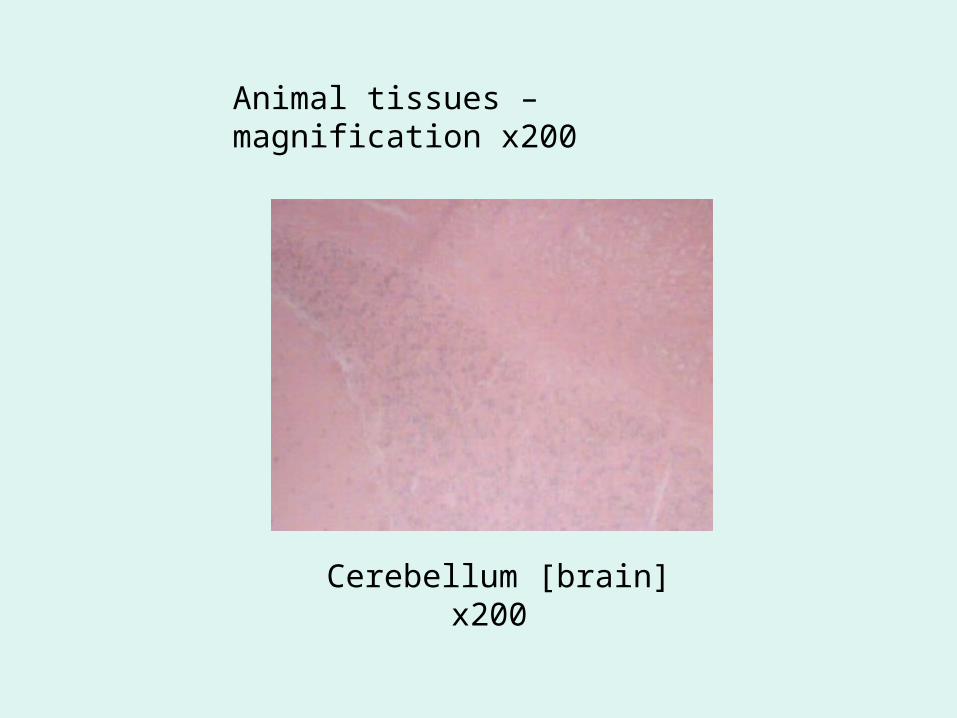
Animal tissues – magnification x200
Cerebellum [brain] x200

Responsible use of microscopes
Microscopes are fragile and delicate: • They should always be carried with two hands: one
underneath and one holding the curved part of the body. • You should not touch the lenses.
Persistent mistakes include:• holding the microscope with one hand• focussing down onto the slide and breaking it• turning the objective lens around and crashing into the
slide• forgetting to mop up excess liquid.
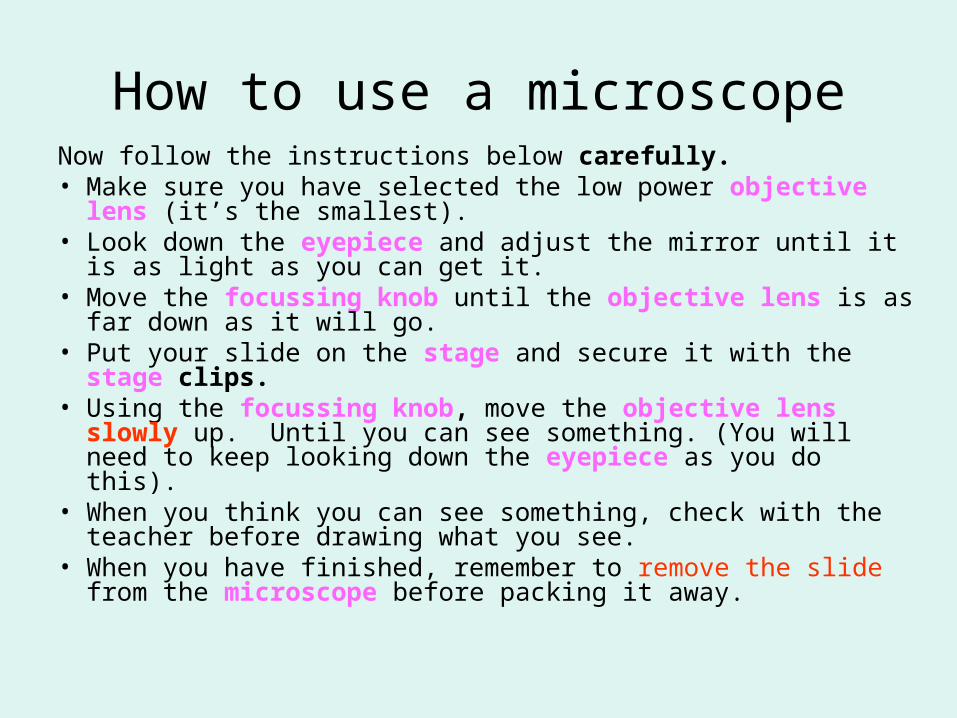
How to use a microscopeNow follow the instructions below carefully.• Make sure you have selected the low power objective lens
(it’s the smallest).• Look down the eyepiece and adjust the mirror until it is as light
as you can get it.• Move the focussing knob until the objective lens is as far
down as it will go.• Put your slide on the stage and secure it with the stage clips.• Using the focussing knob, move the objective lens slowly
up. Until you can see something. (You will need to keep looking down the eyepiece as you do this).
• When you think you can see something, check with the teacher before drawing what you see.
• When you have finished, remember to remove the slide from the microscope before packing it away.

Rules for microscope drawing:
• Write a clear heading.• Use a sharp HB pencil.• Draw firm, continuous lines and avoid using too much
shading.• Include the magnification (see next slide as to how to do
this)• Draw label lines with a ruler. These must not touch the
structure they are labelling and should not cross each other.
• Write labels horizontally on the page and arrange them neatly around the drawing.
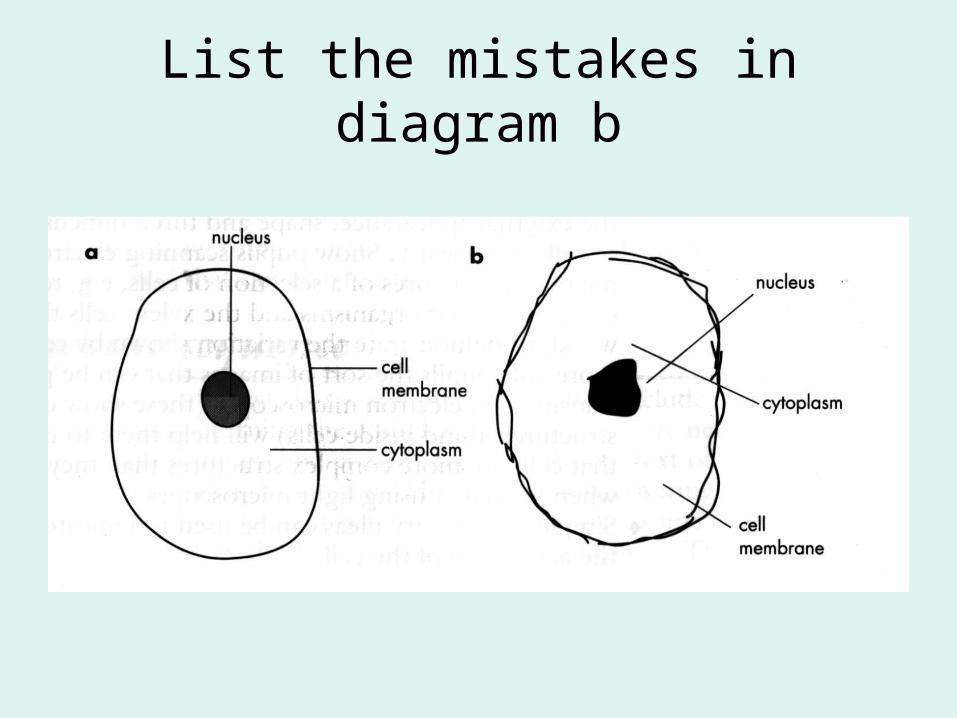
List the mistakes in diagram b

Microscopes, magnification and scale
On the next slide are photographs of a ruler at different
magnifications.
This will help you work out the size of the objects on
other slides.
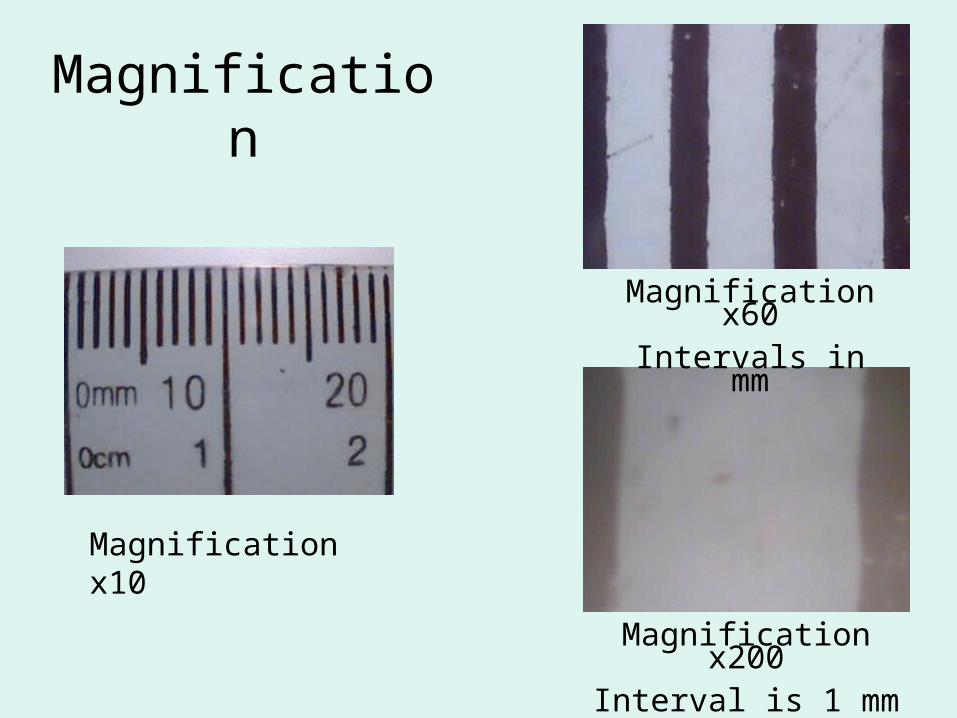
Magnification
Magnification x10
Magnification x60Intervals in mm
Magnification x200Interval is 1 mm

Magnification
Calculate the total magnification and write it on your
drawing:
Look at this short video clip:http://www.youtube.com/watch?v=NatMpe5iYtE – 1 min 55 s; cell structure and function
Total magnification =
magnification of OBJECTIVE lens x magnification of EYEPIECE lens

Label the parts of the animal cell

Nucleus Cell Membrane
Cytoplasm
Label the parts of the animal cell

The cell – a living factory!

What does each part do?

Label the partsof a typical plant cell

Cell Membrane
Vacuole
Cell Wall
Nucleus
Chloroplast
Cytoplasm
Label the partsof a typical plant cell

Peer assessment
Write a clear heading.Use a sharp HB pencil.Draw firm, continuous lines and avoid using too
much shading. Include the magnification.Draw label lines with a ruler. These must not
touch the structure they are labelling and should not cross each other.
Write labels horizontally on the page and arrange them neatly around the drawing.

Functions of the cell partsextra information on this link:
http://www.bbc.co.uk/schools/gcsebitesize/science/add_aqa_pre_2011/cells/cells1.shtml
Cell part Function
Cell wall
Cell membrane
Vacuole
Nucleus
Cytoplasm
Chloroplasts
Maintains shape of cell
Allows substances to enter and leave the cell.
Contains cell sap and water
Controls what happensin the cell.
Is the site of cell reactions
Contains green chlorophyll for making food

Two songs/rap that may help you remember in the future:http://www.youtube.com/watch?
v=RSTB57a6Uzk&feature=related – 2 mins 11 s; cell songhttp://www.youtube.com/watch?
v=Yu21ShnKhHk&feature=related – 1 min 23 s; plant and animal cell rap

From cells to systems
This activity introduces some key ideas about the building
blocks of life.
We will revisit some of the ideas in future lessons.
Click on the link:
http://www.bbc.co.uk/schools/ks3bitesize/science/organisms_behaviour_health/cells_systems/activity.shtml

Extension videos
http://www.youtube.com/watch?v=rABKB5aS2Zg&feature=related
advanced animation of structure and function of the cell
(first 3 mins)
http://www.youtube.com/watch?v=zufaN_aetZI
17 mins 12 s; evolution of the eukaryotic cell