5cosc005w mobile application development lecture 9: …
TRANSCRIPT
5COSC005W MOBILE APPLICATIONDEVELOPMENT
Lecture 9: Menus - Pickers - Dialogs
Dr Dimitris C. Dracopoulos
Module Web page:
https://dracopd.users.ecs.westminster.ac.uk/DOCUM/courses/5cosc005w/5cosc005w.html
This material is based on Android Developer Fundamentals 2 by Google used under
a Creative Commons Attribution 4.0 International license.

Android Developer Fundamentals V2This work is licensed under a Creative Commons Attribution 4.0 International License.
Menus and pickers
Menus and pickers
1

Android Developer Fundamentals V2This work is licensed under a Creative Commons Attribution 4.0 International License.
Menus and pickers
1. App bar with options menu
2. Context menu
3. Contextual action bar
4. Popup menu
Types of Menus
2

Android Developer Fundamentals V2This work is licensed under a Creative Commons Attribution 4.0 International License.
Menus and pickers
Dialogs and pickers
3
1 2 3
1. Alert dialog
2. Date picker
3. Time picker

Android Developer Fundamentals V2
App Bar with Options Menu
4

Android Developer Fundamentals V2This work is licensed under a Creative Commons Attribution 4.0 International License.
Menus and pickers
What is the App Bar?
5
Bar at top of each screen—same for all devices (usually)
1. Nav icon to open navigation drawer
2. Title of current Activity
3. Icons for options menu items
4. Action overflow button forthe rest of the options menu

Android Developer Fundamentals V2This work is licensed under a Creative Commons Attribution 4.0 International License.
Menus and pickers
● Appears in the right corner of the app bar (3)
● For navigating to other activities and editing app settings
What is the options menu?
6
● Action icons in the app bar for important items (1)
● Tap the three dots, the "action overflow button" to see the options menu (2)

Android Developer Fundamentals V2
Adding Options Menu
7

Android Developer Fundamentals V2This work is licensed under a Creative Commons Attribution 4.0 International License.
Menus and pickers
Steps to implement options menu
8
1. XML menu resource (menu_main.xml)2. onCreateOptionsMenu() to inflate the menu3. onClick attribute or onOptionsItemSelected() 4. Method to handle item click

Android Developer Fundamentals V2This work is licensed under a Creative Commons Attribution 4.0 International License.
Menus and pickers
Create menu resource
9
1. Create menu resource directory2. Create XML menu resource (menu_main.xml) 3. Add entry for each menu item (Settings and Favorites):
<item android:id="@+id/option_settings"
android:title="Settings" />
<item android:id="@+id/option_favorites"
android:title="Favorites" />

Android Developer Fundamentals V2This work is licensed under a Creative Commons Attribution 4.0 International License.
Menus and pickers
Inflate options menu
10
Override onCreateOptionsMenu() in Activity
@Override
public boolean onCreateOptionsMenu(Menu menu) {
getMenuInflater().inflate(R.menu.menu_main, menu);
return true;
}
Android Developer Fundamentals V2This work is licensed under a Creative Commons Attribution 4.0 International License.
Menus and pickers
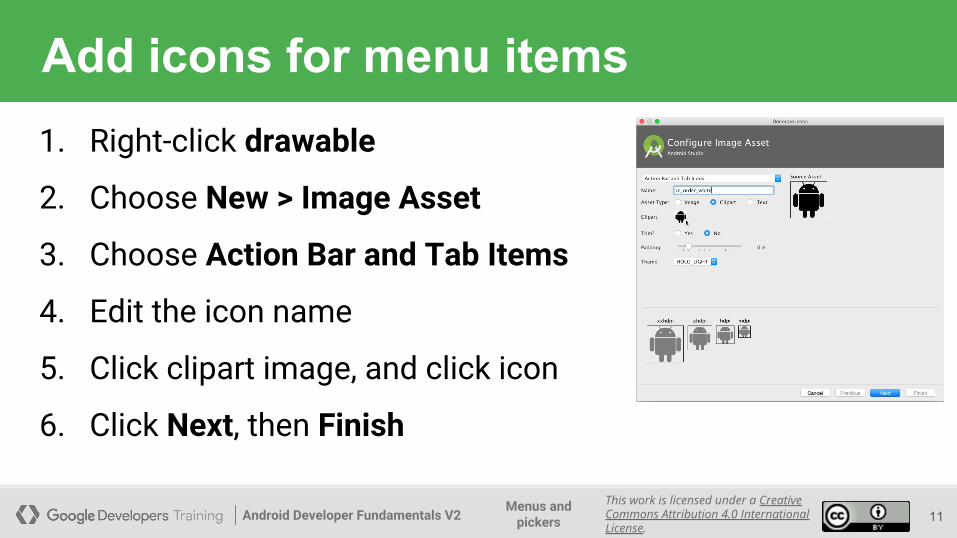
Add icons for menu items
11
1. Right-click drawable
2. Choose New > Image Asset
3. Choose Action Bar and Tab Items
4. Edit the icon name
5. Click clipart image, and click icon
6. Click Next, then Finish

Android Developer Fundamentals V2This work is licensed under a Creative Commons Attribution 4.0 International License.
Menus and pickers
Add menu item attributes
12
<item
android:id="@+id/action_favorites"
android:icon="@drawable/ic_favorite"
android:orderInCategory="30"
android:title="@string/action_favorites"
app:showAsAction="ifRoom" />

Android Developer Fundamentals V2This work is licensed under a Creative Commons Attribution 4.0 International License.
Menus and pickers
Override onOptionsItemSelected()
13
@Overridepublic boolean onOptionsItemSelected(MenuItem item) { switch (item.getItemId()) { case R.id.action_settings: showSettings(); return true; case R.id.action_favorites: showFavorites(); return true; default: return super.onOptionsItemSelected(item); }}
Android Developer Fundamentals V2
Contextual Menus
14

Android Developer Fundamentals V2This work is licensed under a Creative Commons Attribution 4.0 International License.
Menus and pickers
What are contextual menus?
15
● Allows users to perform action on selected View
● Can be deployed on any View
● Most often used for items in RecyclerView, GridView, or other View collection

Android Developer Fundamentals V2This work is licensed under a Creative Commons Attribution 4.0 International License.
Menus and pickers
Types of contextual menus
16
● Floating context menu—long-press on a View ○ User can modify View or use it in some fashion○ User performs action on one View at a time
● Contextual action mode—temporary action bar in place of or underneath app bar○ Action items affect the selected View element(s)○ User can perform action on multiple View elements at once

Android Developer Fundamentals V2
Floating Context Menu
17

Android Developer Fundamentals V2This work is licensed under a Creative Commons Attribution 4.0 International License.
Menus and pickers
Steps
18
1. Create XML menu resource file and assign appearance and position attributes2. Register View using registerForContextMenu()3. Implement onCreateContextMenu() in Activity to inflate menu4. Implement onContextItemSelected() to handle menu item clicks5. Create method to perform action for each context menu item

Android Developer Fundamentals V2This work is licensed under a Creative Commons Attribution 4.0 International License.
Menus and pickers
Create menu resource
19
1. Create XML menu resource (menu_context.xml)
<item
android:id="@+id/context_edit"
android:title="Edit"
android:orderInCategory="10"/>
<item
android:id="@+id/context_share"
android:title="Share"
android:orderInCategory="20"/>

Android Developer Fundamentals V2This work is licensed under a Creative Commons Attribution 4.0 International License.
Menus and pickers
Register a view to a context menu
20
In onCreate() of the Activity:
2. Register View.OnCreateContextMenuListener to View:
TextView article_text = findViewById(R.id.article);
registerForContextMenu(article_text);

Android Developer Fundamentals V2This work is licensed under a Creative Commons Attribution 4.0 International License.
Menus and pickers
Implement onCreateContextMenu() onCreateContextMenu() method
21
3. Specify which context menu
@Override
public void onCreateContextMenu(ContextMenu menu, View v,
ContextMenu.ContextMenuInfo menuInfo) {
super.onCreateContextMenu(menu, v, menuInfo);
MenuInflater inflater = getMenuInflater();
inflater.inflate(R.menu.menu_context, menu);
}
Android Developer Fundamentals V2This work is licensed under a Creative Commons Attribution 4.0 International License.
Menus and pickers
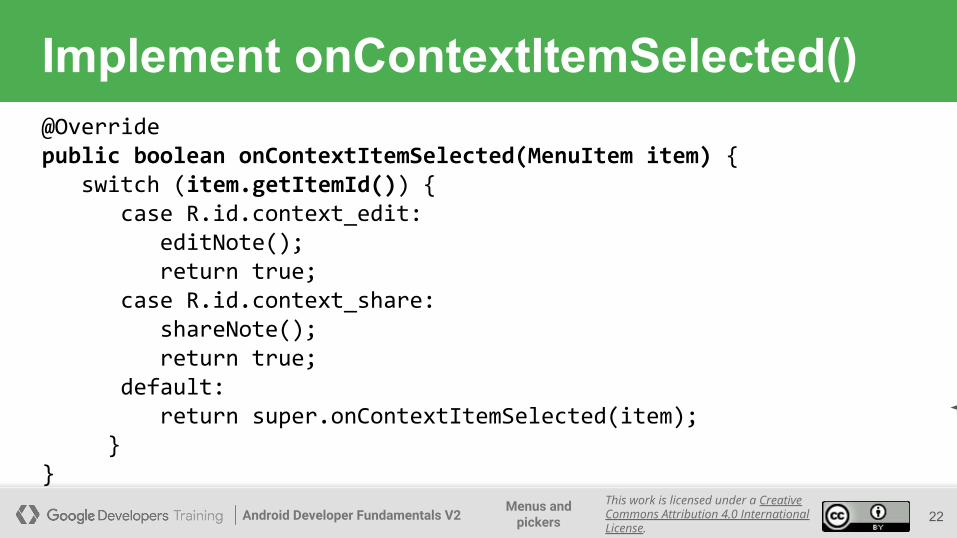
Implement onContextItemSelected() onCreateContextMenu() method
22
@Overridepublic boolean onContextItemSelected(MenuItem item) { switch (item.getItemId()) { case R.id.context_edit: editNote(); return true; case R.id.context_share: shareNote(); return true; default: return super.onContextItemSelected(item); }}
The view

Android Developer Fundamentals V2
Contextual Action Bar
23
Android Developer Fundamentals V2This work is licensed under a Creative Commons Attribution 4.0 International License.
Menus and pickers
What is Action Mode?
24
● UI mode that lets you replace parts of normal UI interactions temporarily
● For example: Selecting a section of text or long-pressing an item could trigger action mode

Android Developer Fundamentals V2This work is licensed under a Creative Commons Attribution 4.0 International License.
Menus and pickers
Action mode has a lifecycle
25
● Start it with startActionMode(), for example, in the listener
● ActionMode.Callback interface provides lifecycle methods you override:
○ onCreateActionMode(ActionMode, Menu) once on initial creation
○ onPrepareActionMode(ActionMode, Menu) after creation and any time ActionMode is invalidated
○ onActionItemClicked(ActionMode, MenuItem) any time contextual action button is clicked
○ onDestroyActionMode(ActionMode) when action mode is closed

Android Developer Fundamentals V2This work is licensed under a Creative Commons Attribution 4.0 International License.
Menus and pickers
What is a contextual action bar?
26
Long-press on View shows contextual action bar
1. Contextual action bar with actions○ Edit, Share, and Delete
○ Done (left arrow icon) on left side○ Action bar is available until user taps Done
2. View on which long press triggers contextual action bar

Android Developer Fundamentals V2This work is licensed under a Creative Commons Attribution 4.0 International License.
Menus and pickers
Steps for contextual action bar
27
3. Implement ActionMode.Callback interface to handle ActionMode lifecycle; include action for menu item click in onActionItemClicked() callback
4. Create method to perform action for each context menu item
1. Create XML menu resource file and assign icons for items
2. setOnLongClickListener() on View that triggers contextual action bar and call startActionMode() to handle click

Android Developer Fundamentals V2This work is licensed under a Creative Commons Attribution 4.0 International License.
Menus and pickers
Use setOnLongClickListener
28
private ActionMode mActionMode;
In onCreate():
View view = findViewById(article);
view.setOnLongClickListener(new View.OnLongClickListener() {
public boolean onLongClick(View view) {
if (mActionMode != null) return false;
mActionMode =
MainActivity.this.startActionMode(mActionModeCallback);
view.setSelected(true);
return true;
}
});
Android Developer Fundamentals V2This work is licensed under a Creative Commons Attribution 4.0 International License.
Menus and pickers
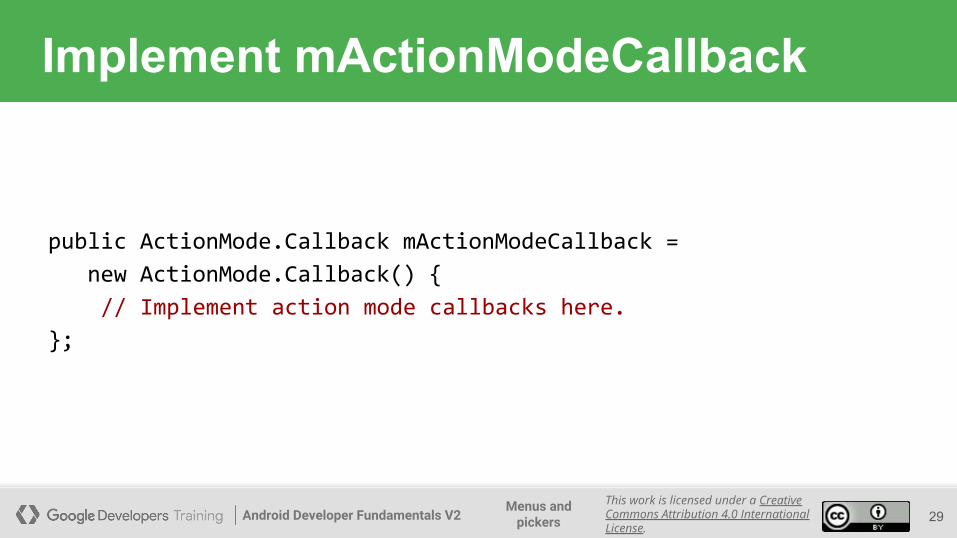
Implement mActionModeCallback
29
public ActionMode.Callback mActionModeCallback =
new ActionMode.Callback() {
// Implement action mode callbacks here.
};

Android Developer Fundamentals V2This work is licensed under a Creative Commons Attribution 4.0 International License.
Menus and pickers
Implement onCreateActionMode
30
@Override
public boolean onCreateActionMode(ActionMode mode, Menu menu) {
MenuInflater inflater = mode.getMenuInflater();
inflater.inflate(R.menu.menu_context, menu);
return true;
}

Android Developer Fundamentals V2This work is licensed under a Creative Commons Attribution 4.0 International License.
Menus and pickers
Implement onPrepareActionMode
31
● Called each time action mode is shown● Always called after onCreateActionMode, but may be called multiple times if
action mode is invalidated
@Override
public boolean onPrepareActionMode(ActionMode mode, Menu menu) {
return false; // Return false if nothing is done.
}
Android Developer Fundamentals V2This work is licensed under a Creative Commons Attribution 4.0 International License.
Menus and pickers
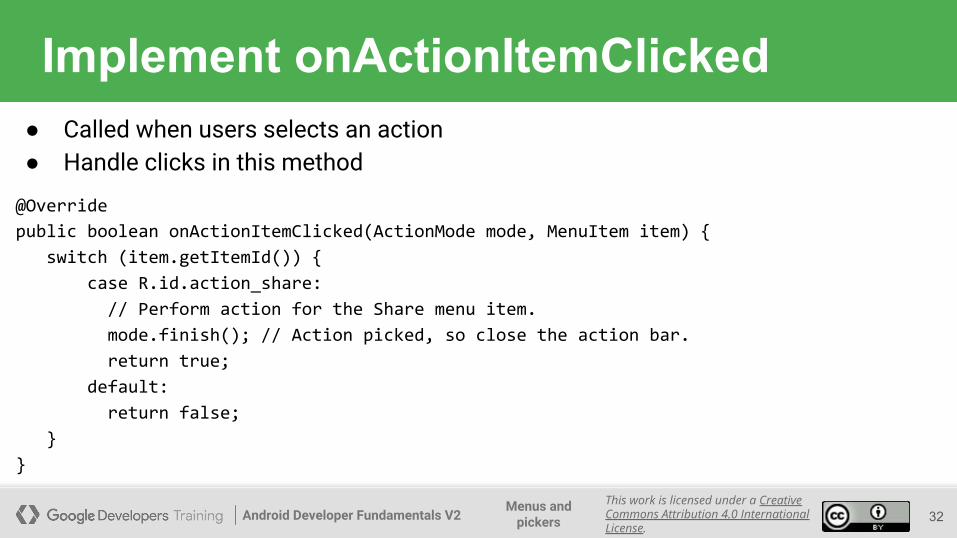
Implement onActionItemClicked
32
● Called when users selects an action● Handle clicks in this method
@Override
public boolean onActionItemClicked(ActionMode mode, MenuItem item) {
switch (item.getItemId()) {
case R.id.action_share:
// Perform action for the Share menu item.
mode.finish(); // Action picked, so close the action bar.
return true;
default:
return false;
}
}

Android Developer Fundamentals V2This work is licensed under a Creative Commons Attribution 4.0 International License.
Menus and pickers
Implement onDestroyActionMode
33
● Called when user exits the action mode
@Override
public void onDestroyActionMode(ActionMode mode) {
mActionMode = null;
}

Android Developer Fundamentals V2
Popup Menu
34
Android Developer Fundamentals V2This work is licensed under a Creative Commons Attribution 4.0 International License.
Menus and pickers
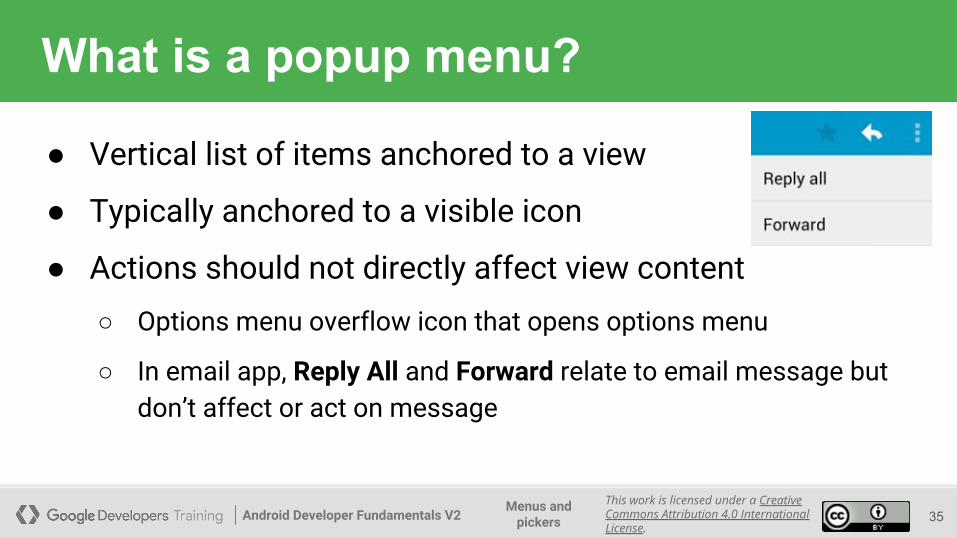
What is a popup menu?
35
● Vertical list of items anchored to a view
● Typically anchored to a visible icon
● Actions should not directly affect view content○ Options menu overflow icon that opens options menu
○ In email app, Reply All and Forward relate to email message but don’t affect or act on message

Android Developer Fundamentals V2This work is licensed under a Creative Commons Attribution 4.0 International License.
Menus and pickers
Steps
36
1. Create XML menu resource file and assign appearance and position attributes2. Add ImageButton for the popup menu icon in the XML activity layout file3. Assign onClickListener to ImageButton4. Override onClick() to inflate the popup and register it with
onMenuItemClickListener()
5. Implement onMenuItemClick()6. Create a method to perform an action for each popup menu item

Android Developer Fundamentals V2This work is licensed under a Creative Commons Attribution 4.0 International License.
Menus and pickers
Add ImageButton
37
<ImageButton
android:layout_width="wrap_content"
android:layout_height="wrap_content"
android:id="@+id/button_popup"
android:src="@drawable/@drawable/ic_action_popup"/>

Android Developer Fundamentals V2This work is licensed under a Creative Commons Attribution 4.0 International License.
Menus and pickers
Assign onClickListener to button
38
private ImageButton mButton =
(ImageButton) findViewById(R.id.button_popup);
In onCreate():
mButton.setOnClickListener(new View.OnClickListener() {
// define onClick
});

Android Developer Fundamentals V2This work is licensed under a Creative Commons Attribution 4.0 International License.
Menus and pickers
Implement onClick
39
@Override
public void onClick(View v) {
PopupMenu popup = new PopupMenu(MainActivity.this, mButton);
popup.getMenuInflater().inflate(
R.menu.menu_popup, popup.getMenu());
popup.setOnMenuItemClickListener(
new PopupMenu.OnMenuItemClickListener() {
// implement click listener.
});
popup.show();
}
Android Developer Fundamentals V2This work is licensed under a Creative Commons Attribution 4.0 International License.
Menus and pickers
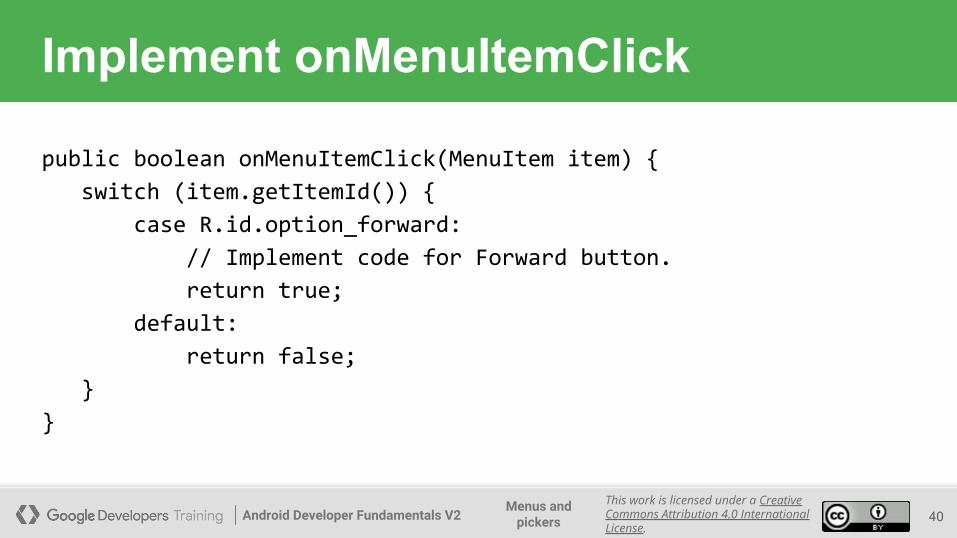
Implement onMenuItemClick
40
public boolean onMenuItemClick(MenuItem item) {
switch (item.getItemId()) {
case R.id.option_forward:
// Implement code for Forward button.
return true;
default:
return false;
}
}

Android Developer Fundamentals V2
Dialogs
41

Android Developer Fundamentals V2This work is licensed under a Creative Commons Attribution 4.0 International License.
Menus and pickers
DatePickerDialogTimePickerDialog
Dialogs
42
● Dialog appears on top, interrupting flow of Activity
● Requires user action to dismiss
AlertDialog

Android Developer Fundamentals V2This work is licensed under a Creative Commons Attribution 4.0 International License.
Menus and pickers
AlertDialog
43
AlertDialog can show:
1. Title (optional)
2. Content area
3. Action buttons

Android Developer Fundamentals V2This work is licensed under a Creative Commons Attribution 4.0 International License.
Menus and pickers
Build the AlertDialog
Use AlertDialog.Builder to build alert dialog and set attributes:
public void onClickShowAlert(View view) {AlertDialog.Builder alertDialog = new
AlertDialog.Builder(MainActivity.this);alertDialog.setTitle("Connect to Provider");alertDialog.setMessage(R.string.alert_message);// ... Code to set buttons goes here.
44

Android Developer Fundamentals V2This work is licensed under a Creative Commons Attribution 4.0 International License.
Menus and pickers
Set the button actions
● alertDialog.setPositiveButton()
● alertDialog.setNeutralButton()
● alertDialog.setNegativeButton()
45

Android Developer Fundamentals V2This work is licensed under a Creative Commons Attribution 4.0 International License.
Menus and pickers
alertDialog code examplealertDialog.setPositiveButton(
"OK", newDialogInterface.OnClickListener() {
public void onClick(DialogInterface dialog, int which) {
// User clicked OK button.
}
});
Same pattern for setNegativeButton() and setNeutralButton()
46

Android Developer Fundamentals V2
Pickers
47

Android Developer Fundamentals V2This work is licensed under a Creative Commons Attribution 4.0 International License.
Menus and pickers
Pickers
48
● DatePickerDialog
● TimePickerDialog

Android Developer Fundamentals V2This work is licensed under a Creative Commons Attribution 4.0 International License.
Menus and pickers
Pickers use fragments
● Use DialogFragment to show a picker
● DialogFragment is a window that floats on top of Activity window
49

Android Developer Fundamentals V2This work is licensed under a Creative Commons Attribution 4.0 International License.
Menus and pickers
Introduction to fragments
● A Fragment is like a mini-Activity within an Activity○ Manages its own own lifecycle○ Receives its own input events
● Can be added or removed while parent Activity is running
● Multiple fragments can be combined in a single Activity
● Can be reused in more than one Activity
50
Android Developer Fundamentals V2This work is licensed under a Creative Commons Attribution 4.0 International License.
Menus and pickers
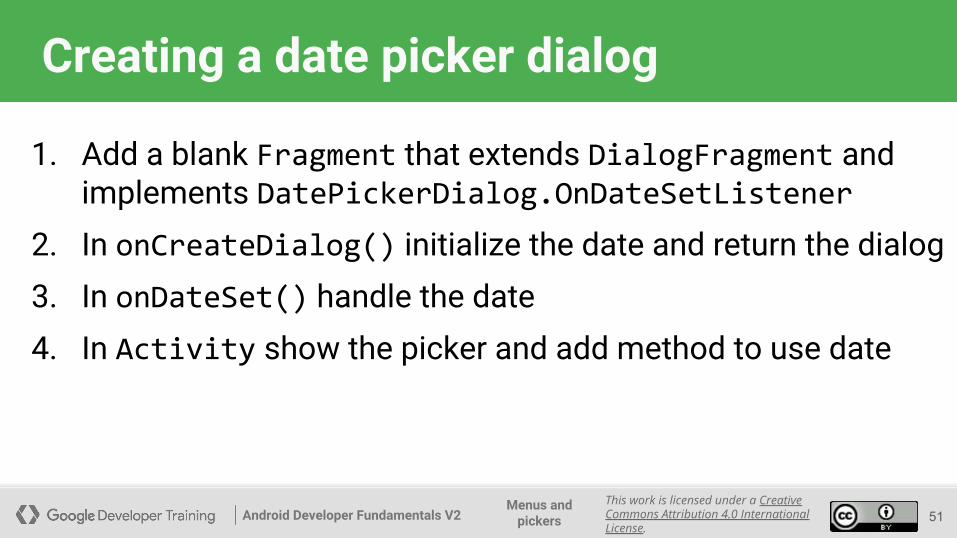
Creating a date picker dialog
1. Add a blank Fragment that extends DialogFragment and implements DatePickerDialog.OnDateSetListener
2. In onCreateDialog() initialize the date and return the dialog3. In onDateSet() handle the date4. In Activity show the picker and add method to use date
51

Android Developer Fundamentals V2This work is licensed under a Creative Commons Attribution 4.0 International License.
Menus and pickers
Creating a time picker dialog
1. Add a blank Fragment that extends DialogFragment and implements TimePickerDialog.OnTimeSetListener
2. In onCreateDialog() initialize the time and return the dialog3. In onTimeSet() handle the time4. In Activity, show the picker and add method to use time
52