00 ml installaon & maintenance guide · soap reservoir and pump installaon guide stainless...
TRANSCRIPT
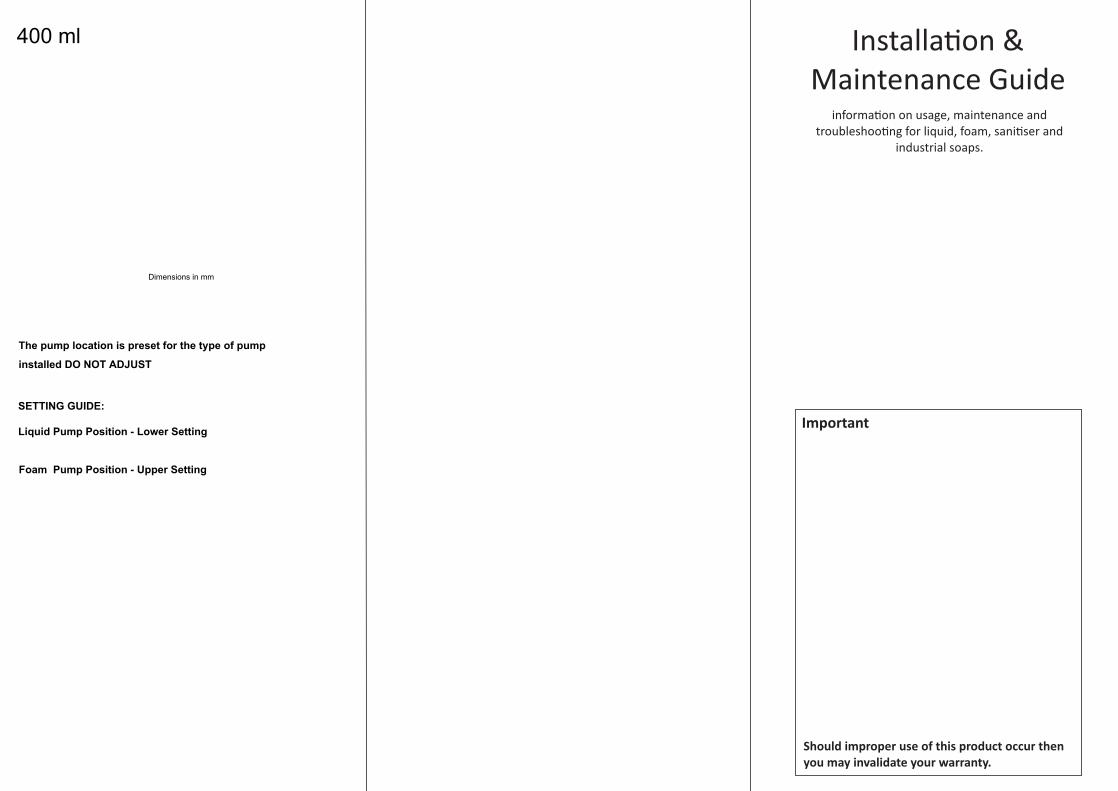
The pump location is preset for the type of pump
installed DO NOT ADJUST
SETTING GUIDE:
Liquid Pump Position - Lower Setting
Foam Pump Position - Upper Setting
400 ml
Dimensions in mm
Installa�on &Maintenance Guide
informa�on on usage, maintenance and troubleshoo�ng for liquid, foam, sani�ser and
industrial soaps.
Should improper use of this product occur then you may invalidate your warranty.
Important !
Do:ü Install the unit correctly, instruc�ons on P5/P6ü Use the correct type of soap for the pump installed.
See P4 for types of soap and pumpsü Clean the unit regularly to maintain it’s high quality
finish. See P2/P3 for cleaning informa�on.ü Remove the key from the unit a�er refilling soap.ü Keep this guide to refer to when buying soap or to
sought solu�ons to any problems that may have arisen.
Do not:û Use a soap that isn’t suitable for the pump installed. û Leave spillages or dirt on the unit.û Leave the key in the unit when the dispenser could
be used.û Throw this guide away.
P1P6P5
THE PUMP LOCATION IS FACTORY SETDO NOT REMOVE FROM ORIGINAL SETTING
IMPORTANT NOTICE
PUSH LOCK WILL ONLY OPERATE WHEN THE KEY IS IN THE LOCK
900 ml
IMPORTANT NOTICE
DO NOT SLAM COVER WITH LOCK IN CLOSED POSITION
REMOVE KEY ONCE COVER IS CLOSED
The pump location is preset for the type of pump
installed DO NOT ADJUST
198
96 97 74
119
41
254
109 109 74
175
41
Dimensions in mm
SETTING GUIDE:
Liquid Pump Position - Lower Setting
Foam Pump Position - Upper Setting
Please use the fixing kit provided to secure the unit to the wall, please refer to P3 installation guide.
Please use the fixing kit provided to secure the unit to the wall, please refer to P3 installation guide.

Soap Reservoir and Pump Installa�on Guide
Stainless Steel Care & Maintenance
All grades of stainless steel will stain and discolour due to surface deposits and cannot be considered completely maintenance-free. In order to retain maximum corrosion resistance and aesthe�c appeal, the surface of stainless steel must be kept clean. Cleaning schedules should be carried out on a regular basis then good performance and long service life are assured.
GENERAL CLEANING METHODS
Stainless steel is easy to clean. Washing with soap or a mild detergent and warm water, followed by a clear water rinse, is usually quite adequate for domes�c and architectural equipment. An enhanced aesthe�c appearance will be achieved if the cleaned surface is wiped dry. Where stainless steel has become extremely dirty with signs of surface discoloura�on, (perhaps following a period of neglect or misuse), methods of cleaning are detailed in the chart provided below:-
Requirement Suggested Method Comments
Routine cleaning of
light soiling
Soap, detergent or dilute (1%)
ammonia solution in warm clean
water. Apply with a clean sponge, soft
cloth or soft- fibre brush then rinse in
clean water and dry.
Satisfactory on most
surfaces
Fingerprints Detergent and warm water,
alternatively, hydrocarbon solvent
Proprietary spray-applied
polishes available to
clean and minimise
remarking
Stubborn spots,
stains and light
discolouration
Mild, non-scratching creams and
polishes. Apply with soft cloth or soft
sponge andrinse off residues with
clean water and dry
Avoid cleaning pastes with
abrasive additions. Do not
use chloride solutions
Water marking. Light
rust staining
rinse off residues with clean water and
dry
Heating or heavy
discolouration
Nylon-type pad, e.g. ‘Scotchbrite’ Use on brushed and
polished finishes along
the grain.
May brighten dull finishes
To avoid a patchy
appearance, the whole
surface may need to be
treated
Paint, graffiti Proprietary alkaline or solvent paint
strippers, depending upon paint type.
Use soft nylon or bristle brush on
patterned surfaces
Apply as directed by
manufacturer
Badly neglected
surfaces with
accumulated grime
deposits
A fine, abrasive paste as used for car
body refinishing, e.g. ‘T-cut’ rinsed
clean to remove all paste material &
dried
FACTORS AFFECTING MAINTENANCE
Surface contamina�on and the forma�on of deposits must be prevented. These deposits may be minute par�cles of iron or rust from other sources used in the building of new premises and not removed un�l a�er the stainless steel items have been fixed. Industrial and even naturally occurring atmospheric condi�ons can cause deposits that can be equally corrosive, e.g. salt deposits from marine condi�ons. A working environment which offers more aggressive condi�ons, e.g. hot & humid, such as in a swimming pool, increases the speed of discoloura�on and therefore requires maintenance on a more frequent basis. Modern processes use many cleaners, sterilisers and bleaches for hygienic purposes. All these proprietary solu�ons, when used in accordance with makers' instruc�ons, are safe, but if used incorrectly (e.g. warm or concentrated), can cause discoloura�on and corrosion on the surface of any quality of stainless steel. Strong acid solu�ons are some�mes used to clean masonry and �ling of buildings but they should never be permi�ed to come into contact with metals, including stainless steel. If this should happen, the acid solu�on must be removed immediately by copious applica�ons of water.
BRUSHED STAINLESS STEEL
When the steel has become extremely dirty, perhaps following periods of neglect or a�er being subjected to a par�cularly aggressive environment, mild abrasion only (such as scrubbing with a nylon or other non- scratching scourer) may be necessary. Ordinary steel wool soap pads should never be used as they may leave par�cles of mild steel on the surface of the stainless steel, which may cause localised areas of rus�ng. Stainless steel soap pads, are quite suitable.
POLISHED STAINLESS STEEL
A highly polished surface will be permanently marked by the use of abrasives which, therefore, should be avoided at all costs. Discoloura�on, heavy dirty or rust which may resist normal cleaning methods can be removed using a proprietary stainless steel cleaner followed by a clear water rinse. Some deposits and stains encountered in catering and medical applica�ons can be difficult to remove. It should be noted that nearly all abrasive cleaners will scratch a bright annealed or 2B finish of stainless steel. On other finishes the cleaner should be used in the direc�on of the polish. A clean dust and grit-free cloth should be used to avoid scratching. In all cases the mildest cleaning procedure that will do the job efficiently should be used.
P4P3P2
Pump Type Soap Type
Liquid Pump
Shot size: 2mlCan be used for pearlised soaps and most sanitiser gels
Foam PumpShot size: 20ml foam (0.6ml Liquid)Soap must be water thin
Sani�ser Pump
Shot size: 0.5mlSoap must be water thin
Beaded Non-Solvent
Pump
Shot size: 3mlSoap must only contain smooth plastic beads
Beaded Solvent Pump
Shot size: 3mlSoap can contain smooth plastic beads, this pump will not dispense any pumice or gritty soap
Pumice Pump
Shot size: 3mlThis pump will dispense pumice/gritty soap
Which soap can be used with each pump
Please check your soap before use, using the wrong soap for the pump could lead to the pump breaking beyond repair. This could invalidate your warranty.
If you are s�ll unsure about which soap to use then please contact the supplier of this product.
Troubleshoo�ng:
Should the pump become clogged with soap, or does not function as expected, remove the pump and rinse through with warm water. this should clear the passage
POWDER COATED STEEL
Carefully remove any loose deposits with a wet cloth.Use a soft cloth and a mild household detergent solution to remove dust, salt and other deposits.Rinse off with clean fresh water.