week_12_new
DESCRIPTION
Rendering.TRANSCRIPT

Week 12
I began rendering my scenes. The render layer was set to Master layer, I set render to Maya software. The image format was set to AVI, name was set to multi frame name.extention. The Rendering camera was set to follow_camera. The width and height was set to 800 by 600.
The scene was rendered using batch render.

Spot light was added to my animation. By clicking use selected lights from lighting options allowed me to focus on the spot light only as the space moved across.
By navigating to modify>transformation tool>show modifier tool activated a target for the light. As a result, it was easier to manipulate the position of the light.

Using the “look through selected” option under the panels menu within the four split screen view was helpful since I was able to see which area the spot light is focusing on.
Within the attribute editor I changed the values for a more realistic perspective.
The changes made in the attribute editor where made effective using set keys within the timeline.
I was able to track the movement of the spaceship by making use of the look through selected option in the four split screen view.

Directional light was added as I thought since the camera has a constraint applied to the camera. For long range distances, the most effective lighting is given off by this type of lighting.
Point light was added to the viewport which I found effective since I had noticed, the light given off is reflected back off the spaceship.
Volume light was used in this scene next to the planet to create a glow. Volume light was effective as a emulates shadow, giving the 3-D aperance from the camera view. Area light was used next to the spaceship to conitatate the light intensity of the planet.

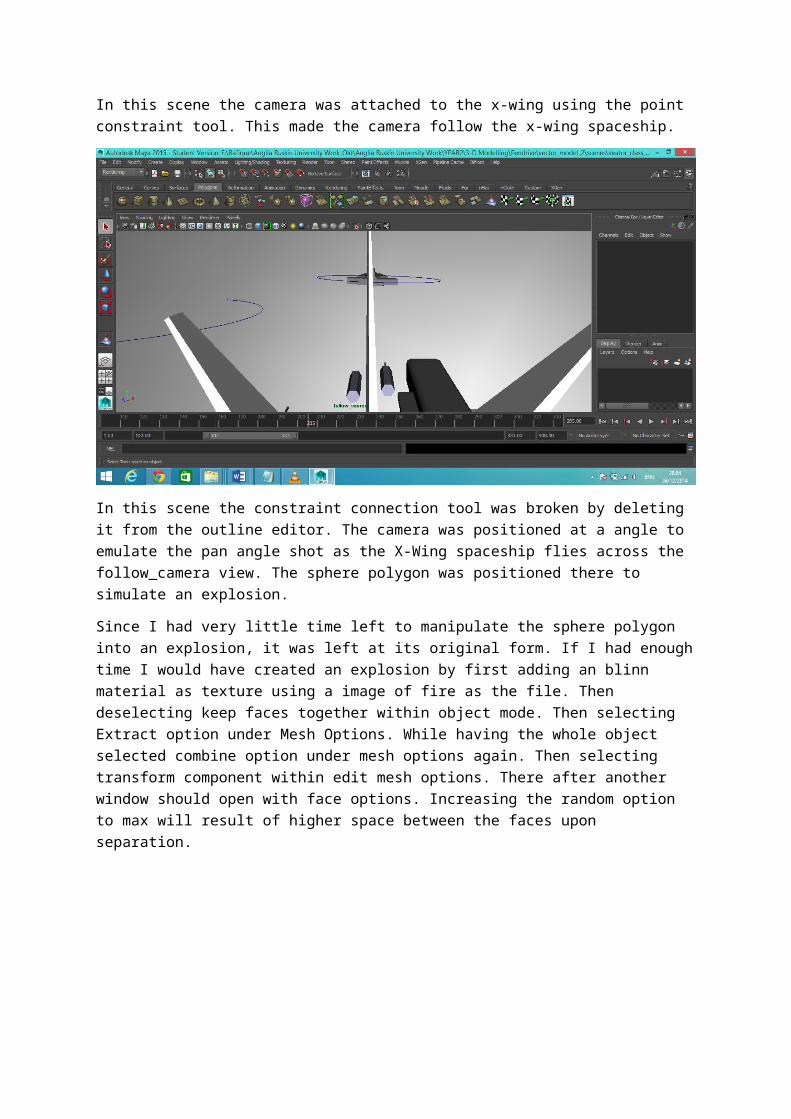
In this scene the camera was attached to the x-wing using the point constraint tool. This made the camera follow the x-wing spaceship.
In this scene the constraint connection tool was broken by deleting it from the outline editor. The camera was positioned at a angle to emulate the pan angle shot as the X-Wing spaceship flies across the follow_camera view. The sphere polygon was positioned there to simulate an explosion.
Since I had very little time left to manipulate the sphere polygon into an explosion, it was left at its original form. If I had enough time I would have created an explosion by first adding an blinn material as texture using a image of fire as the file. Then deselecting keep faces together within object mode. Then selecting Extract option under Mesh Options. While having the whole object selected combine option under mesh options again. Then selecting transform component within edit mesh options. There after another window should open with face options. Increasing the random option to max will result of higher space between the faces upon separation.
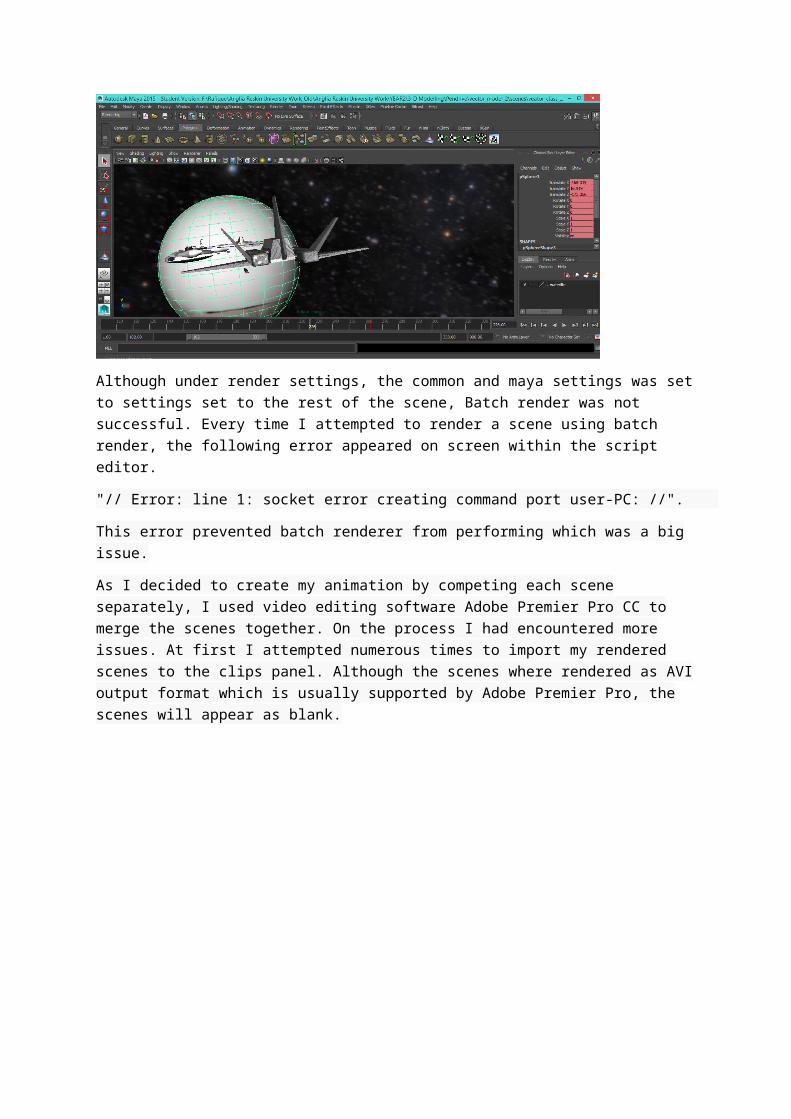
Although under render settings, the common and maya settings was set to settings set to the rest of the scene, Batch render was not successful. Every time I attempted to render a scene using batch render, the following error appeared on screen within the script editor.
"// Error: line 1: socket error creating command port user-PC: //".
This error prevented batch renderer from performing which was a big issue.
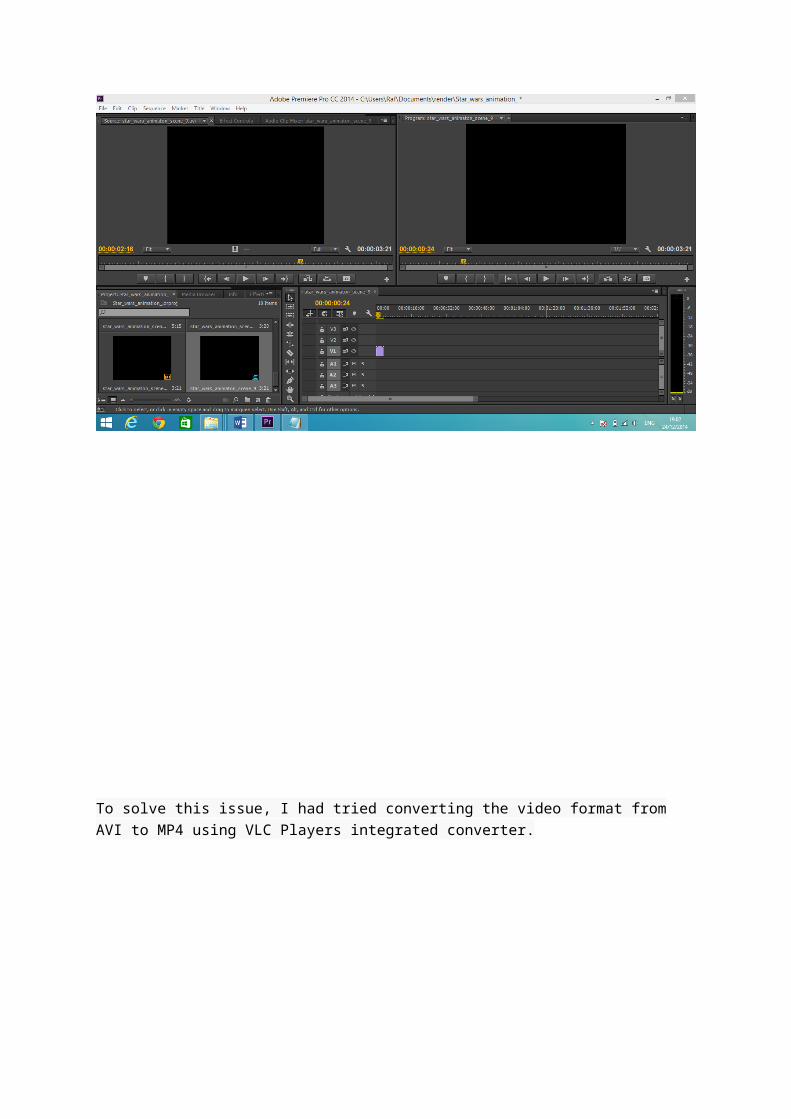
As I decided to create my animation by competing each scene separately, I used video editing software Adobe Premier Pro CC to merge the scenes together. On the process I had encountered more issues. At first I attempted numerous times to import my rendered scenes to the clips panel. Although the scenes where rendered as AVI output format which is usually supported by Adobe Premier Pro, the scenes will appear as blank.
To solve this issue, I had tried converting the video format from AVI to MP4 using VLC Players integrated converter.
When playing the converted MP4 scene video in Premier Pro CC, the clip also appeared as blank, instead this time green.
I had tried importing the scenes then playing both the original AVI and MP4 Scenes in Adobe After Effects. Unluckily I encountered the same issue when using Adobe Premier Pro.