valentine wishes - c. hartman designs
TRANSCRIPT

Valentine Wishes Christy Hartman
www.chartmandesigns.com
www.chartmandesigns.blogspot.com
All patterns and designs Copyright © belong to Christy Hartman. All rights reserved. These
projects may be painted for personal use/personal profit but may not be reproduced for graphic
or scrapbook use for resale. Photocopying and all other types of mechanical reproduction are
prohibited with the exception of enlarging or reducing the image size to fit your surface.
Patterns may not be republished, distributed, transmitted, displayed, broadcast, or reproduced for
any business/commercial purposes without written permission from the artist.
I began this project on a whim; I had recently used the new black gesso from Deco Art’s Media
line on a canvas and fell in love. In an “ah ha” moment decided to see how the Interference
would work when added to a black textured surface. Hmmm….. I liked what I came up with but
felt that it needed something to give it some pizazz and added Dazzling Metallic Splendid Gold
and BINGO, the result was dazzling. What next? I had been toying with the idea that I could use
a thin children’s book cover, which I picked up in a discarded library box for free, adding it to
my canvas. In a creative moment thought that the book cover could be added to the canvas and
used as a Valentine Card. But how to make it all work together in a functional easy to assemble
way? The result is this project which is designed to be used with things that you might have on
hand or can easily adapt to a variety of materials. Be creative, think outside the box and just
have fun. I didn’t begin this project with a preconceived idea instead just let the project develop
organically and I would hope you would do the same.
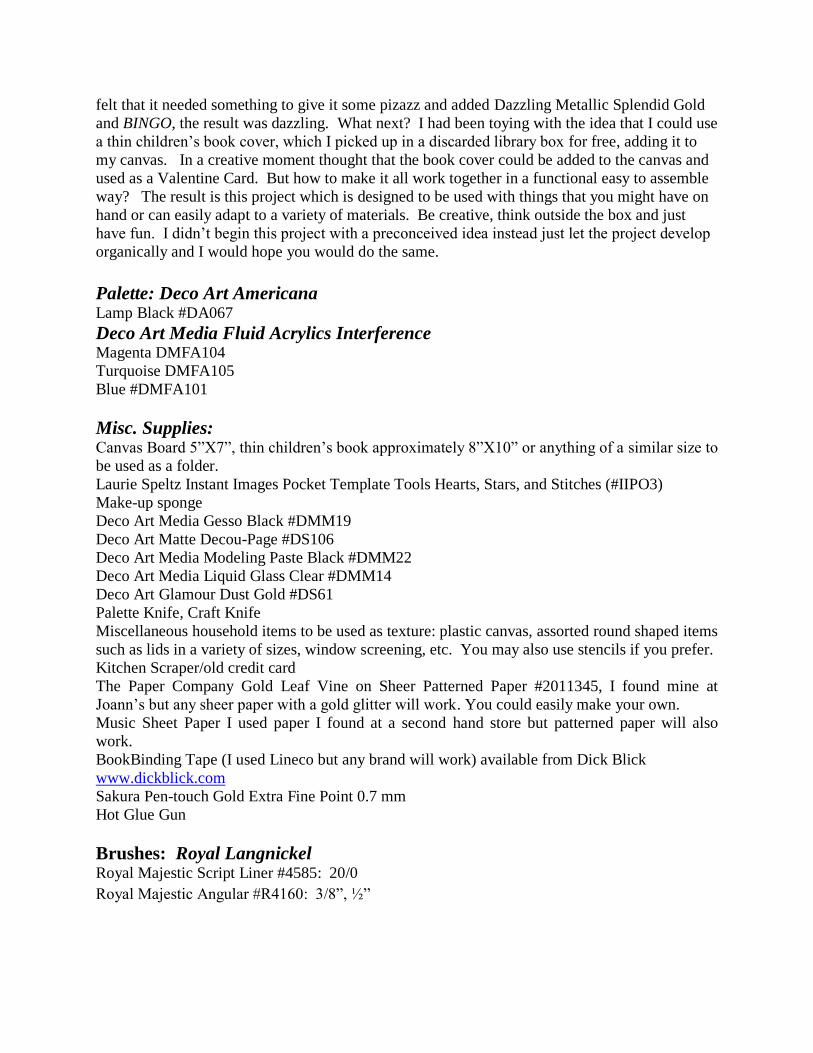
Palette: Deco Art Americana Lamp Black #DA067
Deco Art Media Fluid Acrylics Interference Magenta DMFA104
Turquoise DMFA105
Blue #DMFA101
Misc. Supplies: Canvas Board 5”X7”, thin children’s book approximately 8”X10” or anything of a similar size to
be used as a folder.
Laurie Speltz Instant Images Pocket Template Tools Hearts, Stars, and Stitches (#IIPO3)
Make-up sponge
Deco Art Media Gesso Black #DMM19
Deco Art Matte Decou-Page #DS106
Deco Art Media Modeling Paste Black #DMM22
Deco Art Media Liquid Glass Clear #DMM14
Deco Art Glamour Dust Gold #DS61
Palette Knife, Craft Knife
Miscellaneous household items to be used as texture: plastic canvas, assorted round shaped items
such as lids in a variety of sizes, window screening, etc. You may also use stencils if you prefer.
Kitchen Scraper/old credit card
The Paper Company Gold Leaf Vine on Sheer Patterned Paper #2011345, I found mine at
Joann’s but any sheer paper with a gold glitter will work. You could easily make your own.
Music Sheet Paper I used paper I found at a second hand store but patterned paper will also
work.
BookBinding Tape (I used Lineco but any brand will work) available from Dick Blick
www.dickblick.com
Sakura Pen-touch Gold Extra Fine Point 0.7 mm
Hot Glue Gun
Brushes: Royal Langnickel Royal Majestic Script Liner #4585: 20/0
Royal Majestic Angular #R4160: 3/8”, ½”

Royal Majestic Glaze/Wash R4700: ¾”
Royal Majestic Round #R4250: #2, 3, 4
Royal Fusion Deerfoot Stippler #R3650: ¼"
Kingslan Magnificent Mop R-4999: #4, 1
Book Surface Prep: I found this book in a discarded book box at our local Library, the binding was ripped, most of
the pages were missing, but best of all it was free. I immediately thought PERFECT!!!! I’ll
save it for a future project and added it to my stash. When I began this project I pulled out the
book, removed the remainder of the pages with a craft knife and added Lineco Book Binding
Tape to strengthen and protect the binding. A word of
caution, invest in book binding tape, it is somewhat
expensive but protects your painted bindings from
cracking and peeling. I have used it on all of my journals
which I have repurposed and altered and have not had any
of the paint peel off of the bindings. Prior to investing in
book binding tape I painted a journal and the continual
motion of the binding caused my paint to peel, I was not a
happy camper. Voice of experience here, invest in book
binding tape. Remove any pages by gently cutting
through the stitching with a craft knife and cut away any
remaining material so that you expose the binding of the
book.
Figure 1: Here you can see that I am adding Book Binding Tape by placing the tape sticky side
up on my work table and placing the book face down onto the tape, wrapping the tape around the
inside binding.
Figure 2: Lightly sand the cover of the book with fine
sandpaper to remove any dirt or finger residue from past use.
Using black gesso prep both the front, back, and inside of the
book. As you can see the binding tape almost disappears once
you have added the gesso.
Prep your canvas board by painting the front and sides of your canvas with black gesso. If you
prefer you can always use black paint instead of black gesso, however I would prep your book
cover with gesso to seal the book and to make sure that the paint adheres to the cover.
Adding Texture to the Canvas:
Figure 3: I used Black Deco Art Media Modeling Paste however
for the sake of demonstration and photography I used the white
paste, the black didn’t show up in the photographs. I began by
spreading modeling paste onto the canvas using a palette knife,
Figure 1
Figure 2
Figure 3

this is a similar process to spreading frosting on a cake, and the
palette knife will make texture by pouncing the knife up and down
onto the modeling paste to develop a series of ridges.
Figure 4: Using any type of household texture tools that you have
either in your crafting supplies or in your household tools. You can
see a few of the tools which were used on this canvas. I pressed the
plastic circle tool down into the modeling paste imprinting the
pattern.
Figure 5: I removed the tool and placed the dirty tool, paste
still remaining, onto another area of the canvas to transfer the
reverse pattern. This is a very effective technique and can be
used with a variety of different tools to form the positive and
negative pattern. You can see how the pattern is formed in this
photo.
Figure 6: You can see in this photo that I have repeated the
round circle pattern numerous times and have begun to add a
series of circle shapes using a bottle cap, round cap, and an old
film canister. Be creative with your texture choices, household
items which are readily available make interesting texture tools.
Figure 7: You can see in this photo that I am repeating the
process which was used with the circle texture tool with plastic
canvas.
Figure 8: Here is the completed canvas with the texture added
and overlapped. If you used the black modeling paste it may
not be necessary to add another coat of black gesso but if you
used white modeling paste you will need to add a coat of black
gesso or you could have added black paint to tint the white
modeling paste. Modeling paste takes longer to dry than paint;
I let mine cure overnight before adding any gesso or paint to it.
Figure 4
Figure 5
Figure 6
Figure 7
Figure 8

Let’s Paint: Figure 9: Transfer the heart shapes to the canvas and paint
randomly around the hearts by using a slip slap painting
technique adding Interference Turquoise, Blue, and Magenta.
These colors all work together and can be overlapped and
blended forming interesting color blends. The Interference
paints are translucent, opalescent colors which show up
beautifully on the black background. The result is absolutely
stunning. Note the color placement on the photo; continue
manipulating the paint colors until you have achieved a look that
you prefer. Using your finger or a flat brush gently blend Dazzling Metallic Splendid Gold
randomly over the textured areas of the canvas, note how those textural areas pop right off the
canvas. There is no right or wrong way to achieve this, instead should be based on your personal
preference.
Using the same blending technique and the Interference paint colors apply paint to the front,
back, and spine of the book cover.
Figure 10: Cut the heart shapes out of your choice of glitter
patterned paper, I chose to use a thin while translucent paper
and using Deco Art Decou-Page I adhered the hearts to the
canvas. Cut smaller hearts out of music paper and adhere to the
top of the white hearts. (Note the pattern photo for placement.)
I purchase vintage music paper from my local second hand store
but you may choose to use any type of paper which you prefer.
Figure 11: Cut 1” strips of music score and determine
placement on your book cover and adhere using Deco Art
Decou-Page. To give your border that aged/vintage look, blend
Dazzling Mettalics Splendid Gold randomly onto the border and
on the music papers. Using the same technique age the hearts on
the canvas by blending gold paint randomly onto the papers and
white papers. I used my finger because I like feeling how much
paint I apply and then wiping away any excess paint, you really
want this to be a transparent application. Using your favorite
stencil, I used Laurie Speltz Instant Images Hearts, Stars, and
Stitches, stencil words or phrases randomly around the border of
the book using Lamp Black and onto the center of each heart.
(Note placement on pattern photo, it is not necessary to use the same stencil I used, any stencil or
hand lettering will work.) Wash Interference Magenta over each word to enhance and help the
words to pop. I prefer to stencil with a makeup sponge but you can easily use a stencil brush or
even a deerfoot brush.
Figure 12: The dots around the hearts are Deco Art Liquid Glass squeezed from the bottle in a
dot pattern applied directly to the canvas. Shake out gold glitter over the dots and remove the
Figure 9
Figure 10
Figure 11

excess. Allow this to dry completely.
Using a gold paint marker draw lines
around the hearts and outline the
lettering so that it appears to be shaded.
Finishing: Glue the canvas to the book cover with hot glue or your favorite glue. Why not add
photos or a poem to the center of this piece so that it becomes a favorite Valentine memento to
be saved and cherished each Valentine’s Day.
Figure 12
