using the qt dvr start up wizard - q · pdf fileusing the qt dvr start up wizard your qt...
TRANSCRIPT

Using the QT DVR Start Up Wizard
Your QT series DVR comes with a Start Up Wizard that will help you set it up for use including
setting the language, date and time, remote computer and mobile phone access, and setting it
up to use a DDNS address to help you avoid the problems of having a dynamic IP address on
your internet account. When you start up your DVR you will see the initializing screen shown
below:
After the system initializes it will display the Start Up Wizard Screen shown below:
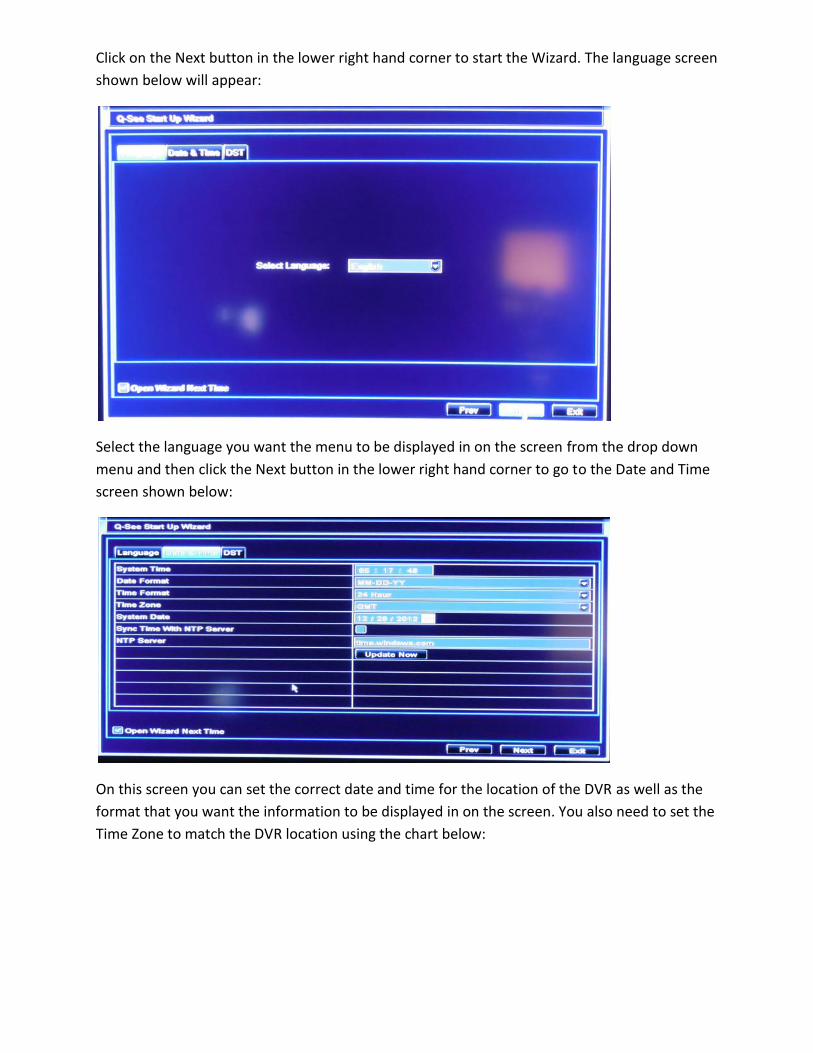
Click on the Next button in the lower right hand corner to start the Wizard. The language screen
shown below will appear:
Select the language you want the menu to be displayed in on the screen from the drop down
menu and then click the Next button in the lower right hand corner to go to the Date and Time
screen shown below:
On this screen you can set the correct date and time for the location of the DVR as well as the
format that you want the information to be displayed in on the screen. You also need to set the
Time Zone to match the DVR location using the chart below:
City /Region Name Time Zone
London GMT+0
Berlin GMT+1
Cairo GMT+2
Moscow GMT+3
New Deli GMT+5
Bangkok GMT+7
Beijing (Hong Kong) GMT+8
Tokyo GMT+9
Sydney GMT+10
Hawaii GMT-10
Alaska GMT-9
Pacific Time(P.T) GMT-8
American Mountain Time(M.T) GMT-7
American Central Time(C.T) GMT-6
American Eastern Time(E.T) GMT-5
Atlantic Time GMT-4
Brazil GMT-3
Middle Atlantic Time GMT-2
You can also choose the option to synchronize the time on the DVR with a time server by
checking the option box on the Sync Time with NTP Server line and entering the IP address of
the server in the NTP server line. Time.windows.com is selected by default.
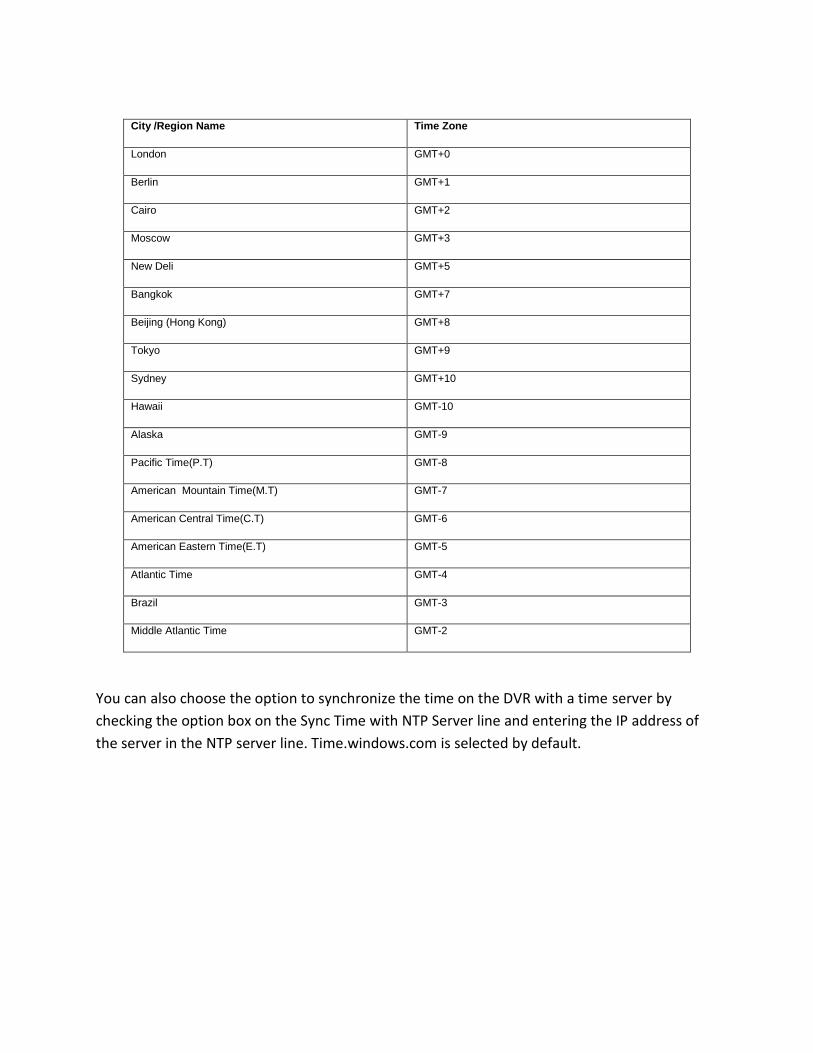
Next you can click on the DST tab on the top of the box to set up the DVR for Daylight Saving
Time. It will display the box below:
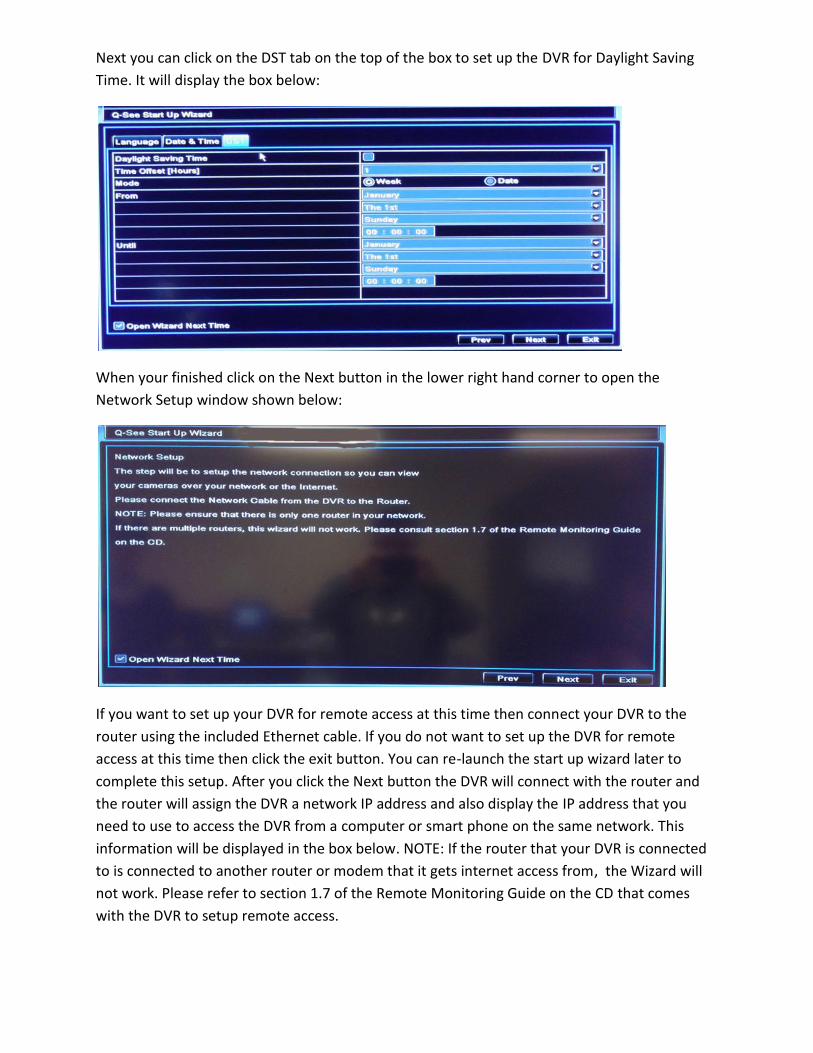
When your finished click on the Next button in the lower right hand corner to open the
Network Setup window shown below:
If you want to set up your DVR for remote access at this time then connect your DVR to the
router using the included Ethernet cable. If you do not want to set up the DVR for remote
access at this time then click the exit button. You can re-launch the start up wizard later to
complete this setup. After you click the Next button the DVR will connect with the router and
the router will assign the DVR a network IP address and also display the IP address that you
need to use to access the DVR from a computer or smart phone on the same network. This
information will be displayed in the box below. NOTE: If the router that your DVR is connected
to is connected to another router or modem that it gets internet access from, the Wizard will
not work. Please refer to section 1.7 of the Remote Monitoring Guide on the CD that comes
with the DVR to setup remote access.
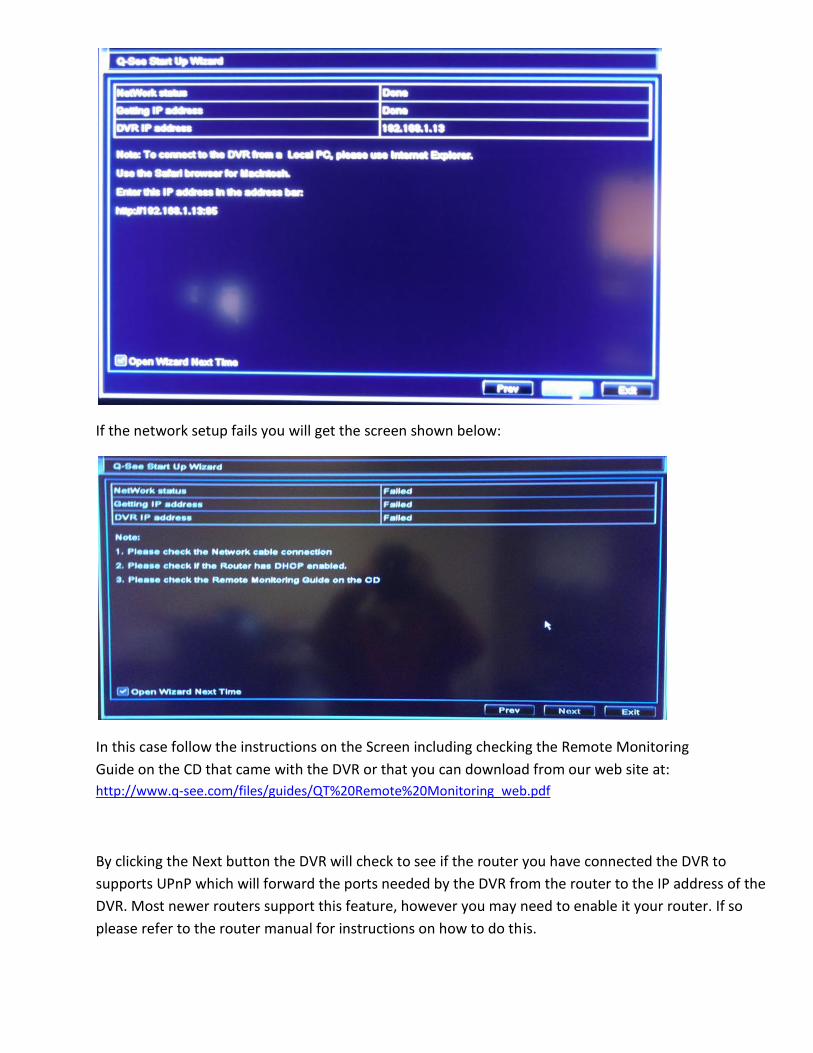
If the network setup fails you will get the screen shown below:
In this case follow the instructions on the Screen including checking the Remote Monitoring
Guide on the CD that came with the DVR or that you can download from our web site at:
http://www.q-see.com/files/guides/QT%20Remote%20Monitoring_web.pdf
By clicking the Next button the DVR will check to see if the router you have connected the DVR to
supports UPnP which will forward the ports needed by the DVR from the router to the IP address of the
DVR. Most newer routers support this feature, however you may need to enable it your router. If so
please refer to the router manual for instructions on how to do this.
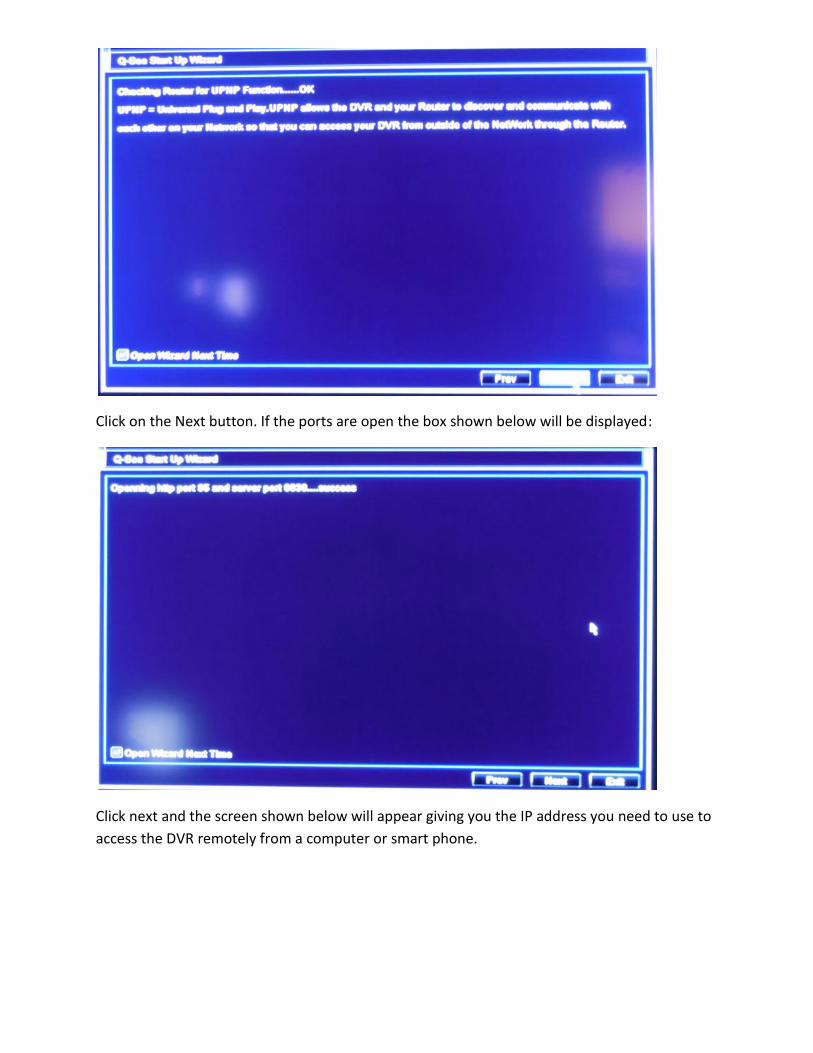
Click on the Next button. If the ports are open the box shown below will be displayed:
Click next and the screen shown below will appear giving you the IP address you need to use to
access the DVR remotely from a computer or smart phone.
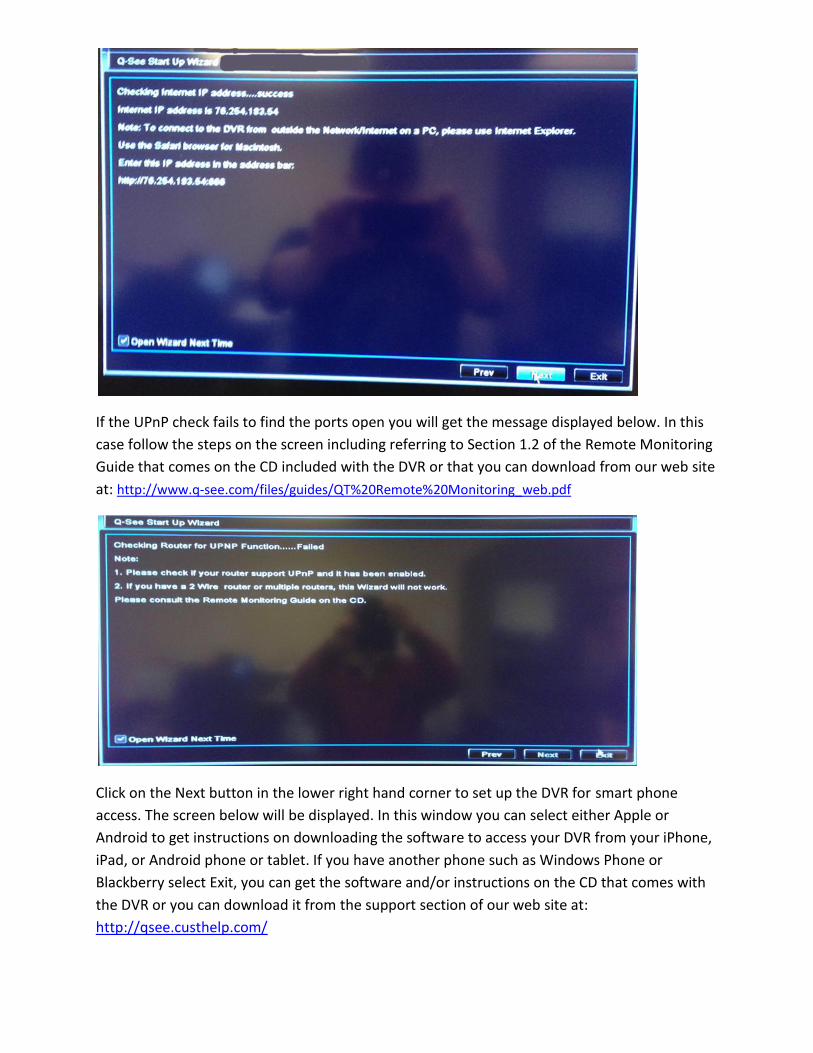
If the UPnP check fails to find the ports open you will get the message displayed below. In this
case follow the steps on the screen including referring to Section 1.2 of the Remote Monitoring
Guide that comes on the CD included with the DVR or that you can download from our web site
at: http://www.q-see.com/files/guides/QT%20Remote%20Monitoring_web.pdf
Click on the Next button in the lower right hand corner to set up the DVR for smart phone
access. The screen below will be displayed. In this window you can select either Apple or
Android to get instructions on downloading the software to access your DVR from your iPhone,
iPad, or Android phone or tablet. If you have another phone such as Windows Phone or
Blackberry select Exit, you can get the software and/or instructions on the CD that comes with
the DVR or you can download it from the support section of our web site at:
http://qsee.custhelp.com/
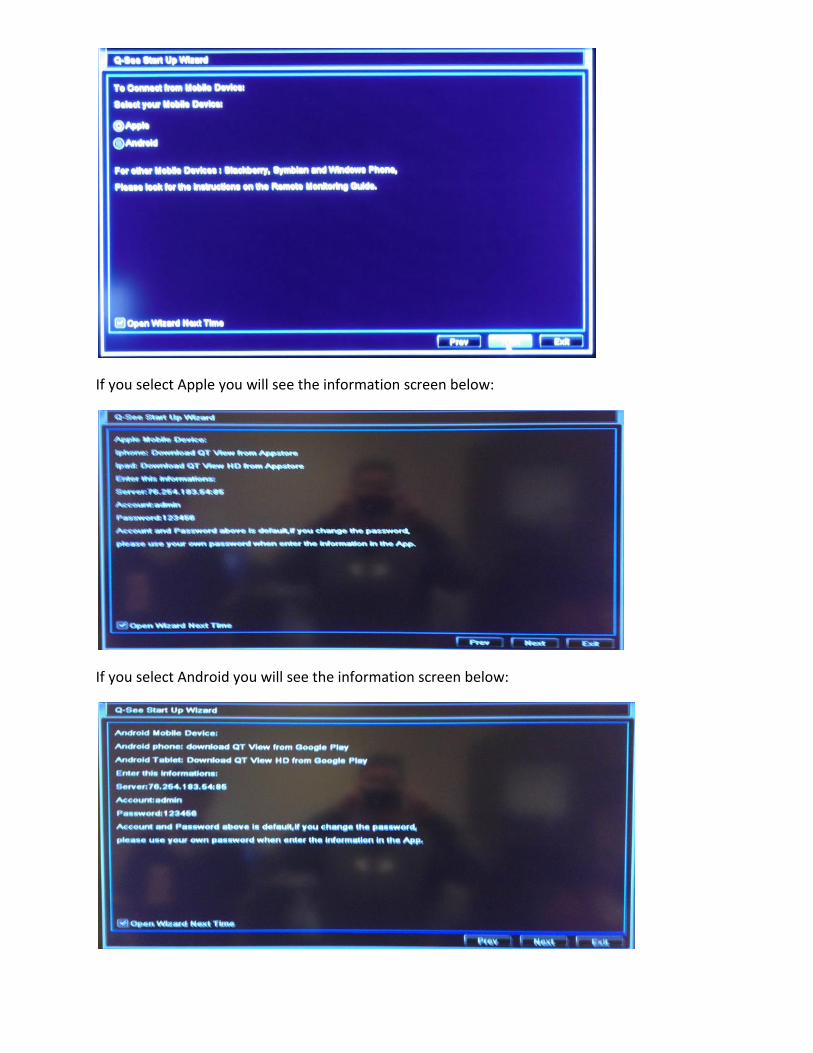
If you select Apple you will see the information screen below:
If you select Android you will see the information screen below:
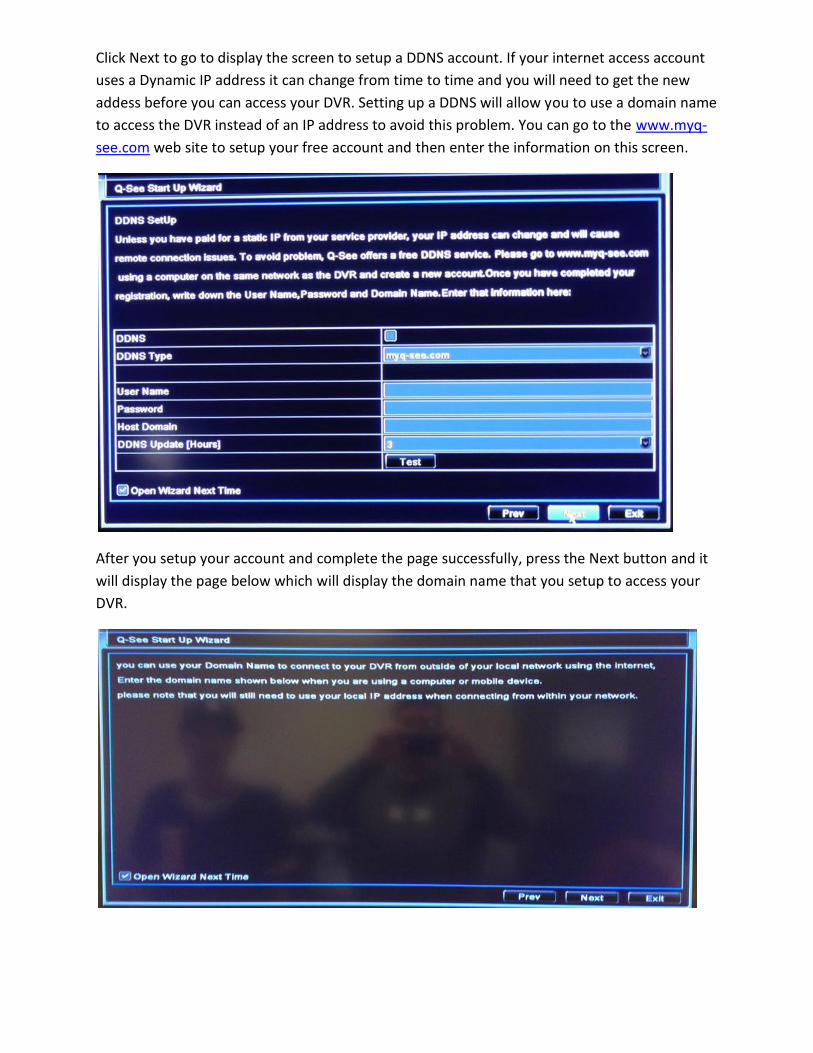
Click Next to go to display the screen to setup a DDNS account. If your internet access account
uses a Dynamic IP address it can change from time to time and you will need to get the new
addess before you can access your DVR. Setting up a DDNS will allow you to use a domain name
to access the DVR instead of an IP address to avoid this problem. You can go to the www.myq-
see.com web site to setup your free account and then enter the information on this screen.
After you setup your account and complete the page successfully, press the Next button and it
will display the page below which will display the domain name that you setup to access your
DVR.
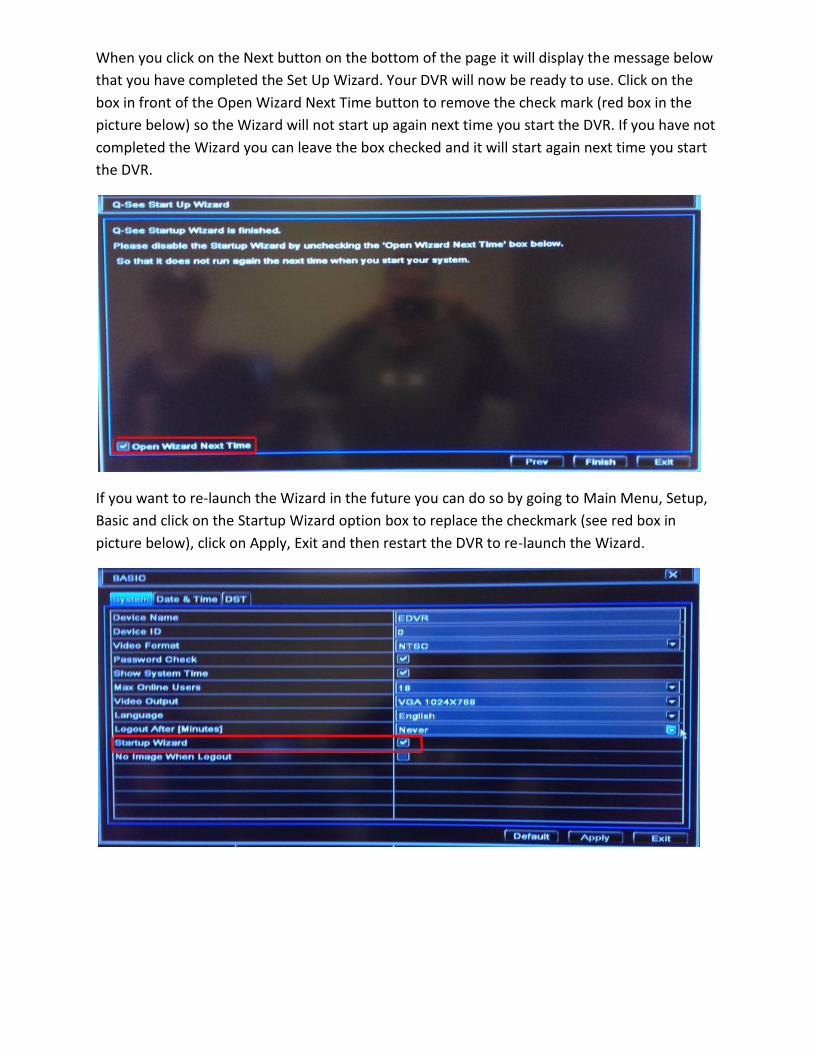
When you click on the Next button on the bottom of the page it will display the message below
that you have completed the Set Up Wizard. Your DVR will now be ready to use. Click on the
box in front of the Open Wizard Next Time button to remove the check mark (red box in the
picture below) so the Wizard will not start up again next time you start the DVR. If you have not
completed the Wizard you can leave the box checked and it will start again next time you start
the DVR.
If you want to re-launch the Wizard in the future you can do so by going to Main Menu, Setup,
Basic and click on the Startup Wizard option box to replace the checkmark (see red box in
picture below), click on Apply, Exit and then restart the DVR to re-launch the Wizard.