use furniture- making-sector hand tools and power tools
TRANSCRIPT
BC2015
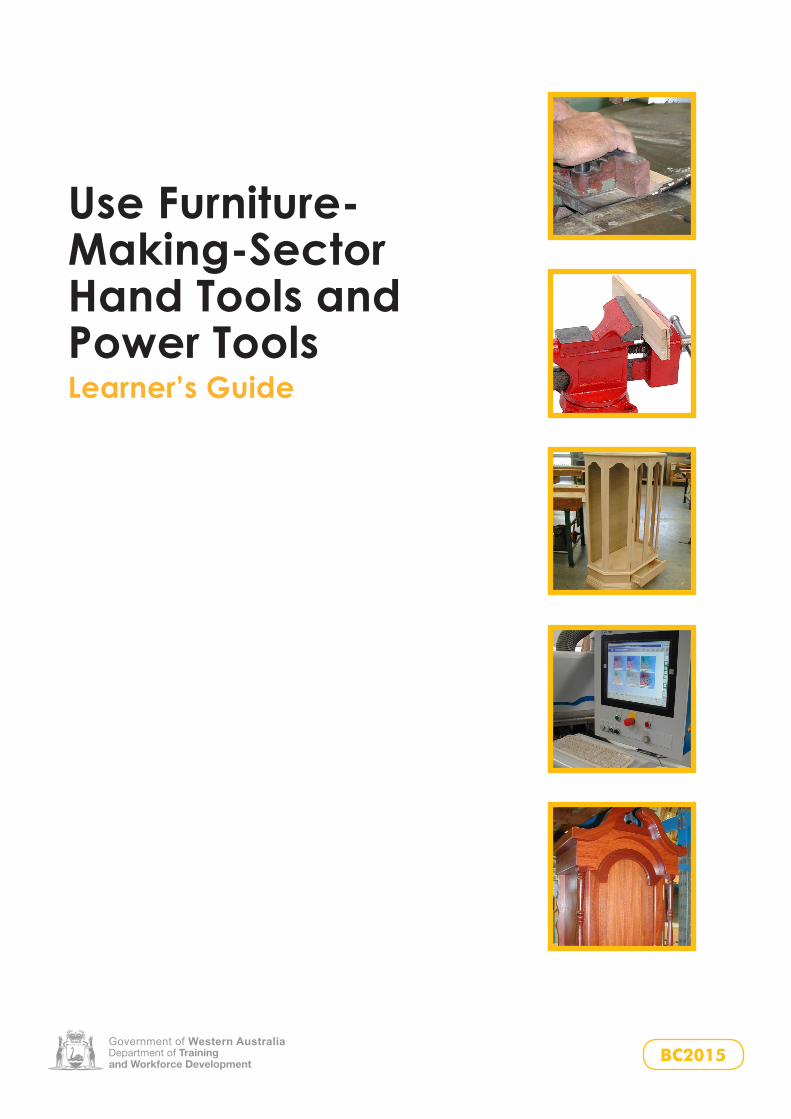
Use Furniture-Making-Sector Hand Tools and Power ToolsLearner’s Guide
Use Furniture-Making-Sector Hand Tools and Power Tools
Learner’s Guide

Copyright and Terms of Use
© Department of Training and Workforce Development 2016 (unless indicated
otherwise, for example ‘Excluded Material’).
The copyright material published in this product is subject to the Copyright Act 1968
(Cth), and is owned by the Department of Training and Workforce Development or,
where indicated, by a party other than the Department of Training and Workforce
Development. The Department of Training and Workforce Development supports
and encourages use of its material for all legitimate purposes.
Copyright material available on this website is licensed under a Creative Commons
Attribution 4.0 (CC BY 4.0) license unless indicated otherwise (Excluded Material).
Except in relation to Excluded Material this license allows you to:
Share — copy and redistribute the material in any medium or format
Adapt — remix, transform, and build upon the material for any purpose, even commercially
provided you attribute the Department of Training and Workforce Development as
the source of the copyright material. The Department of Training and Workforce
Development requests attribution as: © Department of Training and Workforce
Development (year of publication).
Excluded Material not available under a Creative Commons license:
1. The Department of Training and Workforce Development logo, other logos and trademark protected material; and
2. Material owned by third parties that has been reproduced with permission. Permission will need to be obtained from third parties to re-use their material.
Excluded Material may not be licensed under a CC BY license and can only be used
in accordance with the specific terms of use attached to that material or where
permitted by the Copyright Act 1968 (Cth). If you want to use such material in a
manner that is not covered by those specific terms of use, you must request
permission from the copyright owner of the material.
If you have any questions regarding use of material available in this product, please
contact the Department of Training and Workforce Development.
Training Sector Services
Telephone: 08 6212 9789
Email: [email protected]
Website: www.dtwd.wa.gov.au

First published 2007Second edition 2013
Published by and available from
Department of Training and Workforce Development
1 Prospect Place West Perth WA 6005Tel: (08) 6212 9700 Fax: (08) 9227 8393Email: [email protected]: www.vetinfonet.dtwd.wa.gov.au
This product contains various images © JupiterImages Corporation 2007, used under licence. These images are protected by copyright law and are not to be reproduced or re-used in other materials without permission from Thinkstock.
© VET (WA) Ministerial Corporation 2013
All rights reserved. No part of this publication may be reproduced, stored in a retrieval system or transmitted in any form or by any means, electronic, mechanical, photocopying, recording or otherwise, without the prior written permission of the Western Australian Department of Training and Workforce Development.
Whilst every effort has been made to ensure the accuracy of the information contained in this publication, no guarantee can be given that all errors and omissions have been excluded. No responsibility for loss occasioned to any person acting or refraining from action as a result of the material in this publication can be accepted by the Western Australian Department of Training and Workforce Development.
ISBN 978-1-74205-889-4
3
Use Furniture-Making-Sector Hand Tools and Power Tools
© VET (WA) Ministerial Corporation 2013 BC2015
Contents
Section 1 – Introduction 5
Section 2 – Hand tools 7
Section 3 – Driving tools 19
Section 4 – Cutting tools 25
Section 5 – Boring tools 37
Section 6 – Files 43
Section 7 – Miscellaneous hand tools 45
Section 8 – Planes 49
Section 9 – Chisels 51
Section 10 – Power tools 53
Section 11 – Safety when using tools 73
Section 12 – Quizzes 81

BC2015 © VET (WA) Ministerial Corporation 20134
Use Furniture-Making-Sector Hand Tools and Power Tools
Use Furniture-Making-Sector Hand Tools and Power Tools
© VET (WA) Ministerial Corporation 2013 BC2015 5
Section 1 – Introduction
In museums around the world you can still see many pieces of furniture – some of which are now valuable antiques – that are testimony to the fi ne skills and craftsmanship of craftspeople from bygone years. Many of these pieces date back to a time long before the discovery of electricity. In those days, hand tools were the order of the day, and people who knew what tools to use and how to use them were much sought after and well compensated for their skills.
Today, the range of power tools available and a greater understanding of cutter technology have taken some of the mystery out of shaping and working timber. Power tools not only make the job easier but, when used in conjunction with the appropriate hand tools, have improved the productivity of workers in the furniture-making industry.
Nonetheless, there is still a level of skill and knowledge to be developed if today’s craftsperson/tradesperson/apprentice is to master the safe use of tools. This learner’s guide covers the use of hand tools and power tools in applications related to the furniture-making, cabinet-making, machining and polishing sectors of the furnishing industry.
Practical requirements
You are required to complete various tasks successfully to demonstrate competence. These tasks are outlined within your practical workbook – In the Workshop (BC2014). Each one consists of a number of exercises. you are also required to complete a number of exercises within this learner’s guide.
See your lecturer/trainer for further information and guidance throughout the tasks.
Suggested text resources
Walton, JA 1979, Woodwork: in theory and practice, metric edn, Australian Publishing Company, Sydney.
Day, David and Jackson, Albert 2005, Collins Complete Woodworker’s Manual, HarperCollins Publishers, London, United Kingdom.
Peters, R 2000, Air Tools: How to Choose, Use and Maintain Them, Sterling Publishing Co, New York, USA.
Joyce, E 2003, The Technique of Furniture Making, 4th edn, Batsford Ltd, London, United Kingdom.

BC2015 © VET (WA) Ministerial Corporation 2013
IntroductionSection 1
6
Use Furniture-Making-Sector Hand Tools and Power Tools
© VET (WA) Ministerial Corporation 2013 BC2015 7
Section 2 – Hand tools
Evidence exists to show that humankind has had the ability to shape, join and manipulate timber for thousands of years. Carvings on the inner walls of pyramids – and, in one well-documented case, a large throne that once supported upholstery was found to be at least 5 000 years old – are examples that hand tools were used by our forebears.
As time passed, the development of specifi c-purpose hand tools made crafting and manipulating timber a highly skilled trade. A sound knowledge of tools was – and still is – important, because specifi c tools have their specifi c applications, even today. It is imperative for the sake of productivity, accuracy and neatness that we use the correct tool for the task at hand.
It should also be noted that your personal safety, and the safety of those around you, are at risk when the correct tools for the task are not used. In addition, the correct maintenance of tools is important for your safety and that of others.
List as many hand tools that you can think of and discuss their specifi c uses.
Hand Tools Uses
BC2015 © VET (WA) Ministerial Corporation 2013
Hand toolsSection 2
8
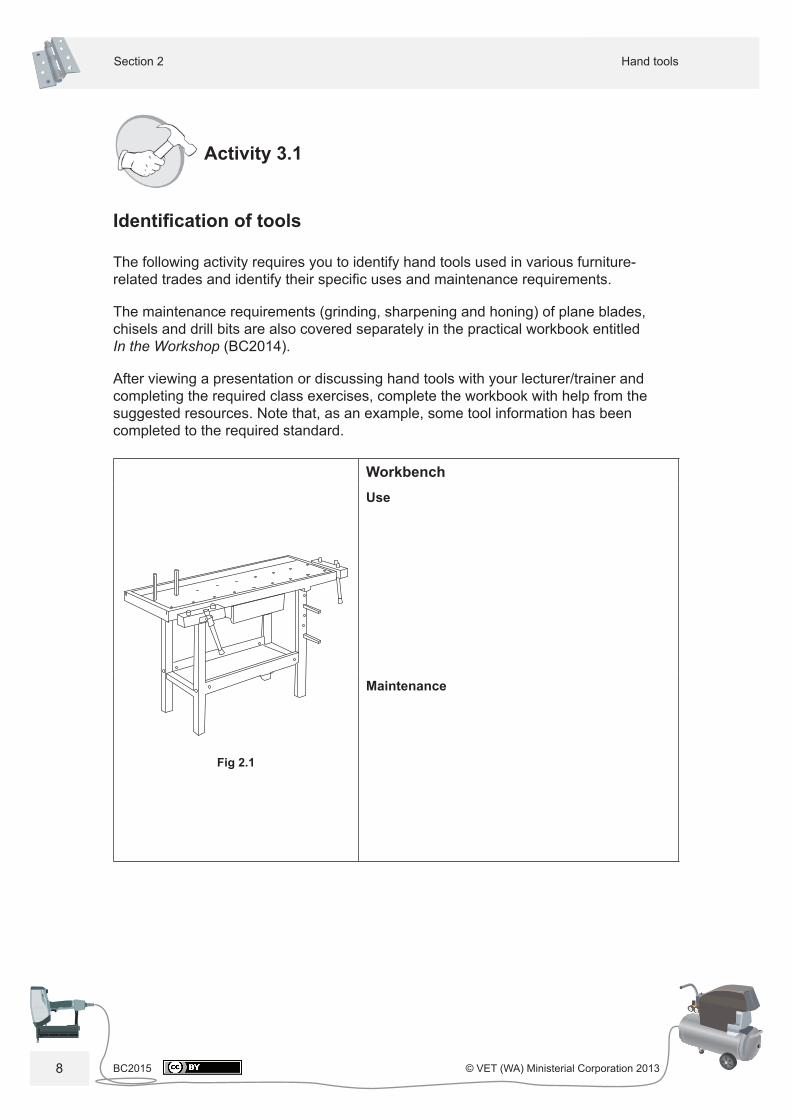
Activity 3.1
Identifi cation of tools
The following activity requires you to identify hand tools used in various furniture-related trades and identify their specifi c uses and maintenance requirements.
The maintenance requirements (grinding, sharpening and honing) of plane blades, chisels and drill bits are also covered separately in the practical workbook entitled In the Workshop (BC2014).
After viewing a presentation or discussing hand tools with your lecturer/trainer and completing the required class exercises, complete the workbook with help from the suggested resources. Note that, as an example, some tool information has been completed to the required standard.
Fig 2.1
WorkbenchUse
Maintenance
Use Furniture-Making-Sector Hand Tools and Power Tools
© VET (WA) Ministerial Corporation 2013 BC2015 9
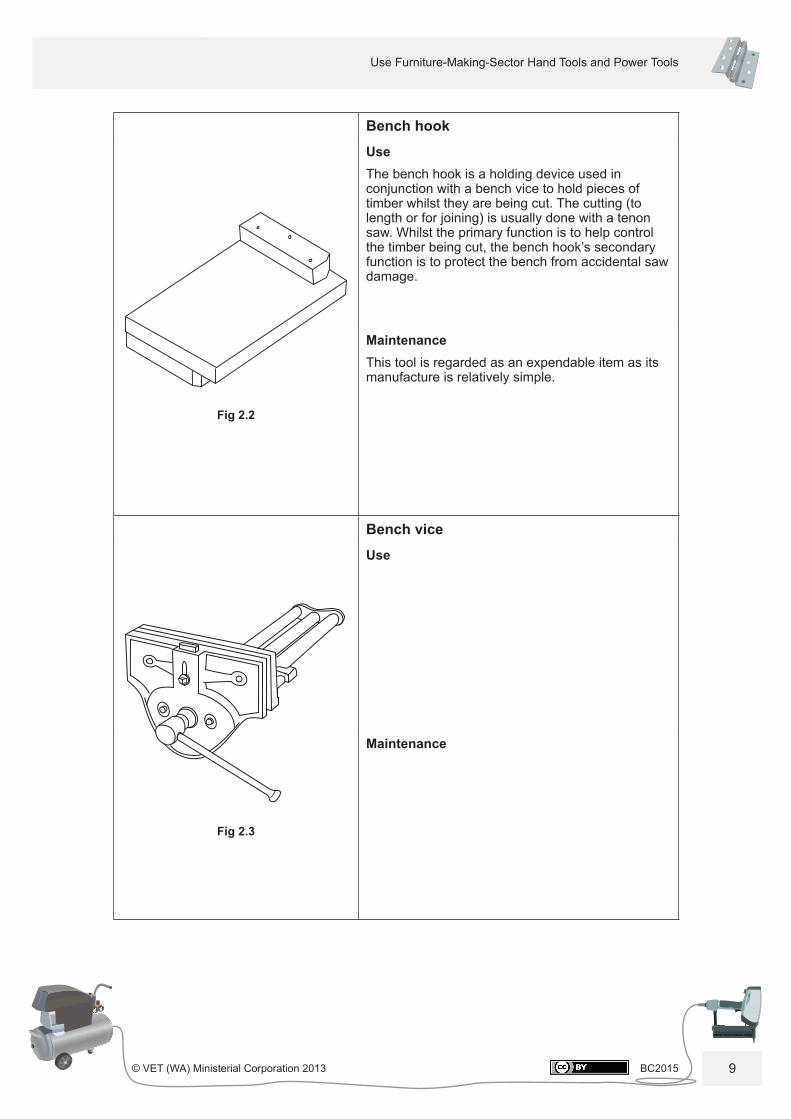
Fig 2.2
Bench hookUseThe bench hook is a holding device used in conjunction with a bench vice to hold pieces of timber whilst they are being cut. The cutting (to length or for joining) is usually done with a tenon saw. Whilst the primary function is to help control the timber being cut, the bench hook’s secondary function is to protect the bench from accidental saw damage.
MaintenanceThis tool is regarded as an expendable item as its manufacture is relatively simple.
Fig 2.3
Bench viceUse
Maintenance
BC2015 © VET (WA) Ministerial Corporation 2013
Hand toolsSection 2
10
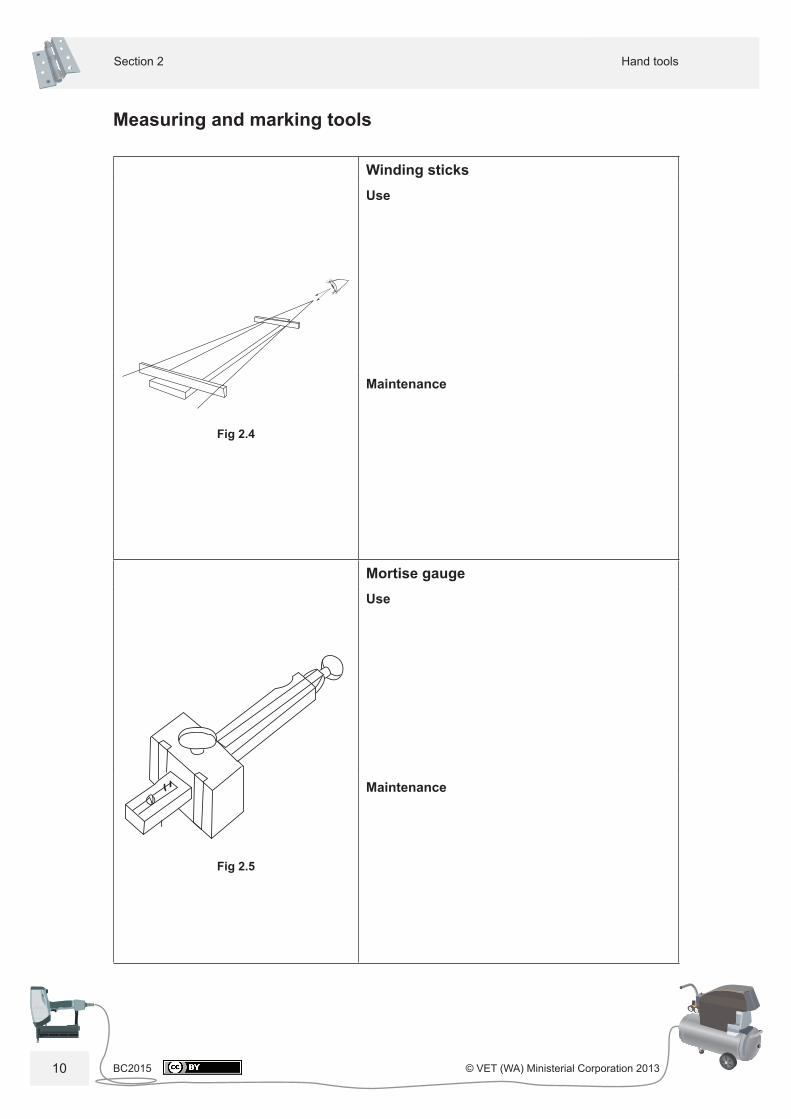
Measuring and marking tools
Fig 2.4
Winding sticksUse
Maintenance
Fig 2.5
Mortise gaugeUse
Maintenance
Use Furniture-Making-Sector Hand Tools and Power Tools
© VET (WA) Ministerial Corporation 2013 BC2015 11
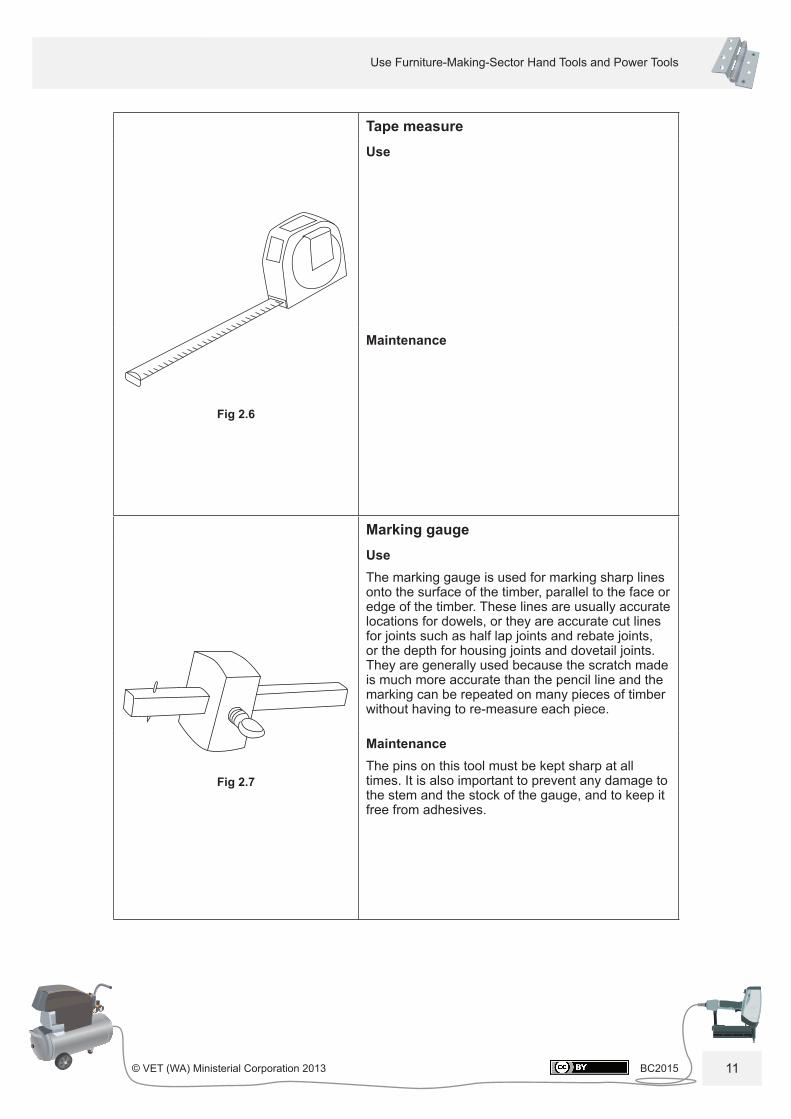
Fig 2.6
Tape measureUse
Maintenance
Fig 2.7
Marking gaugeUseThe marking gauge is used for marking sharp lines onto the surface of the timber, parallel to the face or edge of the timber. These lines are usually accurate locations for dowels, or they are accurate cut lines for joints such as half lap joints and rebate joints, or the depth for housing joints and dovetail joints. They are generally used because the scratch made is much more accurate than the pencil line and the marking can be repeated on many pieces of timber without having to re-measure each piece.
MaintenanceThe pins on this tool must be kept sharp at all times. It is also important to prevent any damage to the stem and the stock of the gauge, and to keep it free from adhesives.
BC2015 © VET (WA) Ministerial Corporation 2013
Hand toolsSection 2
12
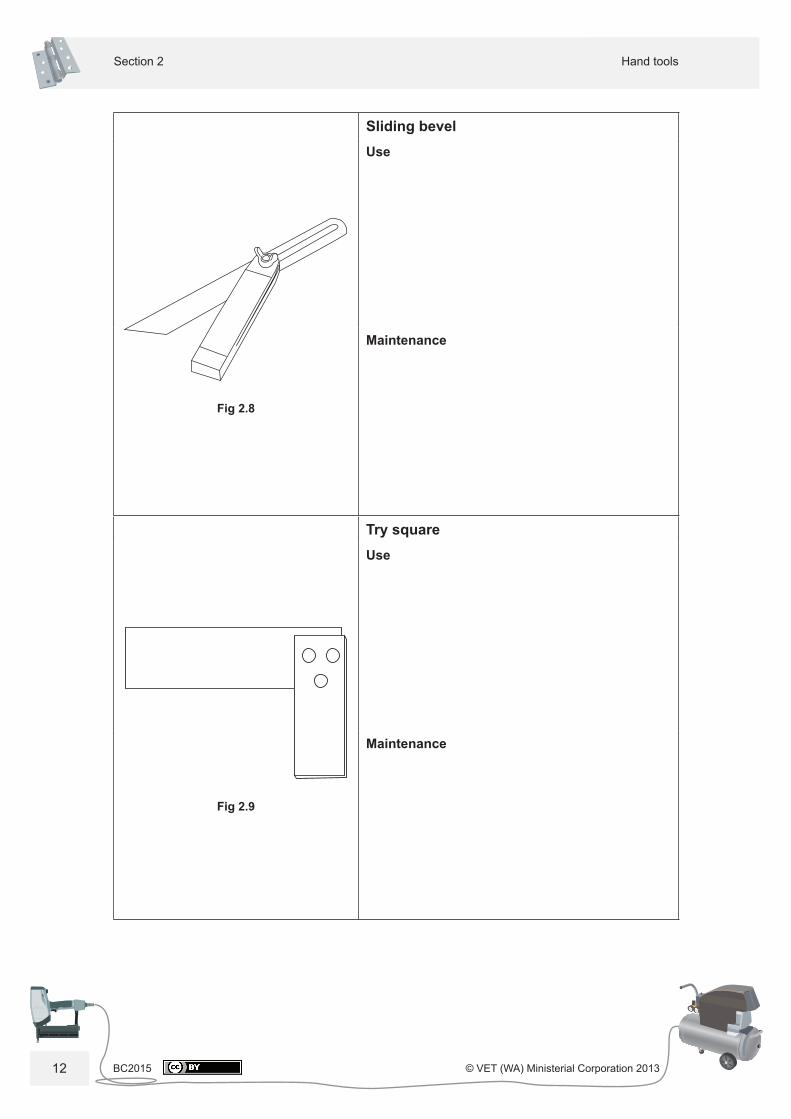
Fig 2.8
Sliding bevelUse
Maintenance
Fig 2.9
Try squareUse
Maintenance
Use Furniture-Making-Sector Hand Tools and Power Tools
© VET (WA) Ministerial Corporation 2013 BC2015 13
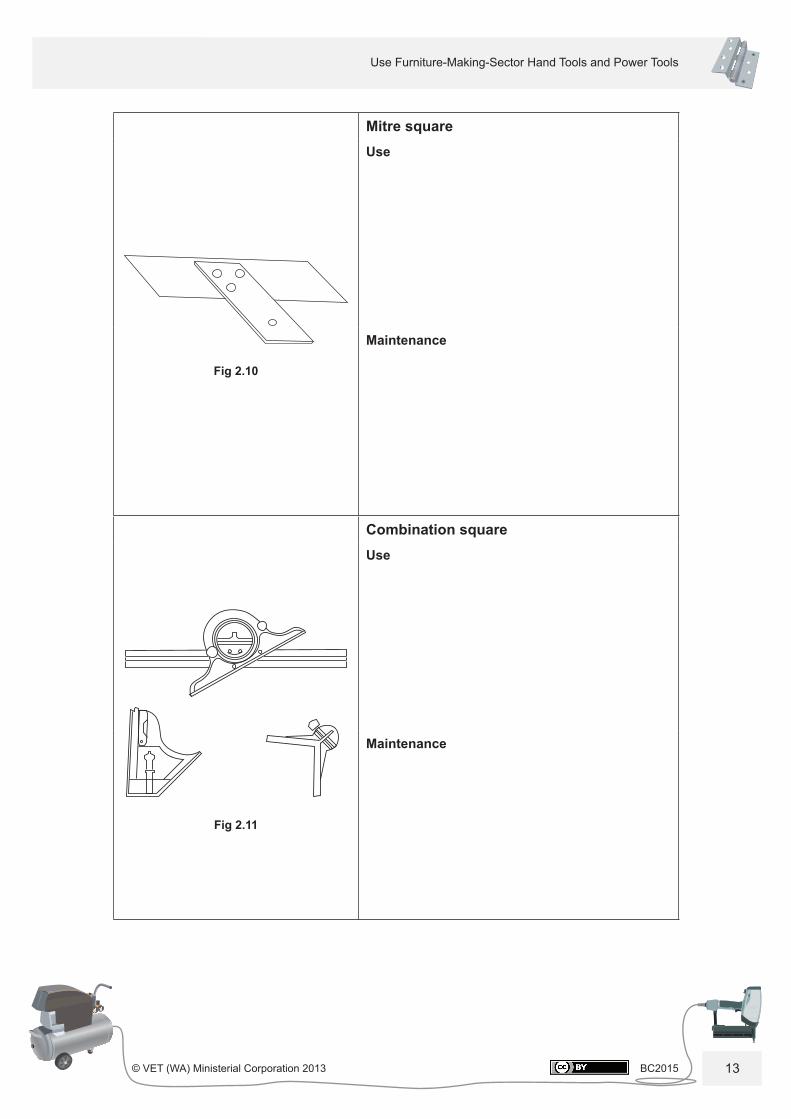
Fig 2.10
Mitre squareUse
Maintenance
Fig 2.11
Combination squareUse
Maintenance
BC2015 © VET (WA) Ministerial Corporation 2013
Hand toolsSection 2
14
Fig 2.12
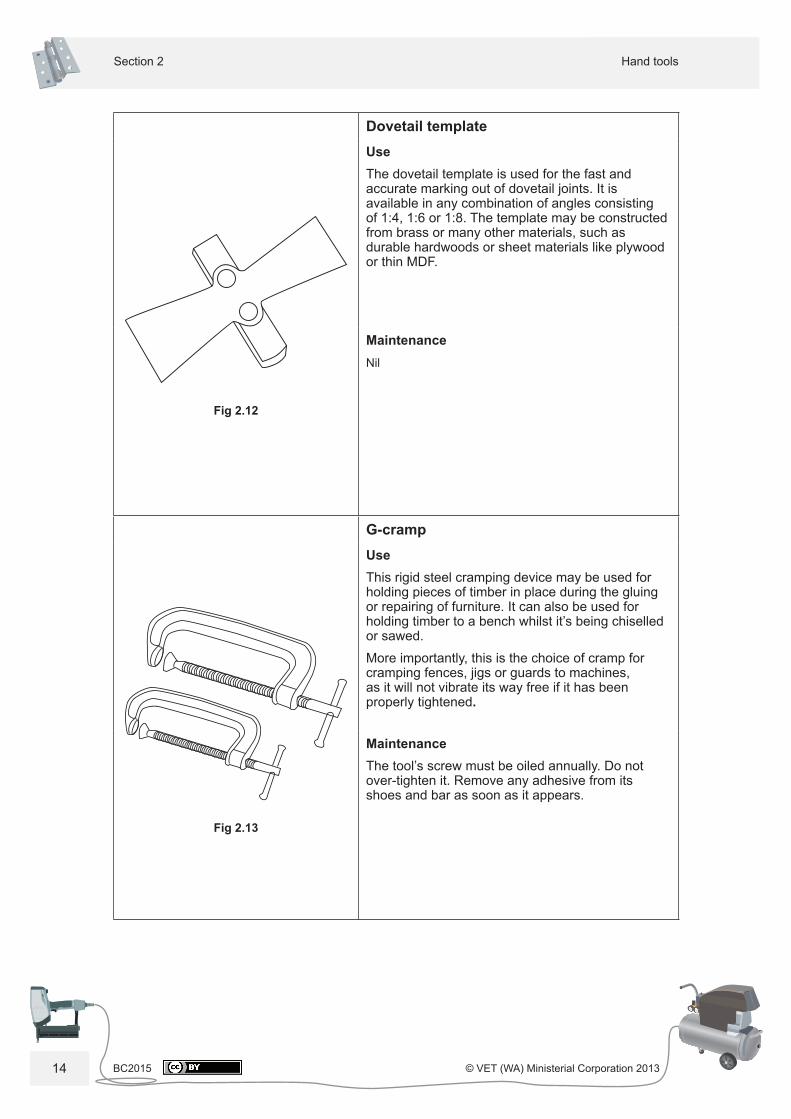
Dovetail templateUseThe dovetail template is used for the fast and accurate marking out of dovetail joints. It is available in any combination of angles consisting of 1:4, 1:6 or 1:8. The template may be constructed from brass or many other materials, such as durable hardwoods or sheet materials like plywood or thin MDF.
MaintenanceNil
Fig 2.13
G-crampUseThis rigid steel cramping device may be used for holding pieces of timber in place during the gluing or repairing of furniture. It can also be used for holding timber to a bench whilst it’s being chiselled or sawed.
More importantly, this is the choice of cramp for cramping fences, jigs or guards to machines, as it will not vibrate its way free if it has been properly tightened.
MaintenanceThe tool’s screw must be oiled annually. Do not over-tighten it. Remove any adhesive from its shoes and bar as soon as it appears.
Use Furniture-Making-Sector Hand Tools and Power Tools
© VET (WA) Ministerial Corporation 2013 BC2015 15
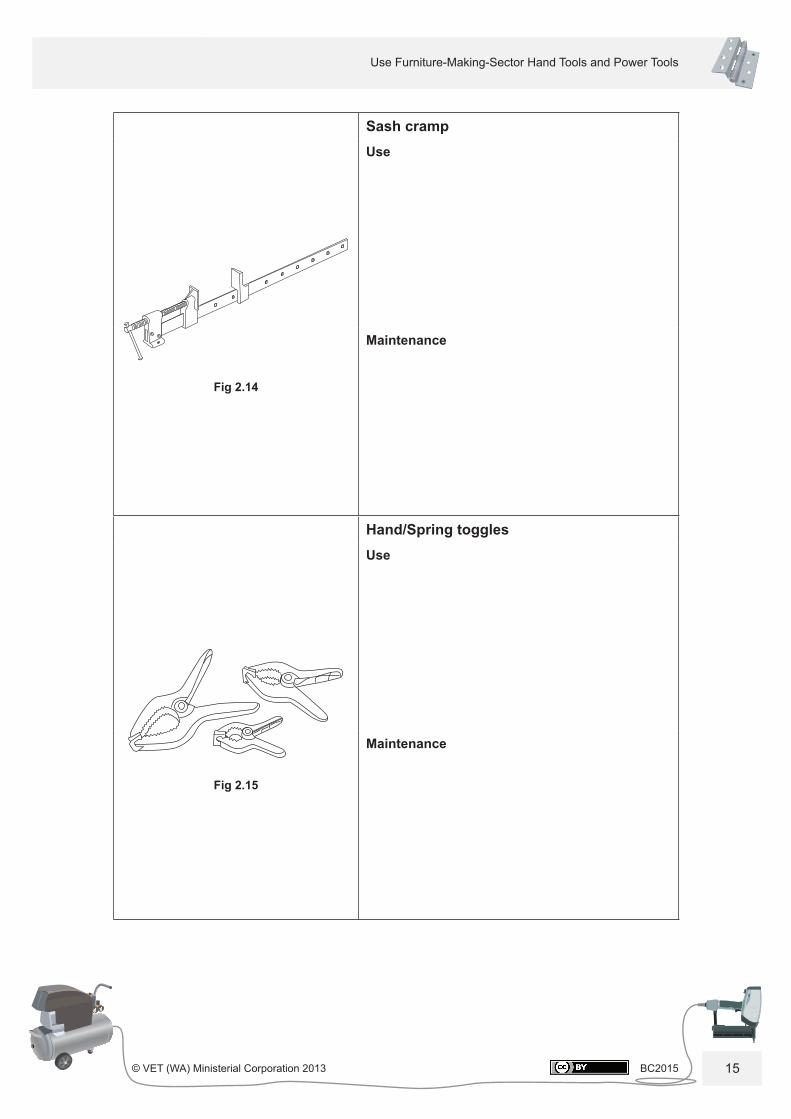
Fig 2.14
Sash crampUse
Maintenance
Fig 2.15
Hand/Spring togglesUse
Maintenance
BC2015 © VET (WA) Ministerial Corporation 2013
Hand toolsSection 2
16
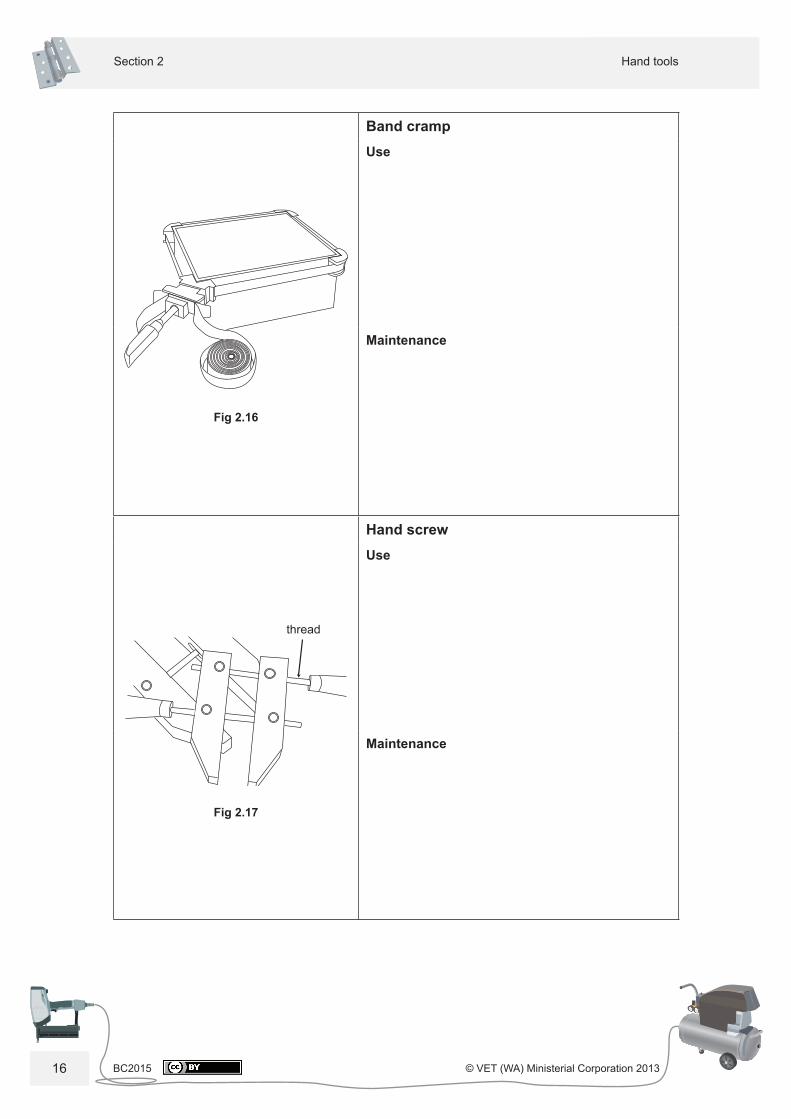
Fig 2.16
Band crampUse
Maintenance
thread
Fig 2.17
Hand screwUse
Maintenance
Use Furniture-Making-Sector Hand Tools and Power Tools
© VET (WA) Ministerial Corporation 2013 BC2015 17
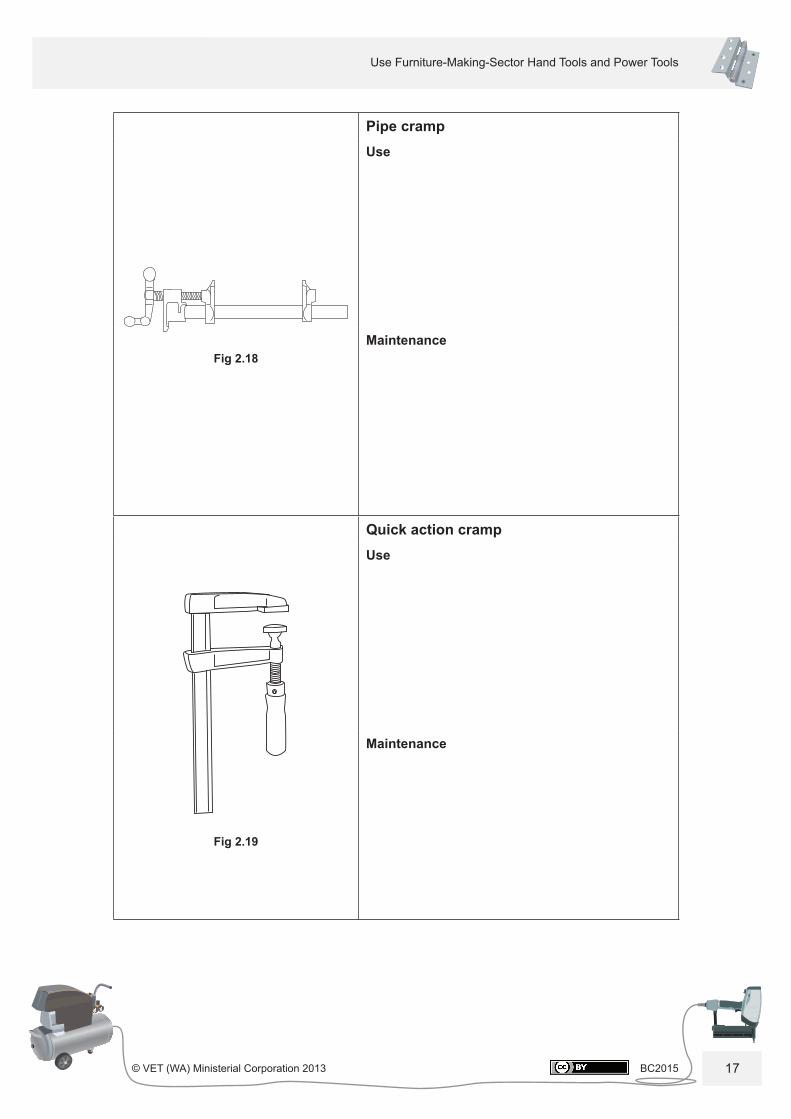
Fig 2.18
Pipe crampUse
Maintenance
Fig 2.19
Quick action crampUse
Maintenance
BC2015 © VET (WA) Ministerial Corporation 2013
Hand toolsSection 2
18
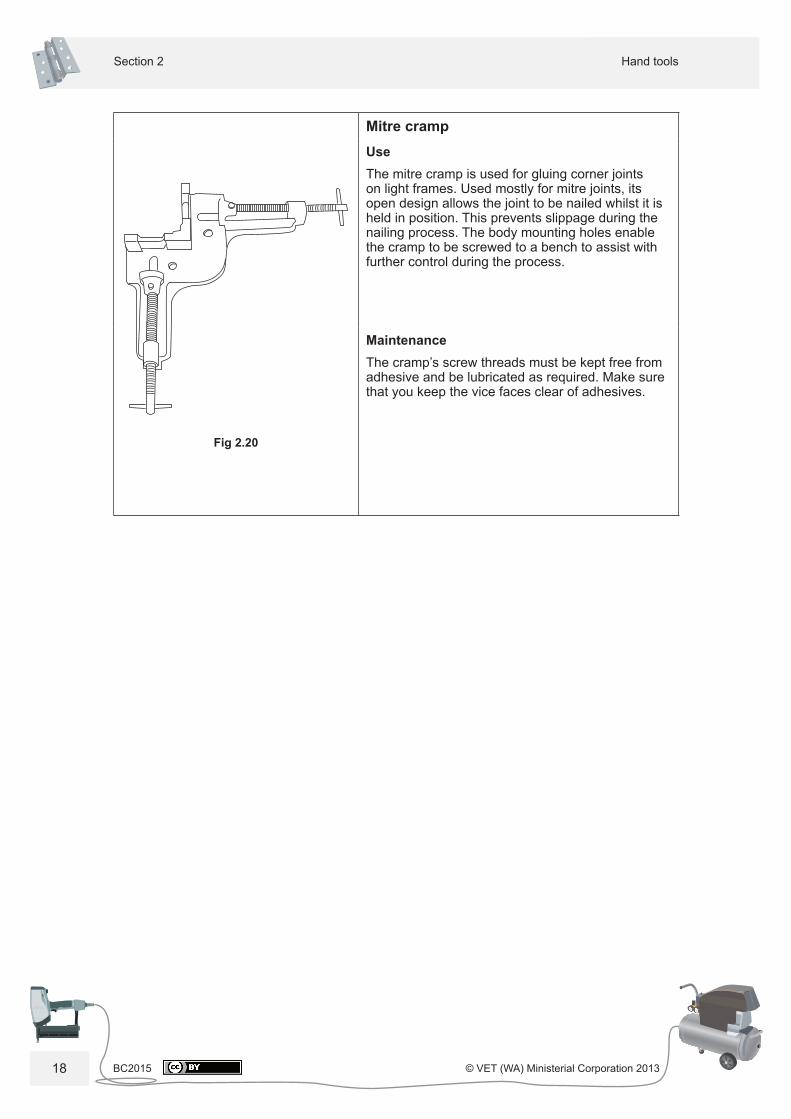
Fig 2.20
Mitre crampUseThe mitre cramp is used for gluing corner joints on light frames. Used mostly for mitre joints, its open design allows the joint to be nailed whilst it is held in position. This prevents slippage during the nailing process. The body mounting holes enable the cramp to be screwed to a bench to assist with further control during the process.
MaintenanceThe cramp’s screw threads must be kept free from adhesive and be lubricated as required. Make sure that you keep the vice faces clear of adhesives.
19
Use Furniture-Making-Sector Hand Tools and Power Tools
© VET (WA) Ministerial Corporation 2013 BC2015 19
Section 3 – Driving tools
Part 1 – Hammers and mallets
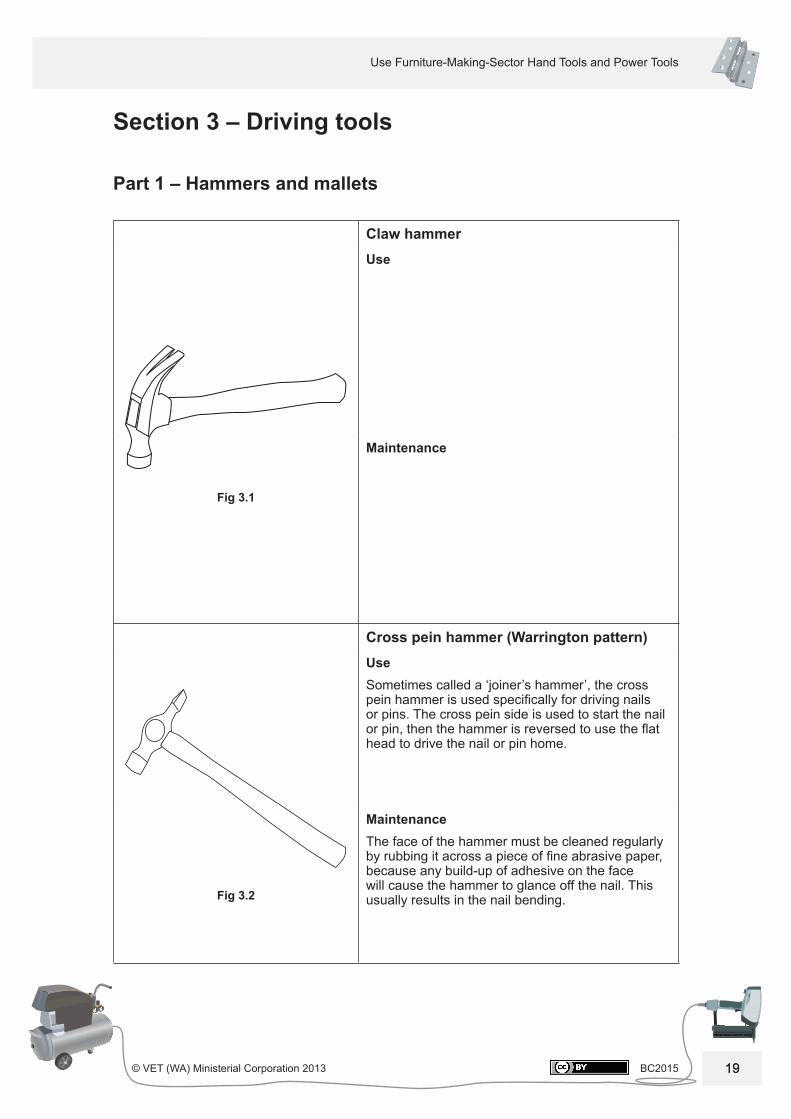
Fig 3.1
Claw hammerUse
Maintenance
Fig 3.2
Cross pein hammer (Warrington pattern)UseSometimes called a ‘joiner’s hammer’, the cross pein hammer is used specifi cally for driving nails or pins. The cross pein side is used to start the nail or pin, then the hammer is reversed to use the fl at head to drive the nail or pin home.
MaintenanceThe face of the hammer must be cleaned regularly by rubbing it across a piece of fi ne abrasive paper, because any build-up of adhesive on the face will cause the hammer to glance off the nail. This usually results in the nail bending.
BC2015 © VET (WA) Ministerial Corporation 2013
Driving toolsSection 3
20
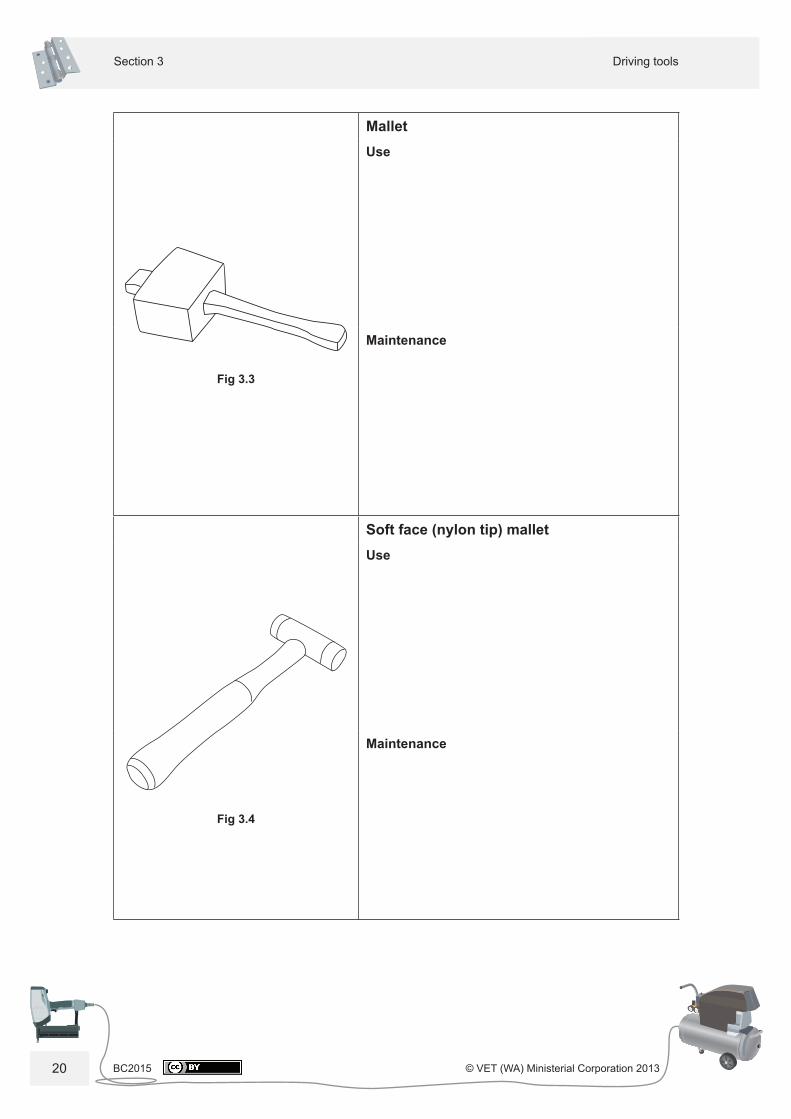
Fig 3.3
MalletUse
Maintenance
Fig 3.4
Soft face (nylon tip) malletUse
Maintenance
21
Use Furniture-Making-Sector Hand Tools and Power Tools
© VET (WA) Ministerial Corporation 2013 BC2015 21
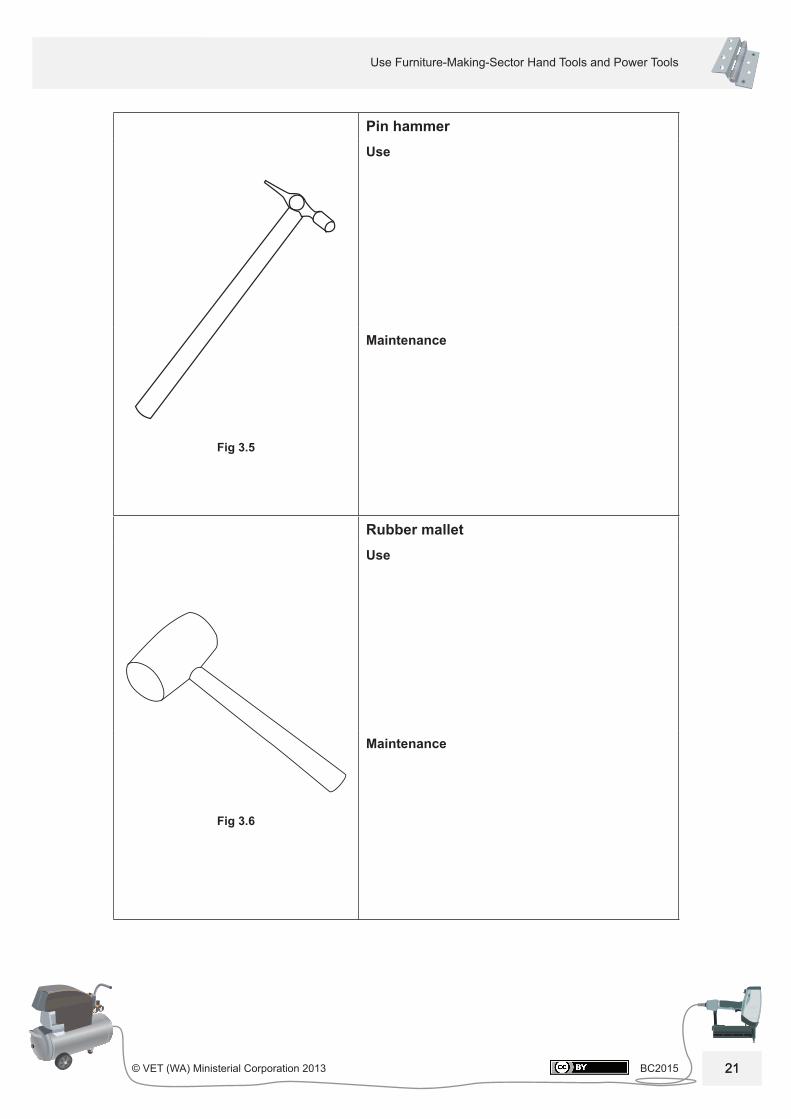
Fig 3.5
Pin hammerUse
Maintenance
Fig 3.6
Rubber malletUse
Maintenance
BC2015 © VET (WA) Ministerial Corporation 2013
Driving toolsSection 3
22
Part 2 – Screwdrivers and punches
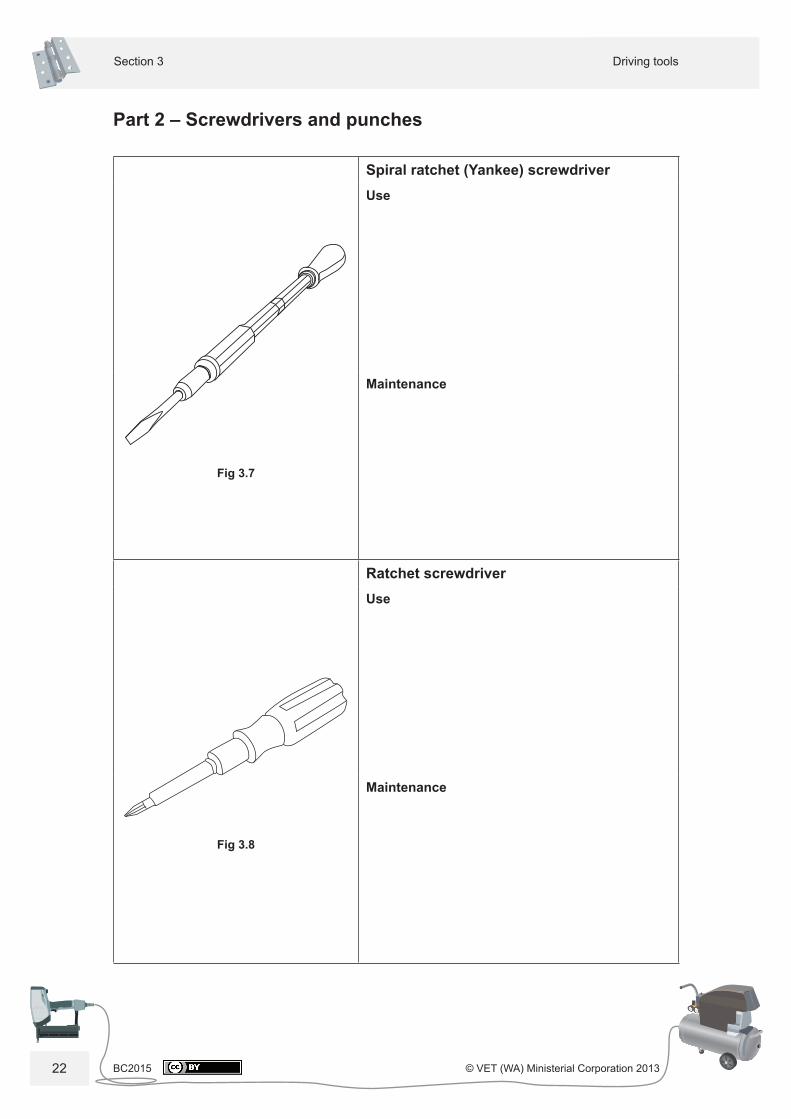
Fig 3.7
Spiral ratchet (Yankee) screwdriverUse
Maintenance
Fig 3.8
Ratchet screwdriverUse
Maintenance
23
Use Furniture-Making-Sector Hand Tools and Power Tools
© VET (WA) Ministerial Corporation 2013 BC2015 23
Fig 3.9
Standard slot screwdriverUse
Maintenance
Fig 3.10
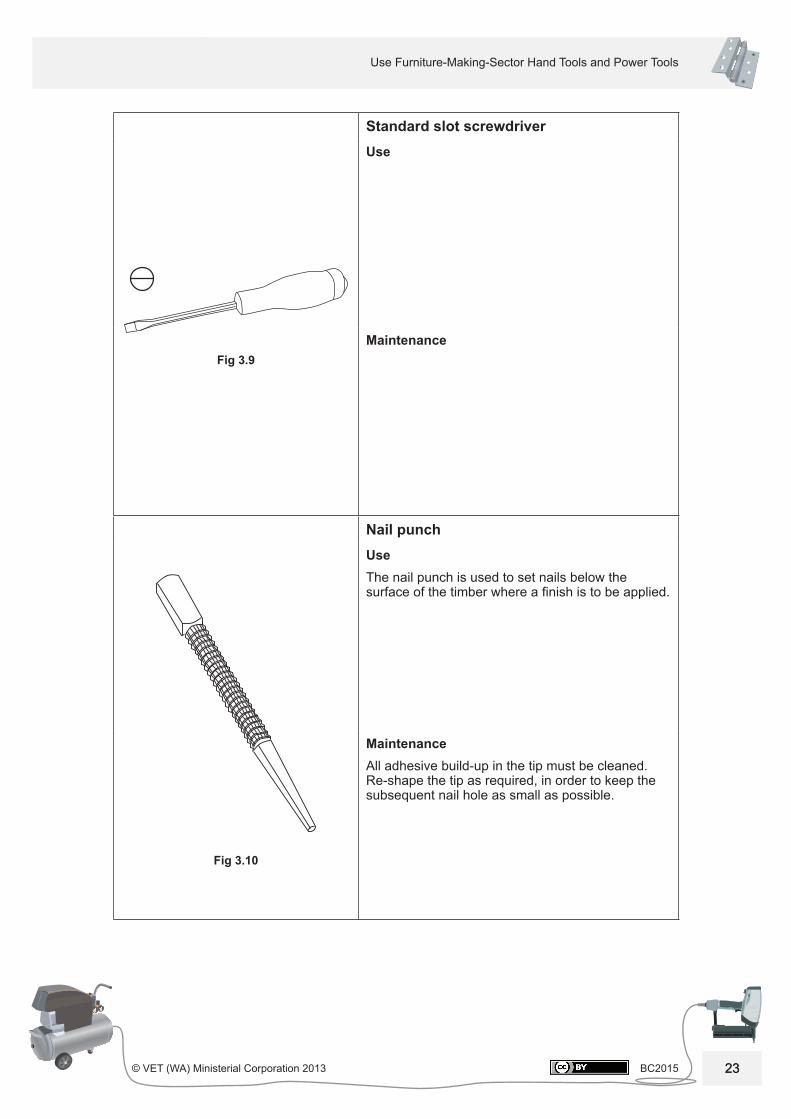
Nail punchUseThe nail punch is used to set nails below the surface of the timber where a fi nish is to be applied.
MaintenanceAll adhesive build-up in the tip must be cleaned. Re-shape the tip as required, in order to keep the subsequent nail hole as small as possible.

BC2015 © VET (WA) Ministerial Corporation 2013
Driving toolsSection 3
24
Notes
25
Use Furniture-Making-Sector Hand Tools and Power Tools
© VET (WA) Ministerial Corporation 2013 BC2015 25
Section 4 – Cutting tools
Part 1 – Saws
Fig 4.1
Crosscut sawUse
Maintenance
Fig 4.2
Panel sawUse
Maintenance
BC2015 © VET (WA) Ministerial Corporation 2013
Cutting toolsSection 4
26
Fig 4.3
Coping sawUse
Maintenance
Fig 4.4
Tenon sawUse
Maintenance
27
Use Furniture-Making-Sector Hand Tools and Power Tools
© VET (WA) Ministerial Corporation 2013 BC2015 27
Fig 4.5
Dovetail (light back) sawUse
Maintenance
Fig 4.6
Fret sawUse
Maintenance
BC2015 © VET (WA) Ministerial Corporation 2013
Cutting toolsSection 4
28
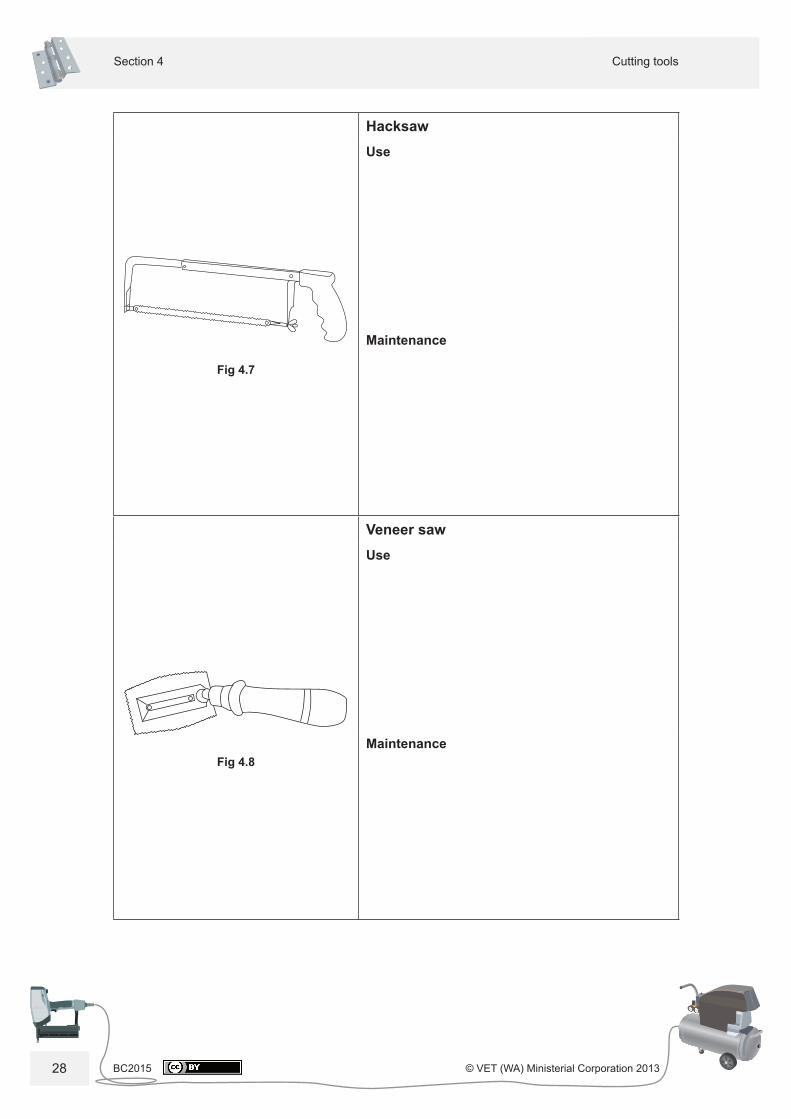
Fig 4.7
HacksawUse
Maintenance
Fig 4.8
Veneer sawUse
Maintenance
29
Use Furniture-Making-Sector Hand Tools and Power Tools
© VET (WA) Ministerial Corporation 2013 BC2015 29
Part 2 – Planes and scrapers
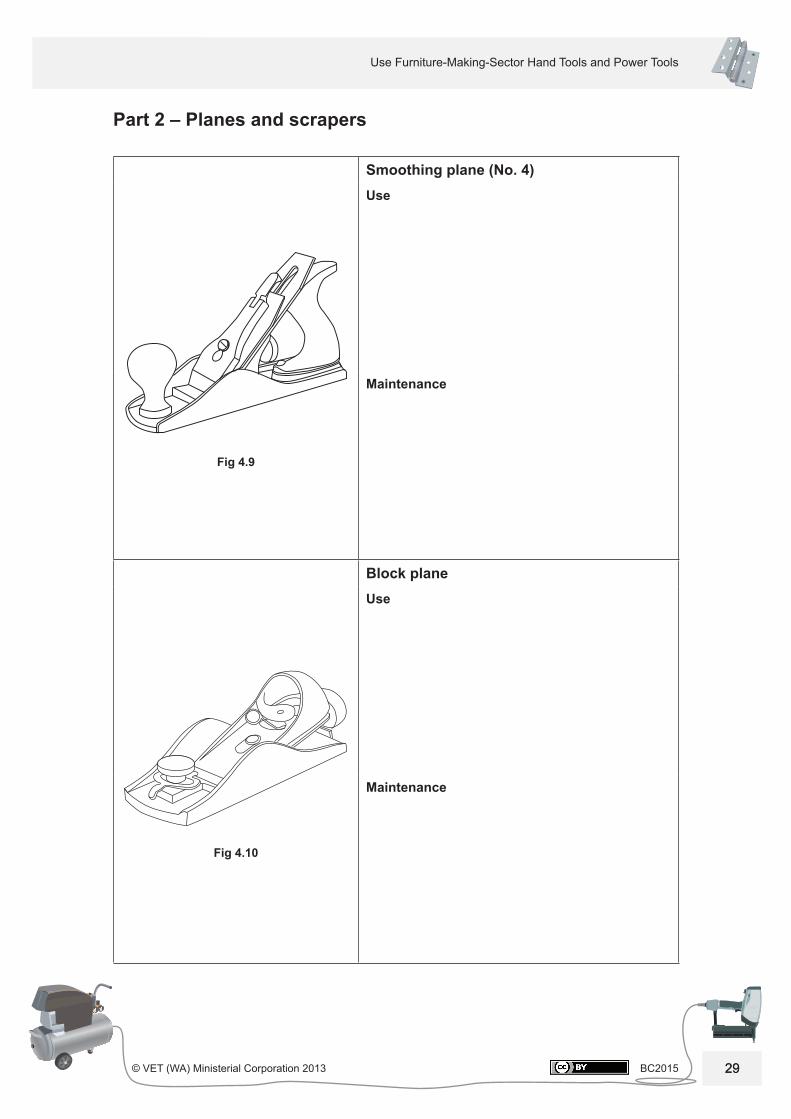
Fig 4.9
Smoothing plane (No. 4) Use
Maintenance
Fig 4.10
Block planeUse
Maintenance
BC2015 © VET (WA) Ministerial Corporation 2013
Cutting toolsSection 4
30
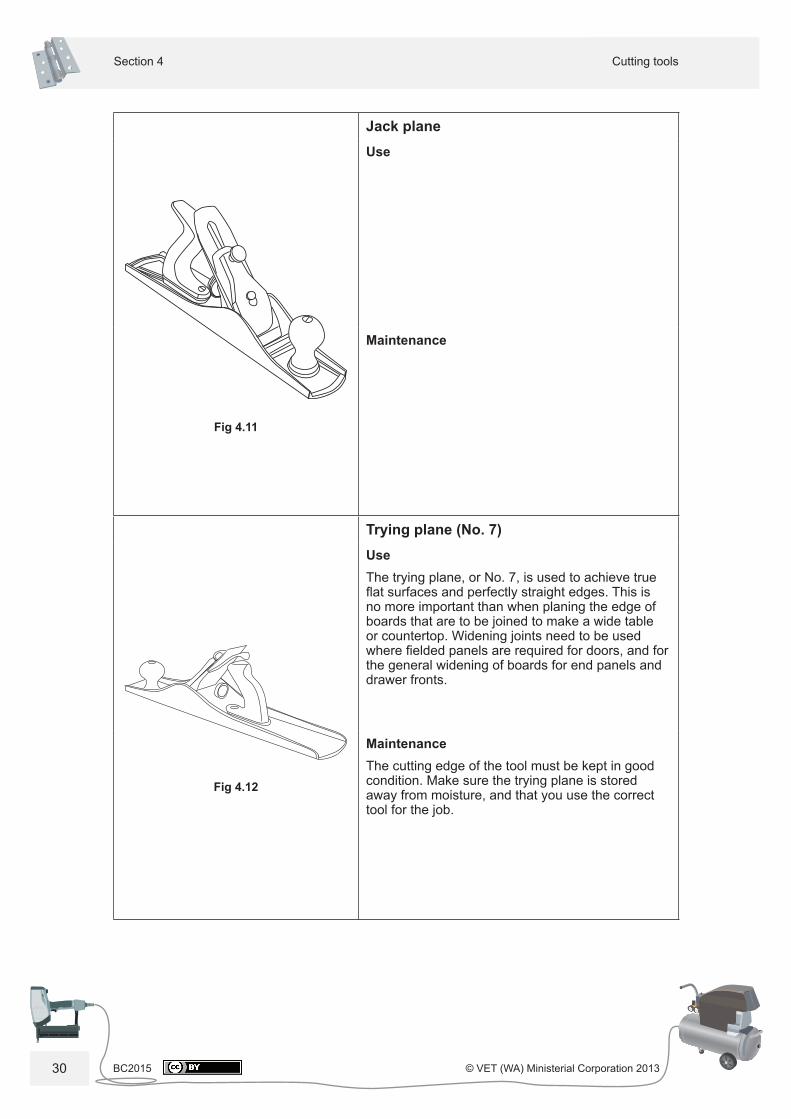
Fig 4.11
Jack planeUse
Maintenance
Fig 4.12
Trying plane (No. 7)UseThe trying plane, or No. 7, is used to achieve true fl at surfaces and perfectly straight edges. This is no more important than when planing the edge of boards that are to be joined to make a wide table or countertop. Widening joints need to be used where fi elded panels are required for doors, and for the general widening of boards for end panels and drawer fronts.
MaintenanceThe cutting edge of the tool must be kept in good condition. Make sure the trying plane is stored away from moisture, and that you use the correct tool for the job.

31
Use Furniture-Making-Sector Hand Tools and Power Tools
© VET (WA) Ministerial Corporation 2013 BC2015 31
Fig 4.13
Rebate planeUse
Maintenance
Fig 4.14
Flat face spokeshaveUse
Maintenance
BC2015 © VET (WA) Ministerial Corporation 2013
Cutting toolsSection 4
32
Fig 4.15
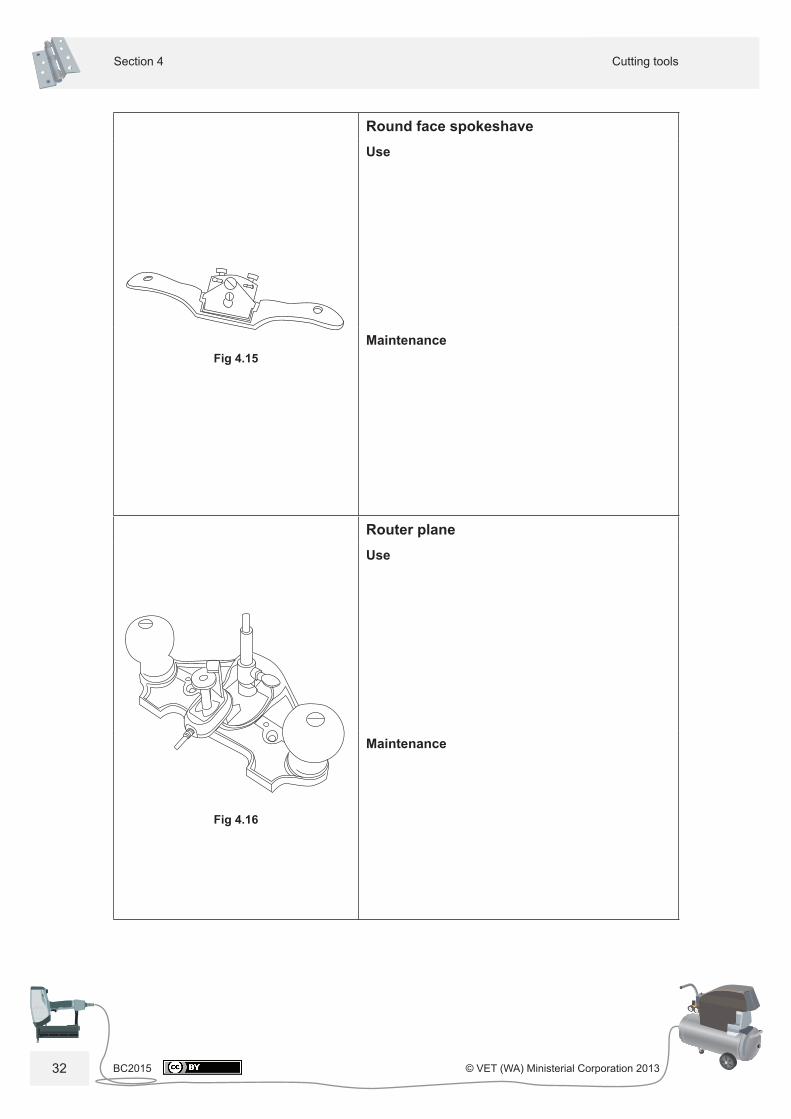
Round face spokeshaveUse
Maintenance
Fig 4.16
Router planeUse
Maintenance
33
Use Furniture-Making-Sector Hand Tools and Power Tools
© VET (WA) Ministerial Corporation 2013 BC2015 33
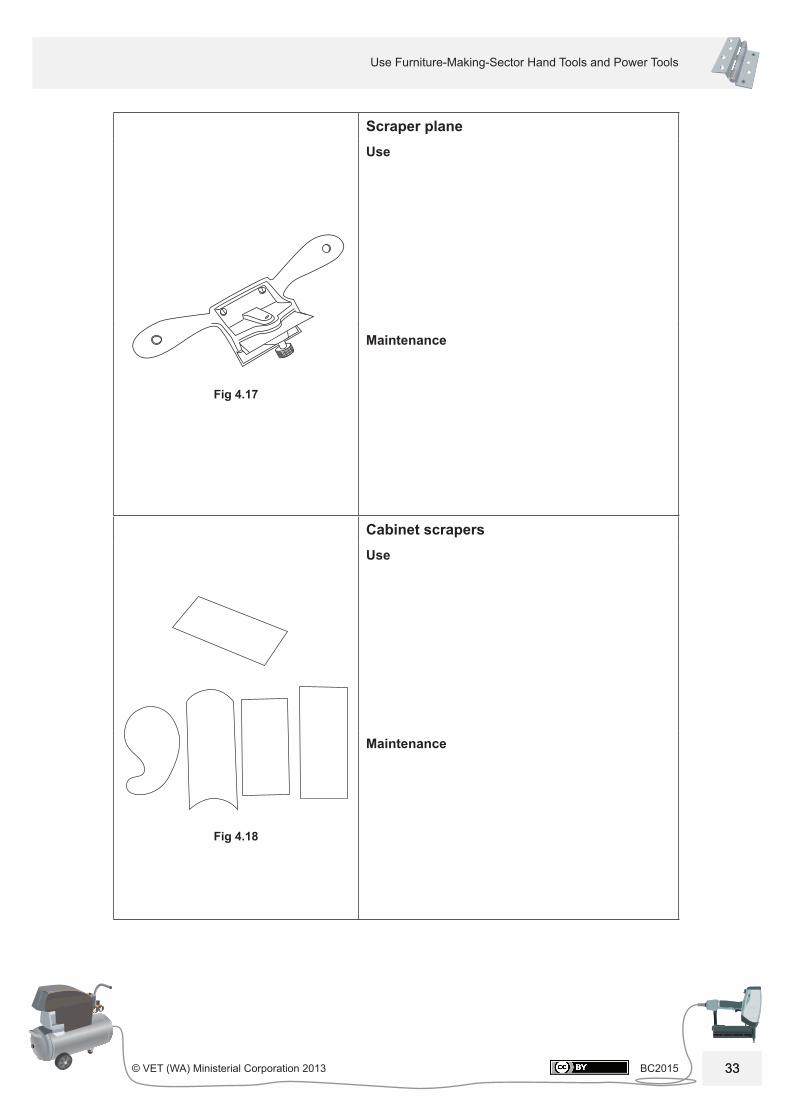
Fig 4.17
Scraper planeUse
Maintenance
Fig 4.18
Cabinet scrapersUse
Maintenance
BC2015 © VET (WA) Ministerial Corporation 2013
Cutting toolsSection 4
34
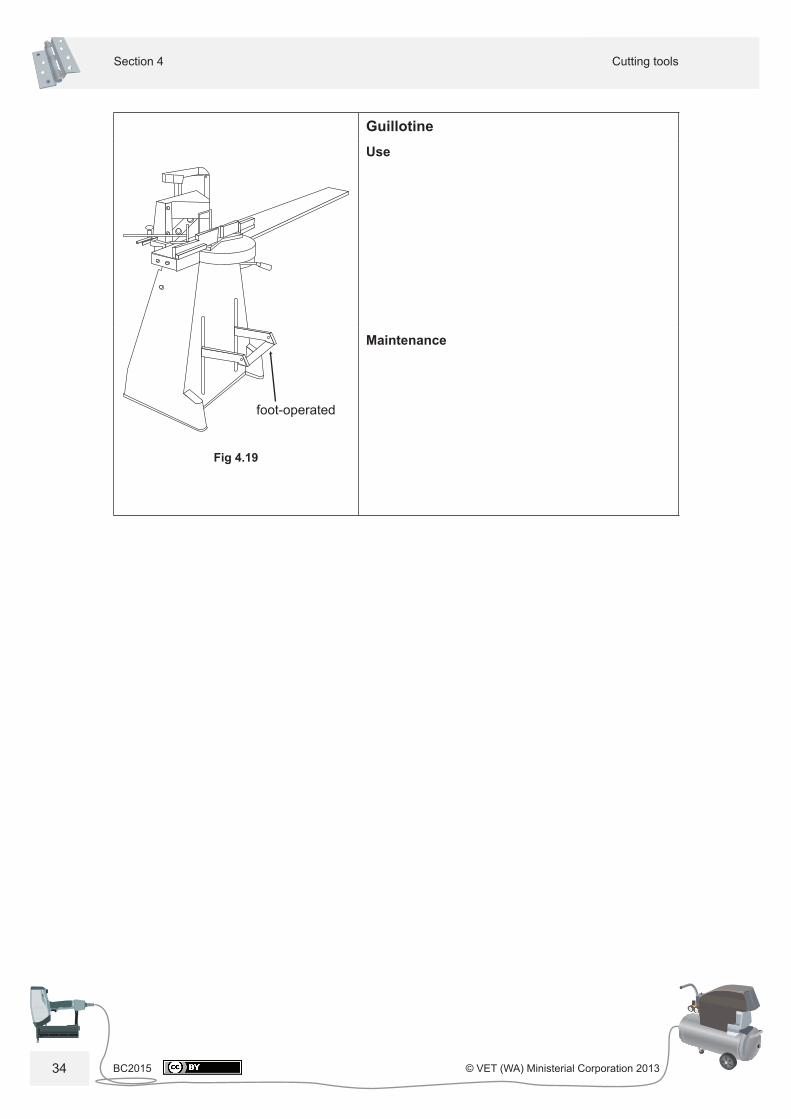
Fig 4.19
GuillotineUse
Maintenance
foot-operated
35
Use Furniture-Making-Sector Hand Tools and Power Tools
© VET (WA) Ministerial Corporation 2013 BC2015 35
Part 3 – Chisels and gouges
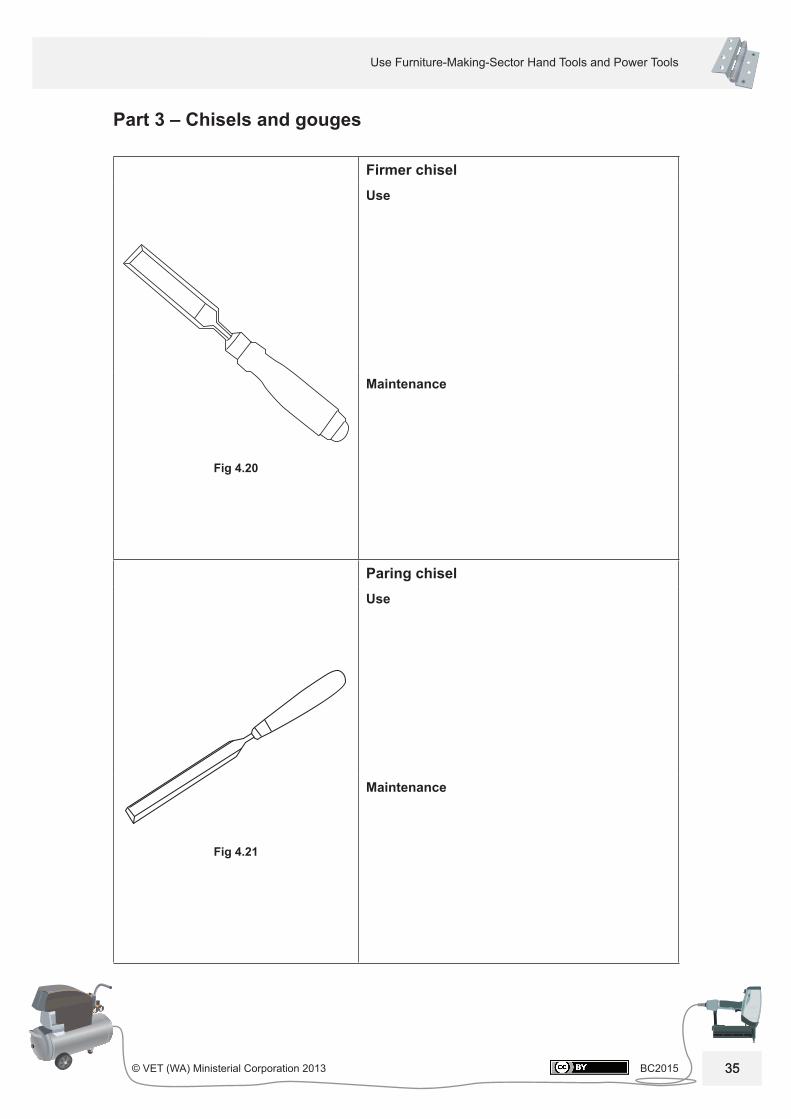
Fig 4.20
Firmer chiselUse
Maintenance
Fig 4.21
Paring chiselUse
Maintenance
BC2015 © VET (WA) Ministerial Corporation 2013
Cutting toolsSection 4
36
Fig 4.22
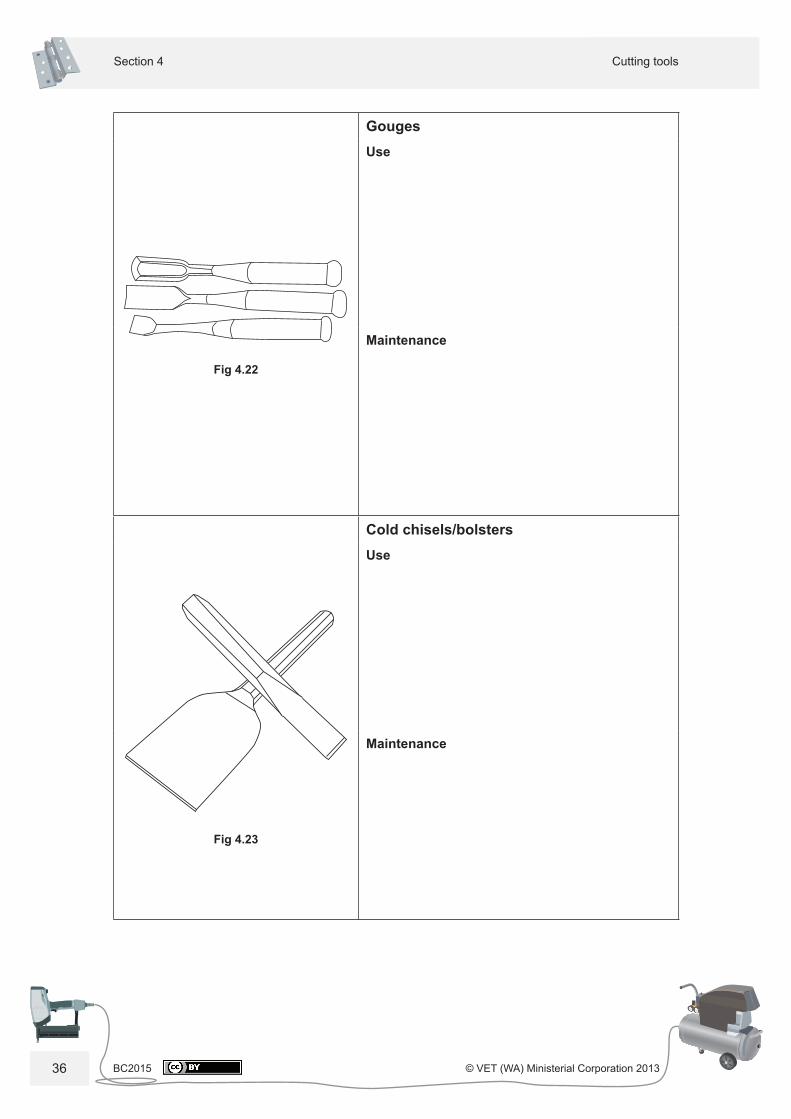
GougesUse
Maintenance
Fig 4.23
Cold chisels/bolstersUse
Maintenance

37
Use Furniture-Making-Sector Hand Tools and Power Tools
© VET (WA) Ministerial Corporation 2013 BC2015 37
Section 5 – Boring tools
Fig 5.1
Forstner drill bits Use
Maintenance
Fig 5.2
Hole sawUse
Maintenance
BC2015 © VET (WA) Ministerial Corporation 2013
Boring toolsSection 5
38
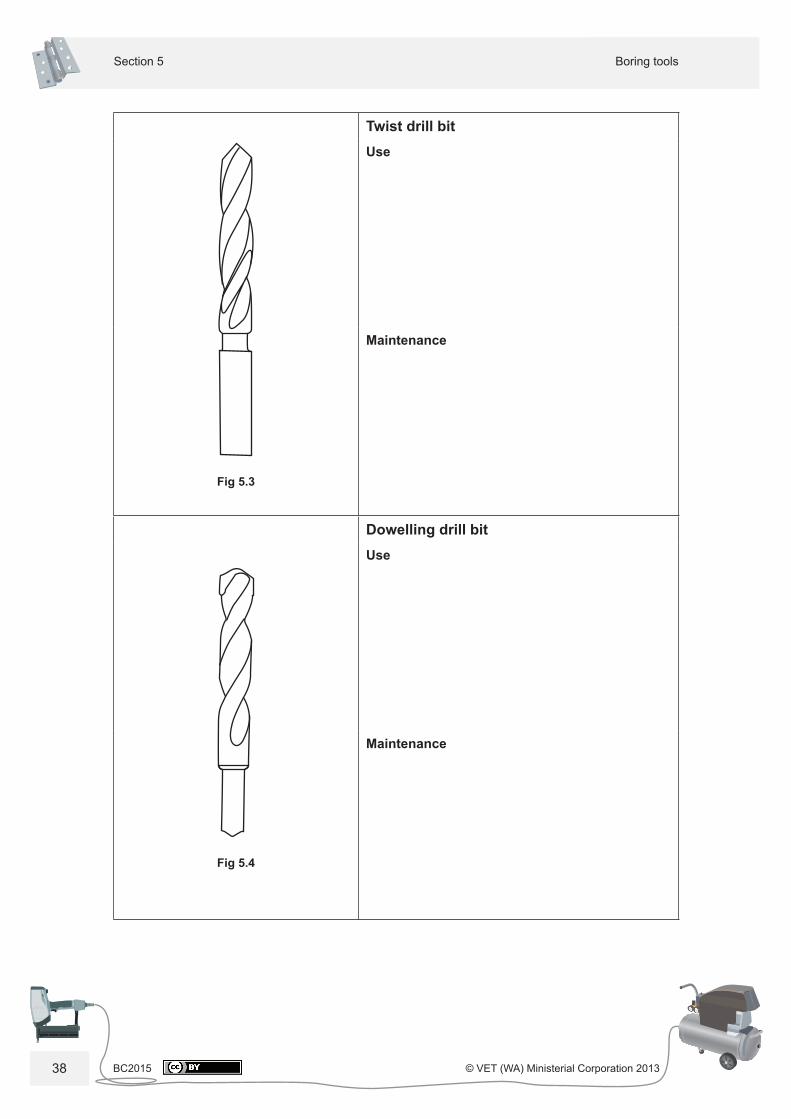
Fig 5.3
Twist drill bitUse
Maintenance
Fig 5.4
Dowelling drill bitUse
Maintenance
39
Use Furniture-Making-Sector Hand Tools and Power Tools
© VET (WA) Ministerial Corporation 2013 BC2015 39
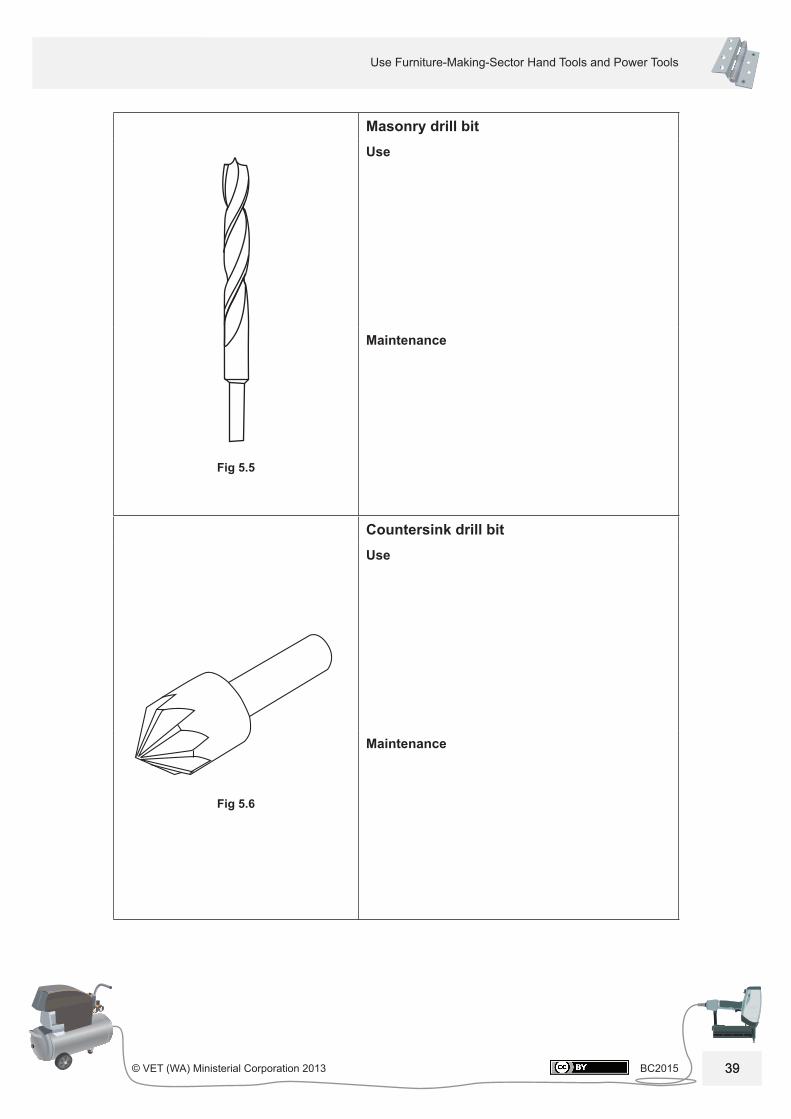
Fig 5.5
Masonry drill bitUse
Maintenance
Fig 5.6
Countersink drill bitUse
Maintenance
BC2015 © VET (WA) Ministerial Corporation 2013
Boring toolsSection 5
40
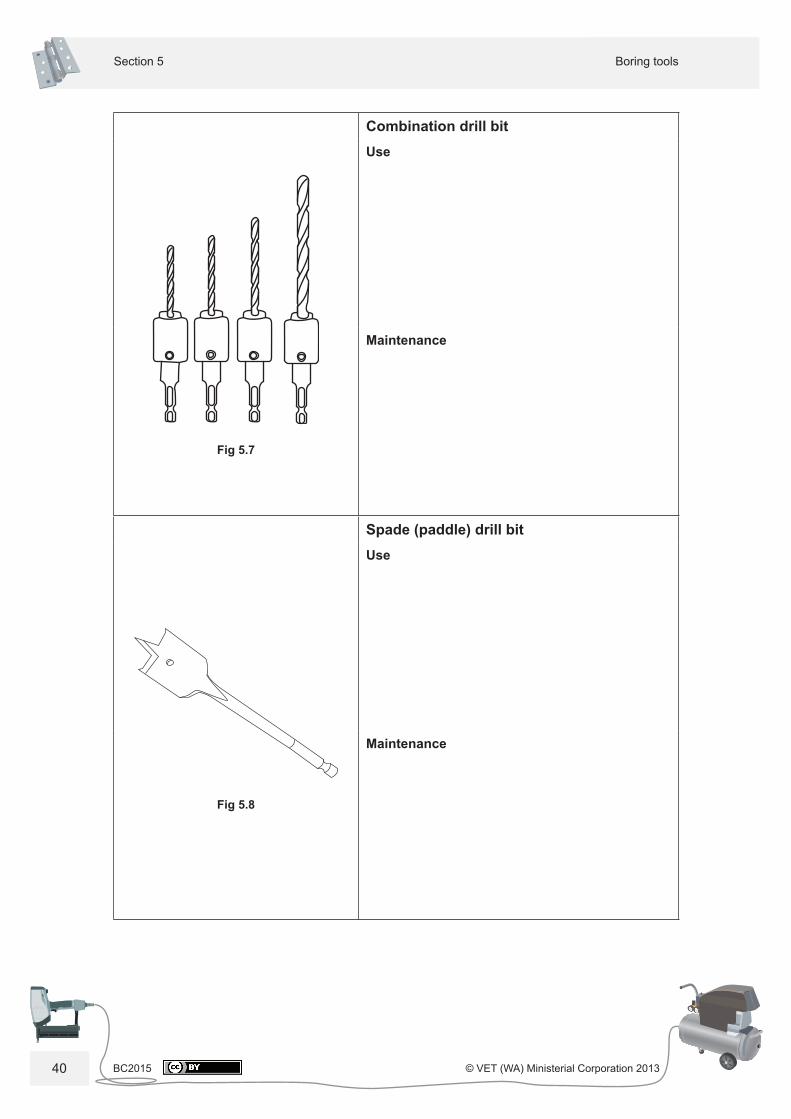
Fig 5.7
Combination drill bitUse
Maintenance
Fig 5.8
Spade (paddle) drill bitUse
Maintenance
41
Use Furniture-Making-Sector Hand Tools and Power Tools
© VET (WA) Ministerial Corporation 2013 BC2015 41
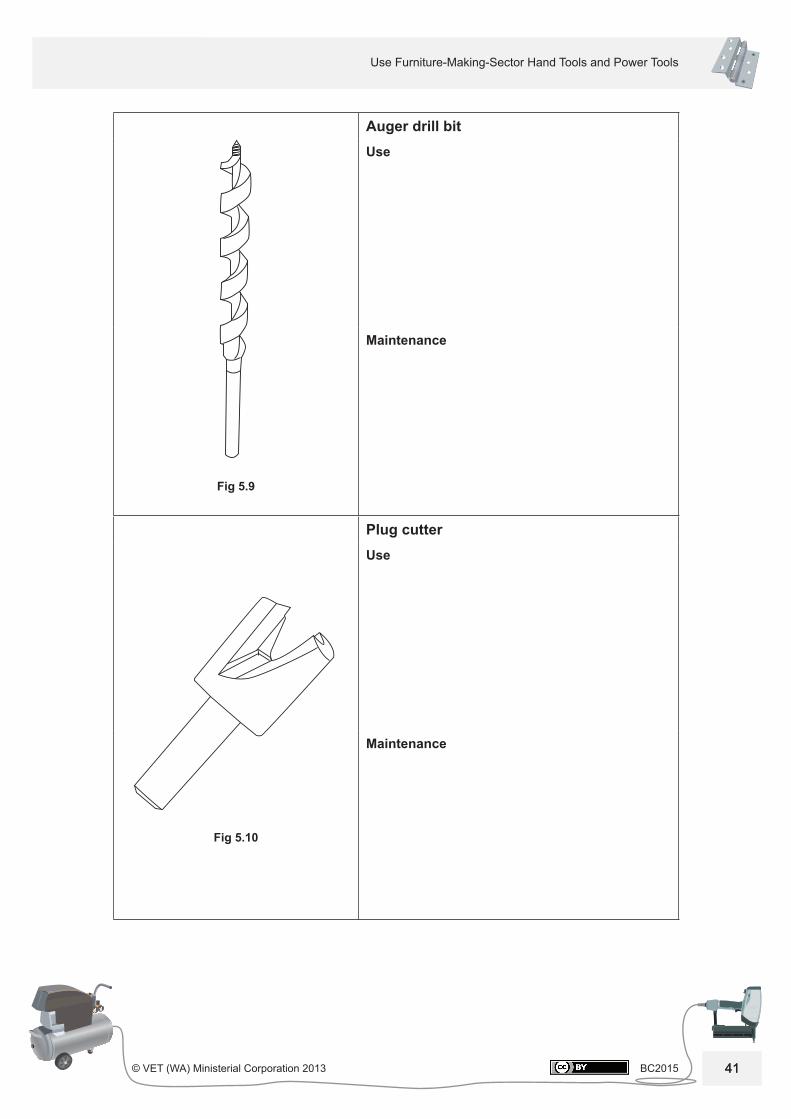
Fig 5.9
Auger drill bitUse
Maintenance
Fig 5.10
Plug cutterUse
Maintenance

BC2015 © VET (WA) Ministerial Corporation 2013
Boring toolsSection 5
42
Notes
43
Use Furniture-Making-Sector Hand Tools and Power Tools
© VET (WA) Ministerial Corporation 2013 BC2015 43
Section 6 – Files
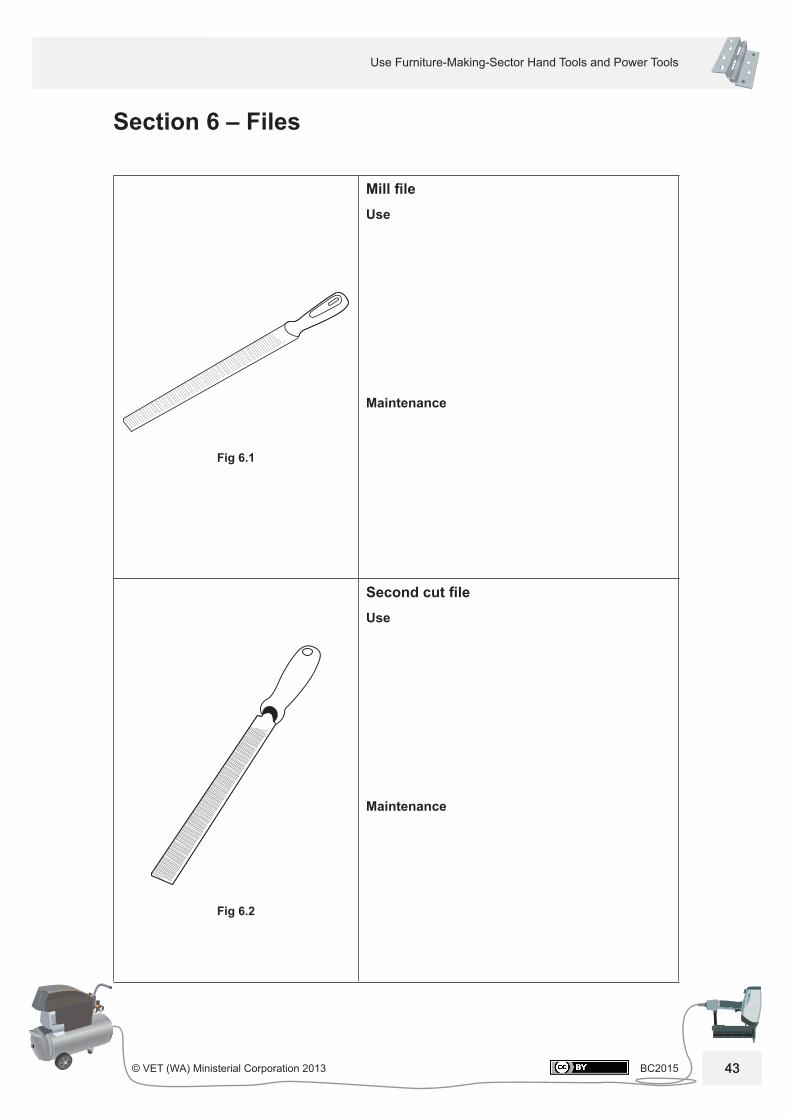
Fig 6.1
Mill fi leUse
Maintenance
Fig 6.2
Second cut fi leUse
Maintenance
BC2015 © VET (WA) Ministerial Corporation 2013
FilesSection 6
44
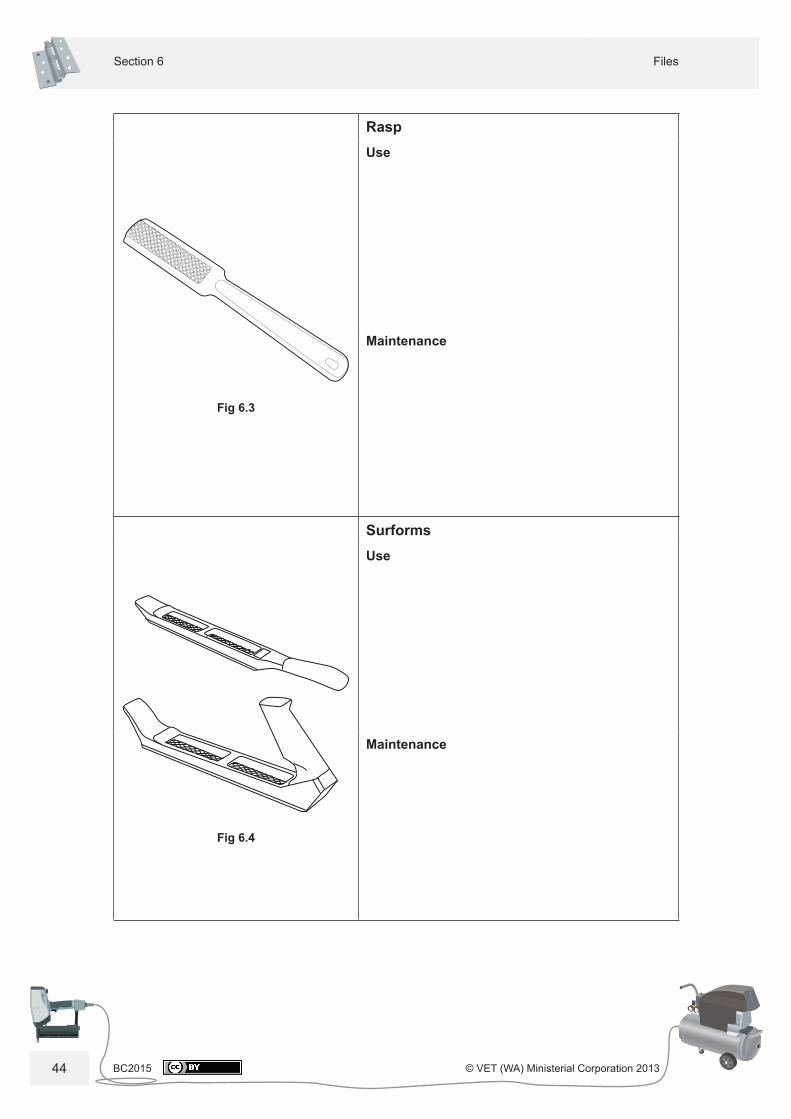
Fig 6.3
RaspUse
Maintenance
Fig 6.4
SurformsUse
Maintenance
45
Use Furniture-Making-Sector Hand Tools and Power Tools
© VET (WA) Ministerial Corporation 2013 BC2015 45
Section 7 – Miscellaneous hand tools
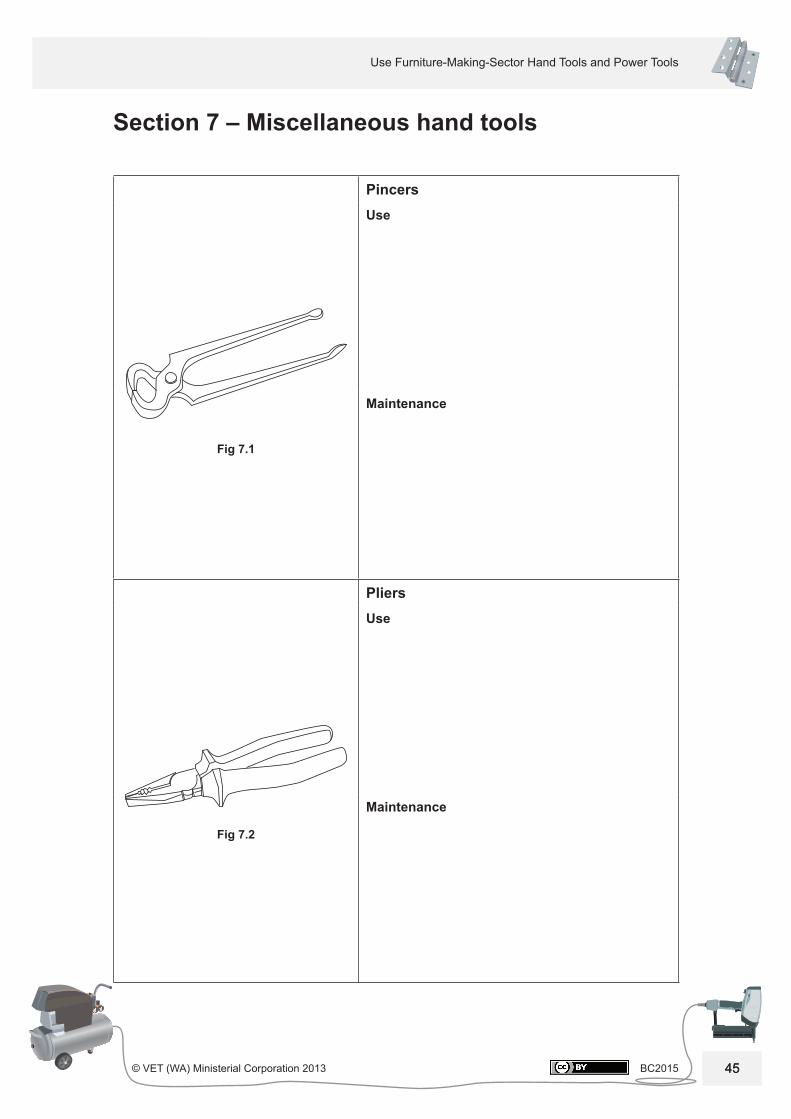
Fig 7.1
PincersUse
Maintenance
Fig 7.2
PliersUse
Maintenance

BC2015 © VET (WA) Ministerial Corporation 2013
Miscellaneous hand toolsSection 7
46
Fig 7.3
Spirit levelUse
Maintenance
Fig 7.4
Scoring knifeUse
Maintenance
47
Use Furniture-Making-Sector Hand Tools and Power Tools
© VET (WA) Ministerial Corporation 2013 BC2015 47
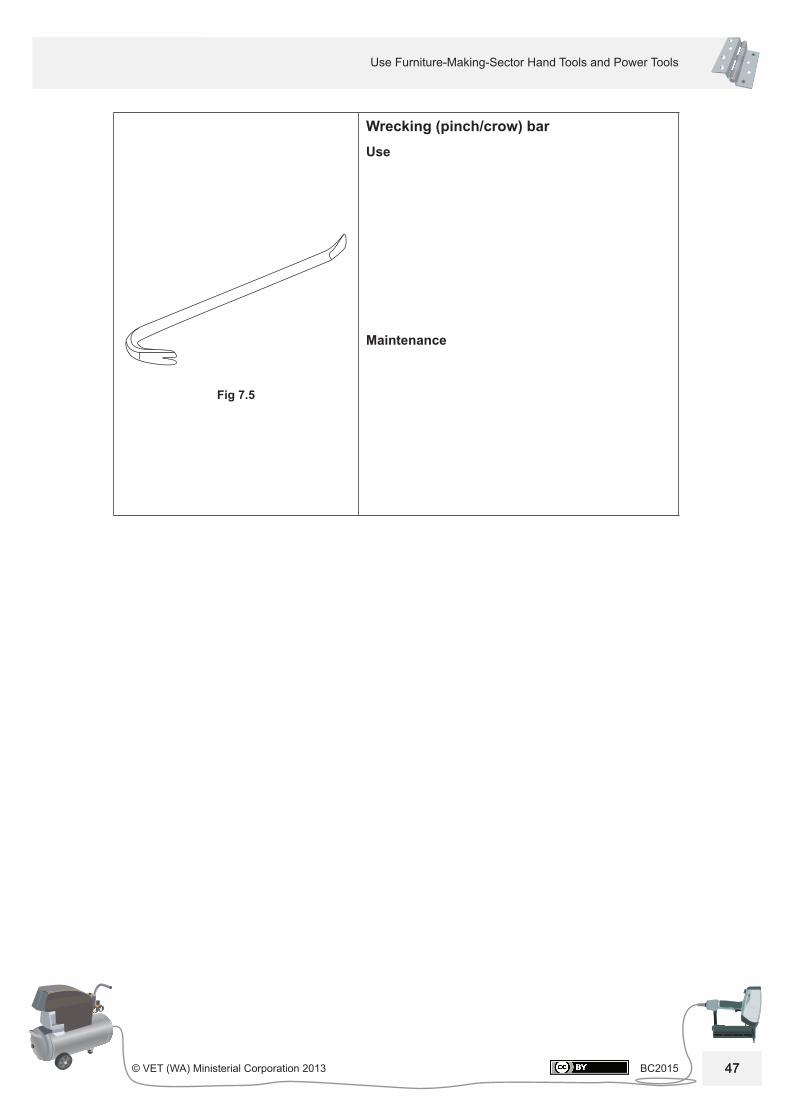
Fig 7.5
Wrecking (pinch/crow) bar Use
Maintenance

BC2015 © VET (WA) Ministerial Corporation 2013
Miscellaneous hand toolsSection 7
48
Notes
49
Use Furniture-Making-Sector Hand Tools and Power Tools
© VET (WA) Ministerial Corporation 2013 BC2015 49
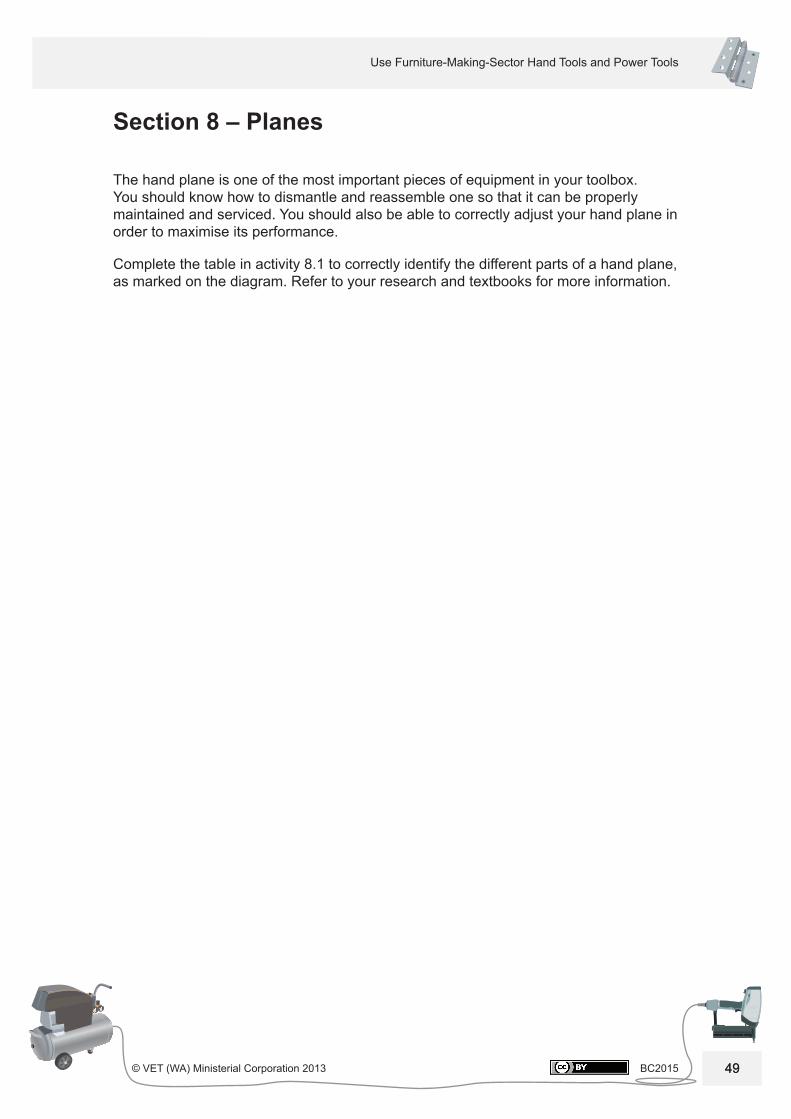
Section 8 – Planes
The hand plane is one of the most important pieces of equipment in your toolbox. You should know how to dismantle and reassemble one so that it can be properly maintained and serviced. You should also be able to correctly adjust your hand plane in order to maximise its performance.
Complete the table in activity 8.1 to correctly identify the different parts of a hand plane, as marked on the diagram. Refer to your research and textbooks for more information.
BC2015 © VET (WA) Ministerial Corporation 2013
PlanesSection 8
50
Activity 8.1
Parts of a hand plane
From the diagram, identify all of the numbered parts of a hand plane.
1
2
34
5
6
7
8
9
1011
12
13
14
15
16
Fig 8.1
1. 9.
2. 10.
3. 11.
4. 12.
5. 13.
6. 14.
7. 15.
8. 16.
51
Use Furniture-Making-Sector Hand Tools and Power Tools
© VET (WA) Ministerial Corporation 2013 BC2015 51
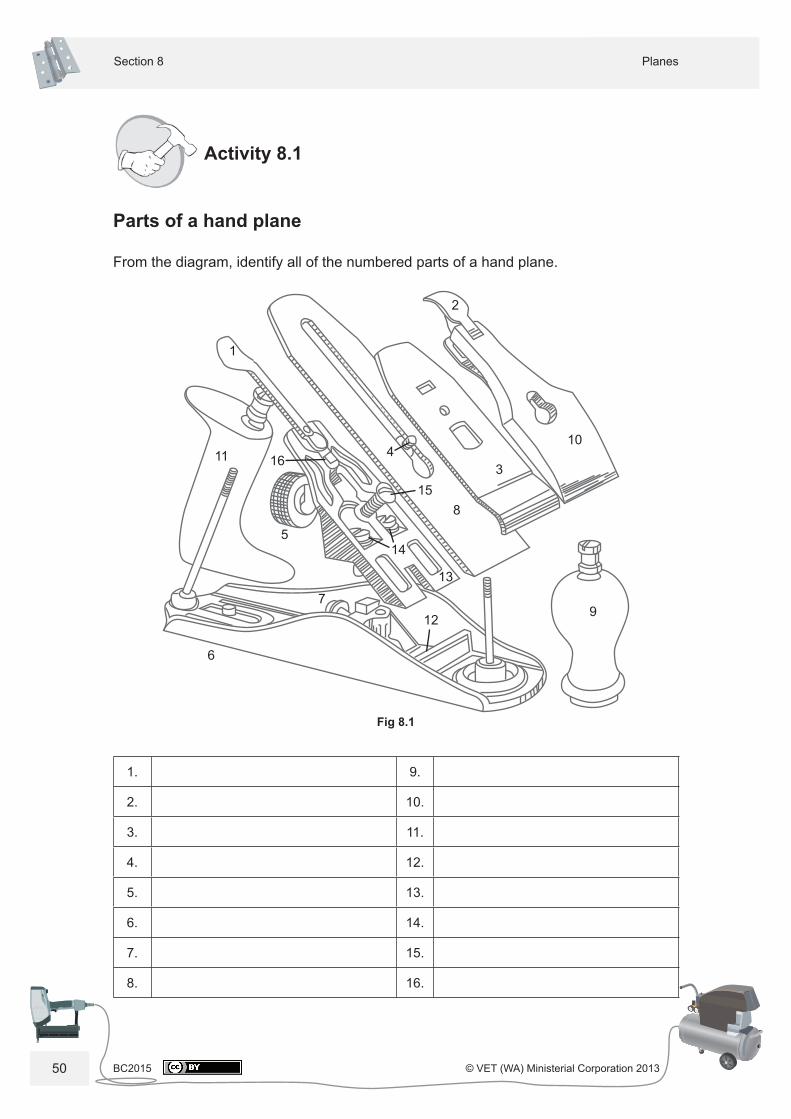
Section 9 – Chisels
Chisels are designed for specifi c jobs and work requirements. A chisel’s handle will indicate whether it is suitable for use in heavy or light-to-medium work. The diagram below illustrates two such chisels.
Activity 9.1
Complete the table using the labels on the diagram and referring to your research and textbooks for further information.
A
D
C
B
E
Fig 9.1
From the diagram on the left, identify the labelled parts of the chisels.
A
B
C
D
E

BC2015 © VET (WA) Ministerial Corporation 2013
ChiselsSection 9
52
Notes
53
Use Furniture-Making-Sector Hand Tools and Power Tools
© VET (WA) Ministerial Corporation 2013 BC2015 53
Section 10 – Power tools
Since the Industrial Revolution, humankind has realised the benefi ts of harnessing and/or manipulating power into production processes.
As time passed, more compact machines of specifi c purpose were developed. These machines eventually came to rival many of the hand-tool processes carried out by tradespeople, and are now relied upon on a daily basis in the modern factory and for on-site cabinetry installations.
This section details these power tools. To stay safe and well in the workshop, it is important that tradespersons have a good knowledge about tools and their correct applications. Finally, as well as knowing how to correctly use the tools, it is essential to be able to correctly set up, change cutters (where applicable) and maintain these tools for our safety.
Activity 10.1
Identifi cation of power tools
The following activity requires you to identify power tools used in various furniture-related trades and detail their specifi c uses, type of power sources and maintenance requirements.
You also need to note down any additional safety requirements that need to be observed, such as the placement and handling of the tools and the use of appropriate PPE.
BC2015 © VET (WA) Ministerial Corporation 2013
Power toolsSection 10
54
Part 1 – Corded power tools
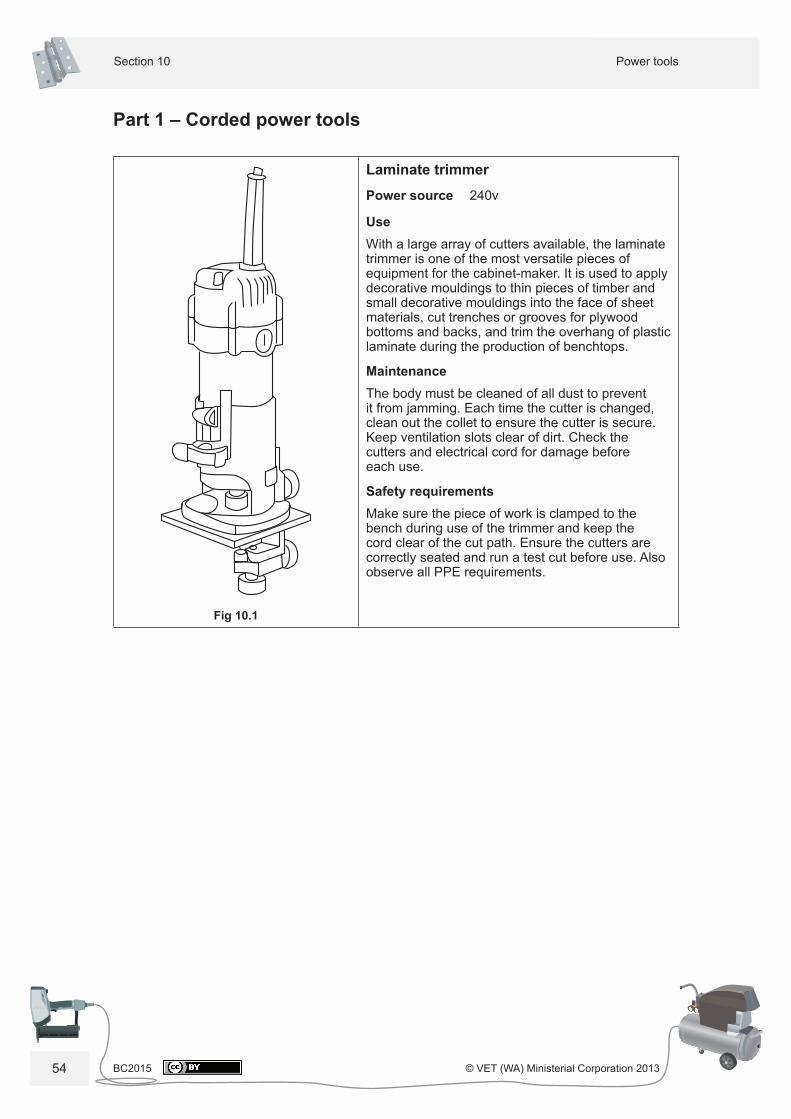
Fig 10.1
Laminate trimmerPower source 240v
UseWith a large array of cutters available, the laminate trimmer is one of the most versatile pieces of equipment for the cabinet-maker. It is used to apply decorative mouldings to thin pieces of timber and small decorative mouldings into the face of sheet materials, cut trenches or grooves for plywood bottoms and backs, and trim the overhang of plastic laminate during the production of benchtops.
MaintenanceThe body must be cleaned of all dust to prevent it from jamming. Each time the cutter is changed, clean out the collet to ensure the cutter is secure. Keep ventilation slots clear of dirt. Check the cutters and electrical cord for damage before each use.
Safety requirementsMake sure the piece of work is clamped to the bench during use of the trimmer and keep the cord clear of the cut path. Ensure the cutters are correctly seated and run a test cut before use. Also observe all PPE requirements.
55
Use Furniture-Making-Sector Hand Tools and Power Tools
© VET (WA) Ministerial Corporation 2013 BC2015 55
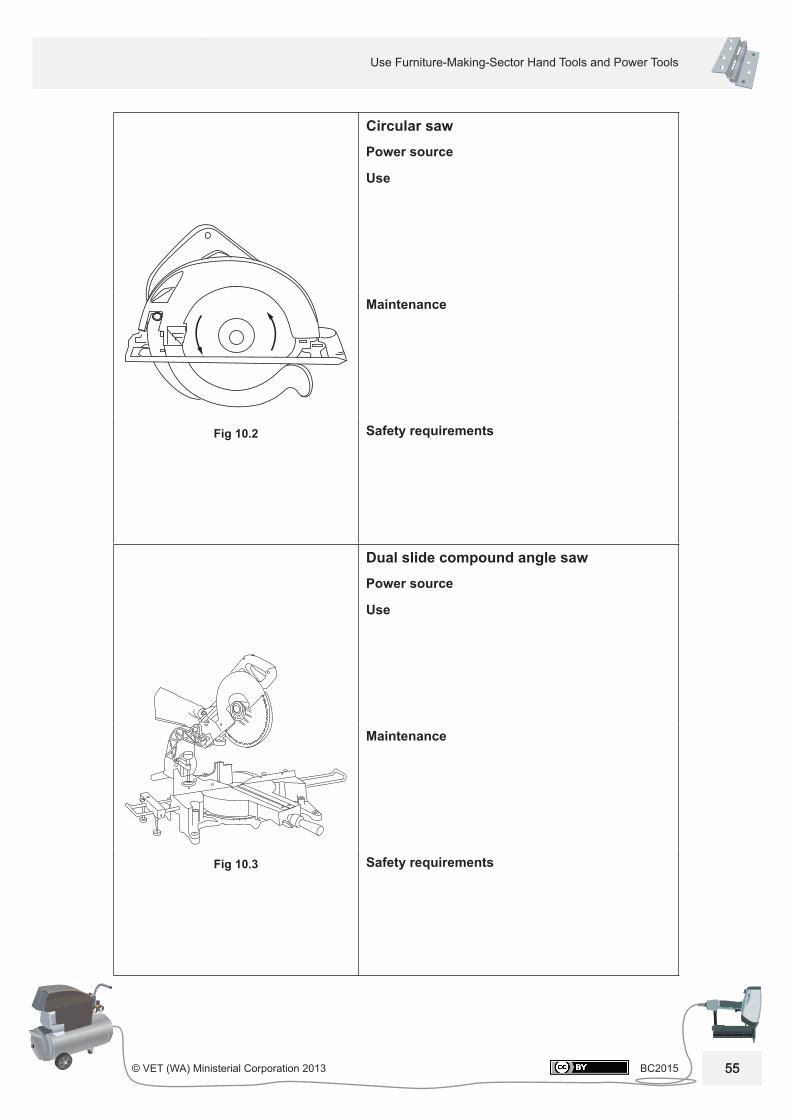
Fig 10.2
Circular sawPower source
Use
Maintenance
Safety requirements
Fig 10.3
Dual slide compound angle sawPower source
Use
Maintenance
Safety requirements
BC2015 © VET (WA) Ministerial Corporation 2013
Power toolsSection 10
56
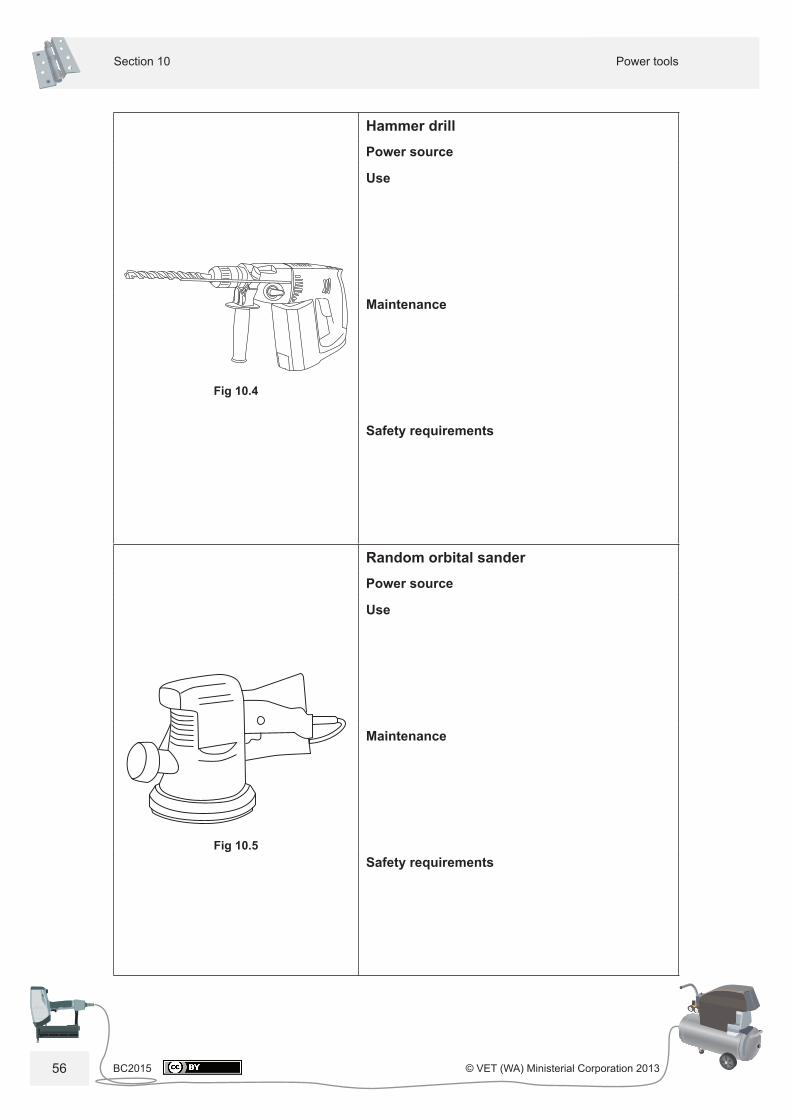
Fig 10.4
Hammer drill Power source
Use
Maintenance
Safety requirements
Fig 10.5
Random orbital sanderPower source
Use
Maintenance
Safety requirements
57
Use Furniture-Making-Sector Hand Tools and Power Tools
© VET (WA) Ministerial Corporation 2013 BC2015 57
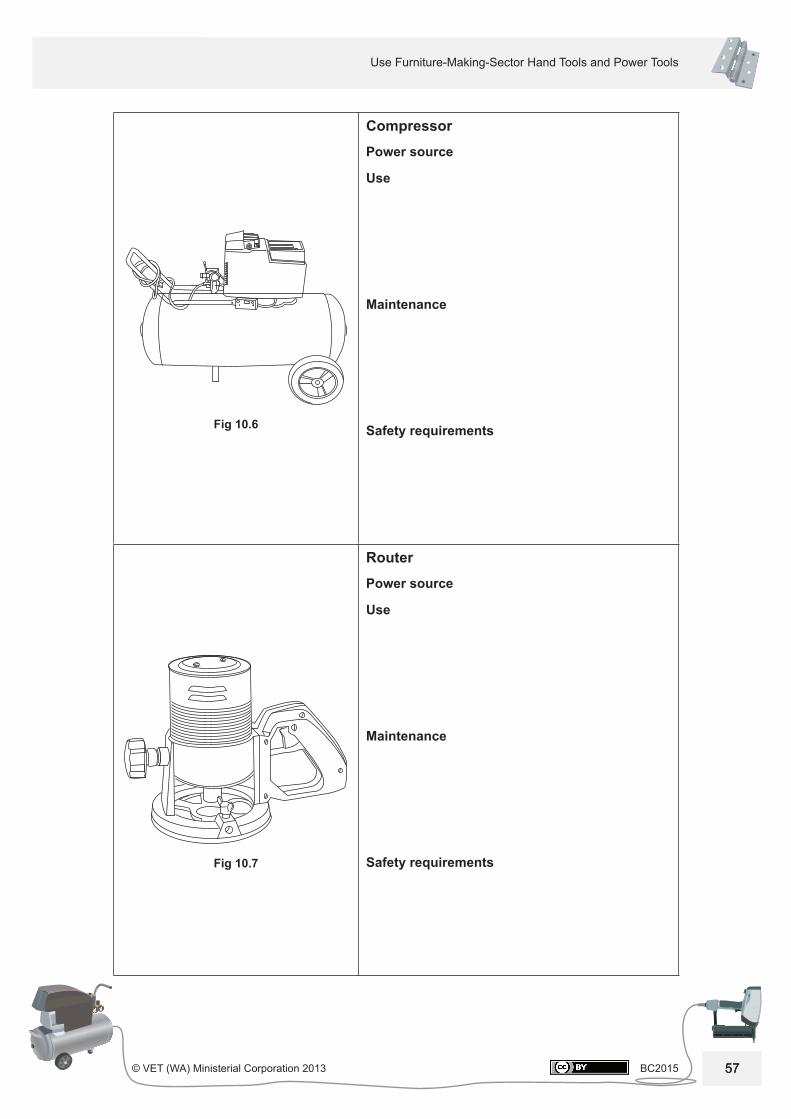
Fig 10.6
CompressorPower source
Use
Maintenance
Safety requirements
Fig 10.7
Router Power source
Use
Maintenance
Safety requirements
BC2015 © VET (WA) Ministerial Corporation 2013
Power toolsSection 10
58
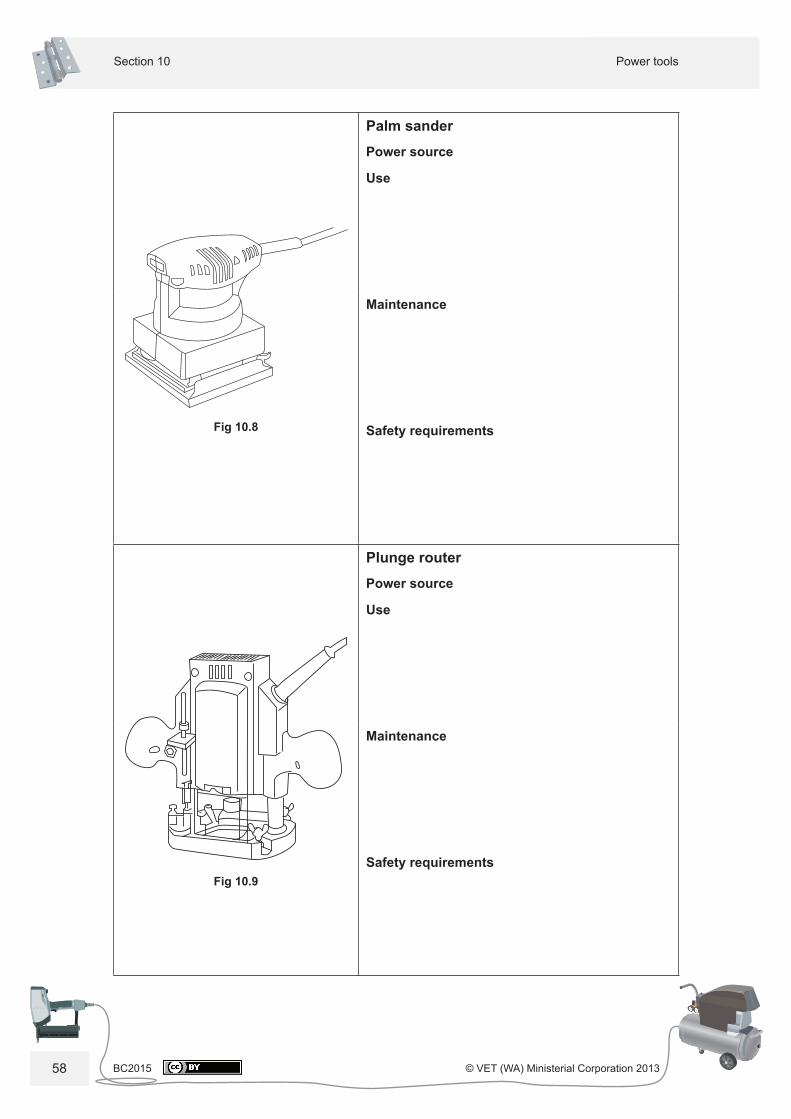
Fig 10.8
Palm sanderPower source
Use
Maintenance
Safety requirements
Fig 10.9
Plunge routerPower source
Use
Maintenance
Safety requirements
59
Use Furniture-Making-Sector Hand Tools and Power Tools
© VET (WA) Ministerial Corporation 2013 BC2015 59
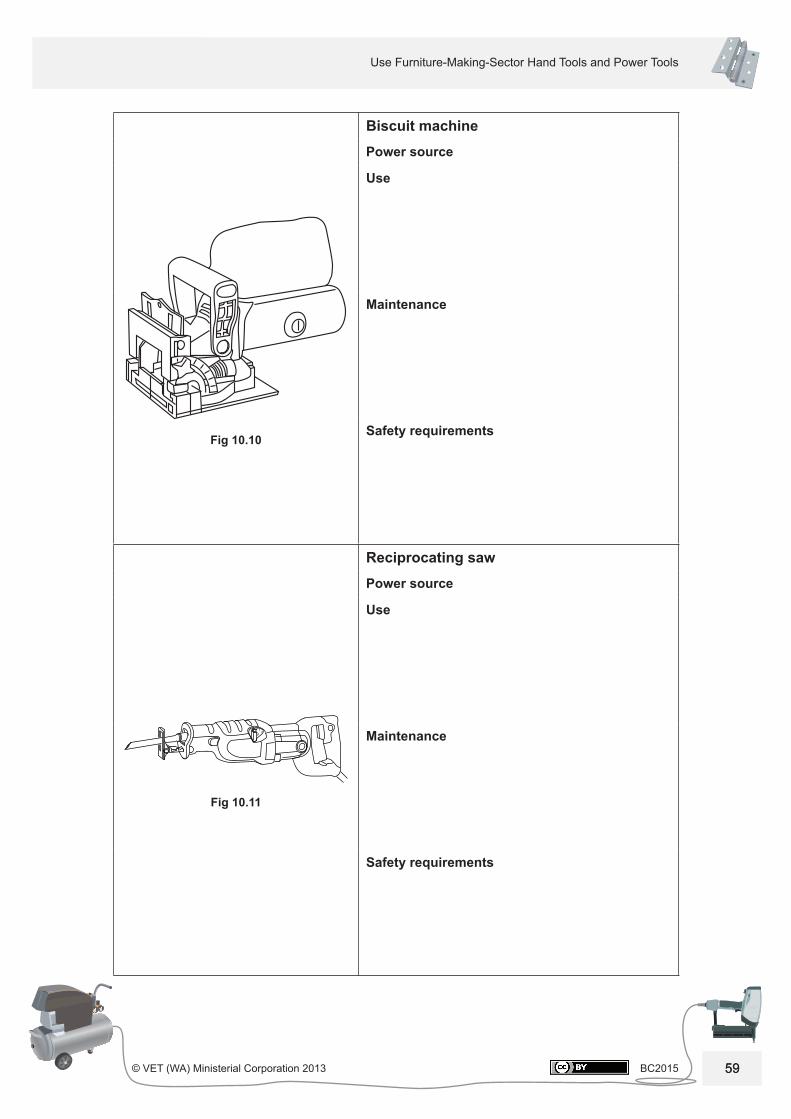
Fig 10.10
Biscuit machinePower source
Use
Maintenance
Safety requirements
Fig 10.11
Reciprocating sawPower source
Use
Maintenance
Safety requirements
BC2015 © VET (WA) Ministerial Corporation 2013
Power toolsSection 10
60
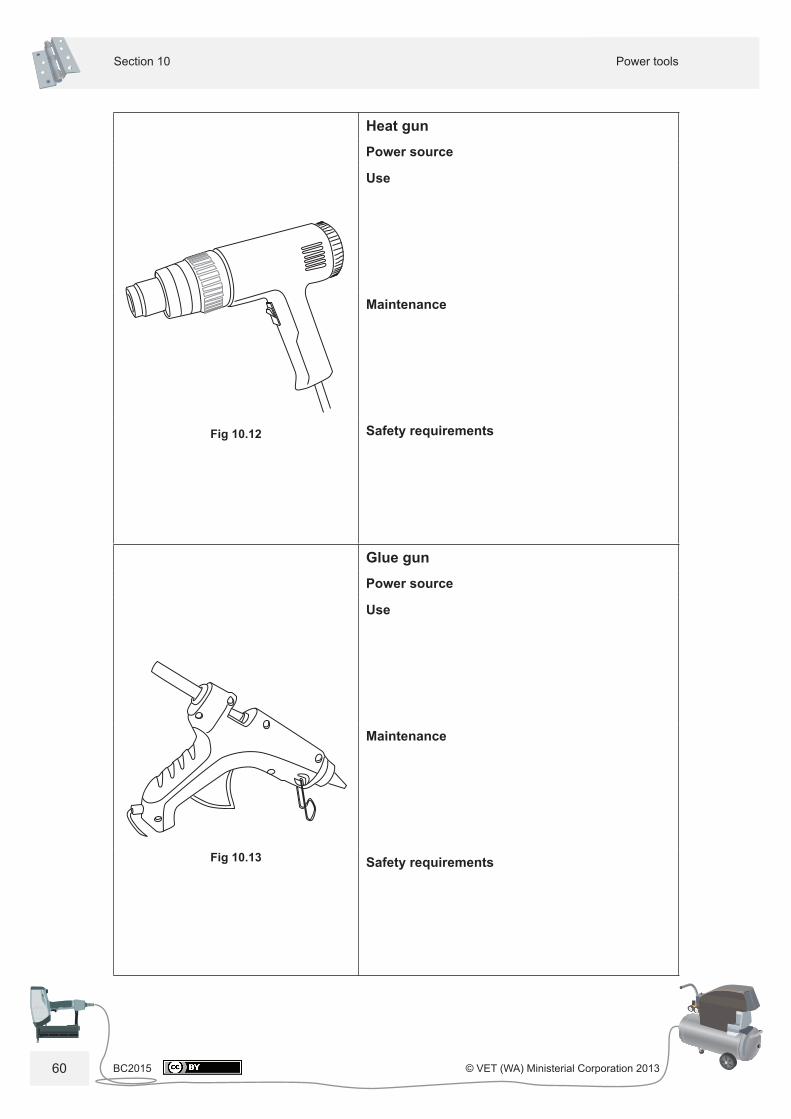
Fig 10.12
Heat gunPower source
Use
Maintenance
Safety requirements
Fig 10.13
Glue gun Power source
Use
Maintenance
Safety requirements
61
Use Furniture-Making-Sector Hand Tools and Power Tools
© VET (WA) Ministerial Corporation 2013 BC2015 61
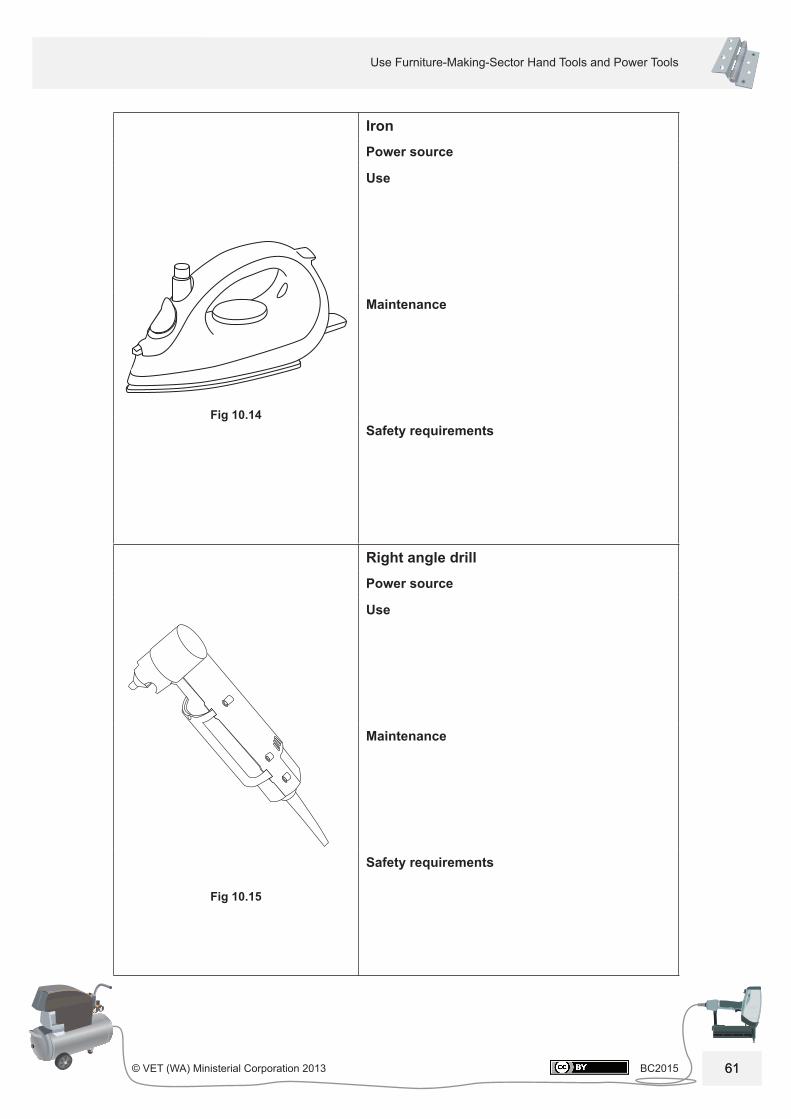
Fig 10.14
IronPower source
Use
Maintenance
Safety requirements
Fig 10.15
Right angle drillPower source
Use
Maintenance
Safety requirements
BC2015 © VET (WA) Ministerial Corporation 2013
Power toolsSection 10
62
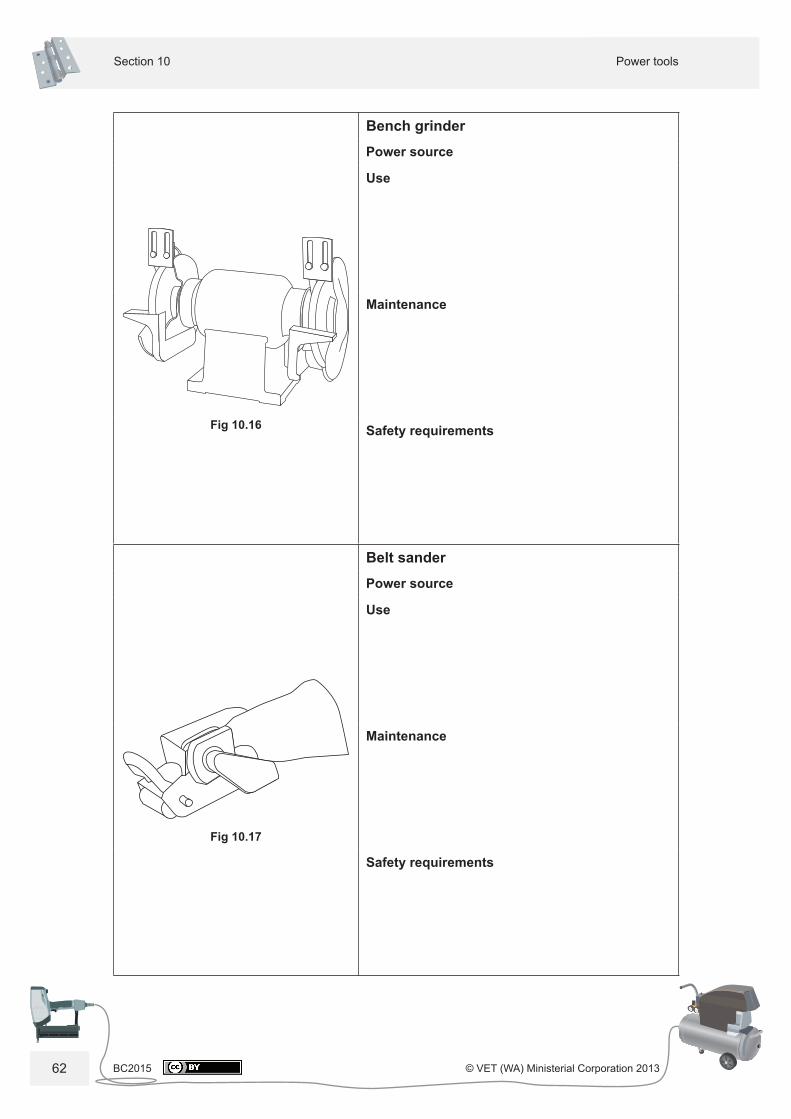
Fig 10.16
Bench grinder Power source
Use
Maintenance
Safety requirements
Fig 10.17
Belt sander Power source
Use
Maintenance
Safety requirements
63
Use Furniture-Making-Sector Hand Tools and Power Tools
© VET (WA) Ministerial Corporation 2013 BC2015 63
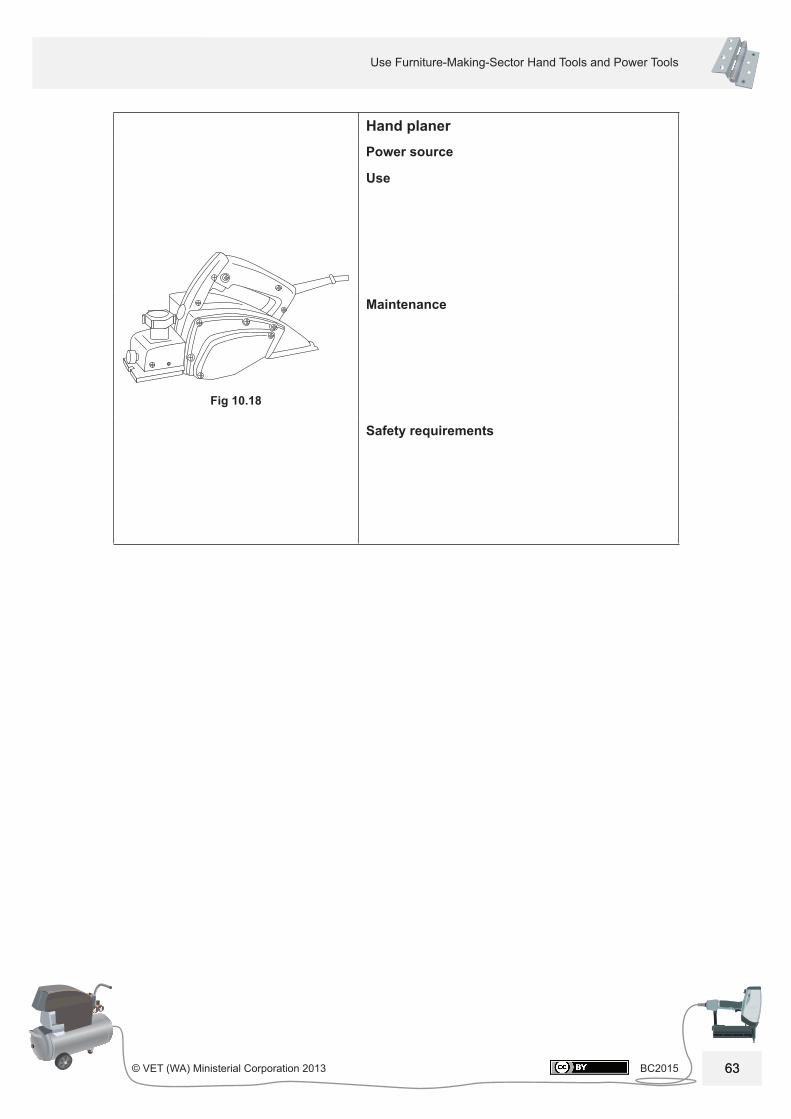
Fig 10.18
Hand planerPower source
Use
Maintenance
Safety requirements
BC2015 © VET (WA) Ministerial Corporation 2013
Power toolsSection 10
64
Part 2 – Air tools
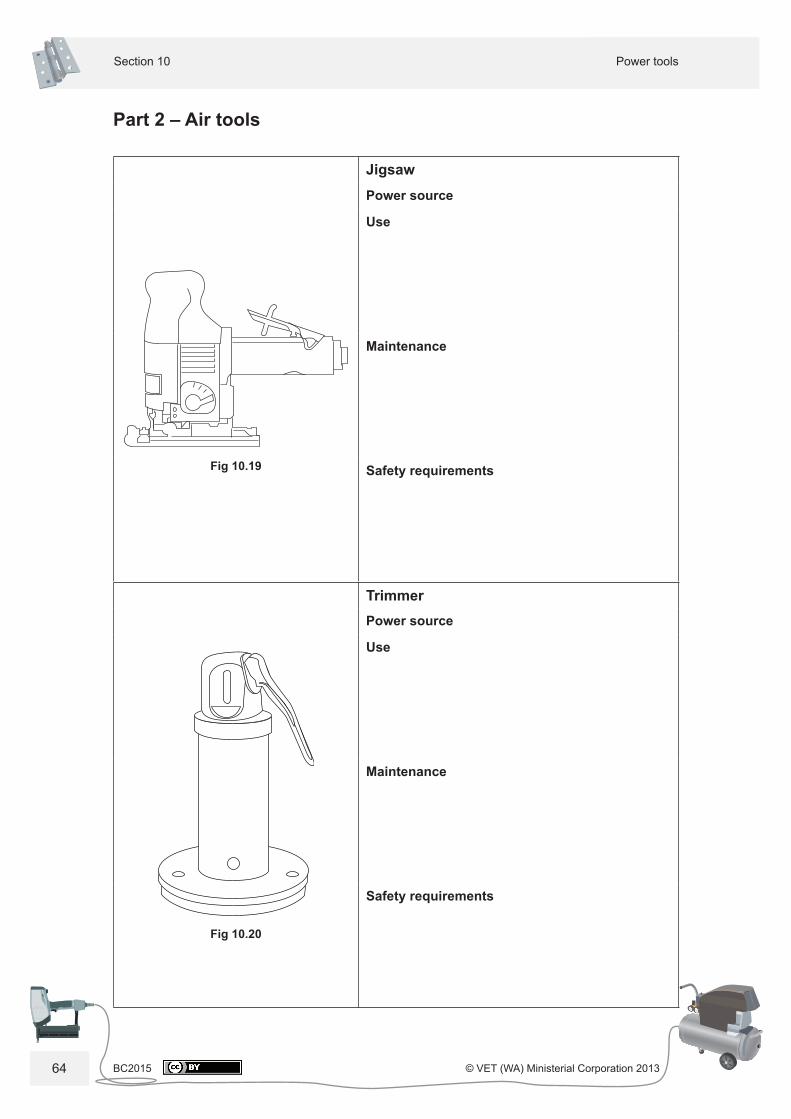
Fig 10.19
Jigsaw Power source
Use
Maintenance
Safety requirements
Fig 10.20
Trimmer Power source
Use
Maintenance
Safety requirements
65
Use Furniture-Making-Sector Hand Tools and Power Tools
© VET (WA) Ministerial Corporation 2013 BC2015 65
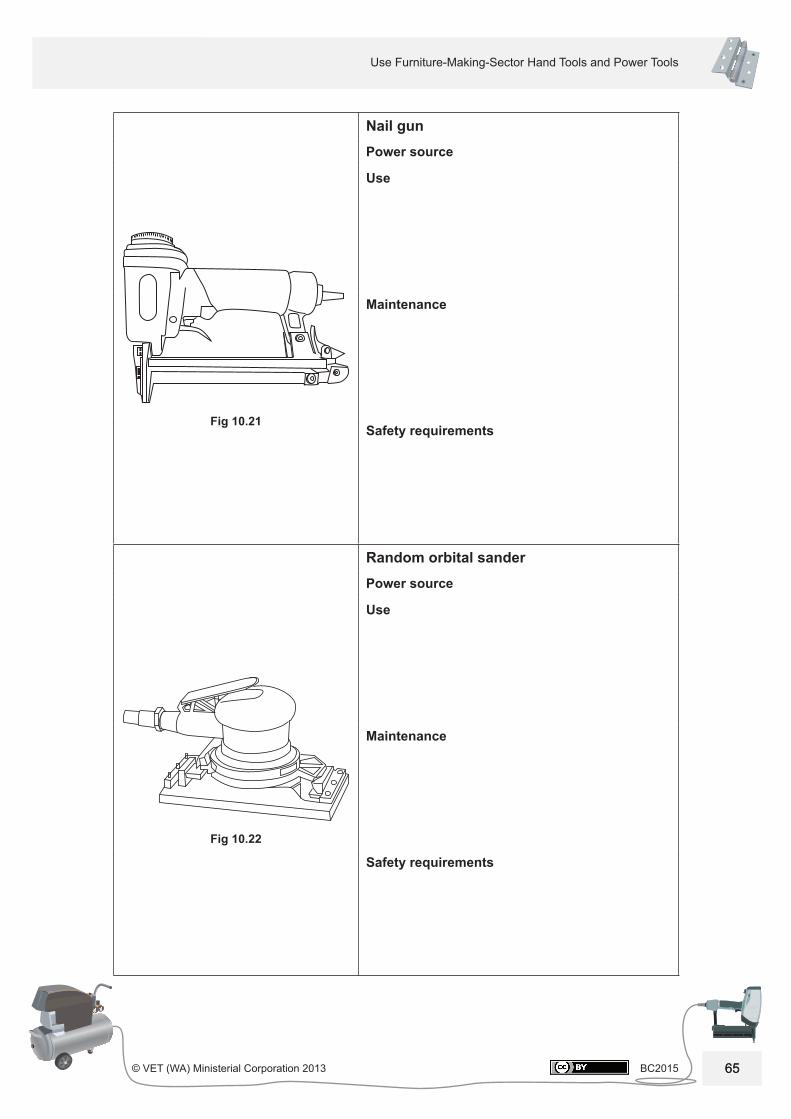
Fig 10.21
Nail gunPower source
Use
Maintenance
Safety requirements
Fig 10.22
Random orbital sanderPower source
Use
Maintenance
Safety requirements

BC2015 © VET (WA) Ministerial Corporation 2013
Power toolsSection 10
66
Fig 10.23
Backing gunPower source
Use
Maintenance
Safety requirements
Fig 10.24
Random disc sanderPower source
Use
Maintenance
Safety requirements
67
Use Furniture-Making-Sector Hand Tools and Power Tools
© VET (WA) Ministerial Corporation 2013 BC2015 67
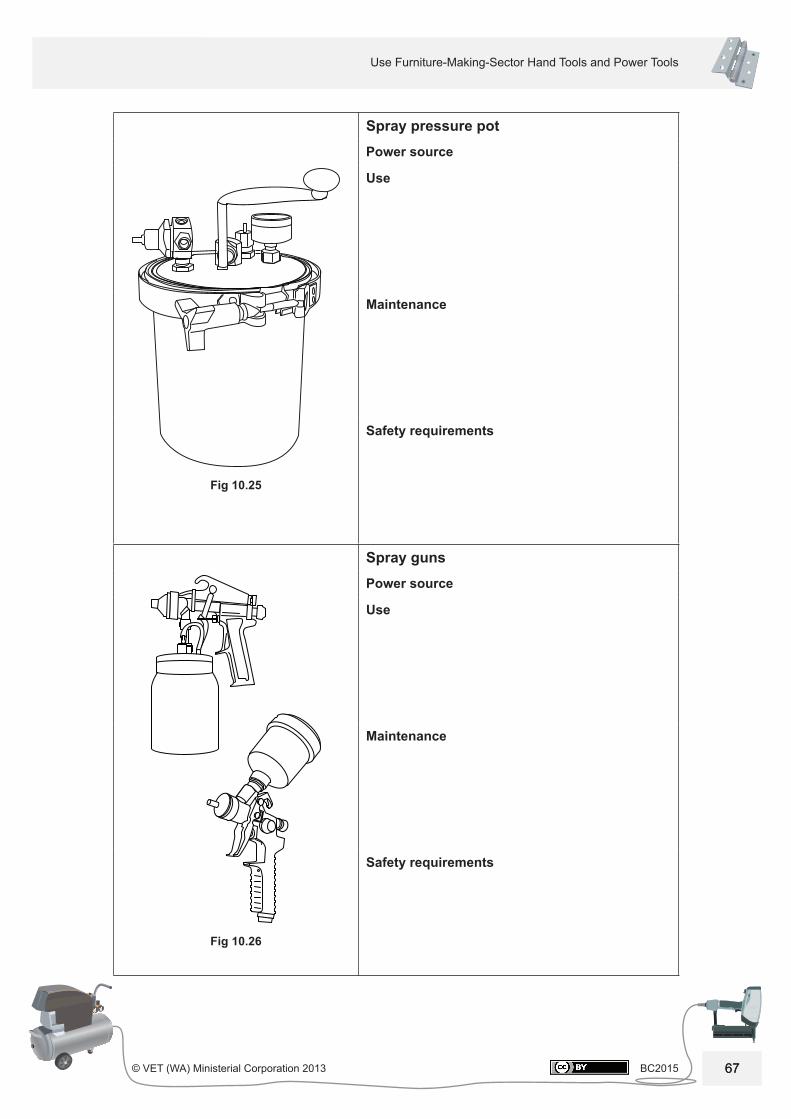
Fig 10.25
Spray pressure potPower source
Use
Maintenance
Safety requirements
Fig 10.26
Spray gunsPower source
Use
Maintenance
Safety requirements
BC2015 © VET (WA) Ministerial Corporation 2013
Power toolsSection 10
68
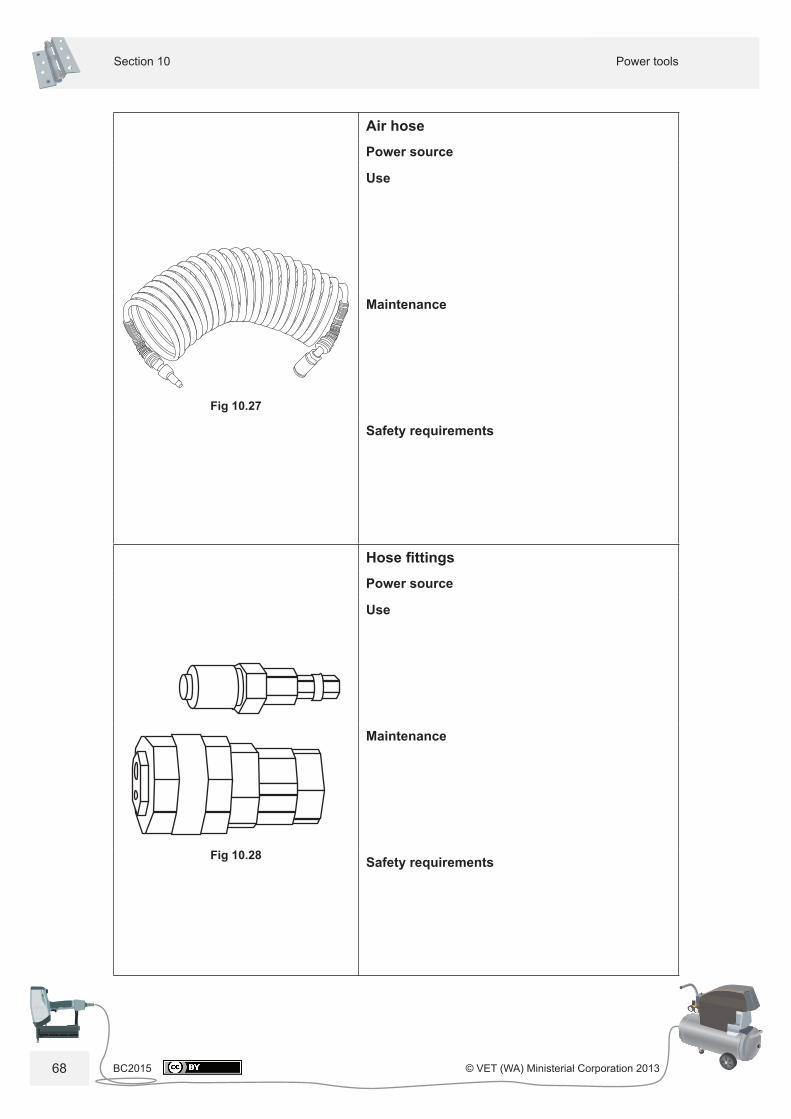
Fig 10.27
Air hosePower source
Use
Maintenance
Safety requirements
Fig 10.28
Hose fi ttingsPower source
Use
Maintenance
Safety requirements
69
Use Furniture-Making-Sector Hand Tools and Power Tools
© VET (WA) Ministerial Corporation 2013 BC2015 69
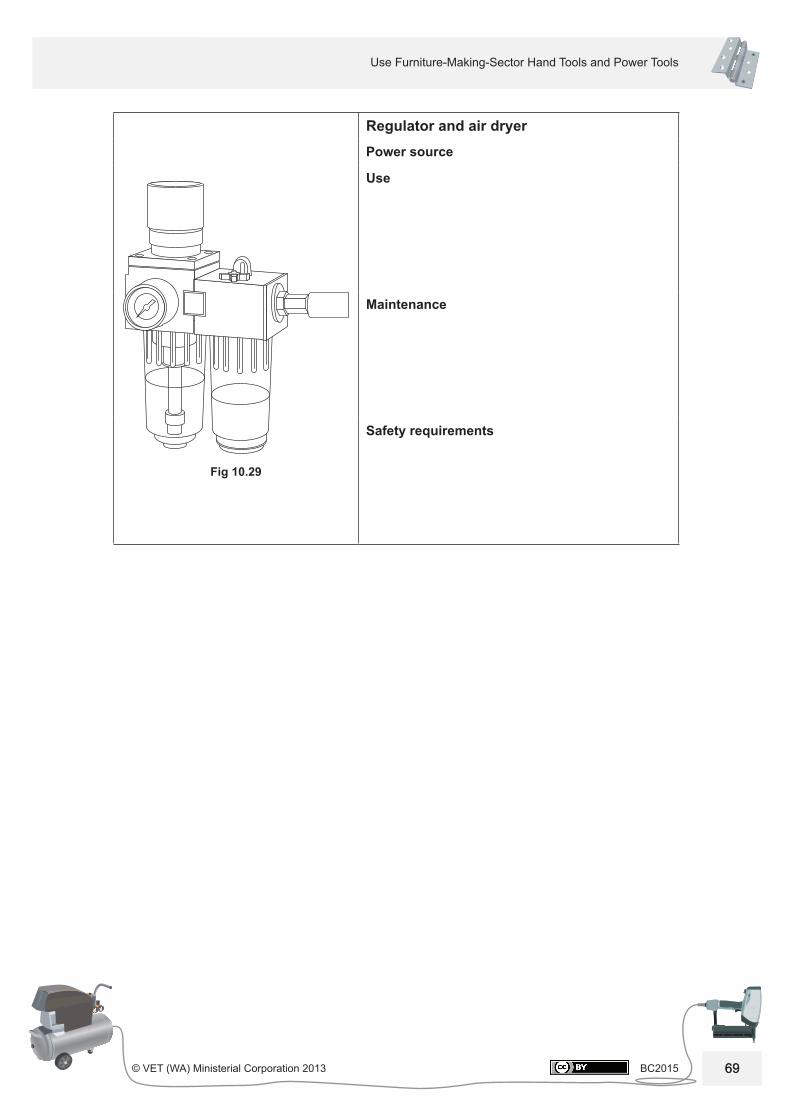
Fig 10.29
Regulator and air dryerPower source
Use
Maintenance
Safety requirements
BC2015 © VET (WA) Ministerial Corporation 2013
Power toolsSection 10
70
Part 3 – Battery-operated tools
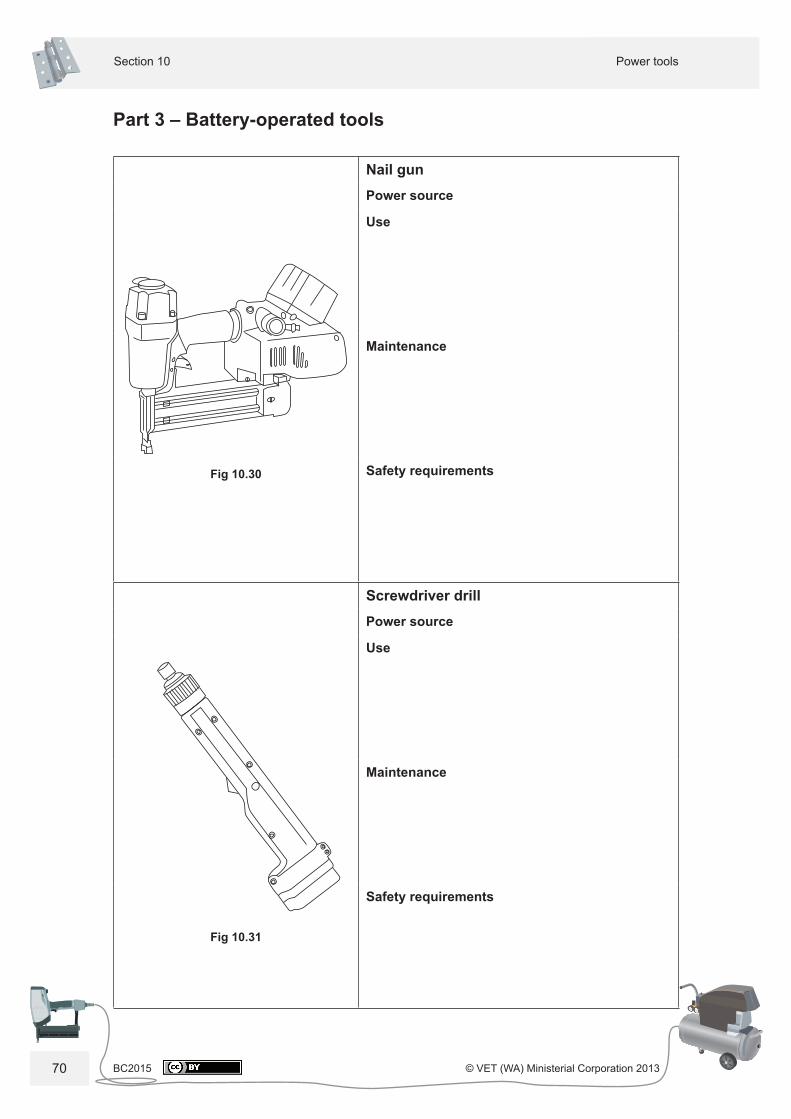
Fig 10.30
Nail gunPower source
Use
Maintenance
Safety requirements
Fig 10.31
Screwdriver drillPower source
Use
Maintenance
Safety requirements
71
Use Furniture-Making-Sector Hand Tools and Power Tools
© VET (WA) Ministerial Corporation 2013 BC2015 71
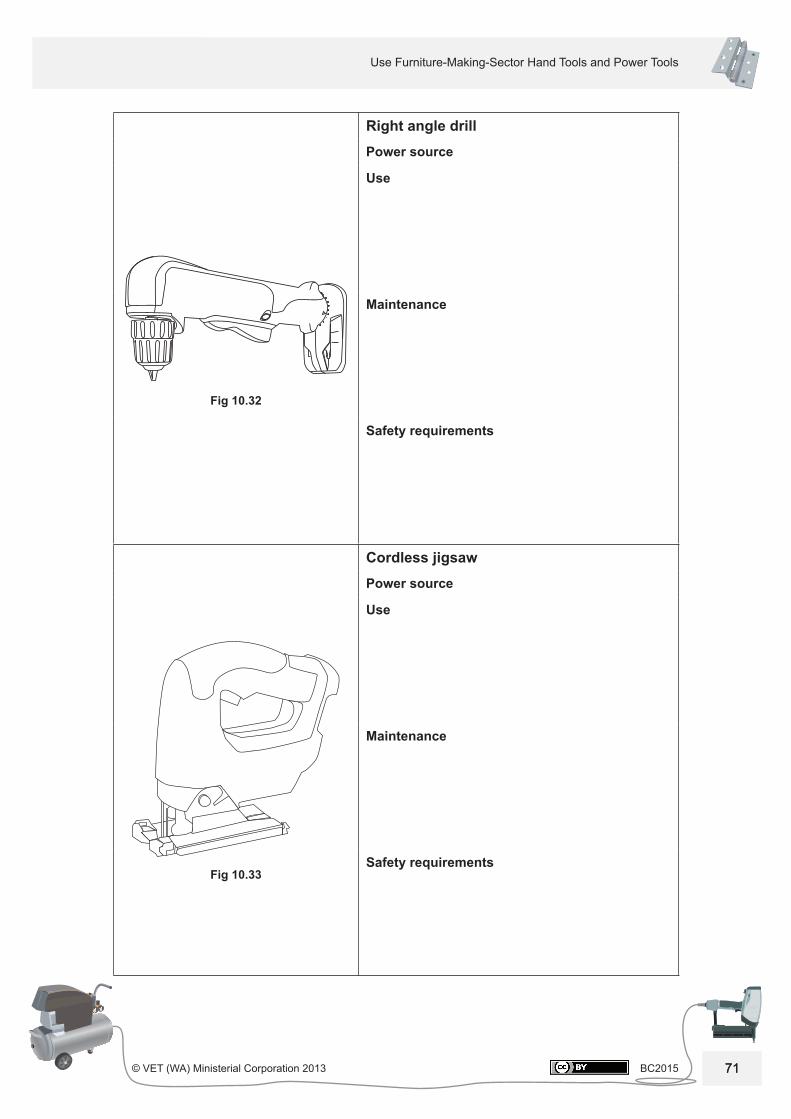
Fig 10.32
Right angle drillPower source
Use
Maintenance
Safety requirements
Fig 10.33
Cordless jigsawPower source
Use
Maintenance
Safety requirements

BC2015 © VET (WA) Ministerial Corporation 2013
Power toolsSection 10
72
Fig 10.34
Screwdriver drill Power source
Use
Maintenance
Safety requirements
73
Use Furniture-Making-Sector Hand Tools and Power Tools
© VET (WA) Ministerial Corporation 2013 BC2015 73
Section 11 – Safety when using tools
Health and safety laws in each state regulate the safety and well-being of the workforce. In Western Australia, Section 20 of the Occupational Safety and Health Act 1984 details the responsibilities that employees have to observe in the workplace. These responsibilities relate to all workers undertaking work for an employer, including those on awards rates. Employers, sub-contractors and contractors are also subject to these laws, but have additional issues to take into consideration. These are all outlined in other sections of the Act, which can be viewed in full at <www.worksafe.wa.gov.au>.
The importance of safe work practices cannot be emphasised enough, and this is especially true when you are dealing with or operating machinery or tools. It is vital – and your responsibility – to ensure your own safety and the safety of your colleagues. Both the general and specifi c safety precautions of the Act are essential work practices in the furniture-making industry, and to contravene these precautions is to contravene Section 20 of the Act. In addition to the disciplinary issues that a student will face at college for contravening these precautions, if the issue is reported to WorkSafeWA, the student may be subject to the penalties imposed on workers under Section 20A of the Act.
Safe operating procedures for hand tools and power tools
General work-area safety
Students/trainees must:
• seek the appropriate permission before using any machines or power tools
• wear goggles or eye shields when using machines such as saws, sanders, grinders and routers, which produce dust, chips and shavings
• adopt responsible behaviour when working in a workshop environment – no running, no fooling around
• make sure there is adequate working space in which to operate hand tools, power tools and machines safely
• remove rubbish from the fl oor around the bench or work area before starting work
• maintain a safe level of cleanliness in the immediate work area – clear and dispose of all off-cuts and scrap as soon as they are identifi ed
• assume full control of the switches and controls of power tools and machines – do not allow interference from anyone
• concentrate fully on the task at hand and do not allow yourself to be distracted whilst using hand tools, power tools or machines
• direct observers to stand at a safe distance away from the work area and/or from the task being performed.
BC2015 © VET (WA) Ministerial Corporation 2013
Safety when using toolsSection 11
74
General safety precautions
• Disconnect tools/machines from the power source by removing the plug from the outlet before you make any adjustments to them or fi t any cutting tools or accessories. These precautions must be taken to prevent tools from being switched on accidentally while they are being set up, which could cause severe injury.
• Always ensure that the piece of work is securely clamped. Never hold it in your hands or support it on your knees as you will risk the cutting edges coming into contact with your hands or legs. The piece of work may also end up moving too rapidly towards the rotation of the cutting edge.
• Wear eye protection and hearing protection and, where appropriate, a respiratory protector when using power tools. In the long term, exposure to dust from some types of wood may cause lung disease or respiratory problems.
• Don’t over-reach. Maintain proper footing and balance at all times.
• Maintenance instructions for tools will vary according to the type of tool involved and its brand name. However, always check that the power lead, extension cord, switches and machine casing are in good condition before you use the tool. If you fi nd a fault, report it immediately. Do not attempt to fi x it yourself.
• Ensure that loose clothing does not become entangled in the machine by rolling up long sleeves and tucking in baggy shirts. Your footwear should provide reasonable protection; steel-capped shoes or boots are best, while sneakers give minimum protection. Open footwear (such as sandals and thongs) is illegal in the workshop. Long hair must be contained within a cap or hairnet.
• Keep guards in place and in proper working order.
• Keep hands away from cutting edges while the tool or machine is in operation.
• Keep the work area clean. Clutter in work areas and on benches can cause accidents.
• Don’t force tools to do what they are designed to do easily. Operate them at the feed rates for which they have been designed.
• Make sure that all adjusting keys and/or wrenches have been removed from the tool before running it. Get into the habit of checking these items.
75
Use Furniture-Making-Sector Hand Tools and Power Tools
© VET (WA) Ministerial Corporation 2013 BC2015 75
Pneumatic-tool operator safety instructions
Safety precautions
Your tools have been designed, produced and inspected with safety in mind. However, there are some basic safety precautions that the operator should always take. These include:
• never operating or working in the vicinity of the tool in use without wearing proper eye protection, including side shields
• never assuming that the tool is empty
• never pointing the tool at anyone, even if you think it is empty or disconnected
• never operating the tool unless it is in contact with the piece of work
• never tampering with, disabling or removing the safety device
• never leaving the work area for any extended period of time without disconnecting the tool from the airline
• never directing the air jet at your body and, in particular, your face when disconnecting an airline – care should be taken at all times
• never allowing the air pressure to exceed the maximum marked on the tool, always checking the air pressure gauge at least twice daily and not operating with bottled air or gases
• never letting anyone use the tool unless they have been properly trained
• never allowing the tool to be within reach of children
• never operating a dirty tool and always cleaning the tool at least once a day, lubricating it if required
• never dropping the tool or hitting it against hard surfaces, as it may damage or break the external body
• never carrying the tool with the trigger depressed
• never loading a tool with the trigger depressed
• never clamping the trigger in a locked operating position
• never using fasteners other than those specifi cally designed and recommended for use in the tool and the work to be done
• never using the tool in the vicinity of fl ammable or explosive materials, as a spark may result if the fastener hits a metal object.

BC2015 © VET (WA) Ministerial Corporation 2013
Safety when using toolsSection 11
76
In case of tool malfunction:
• stop using the tool as soon as there is any indication of malfunction
• disconnect it from the airline immediately and remove all fasteners from the magazine
• do not reconnect the airline until the tool has been thoroughly repaired and inspected
• never set aside a malfunctioning tool without tagging the air inlet or turning it over to the person responsible for its repair.
Personal Protective Equipment (PPE)
What is the purpose of PPE?
PPE is equipment used to eliminate or reduce the exposure to or contact with physical or chemical agents that may cause injury or sickness.
It includes:
• eye protection
• hearing protection
• skin protection
• head protection
• body protection
• feet protection
• respiratory system protection.
77
Use Furniture-Making-Sector Hand Tools and Power Tools
© VET (WA) Ministerial Corporation 2013 BC2015 77
Safety precautions
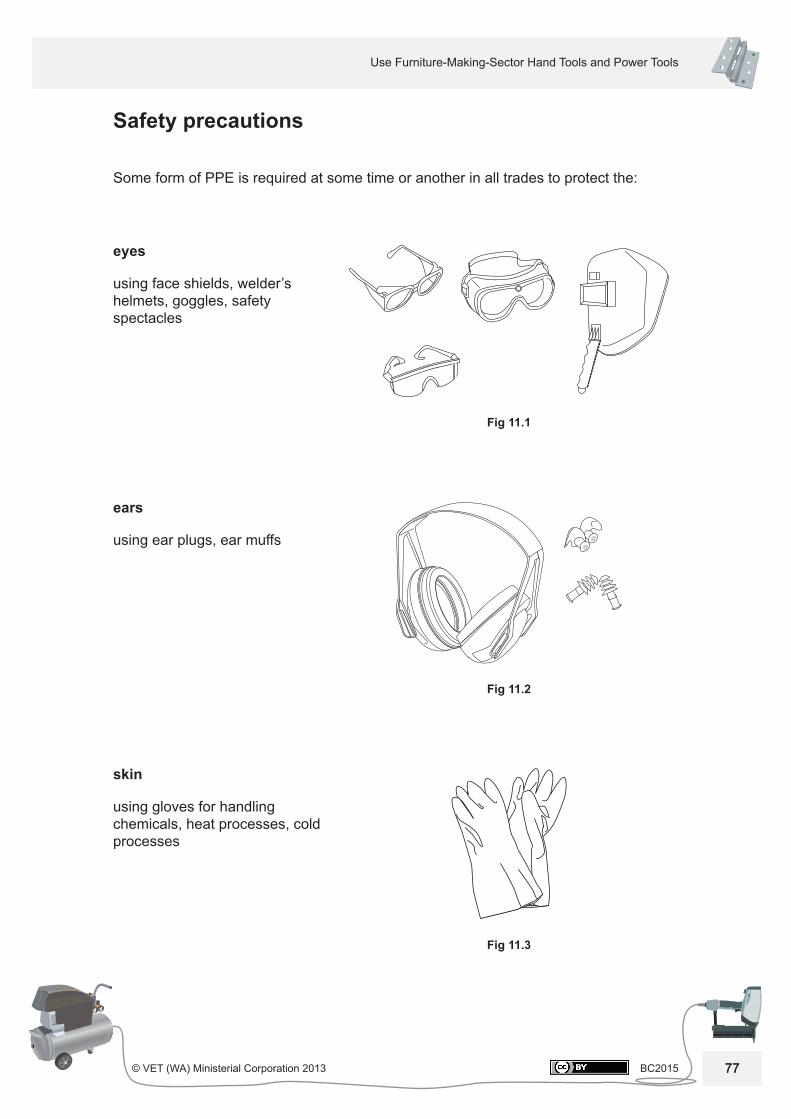
Some form of PPE is required at some time or another in all trades to protect the:
eyes
using face shields, welder’s helmets, goggles, safety spectacles
Fig 11.1
ears
using ear plugs, ear muffs
Fig 11.2
skin
using gloves for handling chemicals, heat processes, cold processes
Fig 11.3
BC2015 © VET (WA) Ministerial Corporation 2013
Safety when using toolsSection 11
78
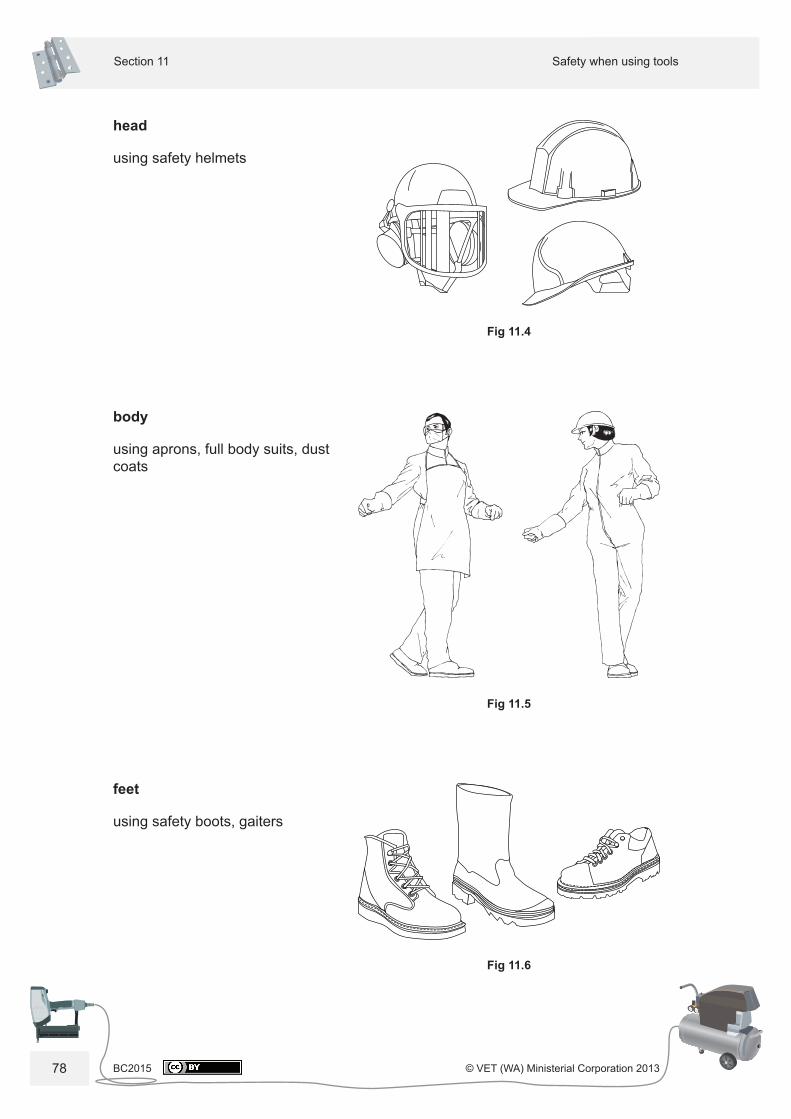
head
using safety helmets
Fig 11.4
body
using aprons, full body suits, dust coats
Fig 11.5
feet
using safety boots, gaiters
Fig 11.6
79
Use Furniture-Making-Sector Hand Tools and Power Tools
© VET (WA) Ministerial Corporation 2013 BC2015 79
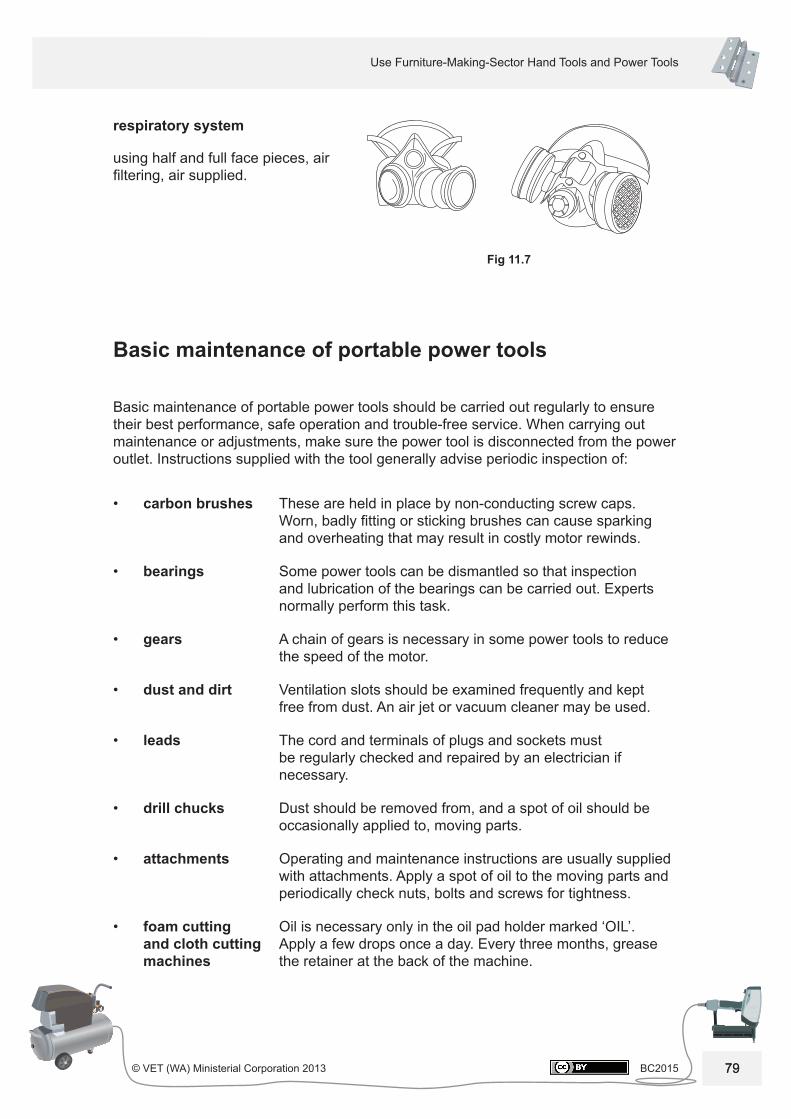
respiratory system
using half and full face pieces, air fi ltering, air supplied.
Fig 11.7
Basic maintenance of portable power tools
Basic maintenance of portable power tools should be carried out regularly to ensure their best performance, safe operation and trouble-free service. When carrying out maintenance or adjustments, make sure the power tool is disconnected from the power outlet. Instructions supplied with the tool generally advise periodic inspection of:
• carbon brushes These are held in place by non-conducting screw caps. Worn, badly fi tting or sticking brushes can cause sparking and overheating that may result in costly motor rewinds.
• bearings Some power tools can be dismantled so that inspection and lubrication of the bearings can be carried out. Experts normally perform this task.
• gears A chain of gears is necessary in some power tools to reduce the speed of the motor.
• dust and dirt Ventilation slots should be examined frequently and kept free from dust. An air jet or vacuum cleaner may be used.
• leads The cord and terminals of plugs and sockets must be regularly checked and repaired by an electrician if necessary.
• drill chucks Dust should be removed from, and a spot of oil should be occasionally applied to, moving parts.
• attachments Operating and maintenance instructions are usually supplied with attachments. Apply a spot of oil to the moving parts and periodically check nuts, bolts and screws for tightness.
• foam cutting and cloth cutting machines
Oil is necessary only in the oil pad holder marked ‘OIL’. Apply a few drops once a day. Every three months, grease the retainer at the back of the machine.
BC2015 © VET (WA) Ministerial Corporation 2013
Safety when using toolsSection 11
80
• saw blades Ensure their effi cient and safe use by keeping saw blades sharp and maintained correctly. Remove the saw blade periodically to remove the build-up of dust and resin from inside the guards.
• Remove the resin using a solvent.
• Masonry dust may require removal by compressed air.
• Clean the resin from the saw blades using a solvent.
Very blunt saw blades, or blades that have been lightly sharpened several times, should be sent to a saw doctor for setting, gulleting and sharpening.
In the case of tungsten-tipped blades, the tips should be faced (sharpened) when blunt.
• power-planer cutter maintenance
Gapped or very blunt cutters need grinding. Many cutters, particularly those with tungsten carbide tips, are sent to a saw doctor. To hone freshly ground or blunt cutters, adhere to the following procedures.
1. Insert the cutters into the honing guide (usually supplied as a standard accessory).
2. Keep the cutters as an exact pair by keeping the back edge of the cutters tightly against the shoulders of the guide.
3. Hone the cutters on an oilstone using a suitable lubricant.
4. Take the cutters from the guide and lightly remove the burr from the face of the cutters.
81
Use Furniture-Making-Sector Hand Tools and Power Tools
© VET (WA) Ministerial Corporation 2013 BC2015 81
Use Furniture-Making-Sector Hand Tools and Power Tools
Section 12 – Quizzes
Complete the following quizzes to check your progress.
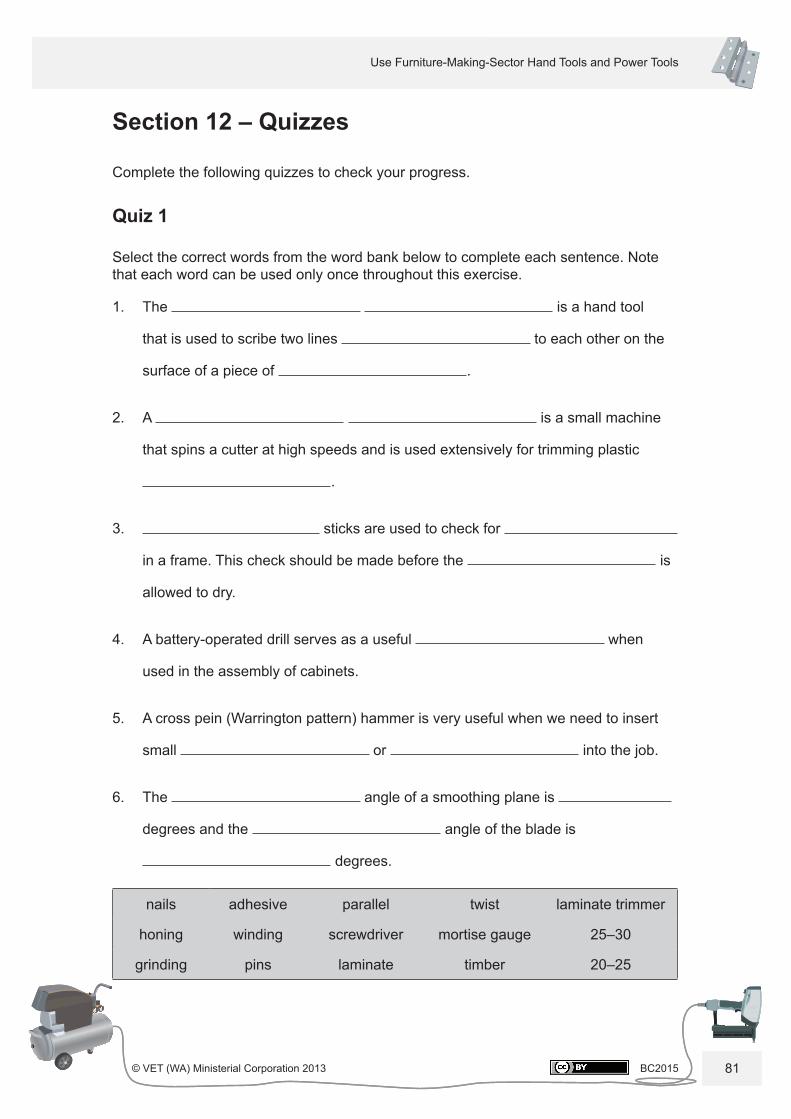
Quiz 1
Select the correct words from the word bank below to complete each sentence. Note that each word can be used only once throughout this exercise.
1. The is a hand tool
that is used to scribe two lines to each other on the
surface of a piece of .
2. A is a small machine
that spins a cutter at high speeds and is used extensively for trimming plastic
.
3. sticks are used to check for
in a frame. This check should be made before the is
allowed to dry.
4. A battery-operated drill serves as a useful when
used in the assembly of cabinets.
5. A cross pein (Warrington pattern) hammer is very useful when we need to insert
small or into the job.
6. The angle of a smoothing plane is
degrees and the angle of the blade is
degrees.
nails adhesive parallel twist laminate trimmer
honing winding screwdriver mortise gauge 25–30
grinding pins laminate timber 20–25
Contents
BC2015 © VET (WA) Ministerial Corporation 201382
QuizzesSection 12
82
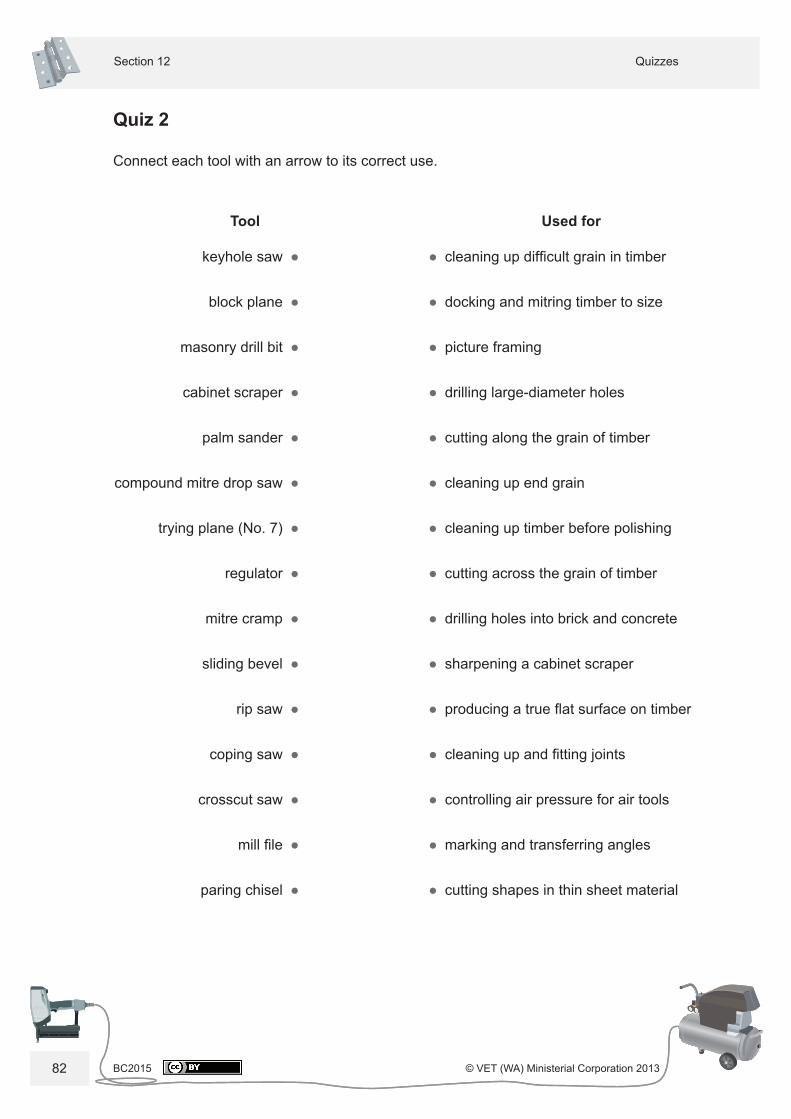
Quiz 2
Connect each tool with an arrow to its correct use.
Tool Used for
keyhole saw ● ● cleaning up diffi cult grain in timber
block plane ● ● docking and mitring timber to size
masonry drill bit ● ● picture framing
cabinet scraper ● ● drilling large-diameter holes
palm sander ● ● cutting along the grain of timber
compound mitre drop saw ● ● cleaning up end grain
trying plane (No. 7) ● ● cleaning up timber before polishing
regulator ● ● cutting across the grain of timber
mitre cramp ● ● drilling holes into brick and concrete
sliding bevel ● ● sharpening a cabinet scraper
rip saw ● ● producing a true fl at surface on timber
coping saw ● ● cleaning up and fi tting joints
crosscut saw ● ● controlling air pressure for air tools
mill fi le ● ● marking and transferring angles
paring chisel ● ● cutting shapes in thin sheet material
83
Use Furniture-Making-Sector Hand Tools and Power Tools
© VET (WA) Ministerial Corporation 2013 BC2015 83
Use Furniture-Making-Sector Hand Tools and Power Tools
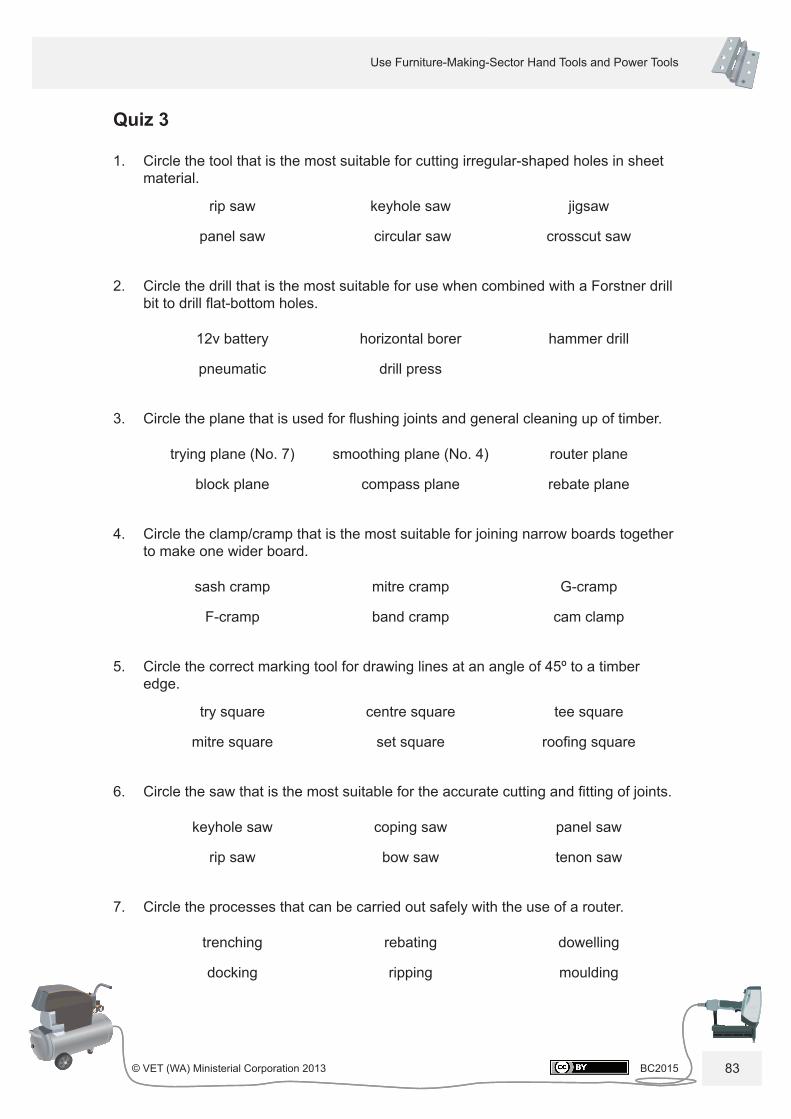
Quiz 3
1. Circle the tool that is the most suitable for cutting irregular-shaped holes in sheet material.
rip saw keyhole saw jigsaw
panel saw circular saw crosscut saw
2. Circle the drill that is the most suitable for use when combined with a Forstner drill bit to drill fl at-bottom holes.
12v battery horizontal borer hammer drill
pneumatic drill press
3. Circle the plane that is used for fl ushing joints and general cleaning up of timber.
trying plane (No. 7) smoothing plane (No. 4) router plane
block plane compass plane rebate plane
4. Circle the clamp/cramp that is the most suitable for joining narrow boards together to make one wider board.
sash cramp mitre cramp G-cramp
F-cramp band cramp cam clamp
5. Circle the correct marking tool for drawing lines at an angle of 45º to a timber edge.
try square centre square tee square
mitre square set square roofi ng square
6. Circle the saw that is the most suitable for the accurate cutting and fi tting of joints.
keyhole saw coping saw panel saw
rip saw bow saw tenon saw
7. Circle the processes that can be carried out safely with the use of a router.
trenching rebating dowelling
docking ripping moulding
Contents
BC2015 © VET (WA) Ministerial Corporation 201384
QuizzesSection 12
84
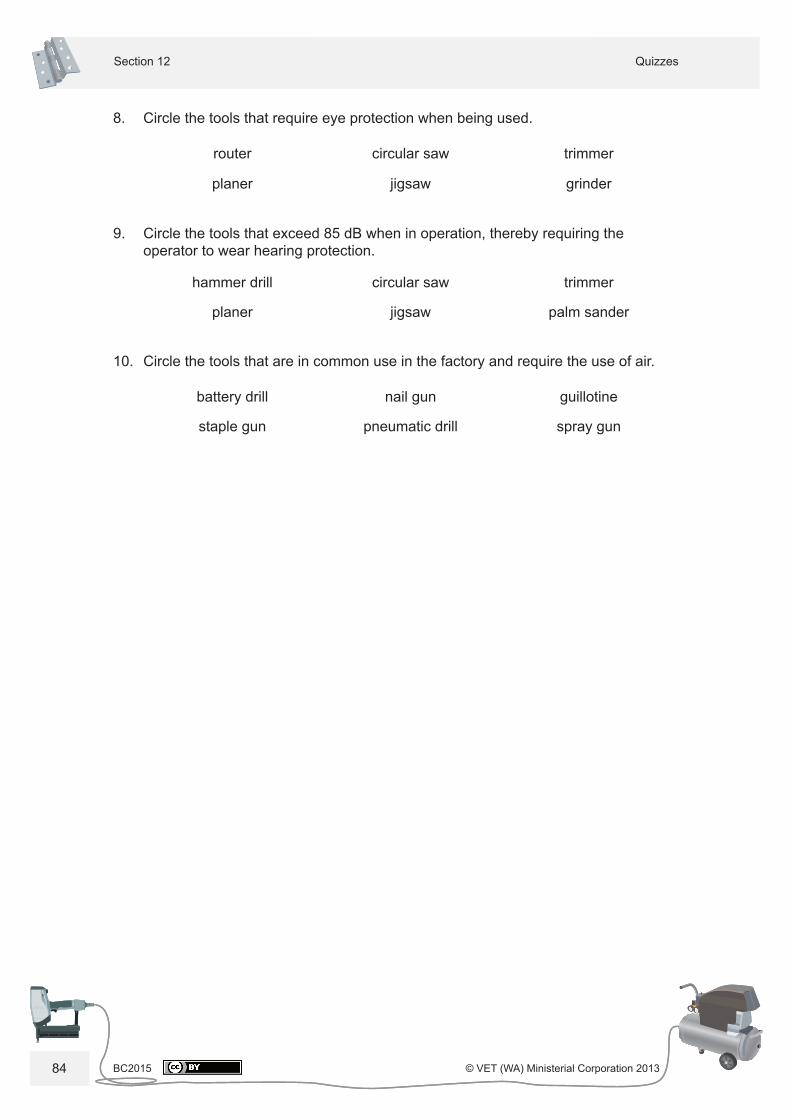
8. Circle the tools that require eye protection when being used.
router circular saw trimmer
planer jigsaw grinder
9. Circle the tools that exceed 85 dB when in operation, thereby requiring theoperator to wear hearing protection.
hammer drill circular saw trimmer
planer jigsaw palm sander
10. Circle the tools that are in common use in the factory and require the use of air.
battery drill nail gun guillotine
staple gun pneumatic drill spray gun

Use Furniture-Making-Sector Hand Tools and Power ToolsLearner’s Guide
9 7 8 1 7 4 2 0 5 8 8 9 4
BC2015 USE FURNITURE-MAKING-SECTOR HAND
TOOLS AND POWER TOOLSISBN 978-1-74205-889-4
ORDERING INFORMATION:Tel: (08) 6212 9700 Fax: (08) 9227 8393 Email: [email protected] can also be placed through the website: www.vetinfonet.dtwd.wa.gov.au
DESCRIPTIONThis learner’s guide has been developed to assist in the delivery of Certificate I, II and III in furniture-making and cabinet-making qualifications within the furnishing training package. It contains information and activities that cover the types of hand tools and power tools, workplace safety requirements and workflow in the workplace for the learner to work through.
EDITIONSecond edition
CATEGORYBuilding and Construction
RELATED PRODUCTSBC2012 Work Safely in the Furniture-Making IndustryBC2013 Join Solid TimberBC2014 In the WorkshopBC2017 Apply Sheet Laminates by HandBC2018 Prepare Surfaces for Finishing BC2019 Hand Make Timber Joints
Produced by VET (WA) Ministerial Corporation
BC2015