unit 5 – html tables instructor: brent presley
TRANSCRIPT

Unit 5 – HTML Tables
Instructor: Brent Presley
Instructor’s Notes Creating a Website
Web Programming 152-150
Creating Website Links
Notes Activity Text References
Creating On-Page Links Pages 142 – 144 Linking to Another Site Page (Basics) Pages 142 – 144 Absolute vs. Relative Paths Pages 142 – 144 Linking to Another Site Pages 142 – 144 Creating an Email Link Pages Showing Links in a New Window Pages Using Images as Links Pages
Creating On-Page Links
Before learning how to link multiple pages in a website together, we’ll learn the basics of links by creating links to other places on a page
Before you can create a link, you need to designate the target of that link.
Add an ID attribute to the element you want to link to <h1 id="Section 1">Section 1 Title</h1> ID attributes are relatively new. Earlier versions of
HTML used anchor tags. HTML 5 uses id. To create the actual link, you surround the text (or image)
you want to use as a link with an <a> tag. Inside the <a> opening tag, you include an href
(hypertext reference) attribute that designates where the browser should jump to. <a href="#id">Your Link Text Here</a>
Because we’re jumping to a location on the current page, the href value must start with a # that is followed by one of this page’s IDs.
Review index.html Set <nav li> list-style-type to none Line-height:200% To display inline, need to set <li> display:inline Center Shade Add IDs to six major headings

ASSIGNED READING
• Chapter 4, Page 146-149

PLANNING
– Tables are used to create tables/columns of data on a web page.• Tables can also be used to align text and images in almost any
fashion you want on a web page, but current guidelines recommend you use div tags whenever possible instead.
– Creating tables on the fly can be a very difficult process, particularly if the tables are complex and even more so if you need to embed one table within another.
– Consider making a drawing that shows how you want your table cells to appear.
DEFINING A TABLE STRUCTURE
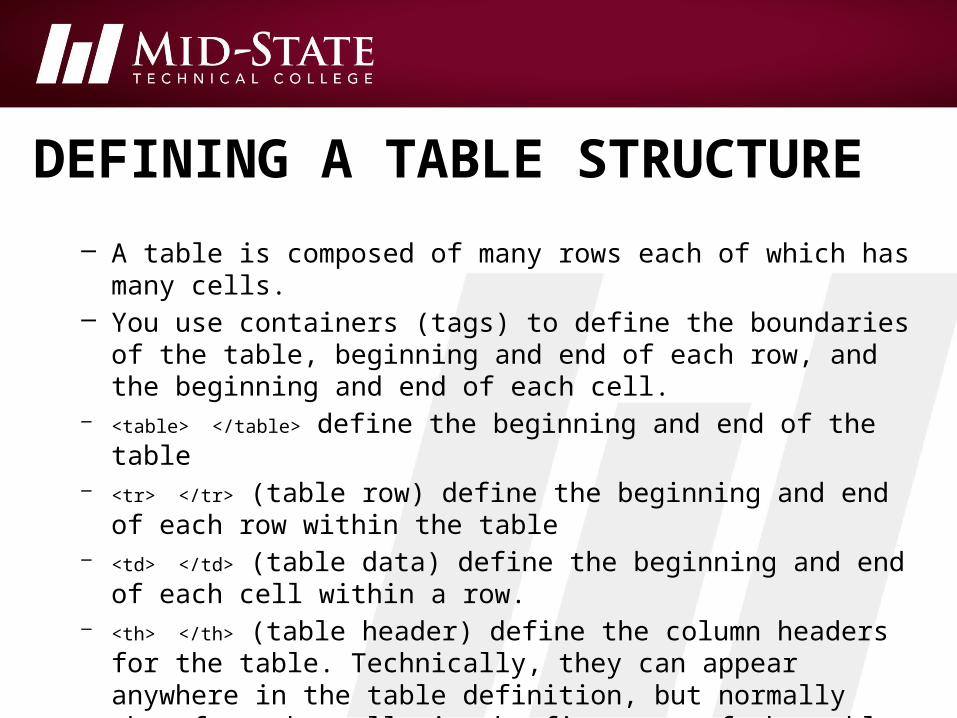
– A table is composed of many rows each of which has many cells. – You use containers (tags) to define the boundaries of the table,
beginning and end of each row, and the beginning and end of each cell.
– <table> </table> define the beginning and end of the table– <tr> </tr> (table row) define the beginning and end of each row within
the table– <td> </td> (table data) define the beginning and end of each cell within
a row.– <th> </th> (table header) define the column headers for the table.
Technically, they can appear anywhere in the table definition, but normally they form the cells in the first row of the table.
• Headers work just like td’s except they are automatically boldfaced and centered in the cell.

DEFINING A TABLE STRUCTURE
• Tables can also include a caption that appears either above or below the table.
<caption style="caption-side:position; text-align:alignment; "> your caption’s text here
</caption>
• NOTE: the align="position" element is deprecated.– Position can be :
top (positioned above table)bottom (below table)
• Text-align is specified just like text: left, center, right– Default is center
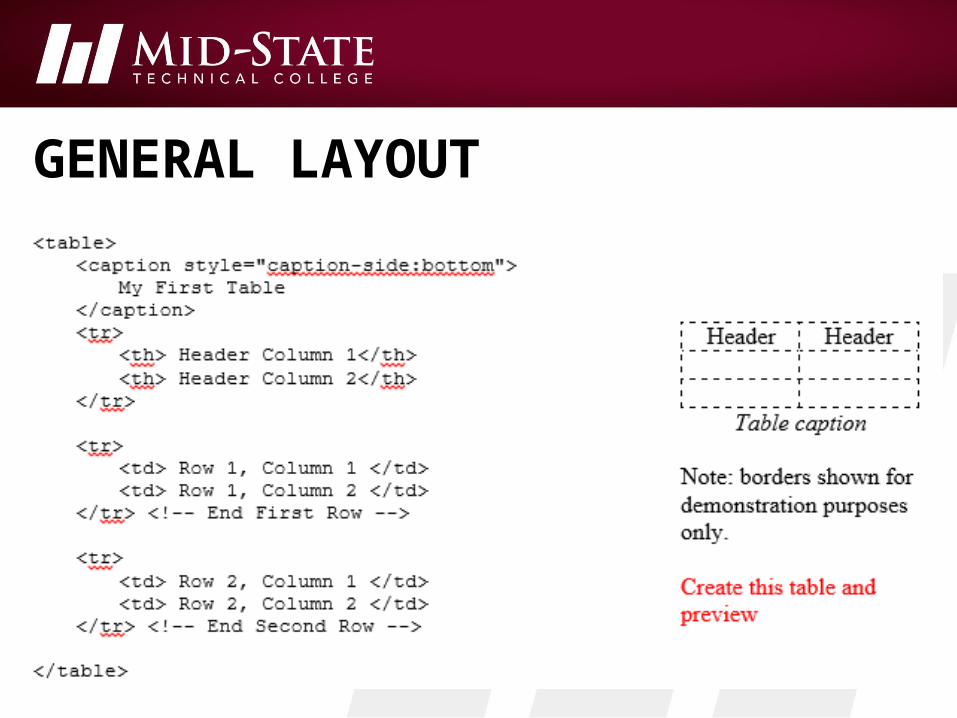
GENERAL LAYOUT
DEFINING A TABLE STRUCTURE
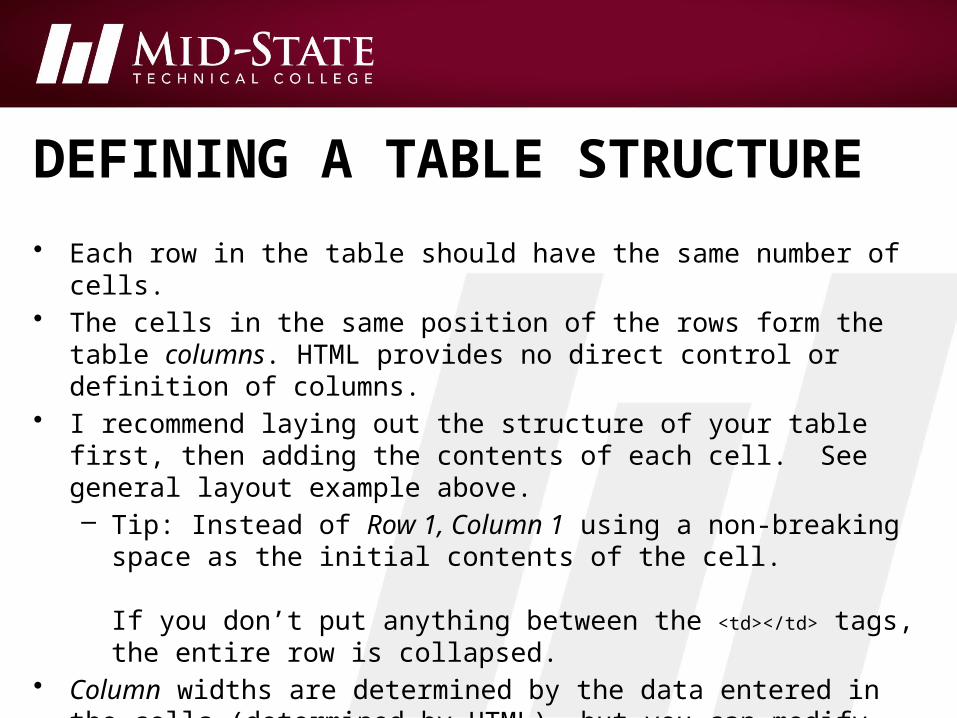
• Each row in the table should have the same number of cells.• The cells in the same position of the rows form the table columns.
HTML provides no direct control or definition of columns.• I recommend laying out the structure of your table first, then adding the
contents of each cell. See general layout example above.– Tip: Instead of Row 1, Column 1 using a non-breaking space as the
initial contents of the cell.
If you don’t put anything between the <td></td> tags, the entire row is collapsed.
• Column widths are determined by the data entered in the cells (determined by HTML), but you can modify them using table styles.
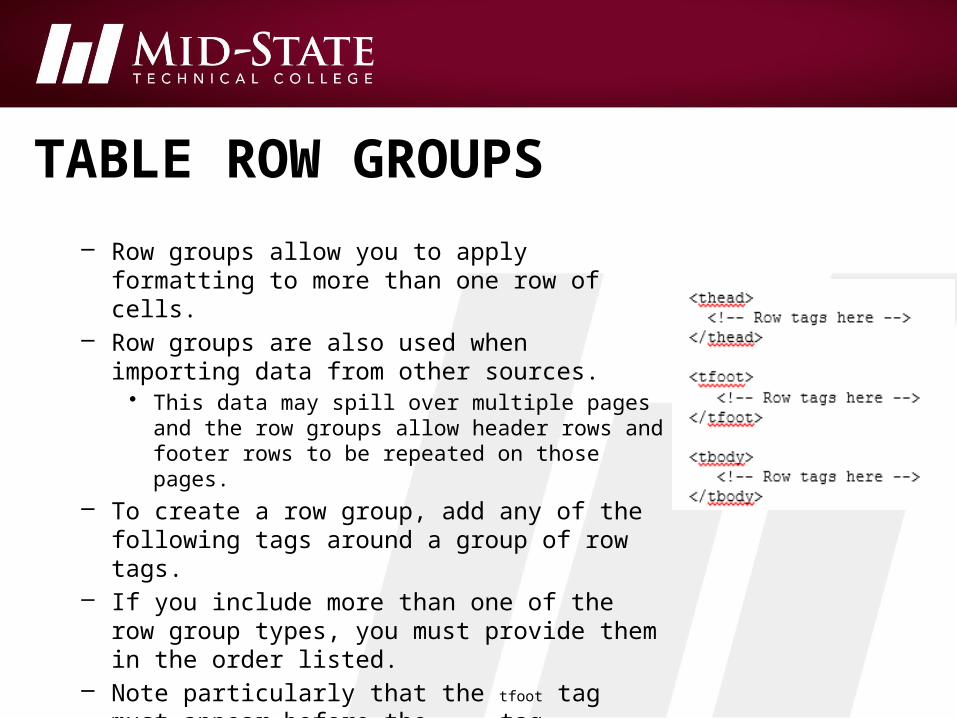
TABLE ROW GROUPS
– Row groups allow you to apply formatting to more than one row of cells.
– Row groups are also used when importing data from other sources.
• This data may spill over multiple pages and the row groups allow header rows and footer rows to be repeated on those pages.
– To create a row group, add any of the following tags around a group of row tags.
– If you include more than one of the row group types, you must provide them in the order listed.
– Note particularly that the tfoot tag must appear before the tbody tag.
– If you include more than one of the row group types, you must provide them in the order listed.

TABLE BORDERS
• NOTE: the border= bordercolor= bordercolorlight= bordercolordark=
attributes are all deprecated.• By default, tables appear without borders• By adding styles to the table tag, you can control how borders display in the table
• Tables include two types of the borders:– Outside borders of the table
• Controlled in the table tag– Inside borders of the table
• Controlled in the table data (td) tag– Both are defined using a 3-part style
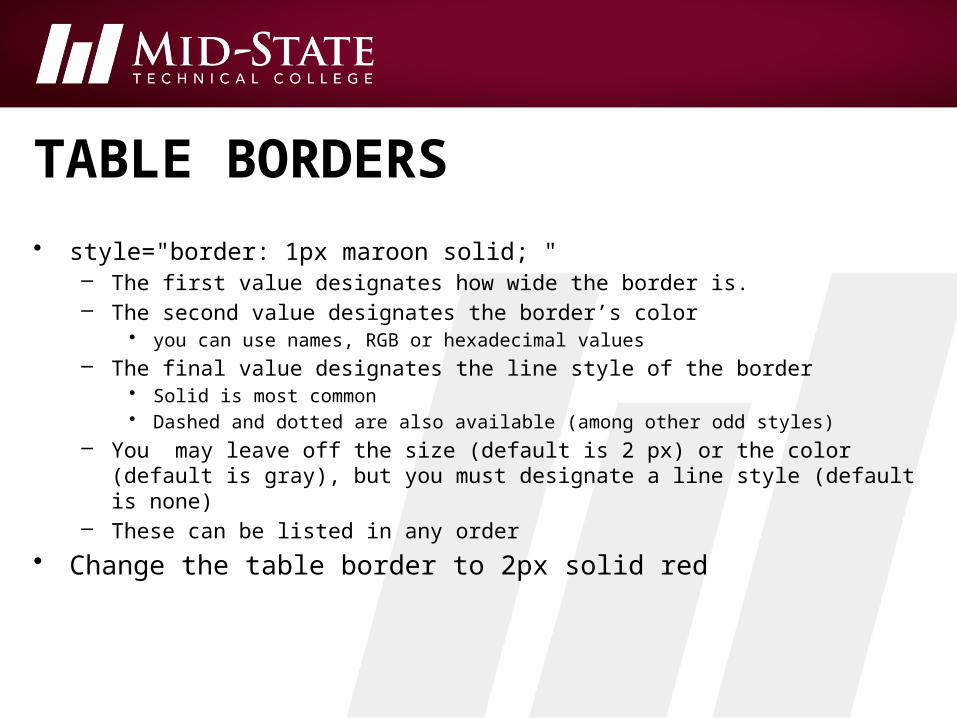
TABLE BORDERS
• style="border: 1px maroon solid; "– The first value designates how wide the border is.– The second value designates the border’s color
• you can use names, RGB or hexadecimal values– The final value designates the line style of the border
• Solid is most common• Dashed and dotted are also available (among other odd styles)
– You may leave off the size (default is 2 px) or the color (default is gray), but you must designate a line style (default is none)
– These can be listed in any order
• Change the table border to 2px solid red

MANAGING INSIDE TABLE BORDERS
• Inside border issues– First of all, it’s a pain to have to designate a border style for every
cell tag in a table (particularly if the table is large)• To simplify designating the borders of all cells (td) we’ll use CSS• Define a style that will be applied to all the <td> tags (embedded or
external)
<head> <style type="text/css"> td {border: blue 1px solid} </style></head>
• There is space between the inside border (see Cell Spacing below)• The inside borders seem to be twice as thick (if cell spacing is 0).
– Actually the borders of neighboring cells are both displaying next to each other.
• The cell borders and the table borders both display where they are adjacent to each other

BORDER SPACING
• If you want the extra spacing between borders, you can control how much space is between the borders using the border-spacing style in the table tag
style="border-spacing:5px; "
– Default value is 2 pixels• Controls the width of the space between borders
– Minimum=0, but borders still display as long as there’s a table border
• The borders of both adjacent cells display so borders appear twice as thick as when you use the border-collapse style
BORDER SPACING
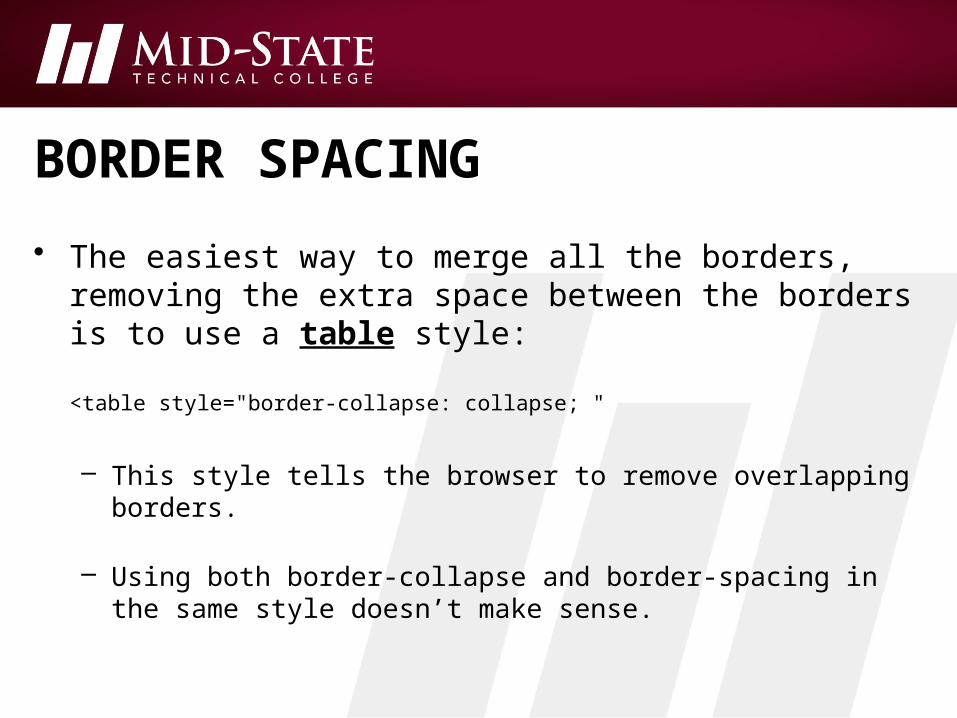
• The easiest way to merge all the borders, removing the extra space between the borders is to use a table style:
<table style="border-collapse: collapse; "
– This style tells the browser to remove overlapping borders.
– Using both border-collapse and border-spacing in the same style doesn’t make sense.

UNIT 5 EXAMPLE
• Change border-spacing value from 5 to 10, then from 10 to 0 and observe the changes
• Set table style to collapse borders

CELL PADDING
– (Cell style) padding:"value"
• Controls the spacing between the data within the cell and the cell borders (all four borders).
• Default is 0, but text often looks crowded in the cell.• Be sure to designate the measurement type for value• This style needs to be applied to each cell (td) in the table.
– Include in embedded style used to set cell borders• padding: 10px 5px 10px 5px;
– Applies a 10px padding to top; 5px padding to the right, 10px padding to the bottom and 5px padding to the left sides of the cell
– Note these measurements (top, right, bottom, left) are designated in clockwise order.
• padding-top: 10px;– Applies a 10px padding to the top sides of the cell– padding-right, padding-bottom and padding-left available

UNIT 5 EXAMPLE
• Change cell padding from 2 to 5 to 10 (final at 5)

TABLE SIZE
• Initially, a table’s width is determined by the width of its columns whose width is determined by the width of the cells within the column whose width is determined by the widest item in each column– This is very flexible but may give your table an unbalanced look– You can control this width by setting the table’s width combined with setting
the column (cell) width.• You can control the total width of the table using a style within the table tag
– width:value;– Value is normally designated as a percentage (e.g. 80%) or in pixels (px)
• If you use pixels, the table will always be the same size regardless of the window size. Percent will scale to window size
– NOTE: the width= and height= attributes (not in a style) are deprecated.• Table height is rarely specified. Table height is normally, automatically based on
the number of rows in the table and height of those rows.

TABLE ALIGNMENT
– Tables can be aligned with the surrounding text (text wraps around table)
– In the table tag add:• style="float:left"
Table at left margin, text wraps around right side• style="float:left"
Table aligns on right margin, text wraps around left side• Note, there is no float:center. You can’t wrap text around both sides
of a table.– You can however center a table between the margins of the page
(window)
• <table style=”margin-left:auto; margin-right:auto;”>
UNIT 5 EXAMPLE
• Size the table to 80% width• Center the table

CELL DATA FORMATTING
– You format the contents of cells exactly the same way you format any other element—using styles• Any non-style cell attribute is deprecated
– If you apply a style to the table tag, the style applies to all cells in the table.
– If you apply a style to a row tag, the style applies to the all the cells in the row.
– If you apply a style to a cell tag, the style only applies to that cell.
– Cell styles override row styles override table styles.
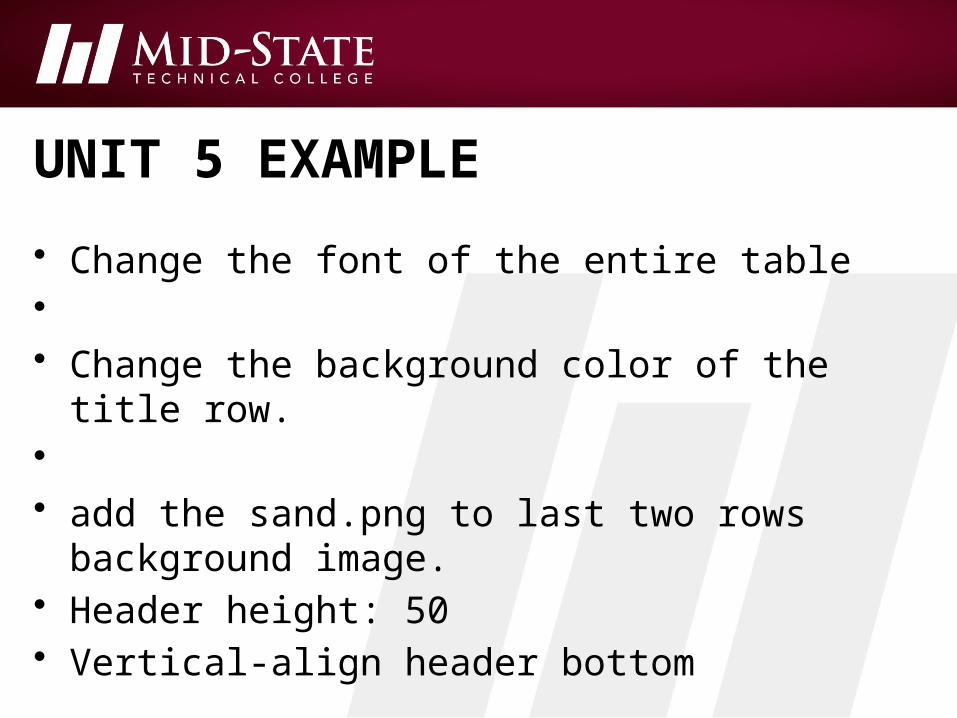
UNIT 5 EXAMPLE
• Change the font of the entire table• • Change the background color of the title row.• • add the sand.png to last two rows background
image.• Header height: 50• Vertical-align header bottom

CELL SIZE
– HTML determines the size of a cell (and therefore a column) based on the data within the cell and the total space required for all cells.
• If you have set a table width, the column width is also dependent on the width of the table.
– You can control the width of columns.• If the data (text) in the cell doesn’t fit, HTML will wrap the text to a new
line, automatically expanding the cell’s height.– NOTE: the width= and height= attributes (not in a style) are deprecated.
– You can also change the height of a cell (or row), but this is less often used. Generally, the height of the row is left to HTML to determine.

CELL SIZE
• Adding the width and/or height to the td tag(s) allows you to change the width or height of an individual cell and its corresponding column of cells.– HTML automatically adjusts the width of all cells in a column to the size of
the largest cell in the column– Specifying a width for a cell will prevent the cell’s column from resizing as
the table (via the window) resizes.– The cell width will never be larger than you specify; however, the cell
(column) may become narrower if the user shrinks the table an extreme amount
– Cells will never shrink smaller than the width of the longest word in the cell (column)
• Again width and height can be specified as either pixels or a percentage.– Percentage here refers to percentage of the overall table size.– If you specify a total number of pixels that exceed table size, HTML will
either adjust the table size or scroll as appropriate.• Tip: Always leave the width of one column (and only one column)
unspecified. This column will then stretch to fill the table regardless of the window or table size
CELL SIZE
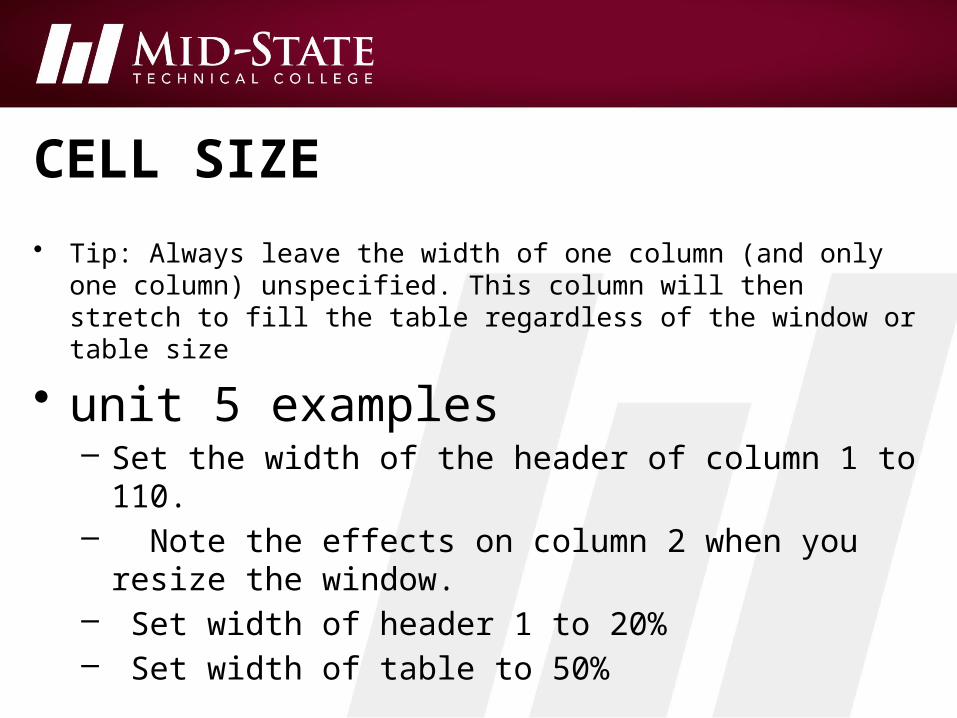
• Tip: Always leave the width of one column (and only one column) unspecified. This column will then stretch to fill the table regardless of the window or table size
• unit 5 examples– Set the width of the header of column 1 to 110.– Note the effects on column 2 when you resize the
window.– Set width of header 1 to 20%– Set width of table to 50%
SPANNING ROWS/COLUMNS
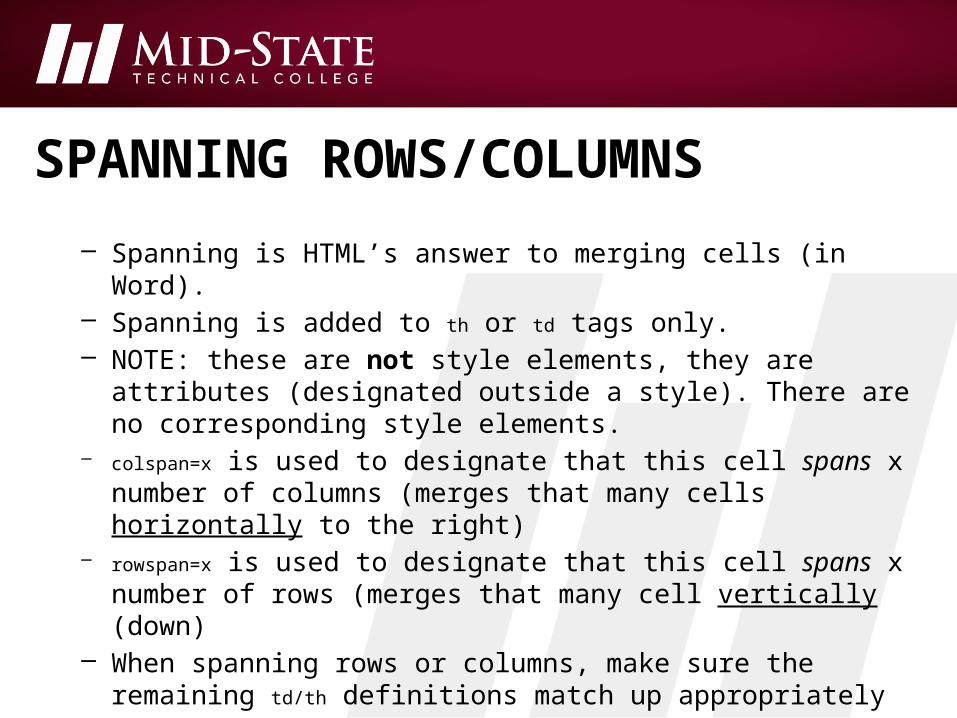
– Spanning is HTML’s answer to merging cells (in Word).– Spanning is added to th or td tags only. – NOTE: these are not style elements, they are attributes (designated
outside a style). There are no corresponding style elements.– colspan=x is used to designate that this cell spans x number of
columns (merges that many cells horizontally to the right)– rowspan=x is used to designate that this cell spans x number of rows
(merges that many cell vertically (down)– When spanning rows or columns, make sure the remaining td/th
definitions match up appropriately• Ensure each row in the table has the same number of cells (either
individual or spanned).
• When designating a cell that spans rows, that cell’s definition is only included as part of the first row spanned.

TABLE TIPS
• Indent each <tr> and <td> tag properly.• Place comments at the beginning of each row describing what it holds
(where possible)• Instead of removing td tags to allow for spans, comment them out:
<!-- td> </td -->
• Whenever you enter a colspan=x tag, remove x td tags from the row immediately after the td tag with the colspan in it.
• Whenever you enter a rowspan=x tag, remove 1 td tag from each of the following x rows.
• Build your table one cell (span) at a time.• Work from the top down, left to right.
IN CLASS PROJECT –CREATE THIS TABLE

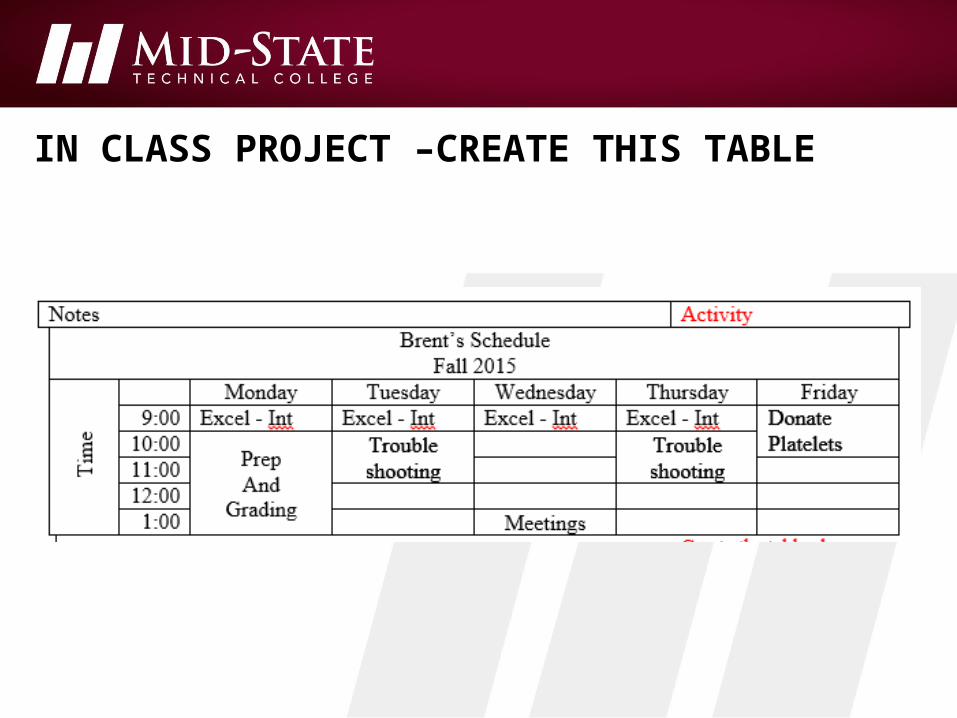
IN CLASS PROJECT• 7 columns, 7 rows
– Tip: place a non-breaking space in each cell.
• Add comments to beginning of each row describing purpose.• Merge all the cells in the first row. Add text• In row 2: span the first cell for 6 rows. Remove one cell from each of the following rows.• Add days.• Add times (right-aligned, width=45)• Enter Excel• Enter Prep And Grading (row span 4) remove a blank cell from following rows.• Enter Troubleshooting• Enter Donating Platelets• Enter Meetings• Set each column (Mon-Fri) to 18% of width

IN CLASS PROJECT• Merge all cells under platelets• • Insert a 3 row, 3 column table (no borders)• • Merge the top & bottom row.• Use sad face to fill merged cells the middle left and middle right cells• In the middle cell and an unordered list of weekend tasks:• Vacuum• Scrub toilets• Grading• More prep• Laundry

IN CLASS PROJECT
– In addition to using the border: and border-color: styles described above, you can also control the border style and color of individual borders of the table or a cell
– Set the three values (width, style, color) of a designated border:border-top: border-bottom: border-left: border-right:
– Set the style of a designated border:border-top-style: border-bottom-style:border-left-style: border-right-style:
– Set the color of a designated border:border-top-color: border-bottom-color:border-left-color: border-right-color:
– Set the width of a designated border:border-top-width: border-bottom-width:border-left-width: border-right-width:
• This site has a cool try it feature for all table styles: http://www.somacon.com/p141.php