tutorial: mixvibes dvs le with vista - dj-tech … mixvibes dvs le with vista this tutorial explains...
TRANSCRIPT

Tutorial: MixVibes DVS LE with Vista
This tutorial explains how to use MixVibes DVS LE with Vista and the ASIO4ALL drivers. We will
also use the internal computer audio card and the USB audio card supplied.
This configuration requires the download of ASIO 4 ALL. We are currently working with the
hardware manufacturer to be compatible in Multi Audio as on Windows XP.
STEP 1
- Download the update files (updateDVSLE6412.zip) from
http://www.djtechpro.com/download.asp
- Unzip the file and run “install.exe” or copy the file and replace the file in the folder:
C:\Program Files\MixVibesDVS
STEP 2
- Download the latest version of the ASIO4ALL drivers on this website
http://www.asio4all.com
- Install it on your computer
STEP 3
- Do all the connections
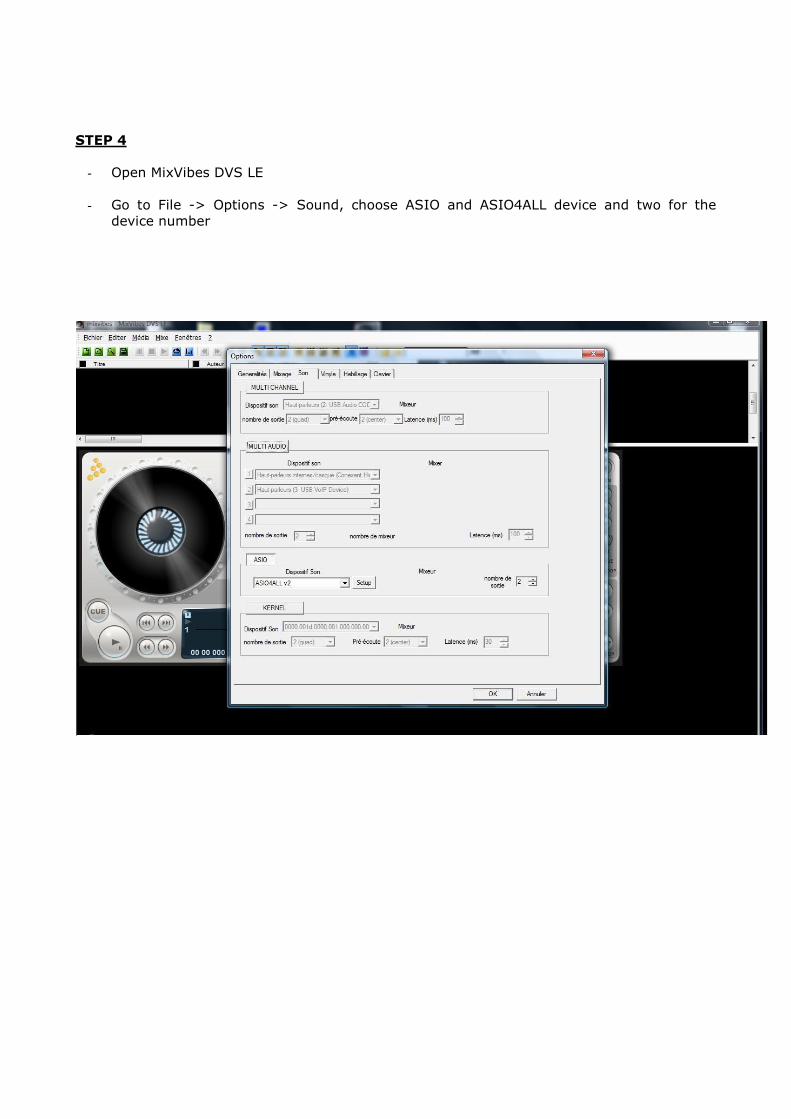
STEP 4
- Open MixVibes DVS LE
- Go to File -> Options -> Sound, choose ASIO and ASIO4ALL device and two for the
device number

STEP 5
- Click on Setup and on Control Panel
- Click on Advanced

- Click on the USB audio card (USB VolP Device) and on Enable. Click on the two USB
Decks (USB Audio CODEC) and on Enable each time. The internal computer audio card
should already be enabling. If it is not, click on this card and on Enable
- Close the control panel window and click OK in the ASIO setup window and OK in the
Options window

STEP 6
- Go back to the control panel. Choose which inputs and outputs you don’t need and click
on Disable each time.
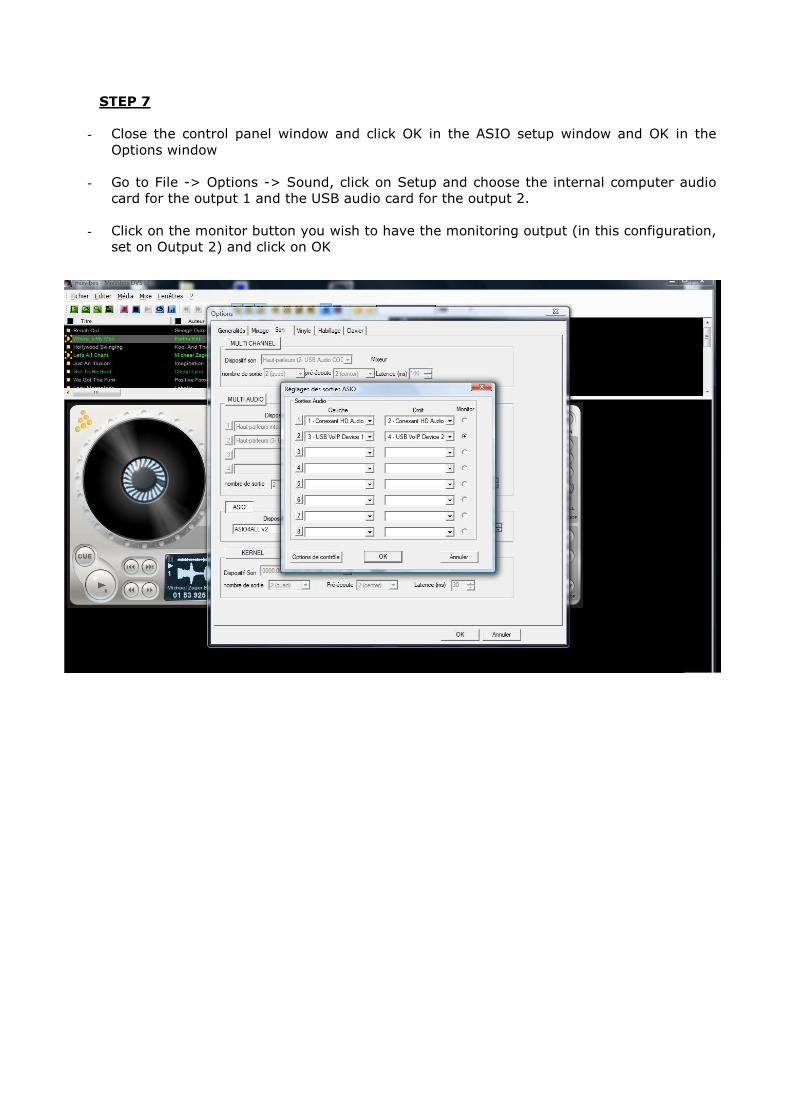
STEP 7
- Close the control panel window and click OK in the ASIO setup window and OK in the
Options window
- Go to File -> Options -> Sound, click on Setup and choose the internal computer audio
card for the output 1 and the USB audio card for the output 2.
- Click on the monitor button you wish to have the monitoring output (in this configuration,
set on Output 2) and click on OK

STEP 8
- Go to File > Options > Vinyl and choose for Audio ASIO and for Source USB Audio Codec
- Then click to Apply and OK