tutorial guide aspire
TRANSCRIPT
Tutorial Video Guide
A guide to the Tutorial Videos included with Aspire V4.0
Vectric Ltd. Document V.1.0

Copyright © 2013 Vectric Ltd. All Rights Reserved. Page | 2
Contents
CONTENTS ................................................................................................................................... 2
INTRODUCTION ........................................................................................................................... 3
GETTING STARTED - A .................................................................................................................. 5
THE BASICS - B ............................................................................................................................. 6
2D & 2.5D CORE CONCEPTS AND FEATURES - C ............................................................................. 7
2D & 2.5D TECHNIQUES - D .......................................................................................................... 9
3D CORE CONCEPTS AND FEATURES - E ....................................................................................... 10
3D TECHNIQUES - F .................................................................................................................... 12
FEATURE REFERENCE VIDEOS - G ................................................................................................ 14
DISCLAIMER ............................................................................................................................... 17
Copyright © 2013 Vectric Ltd. All Rights Reserved. Page | 3
Introduction
There are over 30 hours of videos tutorial supplied with Aspire. This document is designed to give you an
overview of all the videos and how to use them along with a summary of what each example covers and
their duration.
The Getting Started and Basic overview tutorials are on the first Aspire disk; this also has the software
installation and clipart on it. The second disk contains the balance of the tutorials and the files for use
with them; these cover the specifics of learning the tools within the program and how to combine them
to produce parts with your CNC machine. New users are encouraged to work through the tutorials in the
order presented in this manual.
The tutorials can be accessed directly from the disk but you will also get the option to install the
tutorials and their supporting files on your hard disk. The files by default will be located in the
“Documents” folder (under Libraries) in Windows 7 and 8. In older versions of Windows they will be
located in the “My Documents” folder. In either location there will be a sub-folder called “Vectric Files”,
then within that a folder called “Tutorial Files”. Each section has its own folder and sub folders which
share the same numbering system as the videos in this document (example: C04).
Most of the videos have been designed to provide step-by-step instruction which you can follow along
with. You may want to pause the videos while you carry out the steps that are being demonstrated. An
ideal setup if you have it is to use two monitors, one to display the software and one for the video –
although this is not at all essential.
Below is a summary of the type of videos you will find in each tutorial section.
Getting Started – A
These videos are designed to get you up and running with the software, to give you a guide to the
typical work-flow for a job and to introduce you to the tools and interface. There are short and long
versions of each example, to start you can watch the short version to familiarize yourself with that
example then use the longer version with more in-depth explanation to work through it yourself.
The Basics – B
Once you have worked through the Getting Started the videos in this section will give you broader
overviews of what the software can do, give you a more detailed guide to finding your way around the
interface and also explain where to get help and how to use the clipart.
2D & 2.5D Core Concepts and Features – C
This section has a set of 2D and 2.5D example parts which will expose you to the majority of the vector
drawing and editing tools and how to use this data to calculate the standard toolpaths for creating cut-
out parts, V-Carved lettering, drilling, textures and other important features that are the main-stay for

Copyright © 2013 Vectric Ltd. All Rights Reserved. Page | 4
most CNC users. The skills shown in these videos will be fundamental to working with the software
regardless of your main application.
2D & 2.5D Techniques – D
This section continues to work with the drawing and 2D and 2.5D toolpath functions but focuses on
specific techniques such as trouble-shooting problems with imported data, nesting cabinet parts, the V-
Inlay technique, rotary machining and two-sided part cutting.
3D Core Concepts and Features – E
In this section we start to look at the modeling tools in Aspire. The first video gives you a basic
introduction to the concepts involved and then there are a selection of examples designed to show you
the many ways the modeling tools can be used and combined to create different shaped parts. Over the
course of the videos we also look at some of the vector creation techniques used when modeling and
cover the typical process for toolpath creation on a 3D job and combining a 3D model with 2D and 2.5D
toolpaths.
3D Techniques – F
These videos cover more specific uses of the 3D parts of Aspire; such as creating a recessed shape for
your design to sit in, slicing a thick model, creating lithophanes from an image, 3D rotary model and
machining, projecting 2D toolpaths onto 3D surfaces and more advanced toolpath preparation and
creation.
Feature Reference Videos – G
This section has detailed videos on specific tools or topics to show all the options available within these
particular features. These will help to fill in knowledge gaps or to add detail to your understanding or
specific areas of the software.
Note: Not all video numbering is continuous – videos which do not apply to this product will not be
included so there may be gaps in the sequence.
In addition to the tutorials contained on your installation disks, Vectric periodically add videos to the
Support Website. Please check http://support.vectric.com to access new videos and many other useful
customer resources such as the free monthly projects, updates, gadgets etc.
Copyright © 2013 Vectric Ltd. All Rights Reserved. Page | 5
Getting Started - A
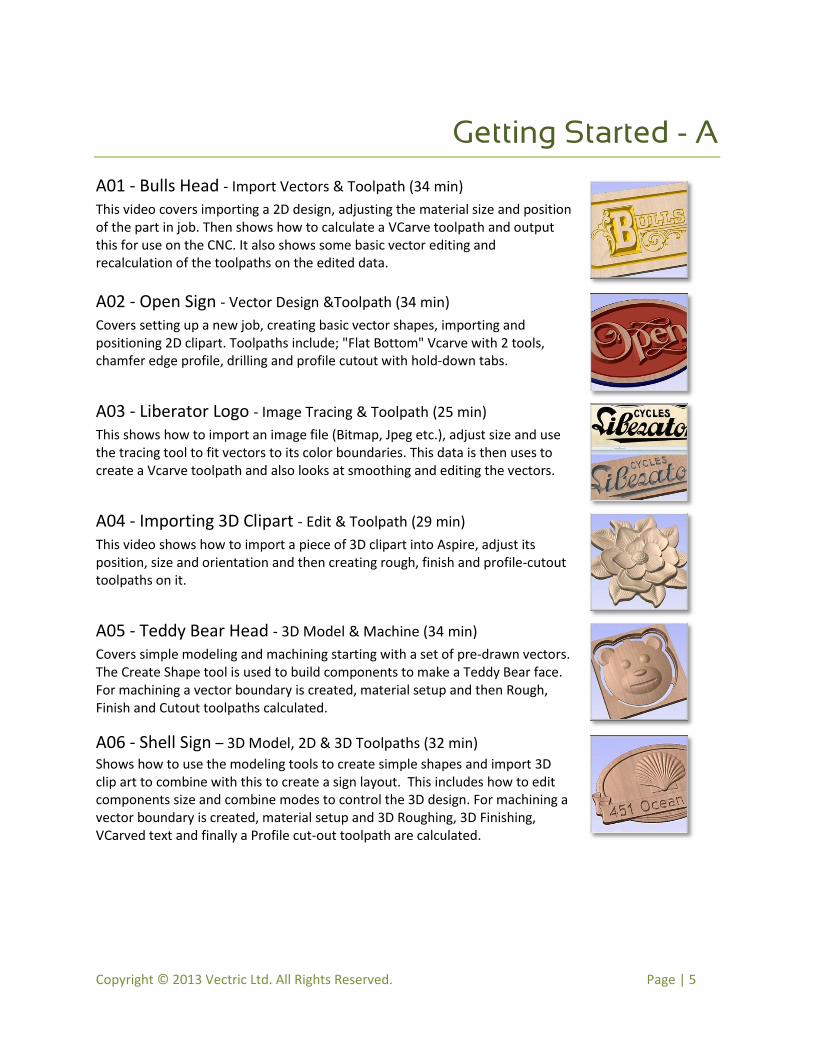
A01 - Bulls Head - Import Vectors & Toolpath (34 min)
This video covers importing a 2D design, adjusting the material size and position of the part in job. Then shows how to calculate a VCarve toolpath and output this for use on the CNC. It also shows some basic vector editing and recalculation of the toolpaths on the edited data.
A02 - Open Sign - Vector Design &Toolpath (34 min)
Covers setting up a new job, creating basic vector shapes, importing and positioning 2D clipart. Toolpaths include; "Flat Bottom" Vcarve with 2 tools, chamfer edge profile, drilling and profile cutout with hold-down tabs.
A03 - Liberator Logo - Image Tracing & Toolpath (25 min)
This shows how to import an image file (Bitmap, Jpeg etc.), adjust size and use the tracing tool to fit vectors to its color boundaries. This data is then uses to create a Vcarve toolpath and also looks at smoothing and editing the vectors.
A04 - Importing 3D Clipart - Edit & Toolpath (29 min)
This video shows how to import a piece of 3D clipart into Aspire, adjust its position, size and orientation and then creating rough, finish and profile-cutout toolpaths on it.
A05 - Teddy Bear Head - 3D Model & Machine (34 min)
Covers simple modeling and machining starting with a set of pre-drawn vectors. The Create Shape tool is used to build components to make a Teddy Bear face. For machining a vector boundary is created, material setup and then Rough, Finish and Cutout toolpaths calculated.
A06 - Shell Sign – 3D Model, 2D & 3D Toolpaths (32 min)
Shows how to use the modeling tools to create simple shapes and import 3D clip art to combine with this to create a sign layout. This includes how to edit components size and combine modes to control the 3D design. For machining a vector boundary is created, material setup and 3D Roughing, 3D Finishing, VCarved text and finally a Profile cut-out toolpath are calculated.
Copyright © 2013 Vectric Ltd. All Rights Reserved. Page | 6
The Basics - B
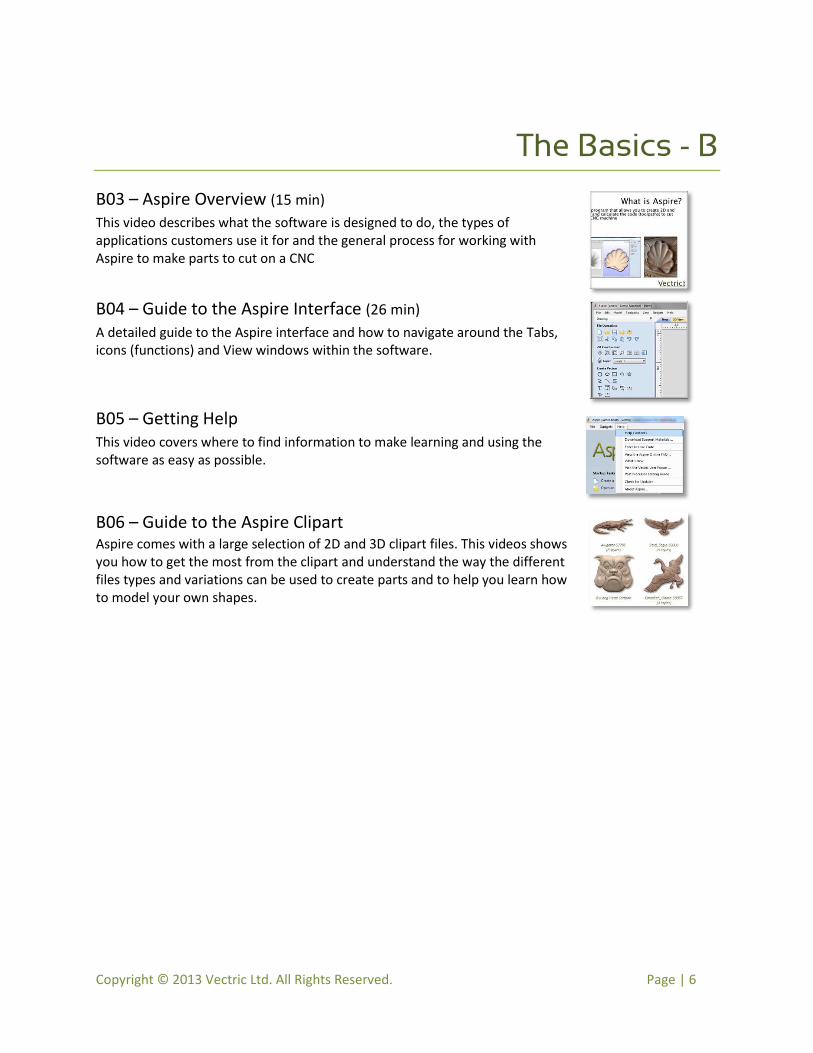
B03 – Aspire Overview (15 min)
This video describes what the software is designed to do, the types of applications customers use it for and the general process for working with Aspire to make parts to cut on a CNC
B04 – Guide to the Aspire Interface (26 min)
A detailed guide to the Aspire interface and how to navigate around the Tabs, icons (functions) and View windows within the software.
B05 – Getting Help
This video covers where to find information to make learning and using the software as easy as possible.
B06 – Guide to the Aspire Clipart
Aspire comes with a large selection of 2D and 3D clipart files. This videos shows you how to get the most from the clipart and understand the way the different files types and variations can be used to create parts and to help you learn how to model your own shapes.
Copyright © 2013 Vectric Ltd. All Rights Reserved. Page | 7
2D & 2.5D Core Concepts and Features - C
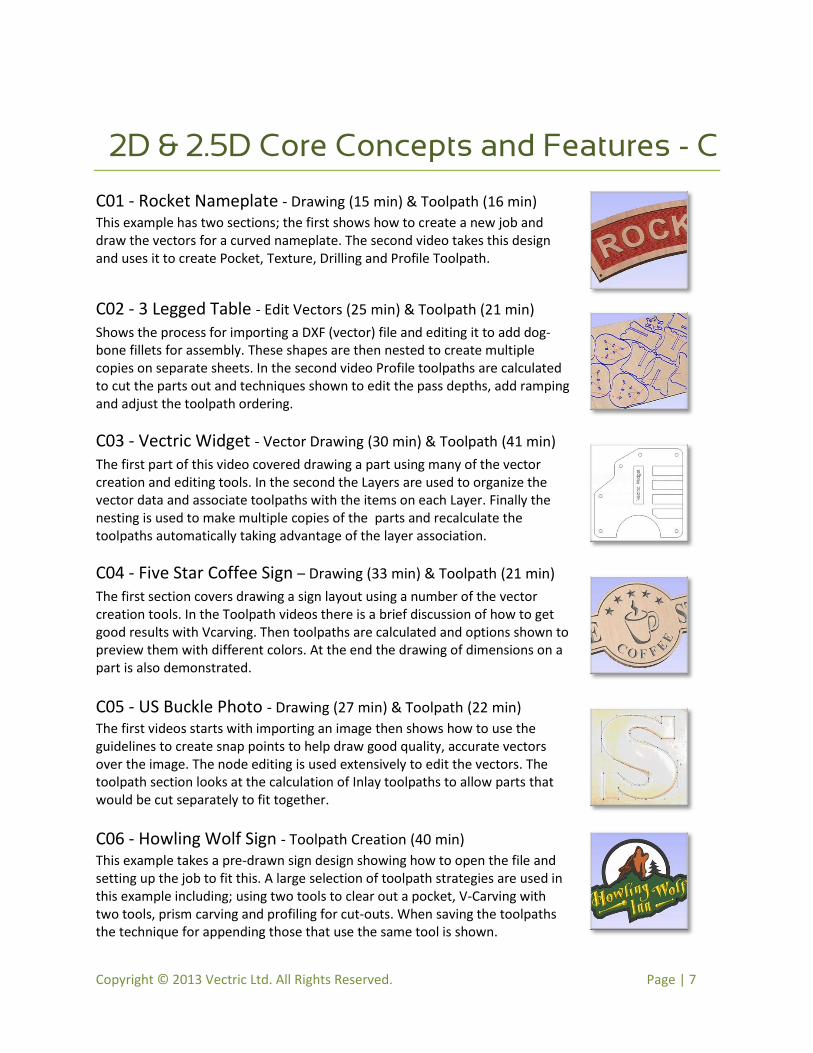
C01 - Rocket Nameplate - Drawing (15 min) & Toolpath (16 min)
This example has two sections; the first shows how to create a new job and draw the vectors for a curved nameplate. The second video takes this design and uses it to create Pocket, Texture, Drilling and Profile Toolpath.
C02 - 3 Legged Table - Edit Vectors (25 min) & Toolpath (21 min)
Shows the process for importing a DXF (vector) file and editing it to add dog-bone fillets for assembly. These shapes are then nested to create multiple copies on separate sheets. In the second video Profile toolpaths are calculated to cut the parts out and techniques shown to edit the pass depths, add ramping and adjust the toolpath ordering.
C03 - Vectric Widget - Vector Drawing (30 min) & Toolpath (41 min)
The first part of this video covered drawing a part using many of the vector creation and editing tools. In the second the Layers are used to organize the vector data and associate toolpaths with the items on each Layer. Finally the nesting is used to make multiple copies of the parts and recalculate the toolpaths automatically taking advantage of the layer association.
C04 - Five Star Coffee Sign – Drawing (33 min) & Toolpath (21 min)
The first section covers drawing a sign layout using a number of the vector creation tools. In the Toolpath videos there is a brief discussion of how to get good results with Vcarving. Then toolpaths are calculated and options shown to preview them with different colors. At the end the drawing of dimensions on a part is also demonstrated.
C05 - US Buckle Photo - Drawing (27 min) & Toolpath (22 min)
The first videos starts with importing an image then shows how to use the guidelines to create snap points to help draw good quality, accurate vectors over the image. The node editing is used extensively to edit the vectors. The toolpath section looks at the calculation of Inlay toolpaths to allow parts that would be cut separately to fit together.
C06 - Howling Wolf Sign - Toolpath Creation (40 min)
This example takes a pre-drawn sign design showing how to open the file and setting up the job to fit this. A large selection of toolpath strategies are used in this example including; using two tools to clear out a pocket, V-Carving with two tools, prism carving and profiling for cut-outs. When saving the toolpaths the technique for appending those that use the same tool is shown.

Copyright © 2013 Vectric Ltd. All Rights Reserved. Page | 8
C07 - Gothic Quatrefoils - Drawing (27 min) & Toolpath (40 min) X
This is an in depth drawing and toolpaths example coving a lot of different techniques for creating a decorative part. The first part of the tutorial shows the technique to draw the layout for the part. These are constructed from simple vectors but show how these can be positioned, copied, arrayed and welded together to make more complex outlines. In the toolpath section Pocket, Profile and Vcarve toolpaths are calculated using different depths and tool geometry to create a "3D" effect from 2.5D toolpaths.
C08 - Raised Panel Door - Drawing (18 min) & Toolpath (20 min)
The first part of tutorials shows how to draw the outline shape for a raised panel door using the snap grid and imported 2D clipart. The Toolpath video shows the process for creating a V-carve toolpath for the graphic on the panel then how to define a specially shaped "Form" tool in the tool database (to create the edge profile on the panel) and finally calculating a profile toolpath to cutout the panel.

Copyright © 2013 Vectric Ltd. All Rights Reserved. Page | 9
2D & 2.5D Techniques - D
D01 - Working with Imported Vectors (20 min)
This video contains a demonstration of the three ways to import vector data into the software and the differences between them. It includes a discussion of the most common issues encountered from imported 3rd party file types and how to fix them.
D02 - Toolpath Tiling (13 min)
This example demonstrates how to cut designs that will not fit on a single piece of material, or are larger than your machine's bed size. This utilizes the Toolpath Tiling Manager to automatically divide the toolpaths into smaller panels which can be saved and machined individually.
D04 - Importing PhotoVCarve Toolpaths (13 min)
This video demonstrates how to create and incorporate a toolpath into a design which has been created in Vectric’s PhotoVCarve software.
D05 - Working with Nested Cabinet Files (37 min)
This covers the process to import cabinet design vectors (DXF) and associate toolpaths with vectors or features on specific layers. The toolpaths are then saved as a Toolpath Template for use on other similar parts. To demonstrate how this is used a cabinet part is imported Nested and Toolpaths calculated from the Template.
D06 - Rotary Job Setup and Machining (32 min)
This video shows how to setup a part for cutting on a rotary axis using the specialty Wrapping Gadget tools. This also covers layout for fluting vectors or spirals and how to create a toolpath to size and shape the material blank.
D07 - VCarve Inlay Technique (18 min)
This example contains a demonstration of the technique to create inlays that overcomes the usual limitations of a round cutting tool by using a v-bit to cut matching inserts and pockets. This allows for very fine detail and sharp corners on an inlay part.
D08 - Two Sided Machining (22 min)
This videos looks at the basic concept and tips and tricks for setup and alignment when cutting a two sided part. An example is examined to show the process for setup for two sided machining and the important steps to get a good result with this process.

Copyright © 2013 Vectric Ltd. All Rights Reserved. Page | 10
3D Core Concepts and Features - E
E01 - Introduction to Modeling in Aspire (12 min)
This video is a slide-show introduction to important concepts that apply when creating 3D models in Aspire. It looks at the fundamental way a model is represented in the software and how this affects the way the software is used to make a 3D form.
E02 - Fleur de Lis - 3D Modeling (23 min) and Toolpath (25 min)
This example uses the Create Shape, Two Rail Sweep and Extrude tool to create a decorative flourish from pre-drawn vectors. In the machining section the model height is scaled, then 3D Rough, 3D Finish and a 2D Profile Cut-Out toolpath are calculated using an outline vector fitted to the part.
E03 - Lioness - 3D Modeling/Sculpting (41 min) and Toolpath (15 min)
This example looks briefly at vector editing then shows creating simple rounded shapes to create the basic lioness form. These components are tilted before smoothing and sculpting to create the final model. In the second part of the tutorial toolpaths are created on the model to machine it and cut it out.
E04 - Trout - Modeling from an image / 3D texture (30 min)
In this video we look at using an image of a fish to create a 3D component texture to add to shapes created using the modeling tools. The same image is used to layout the vectors to model the basic form which is then combined with the 3D texture component to make the finished model.
E05 - Leaf Branch - Model Components, Copy & Edit (38 min)
This example starts by discussing the way the vectors were created. These are used to model individual components (the leaf and acorn) in separate sessions of the software before combining them, copying and editing to create all the components for the design. Finally they are sculpted together and the finished part is mirrored to complete the model.
E06 – Lily Molding - Drawing (18min) Model (21min) Edit (13min)
In the first section the drawing and editing tools are used to create the vectors. Next we look at modeling a single section of the molding and creating a smooth underlying shape to allow one component to smoothly sit on top of another. In the final section we duplicate the short piece to make a longer section of molding.
Copyright © 2013 Vectric Ltd. All Rights Reserved. Page | 11
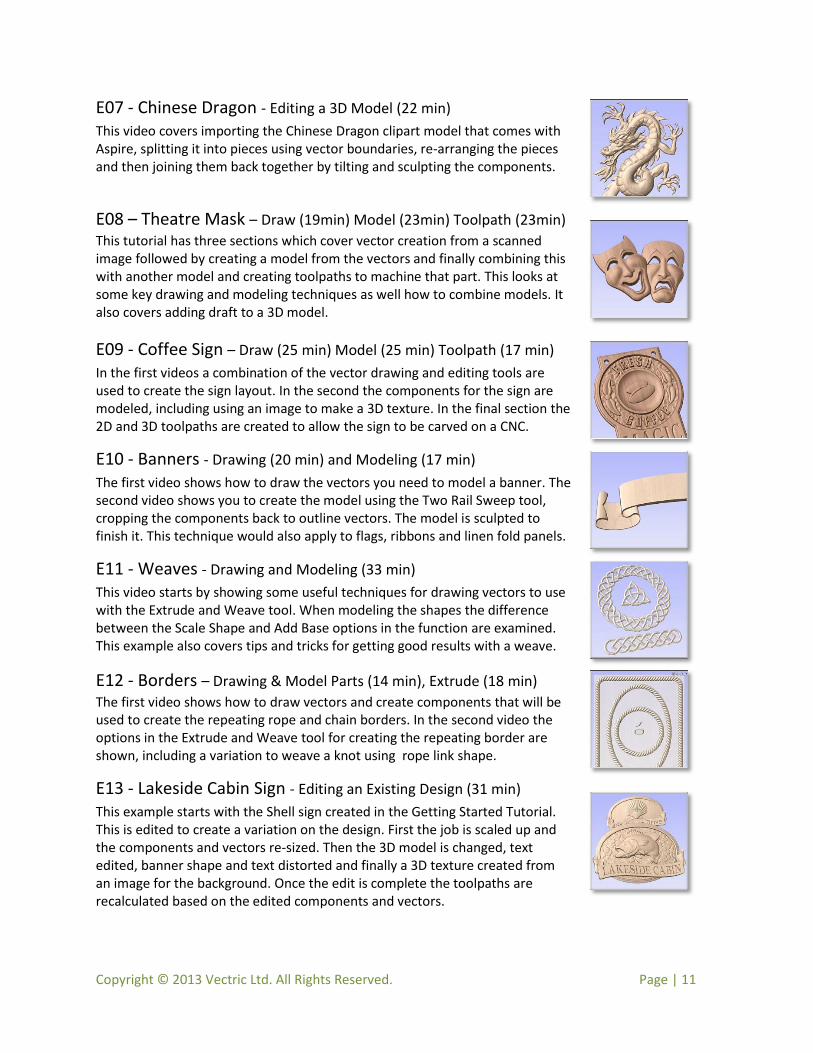
E07 - Chinese Dragon - Editing a 3D Model (22 min)
This video covers importing the Chinese Dragon clipart model that comes with Aspire, splitting it into pieces using vector boundaries, re-arranging the pieces and then joining them back together by tilting and sculpting the components.
E08 – Theatre Mask – Draw (19min) Model (23min) Toolpath (23min)
This tutorial has three sections which cover vector creation from a scanned image followed by creating a model from the vectors and finally combining this with another model and creating toolpaths to machine that part. This looks at some key drawing and modeling techniques as well how to combine models. It also covers adding draft to a 3D model.
E09 - Coffee Sign – Draw (25 min) Model (25 min) Toolpath (17 min)
In the first videos a combination of the vector drawing and editing tools are used to create the sign layout. In the second the components for the sign are modeled, including using an image to make a 3D texture. In the final section the 2D and 3D toolpaths are created to allow the sign to be carved on a CNC.
E10 - Banners - Drawing (20 min) and Modeling (17 min)
The first video shows how to draw the vectors you need to model a banner. The second video shows you to create the model using the Two Rail Sweep tool, cropping the components back to outline vectors. The model is sculpted to finish it. This technique would also apply to flags, ribbons and linen fold panels.
E11 - Weaves - Drawing and Modeling (33 min)
This video starts by showing some useful techniques for drawing vectors to use with the Extrude and Weave tool. When modeling the shapes the difference between the Scale Shape and Add Base options in the function are examined. This example also covers tips and tricks for getting good results with a weave.
E12 - Borders – Drawing & Model Parts (14 min), Extrude (18 min)
The first video shows how to draw vectors and create components that will be used to create the repeating rope and chain borders. In the second video the options in the Extrude and Weave tool for creating the repeating border are shown, including a variation to weave a knot using rope link shape.
E13 - Lakeside Cabin Sign - Editing an Existing Design (31 min)
This example starts with the Shell sign created in the Getting Started Tutorial. This is edited to create a variation on the design. First the job is scaled up and the components and vectors re-sized. Then the 3D model is changed, text edited, banner shape and text distorted and finally a 3D texture created from an image for the background. Once the edit is complete the toolpaths are recalculated based on the edited components and vectors.

Copyright © 2013 Vectric Ltd. All Rights Reserved. Page | 12
3D Techniques - F
F01 - Creating a dished recess for a 3D model (24min)
This video looks at how to place your models into a dished shape for machining. Includes techniques using the "Zero Plane" and the Multiply Combine Mode. This example also covers the important aspects of setting up a dished part for toolpath creation.
F02 - Creating a carved edge recess for a 3D model (20 min)
Shows the technique for creating a recessed shape for a 3D model which follows the outline of its shape. Includes technique for smoothing and sculpting to create a faux hand-carved look. For toolpathing the key aspects of setting up a recessed job are discussed along with calculating Rough and Finish toolpaths.
F03 - Importing and Exporting 3D data from Aspire (33 min)
The first part of this example covers importing data into Aspire to create a component. Next it shows how to import files from other programs such as STL models and how to import an image to convert it to a 3D object. The last part covers exporting 3D files for use as clip art, to import into other software or for use with a 3D Printer as well as exporting them as 2D grayscale images.
F04 - Creating Lithophanes with Aspire (22 min)
Step-by-step guide to the process of importing setting up and toolpathing a photograph to produce a Lithophane when cut in translucent material.
F05 – Two Sided Machining (33 min)
This example shows how to set up a 3D part for Two Sided Machining. Includes information on general good practice for getting the best results and specific steps that can be used to achieve accurate registration between the front and back for the X, Y and Z location.
F06 - Slicing a 3D Model - Shark (24 min)
This video shows how to import and scale a 3D model then divide it into Z-Slices. The slices are then copied and mirrored to make a left and right side and these are nested to make 3 copies that fit into the work-area. Finally vector boundaries are created on the slices and used to create a 3D Rough and 3D Finish toolpath.
Copyright © 2013 Vectric Ltd. All Rights Reserved. Page | 13
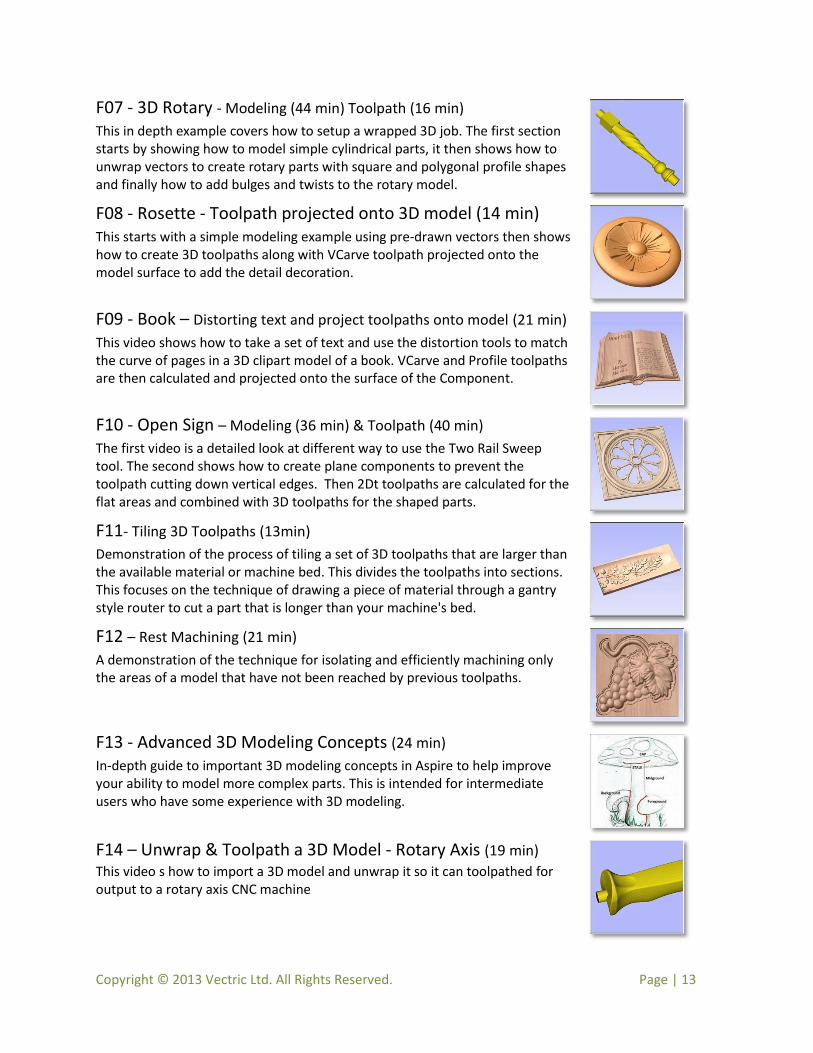
F07 - 3D Rotary - Modeling (44 min) Toolpath (16 min)
This in depth example covers how to setup a wrapped 3D job. The first section starts by showing how to model simple cylindrical parts, it then shows how to unwrap vectors to create rotary parts with square and polygonal profile shapes and finally how to add bulges and twists to the rotary model.
F08 - Rosette - Toolpath projected onto 3D model (14 min)
This starts with a simple modeling example using pre-drawn vectors then shows how to create 3D toolpaths along with VCarve toolpath projected onto the model surface to add the detail decoration.
F09 - Book – Distorting text and project toolpaths onto model (21 min)
This video shows how to take a set of text and use the distortion tools to match the curve of pages in a 3D clipart model of a book. VCarve and Profile toolpaths are then calculated and projected onto the surface of the Component.
F10 - Open Sign – Modeling (36 min) & Toolpath (40 min)
The first video is a detailed look at different way to use the Two Rail Sweep tool. The second shows how to create plane components to prevent the toolpath cutting down vertical edges. Then 2Dt toolpaths are calculated for the flat areas and combined with 3D toolpaths for the shaped parts.
F11- Tiling 3D Toolpaths (13min)
Demonstration of the process of tiling a set of 3D toolpaths that are larger than the available material or machine bed. This divides the toolpaths into sections. This focuses on the technique of drawing a piece of material through a gantry style router to cut a part that is longer than your machine's bed.
F12 – Rest Machining (21 min)
A demonstration of the technique for isolating and efficiently machining only the areas of a model that have not been reached by previous toolpaths.
F13 - Advanced 3D Modeling Concepts (24 min)
In-depth guide to important 3D modeling concepts in Aspire to help improve your ability to model more complex parts. This is intended for intermediate users who have some experience with 3D modeling.
F14 – Unwrap & Toolpath a 3D Model - Rotary Axis (19 min)
This video s how to import a 3D model and unwrap it so it can toolpathed for output to a rotary axis CNC machine
Copyright © 2013 Vectric Ltd. All Rights Reserved. Page | 14
Feature Reference Videos - G
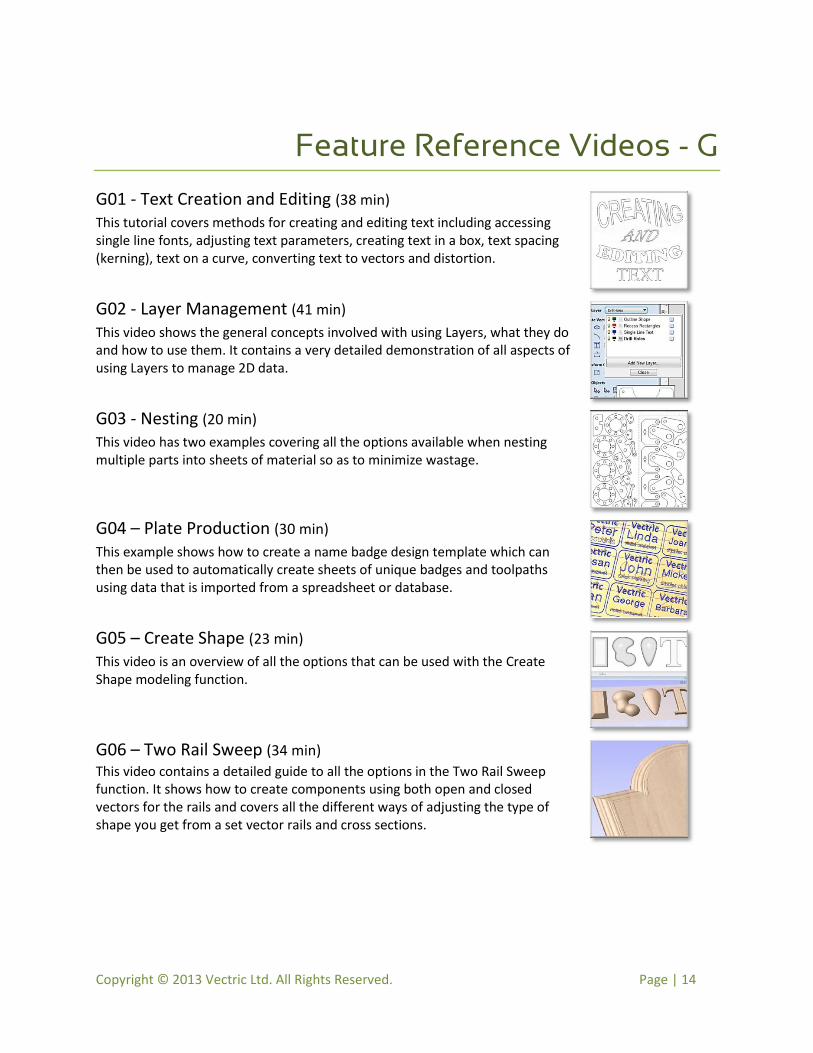
G01 - Text Creation and Editing (38 min)
This tutorial covers methods for creating and editing text including accessing single line fonts, adjusting text parameters, creating text in a box, text spacing (kerning), text on a curve, converting text to vectors and distortion.
G02 - Layer Management (41 min)
This video shows the general concepts involved with using Layers, what they do and how to use them. It contains a very detailed demonstration of all aspects of using Layers to manage 2D data.
G03 - Nesting (20 min)
This video has two examples covering all the options available when nesting multiple parts into sheets of material so as to minimize wastage.
G04 – Plate Production (30 min)
This example shows how to create a name badge design template which can then be used to automatically create sheets of unique badges and toolpaths using data that is imported from a spreadsheet or database.
G05 – Create Shape (23 min)
This video is an overview of all the options that can be used with the Create Shape modeling function.
G06 – Two Rail Sweep (34 min)
This video contains a detailed guide to all the options in the Two Rail Sweep function. It shows how to create components using both open and closed vectors for the rails and covers all the different ways of adjusting the type of shape you get from a set vector rails and cross sections.
Copyright © 2013 Vectric Ltd. All Rights Reserved. Page | 15
G07 – Extrude & Weave (41 min)
This tutorial contains a detailed look at all the options in the Extrude and Weave modeling function. It covers how to create components using vector cross sections extruded along drive curves as well as extruding 3D Components and how to get these shapes to weave over and under if the drive rails overlap.
G09 – Profile Toolpath (47 min)
This video is a very detailed description of all the options available in the Profile Toolpath strategy, beginning with the most commonly used features and moving on to cover the advanced settings in the second half of the video.
G10 – Quick Engraving Toolpath (9 min)
This video shows the process for creating a Quick Engrave Toolpath, designed for etching or marking using a diamond drag or floating head engraving tool.
G11 – Fluting Toolpath (20 min)
This video contains two examples demonstrating the options available in the fluting toolpath strategy.
G12 – Inlay Toolpaths (13 min)
A focused look at the techniques and tools required for creating straight and stepped inlays.
G13 – Toolpath Administration - Time Estimates (21 min)
A detailed examination of the options available for viewing, analyzing, editing, duplicating and organizing toolpaths once they have been created. Also shows docking options for the toolpath tab.
G14 – Tool Database – Form Tools (22 min)
Detailed overview of managing your tools using the tool database. Shows how to add new tools (including Form tools) and methods to organize and group the tools.

Copyright © 2013 Vectric Ltd. All Rights Reserved. Page | 16
G15 – Preview Toolpath (18 min)
Demonstrates all the options available for previewing toolpaths in the 3D preview.
G16 – Save Toolpath Options (7 min)
Demonstrates the final step of saving toolpaths for a particular CNC machine. Includes discussion of automatic tool changer support and tool numbers.
G18 – Application Data Folder (12 min)
A demonstration of the how to locate, modify and extend the resource files used by the software on start-up to customize some options and default settings - including the toolpath preview materials, the tool database and post-processor list.
G19 – Component Tree (18 min)
This video uses example files to describe how the Component Tree works. It covers all the functions within the tree itself and all the Right Mouse Click menu options to control the components in the list.
G20 – Celtic Weave Creator Gadget (9 min)
This tutorial demonstrates how to create complex 3D Celtic weave patterns using the Celtic Weave Creator Gadget, provided as part of the default installation.
Copyright © 2013 Vectric Ltd. All Rights Reserved. Page | 17
Disclaimer
All CNC machines (routing, engraving, and milling) are potentially dangerous and because Vectric Ltd has
no control over how the software described in this manual might be used. Vectric Ltd or any associated
Resellers cannot accept responsibility for any loss or damage to the work piece, machine or any
individual, howsoever caused by misusing the software. Extreme care should always be taken and the
output from the software thoroughly checked before sending it to a CNC machine.
The information in this manual may be subject to change without any prior notice. The software
described in this manual is supplied under the terms and conditions of the software license agreement
and may only be used in accordance with the terms of this agreement.
Vectric Ltd The Coach House Upper Skilts Farm
Gorcott Hill, Beoley Redditch
Worcestershire B98 9ET
UK
www.vectric.com E-mail [email protected]