turn sketches into contour drawings - cloud object storage … · 2016-02-05 · sketching several...
TRANSCRIPT
Supplies: drawing paper, pencils, sharpener, sandpaper block, vinyl and kneaded erasers
This activity has three sections:• Compare Lines in Drawings• Practice Feathered and Continuous Lines• Transform Sketches into Drawings
ISBN: 978-1-77193-180-9Copyright © 2015 Drawspace Publishing and Brenda Hoddinott. All rights reserved. No part of this publication may be reproduced, stored in a retrieval system, transferred, or transmitted in any form or by any means, including electronic,
digital, mechanical, recording, photographing, photocopying, or otherwise, without the purchase of a licence from drawspace.com or the prior written consent of Brenda Hoddinott and Drawspace Publishing.
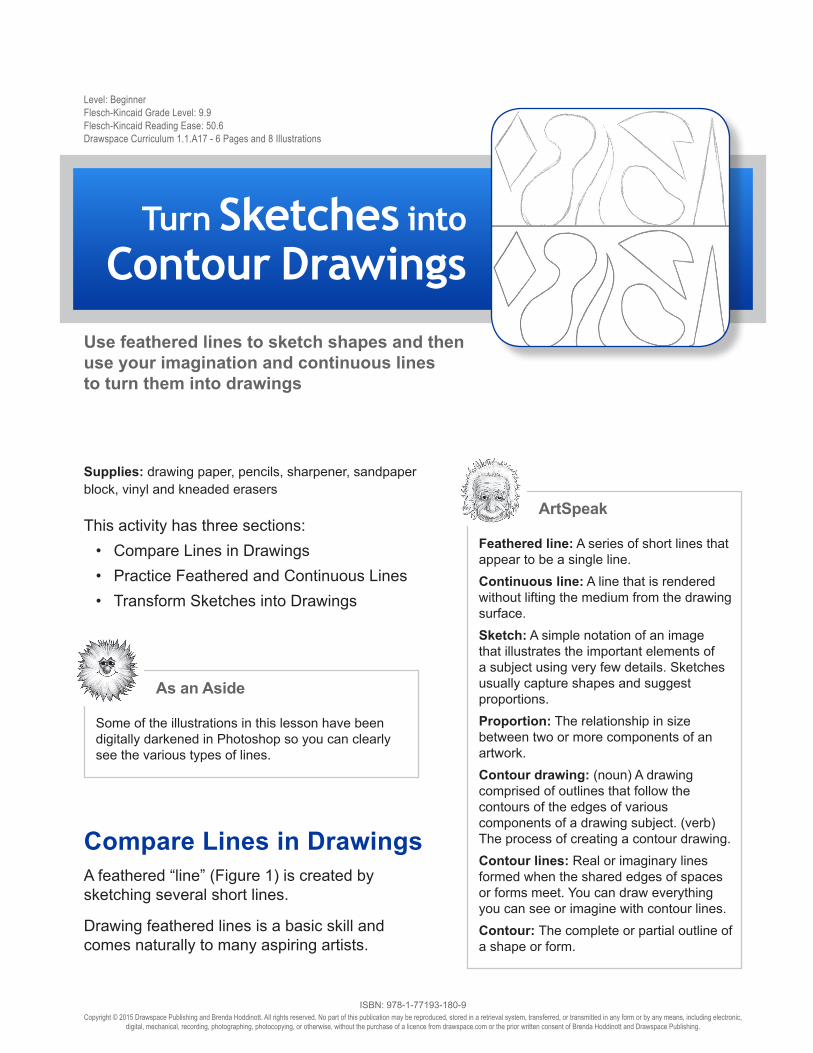
Turn Sketches into
Contour DrawingsUse feathered lines to sketch shapes and then use your imagination and continuous lines to turn them into drawings
Level: BeginnerFlesch-Kincaid Grade Level: 9.9Flesch-Kincaid Reading Ease: 50.6Drawspace Curriculum 1.1.A17 - 6 Pages and 8 Illustrations
Compare Lines in Drawings A feathered “line” (Figure 1) is created by sketching several short lines.
Drawing feathered lines is a basic skill and comes naturally to many aspiring artists.
Feathered line: A series of short lines that appear to be a single line. Continuous line: A line that is rendered without lifting the medium from the drawing surface. Sketch: A simple notation of an image that illustrates the important elements of a subject using very few details. Sketches usually capture shapes and suggest proportions.Proportion: The relationship in size between two or more components of an artwork.Contour drawing: (noun) A drawing comprised of outlines that follow the contours of the edges of various components of a drawing subject. (verb) The process of creating a contour drawing.Contour lines: Real or imaginary lines formed when the shared edges of spaces or forms meet. You can draw everything you can see or imagine with contour lines. Contour: The complete or partial outline of a shape or form.
ArtSpeak
As an Aside
Some of the illustrations in this lesson have been digitally darkened in Photoshop so you can clearly see the various types of lines.

Preliminary sketches with feathered lines:• enable you to plan the size of your final
drawing.• place your entire subject on paper within
the boundaries of the sheet of paper.• make it possible to erase and adjust
the contours of the subject until the proportions are accurate.
• provide guidelines for accurately outlining the subject with more precise continuous lines.
ISBN: 978-1-77193-180-9Copyright © 2015 Drawspace Publishing and Brenda Hoddinott. All rights reserved. No part of this publication may be reproduced, stored in a retrieval system, transferred, or transmitted in any form or by any means, including electronic,
digital, mechanical, recording, photographing, photocopying, or otherwise, without the purchase of a licence from drawspace.com or the prior written consent of Brenda Hoddinott and Drawspace Publishing.
2 Drawspace Curriculum 1.1.A17: Turn Sketches into Contour Drawings
Figure 1
A continuous line (Figure 2) is rendered by lifting the pencil from the paper only when you need to restart the line or begin another line. Mastering the art of drawing continuous lines often requires a lot of practice.
Some artists prefer to erase feathered lines during or after the rendering of final outlines with continuous lines. Others prefer to have feathered lines left as part of the final drawing.
As an Aside
Just as great musicians begin by practicing scales for several months, great artists begin by drawing different types of lines for many hours. It’s kind of like having to learn to tie your shoelaces when all you want to do is run!
Figure 2
Tip!
When you draw straight lines, sets of straight lines, or straight-sided shapes, resist the temptation to use a ruler. You don’t want to be stuck with the bad habit of always needing to carry around a ruler for drawing straight lines, especially on excursions outside.

Tip!
To loosen up before you begin drawing, shake out your arm, wrist, and hand. Remember to use you natural hand movement, rotate your paper, and draw by moving your arm and shoulder (not just your hand).
ISBN: 978-1-77193-180-9Copyright © 2015 Drawspace Publishing and Brenda Hoddinott. All rights reserved. No part of this publication may be reproduced, stored in a retrieval system, transferred, or transmitted in any form or by any means, including electronic,
digital, mechanical, recording, photographing, photocopying, or otherwise, without the purchase of a licence from drawspace.com or the prior written consent of Brenda Hoddinott and Drawspace Publishing.
3Drawspace Curriculum 1.1.A17: Turn Sketches into Contour Drawings
Figure 3
Figure 4
Compare sketches rendered with feathered lines to their final drawings outlined with continuous lines (Figures 3 to 6).
Examine the lines in each and note:
• the slight changes and corrections made to the final outlines.
• that the preliminary sketch lines are erased in Figures 4 and 6.

Caution!
Don’t draw actual dots on your paper when rendering a continuous line. Instead, simply visualize imaginary dots that represent the beginning and end of the line.Drawing dots on your paper tends to add stress to the process of drawing straight lines. If your line misses the mark, you may feel disappointed. Besides, who wants to spend a lot of time erasing a bunch of dots from a beautifully-rendered drawing?
4 Drawspace Curriculum 1.1.A17: Turn Sketches into Contour Drawings
ISBN: 978-1-77193-180-9Copyright © 2015 Drawspace Publishing and Brenda Hoddinott. All rights reserved. No part of this publication may be reproduced, stored in a retrieval system, transferred, or transmitted in any form or by any means, including electronic,
digital, mechanical, recording, photographing, photocopying, or otherwise, without the purchase of a licence from drawspace.com or the prior written consent of Brenda Hoddinott and Drawspace Publishing.
Practice Feathered and Continuous LinesSketches of most subjects are usually lined up (or proportioned) with feathered lines in the initial stages.
Figure 6
Figure 5
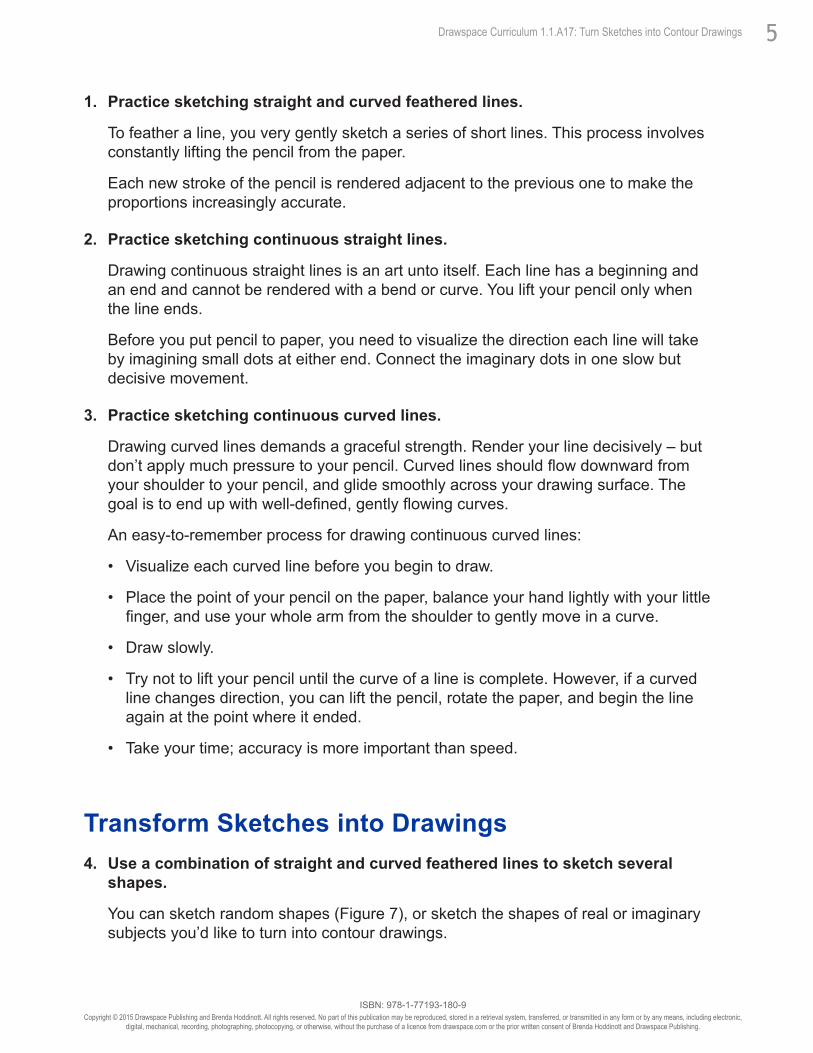
Figure 9
1. Practice sketching straight and curved feathered lines.
To feather a line, you very gently sketch a series of short lines. This process involves constantly lifting the pencil from the paper.
Each new stroke of the pencil is rendered adjacent to the previous one to make the proportions increasingly accurate.
2. Practice sketching continuous straight lines.
Drawing continuous straight lines is an art unto itself. Each line has a beginning and an end and cannot be rendered with a bend or curve. You lift your pencil only when the line ends.
Before you put pencil to paper, you need to visualize the direction each line will take by imagining small dots at either end. Connect the imaginary dots in one slow but decisive movement.
3. Practice sketching continuous curved lines.
Drawing curved lines demands a graceful strength. Render your line decisively – but don’t apply much pressure to your pencil. Curved lines should flow downward from your shoulder to your pencil, and glide smoothly across your drawing surface. The goal is to end up with well-defined, gently flowing curves.
An easy-to-remember process for drawing continuous curved lines:
• Visualize each curved line before you begin to draw.
• Place the point of your pencil on the paper, balance your hand lightly with your little finger, and use your whole arm from the shoulder to gently move in a curve.
• Draw slowly.
• Try not to lift your pencil until the curve of a line is complete. However, if a curved line changes direction, you can lift the pencil, rotate the paper, and begin the line again at the point where it ended.
• Take your time; accuracy is more important than speed.
Transform Sketches into Drawings4. Use a combination of straight and curved feathered lines to sketch several
shapes.
You can sketch random shapes (Figure 7), or sketch the shapes of real or imaginary subjects you’d like to turn into contour drawings.
5Drawspace Curriculum 1.1.A17: Turn Sketches into Contour Drawings
ISBN: 978-1-77193-180-9Copyright © 2015 Drawspace Publishing and Brenda Hoddinott. All rights reserved. No part of this publication may be reproduced, stored in a retrieval system, transferred, or transmitted in any form or by any means, including electronic,
digital, mechanical, recording, photographing, photocopying, or otherwise, without the purchase of a licence from drawspace.com or the prior written consent of Brenda Hoddinott and Drawspace Publishing.
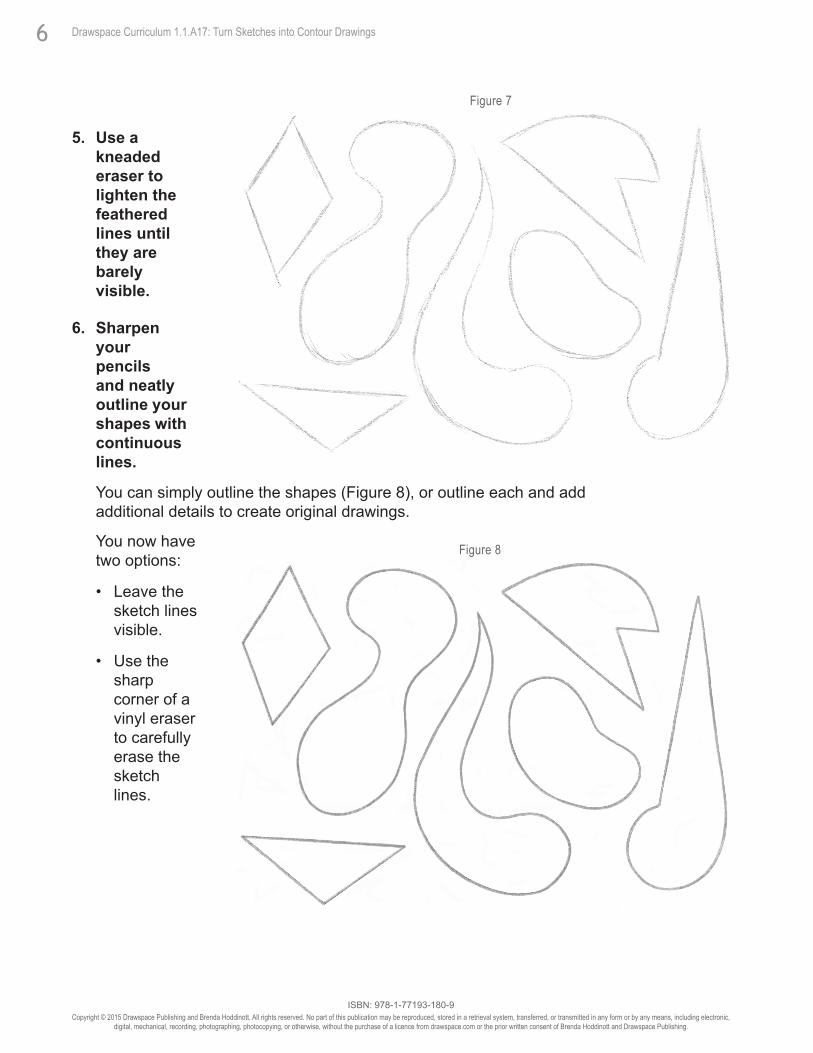
5. Use a kneaded eraser to lighten the feathered lines until they are barely visible.
6. Sharpen your pencils and neatly outline your shapes with continuous lines.
You can simply outline the shapes (Figure 8), or outline each and add additional details to create original drawings.
6 Drawspace Curriculum 1.1.A17: Turn Sketches into Contour Drawings
ISBN: 978-1-77193-180-9Copyright © 2015 Drawspace Publishing and Brenda Hoddinott. All rights reserved. No part of this publication may be reproduced, stored in a retrieval system, transferred, or transmitted in any form or by any means, including electronic,
digital, mechanical, recording, photographing, photocopying, or otherwise, without the purchase of a licence from drawspace.com or the prior written consent of Brenda Hoddinott and Drawspace Publishing.
Figure 7
Figure 8You now have two options:
• Leave the sketch lines visible.
• Use the sharp corner of a vinyl eraser to carefully erase the sketch lines.