tool support for testing: junit · what is junit • junit is a small, but powerful java framework...
TRANSCRIPT
Tool Support for Testing: JUnit

What is JUnit
• JUnit is a small, but powerful Java framework to create and execute automatic unit tests
• Unit testing is the test of a part of a program unit in isolation of other units of your code
• With a single glance you can see if something is wrong with your code
• The size of the program unit may be a method, a class or several classes that represent a component

Why using JUnit? (1)
• Write code faster while increasing code quality
– When you write JUnit tests you spend less time debugging, because you always see the effect of a change in your code.
– You are testing small parts of your code where you can understand and track down a bug easier and faster.

Why using JUnit? (2)
• Immediate feedback
– You can immediately see a problem. With System.out.println(), you manually have to compare actual and expected results (error prone and slow).
– JUnit simply shows a red bar when there is a problem or a green bar when everything is ok.
Why using JUnit? (3)
• JUnit tests don't take much time or effort
– Writing tests is fairly easy.
– You simply define what is going into a method and look at the expected results.
– Then click a button and you know if things are alright.

How to Write A Test Case• You may occasionally see old versions of JUnit
tests
– Major change in syntax and features in JUnit 4.0
– Backwards compatible (JUnit 3.X tests still work)
• In JUnit 3.X
1.import junit.framework.*
2.extend TestCase
3.name the test methods with a prefix of ‘test’
4.4. validate conditions using one of the several assert methods

How to Write A Test Case
• In JUnit 4.0 and later:
1. Do not extend from Junit.framework.TestCase
2. Do not prefix the test method with “test”
3. Use one of the assert methods
4. Run the test using JUnit4TestAdapter
5. @NAME syntax introduced

8
test suite
Junit Perspective
• A unit test tests the methods in a single class
• A test case tests (insofar as possible) a single method– You can have multiple test cases
for a single method
• A test suite combines unit tests
• The test fixture provides software support for all this
• The test runner runs unit tests or an entire test suite
• Integration testing (testing that it all works together) is not well supported by JUnit
unit test (for one class)
another unit test
test case (for one method)
another test case
test case (for one method)
another unit test
another test case
another test case
another test case
test fixture
test runner
another test case

JUnit 3.x: Write a Test Case
import junit.framework.TestCase;
/** A JUnit test case class.!
*/
public class PurseTest extends TestCase {
/** A test method
*/
public void testX() { }
}

Assert methods
• Each assert method has parameters like these: message, expected-value, actual-value
• Assert methods dealing with floating point numbers get an additional argument, a tolerance

JUnit 4.x: Write a Test Case1. Start by importing these JUnit 4 classes:
import org.junit.*;
import static org.junit.Assert.*;
2. Declare your test class in the usual waypublic class MyProgramTest {
3. Declare an instance of the class being tested– You can declare other variables, but don’t give them
initial values herepublic class MyProgramTest {
MyProgram program;
int someVariable;

• Define a method (or several methods) to be executed before each test– Initialize your variables in this method, so that each test starts with a fresh set
of values
@Before
public void setUp() {
program = new MyProgram();
someVariable = 1000;
}
• You can define one or more methods to be executed after each test– Typically such methods release resources, such as files
– Usually there is no need to bother with this method
@After
public void tearDown() {
}
JUnit 4.x: Write a Test Case

import org.junit.*;
import static org.junit.Assert.*;
public class name {
...
@Test
public void name() { // a test case method
...
}
}
– A method with @Test is flagged as a JUnit test case.
• All @Test methods run when JUnit runs your test class.

• Each method can also be passed a string to display if it fails:
– e.g. assertEquals("message", expected, actual)
assertTrue(test) fails if the boolean test is false
assertFalse(test) fails if the boolean test is true
assertEquals(expected, actual) fails if the values are not equal
assertSame(expected, actual) fails if the values are not the same (by ==)
assertNotSame(expected, actual) fails if the values are the same (by ==)
assertNull(value) fails if the given value is not null
assertNotNull(value) fails if the given value is null
fail() causes current test to immediately fail

• Suppose you have a class Arithmetic with methods int multiply(int x, int y), and boolean isPositive(int x)
import org.junit.*;
import static org.junit.Assert.*;
public class ArithmeticTest {
@Test
public void testMultiply() {
assertEquals(4, Arithmetic.multiply(2, 2));
assertEquals(-15, Arithmetic.multiply(3, -5));
}
@Test
public void testIsPositive() {
assertTrue(Arithmetic.isPositive(5));
assertFalse(Arithmetic.isPositive(-5));
assertFalse(Arithmetic.isPositive(0));
}}

16
Example: Counter class• For the sake of example, we will create and test a trivial
“counter” class– The constructor will create a counter and set it to zero
– The increment method will add one to the counter and return the new value
– The decrement method will subtract one from the counter and return the new value
• We write the test methods before we write the code– This has the advantages described earlier
– However, we usually write the method stubs first, and let the IDE generate the test method stubs
• Don’t be alarmed if, in this simple example, the JUnit tests are more code than the class itself

17
The Counter class
public class Counter {
int count = 0;
public int increment() {
return count += 1;
}
public int decrement() {
return count -= 1;
}
public int getCount() {
return count;
}}

18
JUnit tests for Counterpublic class CounterTest {
Counter counter1; // declare a Counter here
@Beforevoid setUp() {
counter1 = new Counter(); // initialize the Counter here}
@Testpublic void testIncrement() {
assertTrue(counter1.increment() == 1);assertTrue(counter1.increment() == 2);
}
@Testpublic void testDecrement() {
assertTrue(counter1.decrement() == -1);}
}
• Note that each test
begins with a brand
new counter
• This means you don’t have to worry about
the order in which the
tests are run
19
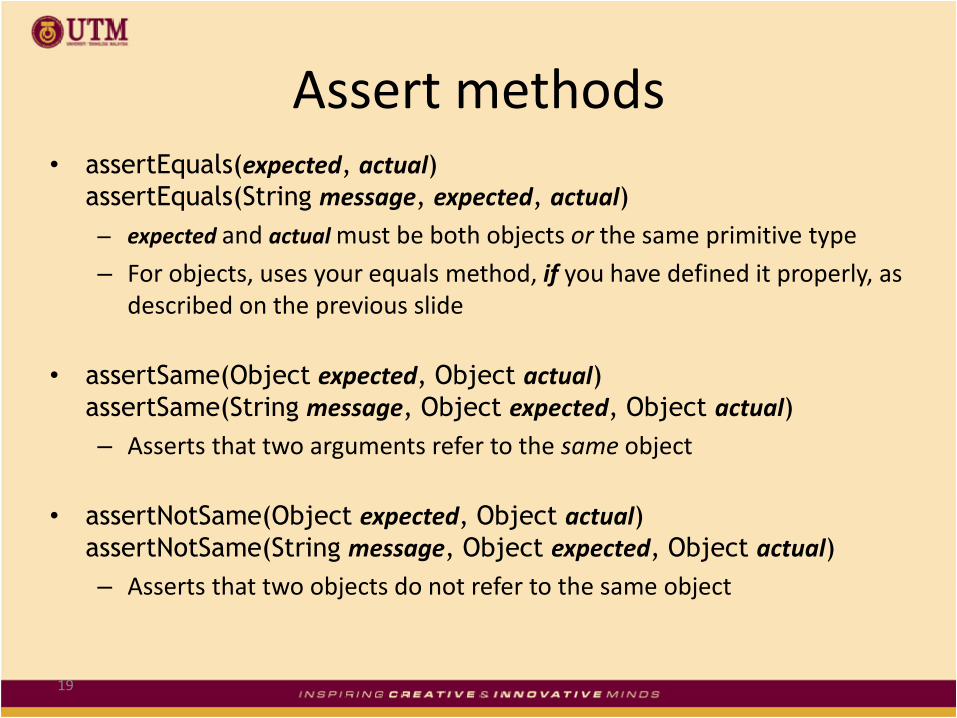
Assert methods • assertEquals(expected, actual)
assertEquals(String message, expected, actual)
– expected and actual must be both objects or the same primitive type
– For objects, uses your equals method, if you have defined it properly, as described on the previous slide
• assertSame(Object expected, Object actual)assertSame(String message, Object expected, Object actual)
– Asserts that two arguments refer to the same object
• assertNotSame(Object expected, Object actual)assertNotSame(String message, Object expected, Object actual)
– Asserts that two objects do not refer to the same object
20
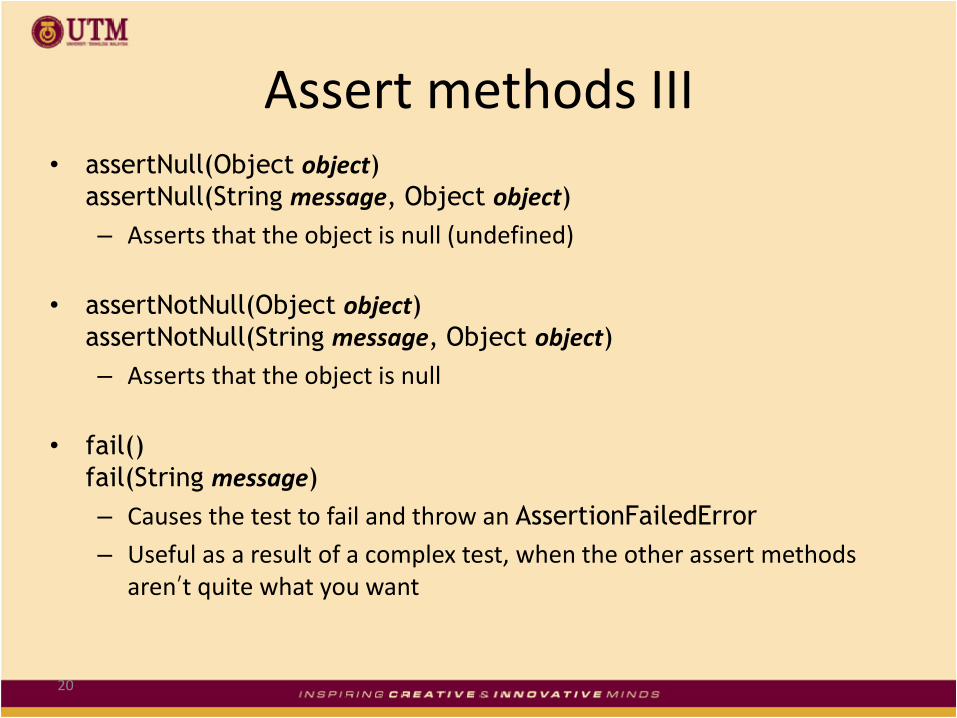
Assert methods III• assertNull(Object object)
assertNull(String message, Object object)
– Asserts that the object is null (undefined)
• assertNotNull(Object object)assertNotNull(String message, Object object)
– Asserts that the object is null
• fail()
fail(String message)
– Causes the test to fail and throw an AssertionFailedError
– Useful as a result of a complex test, when the other assert methods aren’t quite what you want

In-Class Exercise
Given a Date class with the following methods:– public Date(int year, int month, int day)
– public Date() // today
– public int getDay(), getMonth(), getYear()
– public void addDays(int days) // advances by days
– public int daysInMonth()
– public String dayOfWeek() // e.g. "Sunday"
– public boolean equals(Object o)
– public boolean isLeapYear()
– public void nextDay() // advances by 1 day
– public String toString()

What is wrong with this?
public class DateTest {
@Test
public void test1() {
Date d = new Date(2050, 2, 15);
d.addDays(4);
assertEquals(d.getYear(), 2050);
assertEquals(d.getMonth(), 2);
assertEquals(d.getDay(), 19);
}
@Test
public void test2() {
Date d = new Date(2050, 2, 15);
d.addDays(14);
assertEquals(d.getYear(), 2050);
assertEquals(d.getMonth(), 3);
assertEquals(d.getDay(), 1);
}
}

In-Class Exercise
public class MyClass {
public int multiply(int x,
int y) {
if (x > 999) {
throw new
IllegalArgumentException("X
should be less than 1000");
}
return x / y;
}
}
import static org.junit.Assert.*;
import org.junit.Test;
public class MyClassTest {
@Test(expected =
IllegalArgumentException.class)
public void testExceptionIsThrown() {
MyClass tester = new MyClass();
tester.multiply(1000, 5);
}
@Test
public void testMultiply() {
MyClass tester = new MyClass();
assertEquals("10 x 5 must be 50",
50, tester.multiply(10, 5));
}}

Special features of @Test
– You can limit how long a method is allowed to take
– This is good protection against infinite loops
– The time limit is specified in milliseconds
– The test fails if the method takes too long
• @Test (timeout=10)public void greatBig() {
assertTrue(program.ackerman(5, 5) > 10e12);}
– Some method calls should throw an exception
– You can specify that a particular exception is expected
– The test will pass if the expected exception is thrown, and fail otherwise
• @Test (expected=IllegalArgumentException.class)public void factorial() {
program.factorial(-5);}

Parameterized testimport static org.junit.Assert.*;
import org.junit.Test;
import static org.junit.Assert.assertEquals;
import java.util.*;
import org.junit.runner.*;
@RunWith(Parameterized.class)
public class MyParameterizedClassTest {
private int multiplier;
public MyParameterizedClassTest(int testParameter) {
this.multiplier = testParameter;
}
// creates the test data
@Parameters
public static Collection<Object[]> data() {
Object[][] data = new Object[][] { { 1 }, { 5 }, { 121 } };
return Arrays.asList(data);
} …

Cont.
@Test
public void testMultiplyException() {
MyClass tester = new MyClass();
assertEquals("Result", multiplier * multiplier,
tester.multiply(multiplier, multiplier));
}
}

Test suites
– You can define a suite of tests• @RunWith(value=Suite.class)
@SuiteClasses(value={
MyProgramTest.class,
AnotherTest.class,
YetAnotherTest.class
})
public class AllTests { }

JUnit in Eclipse• If you write your method stubs first (as on the previous slide), Eclipse will
generate test method stubs for you
• To add JUnit 4 to your project:– Select a class in Eclipse
– Go to File New... JUnit Test Case
– Make sure New JUnit 4 test is selected
– Click where it says “Click here to add JUnit 4...”
– Close the window that appears
• To create a JUnit test class:– Do steps 1 and 2 above, if you haven’t already
– Click Next>
– Use the checkboxes to decide which methods you want test cases for;don’t select Object or anything under it• I like to check “create tasks,” but that’s up to you
– Click Finish
• To run the tests:– Choose Run Run As JUnit Test

29
Adding JUnit 4 to the build path

30
Viewing results in Eclipse
Bar is green if
all tests pass,
red otherwise
Ran 10 of
the 10 tests
No tests
failed, but...
Something unexpected
happened in two tests
This test passed
Something is wrong
Depending on your
preferences, this
window might show
only failed tests
This is how
long the
test took