tips and how to get started - whitman hanson regional · tips and how to get started: 1) rule #1....
TRANSCRIPT
TIPS and how to get started:
1) Rule #1. DON’T BE AFRAID TO BREAK IT. You can’t break it! 2) Open the PowerPoint app. I like to keep a shortcut to the app on my task bar at the bottom of
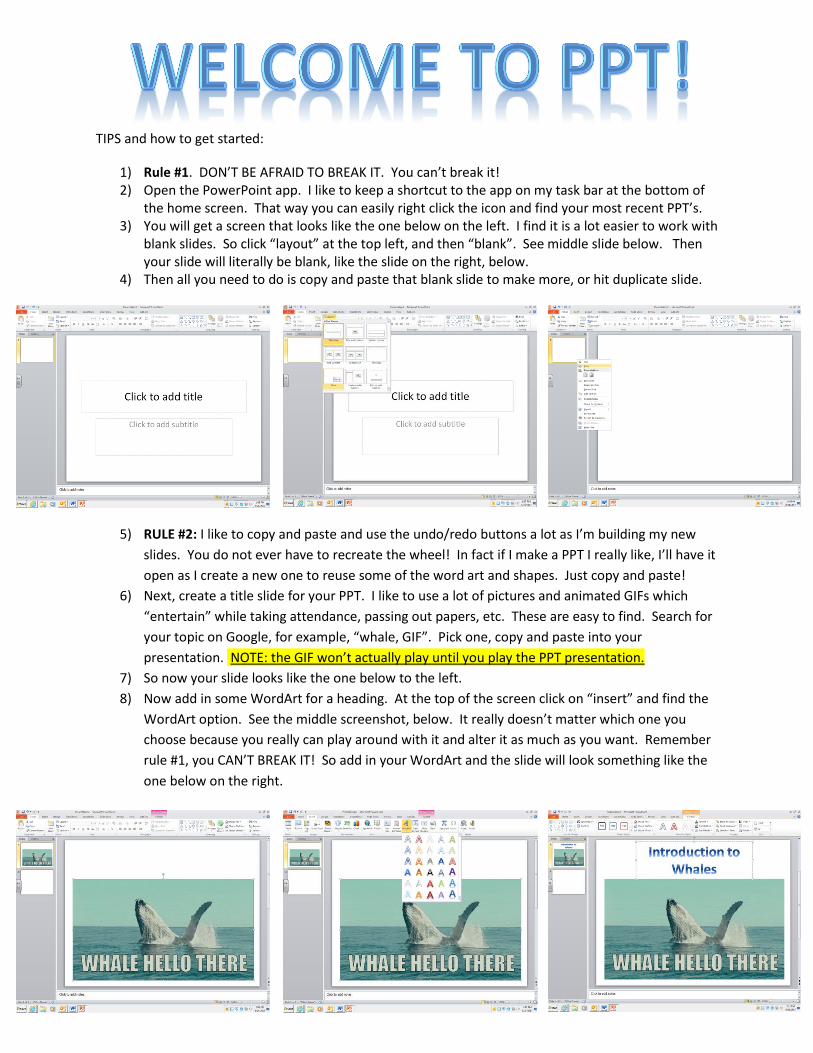
the home screen. That way you can easily right click the icon and find your most recent PPT’s. 3) You will get a screen that looks like the one below on the left. I find it is a lot easier to work with
blank slides. So click “layout” at the top left, and then “blank”. See middle slide below. Then your slide will literally be blank, like the slide on the right, below.
4) Then all you need to do is copy and paste that blank slide to make more, or hit duplicate slide.
5) RULE #2: I like to copy and paste and use the undo/redo buttons a lot as I’m building my new
slides. You do not ever have to recreate the wheel! In fact if I make a PPT I really like, I’ll have it
open as I create a new one to reuse some of the word art and shapes. Just copy and paste!
6) Next, create a title slide for your PPT. I like to use a lot of pictures and animated GIFs which
“entertain” while taking attendance, passing out papers, etc. These are easy to find. Search for
your topic on Google, for example, “whale, GIF”. Pick one, copy and paste into your
presentation. NOTE: the GIF won’t actually play until you play the PPT presentation.
7) So now your slide looks like the one below to the left.
8) Now add in some WordArt for a heading. At the top of the screen click on “insert” and find the
WordArt option. See the middle screenshot, below. It really doesn’t matter which one you
choose because you really can play around with it and alter it as much as you want. Remember
rule #1, you CAN’T BREAK IT! So add in your WordArt and the slide will look something like the
one below on the right.
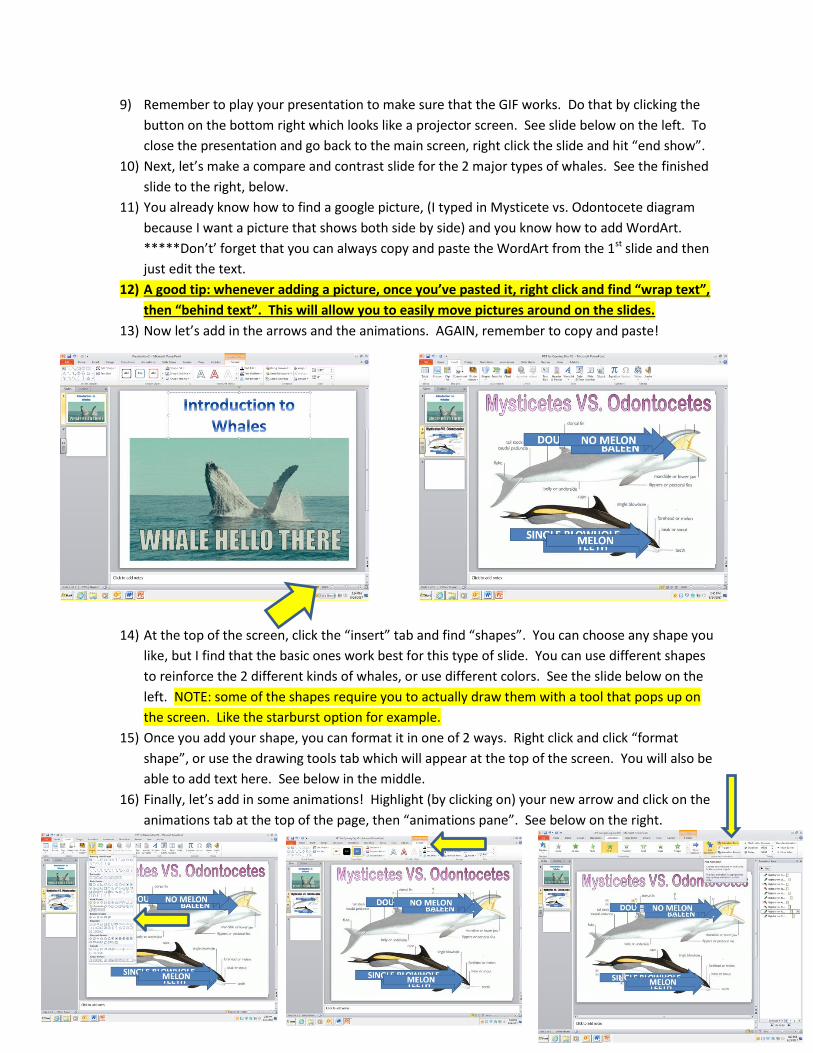
9) Remember to play your presentation to make sure that the GIF works. Do that by clicking the
button on the bottom right which looks like a projector screen. See slide below on the left. To
close the presentation and go back to the main screen, right click the slide and hit “end show”.
10) Next, let’s make a compare and contrast slide for the 2 major types of whales. See the finished
slide to the right, below.
11) You already know how to find a google picture, (I typed in Mysticete vs. Odontocete diagram
because I want a picture that shows both side by side) and you know how to add WordArt.
*****Don’t’ forget that you can always copy and paste the WordArt from the 1st slide and then
just edit the text.
12) A good tip: whenever adding a picture, once you’ve pasted it, right click and find “wrap text”,
then “behind text”. This will allow you to easily move pictures around on the slides.
13) Now let’s add in the arrows and the animations. AGAIN, remember to copy and paste!
14) At the top of the screen, click the “insert” tab and find “shapes”. You can choose any shape you
like, but I find that the basic ones work best for this type of slide. You can use different shapes
to reinforce the 2 different kinds of whales, or use different colors. See the slide below on the
left. NOTE: some of the shapes require you to actually draw them with a tool that pops up on
the screen. Like the starburst option for example.
15) Once you add your shape, you can format it in one of 2 ways. Right click and click “format
shape”, or use the drawing tools tab which will appear at the top of the screen. You will also be
able to add text here. See below in the middle.
16) Finally, let’s add in some animations! Highlight (by clicking on) your new arrow and click on the
animations tab at the top of the page, then “animations pane”. See below on the right.
17) If you’re thinking “it’s too much!”, then you’ve forgotten the copy and paste function. You
really only need to make one arrow as its animation (even if there are several) will copy too!
18) Once you’ve done that, take a look at the animations pane. It’s very easy to click and drag
animations to reorder them. Don’t forget to click the projector icon on the bottom to watch
your presentation and see if the order works.
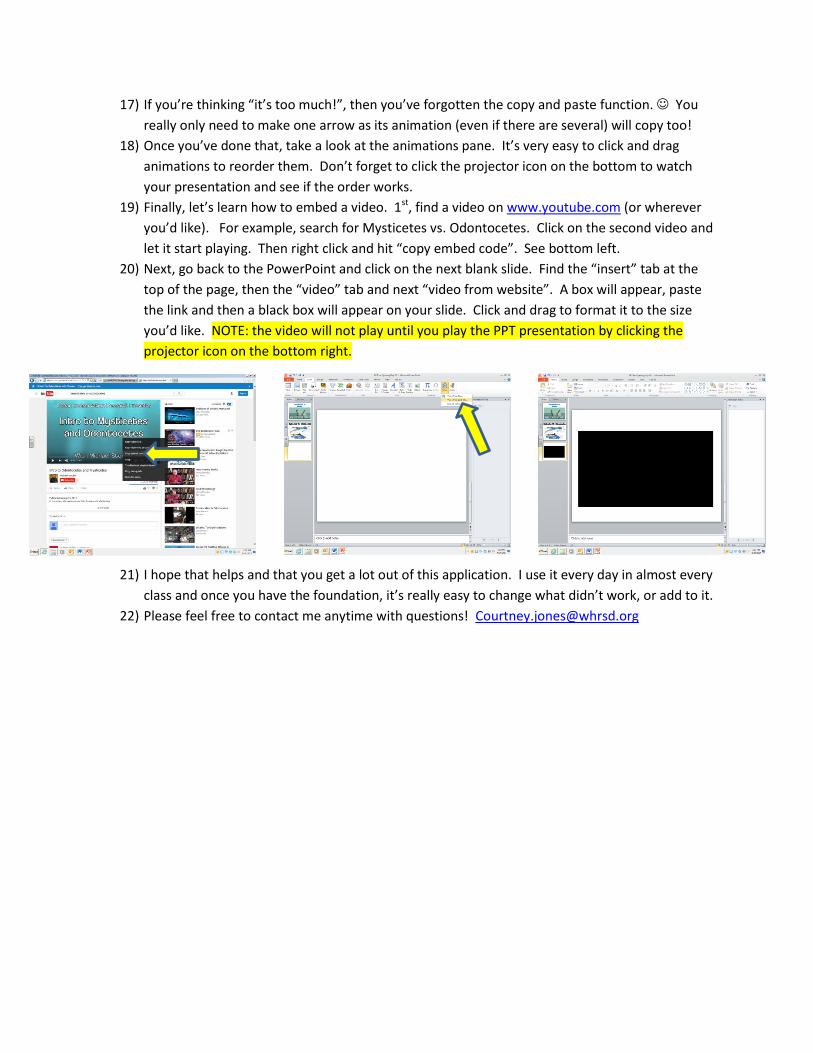
19) Finally, let’s learn how to embed a video. 1st, find a video on www.youtube.com (or wherever
you’d like). For example, search for Mysticetes vs. Odontocetes. Click on the second video and
let it start playing. Then right click and hit “copy embed code”. See bottom left.
20) Next, go back to the PowerPoint and click on the next blank slide. Find the “insert” tab at the
top of the page, then the “video” tab and next “video from website”. A box will appear, paste
the link and then a black box will appear on your slide. Click and drag to format it to the size
you’d like. NOTE: the video will not play until you play the PPT presentation by clicking the
projector icon on the bottom right.
21) I hope that helps and that you get a lot out of this application. I use it every day in almost every
class and once you have the foundation, it’s really easy to change what didn’t work, or add to it.
22) Please feel free to contact me anytime with questions! [email protected]