the roland mc-50 mc-50 mkii sequencers · * to be removed, red in the diagram on the right. main...
TRANSCRIPT
The Roland MC-50 & MC-50 mkII sequencers By: Roelf Backus 2013
English translation: January 2020 Last update: January 22, 2020
hen in 1990 the Roland Micro Composer MC-50 appeared on the market, this sequencer
worked with de Super-MRC* and Super-MRP* system-software and was able to load, edit
and save files of the MRC-type. Soon after however, General-Midi (GM) became the
standard and Roland came up with an interim solution. In the first place, there was free software to
convert MRC-files to MID and back again. This software MRM500 on a 720 Kb diskette, could be run
on the MC-50. It all worked well, but quite slowly. In 1993 Roland offered the possibility of a MC-50
hardware modification. This could only be implemented by the Roland Service Department and
afterwards the upgraded MC-50 could directly convert MIDI files via the added menu options and save
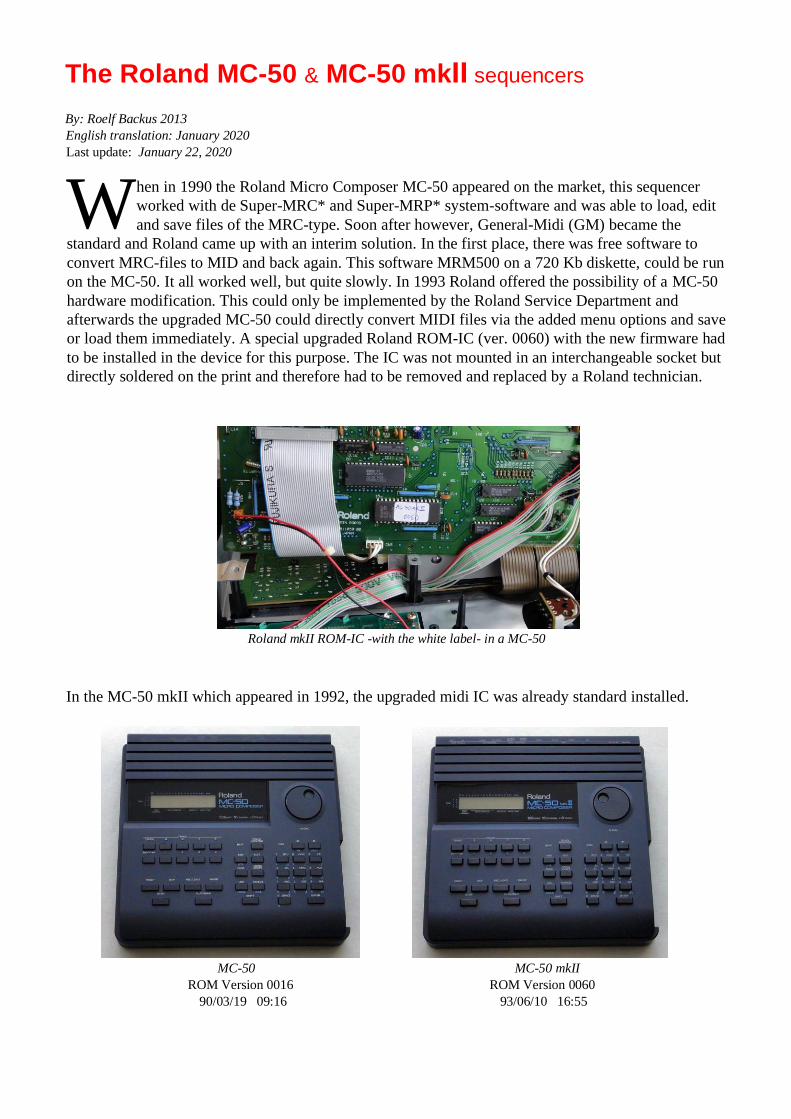
or load them immediately. A special upgraded Roland ROM-IC (ver. 0060) with the new firmware had
to be installed in the device for this purpose. The IC was not mounted in an interchangeable socket but
directly soldered on the print and therefore had to be removed and replaced by a Roland technician.
Roland mkII ROM-IC -with the white label- in a MC-50
In the MC-50 mkII which appeared in 1992, the upgraded midi IC was already standard installed.
MC-50 MC-50 mkII
ROM Version 0016 ROM Version 0060 90/03/19 09:16 93/06/10 16:55
W
There are thus 3 types of MC-50 sequencers on the market and they all work with the special Roland
MRC files:
1. The standard MC-50 can only store and load MRC files. Software that can be loaded
separately, MRM500 program, can be used to convert midi files: MRC> MID and MID>
MRC. ROM version 0016 or 0017 (1990).
2. A firmware-upgraded MC-50, on the outside indistinguishable from a standard MC-50, but
with a built-in midi conversion IC, ROM version 0060 (1993).
3. A MC-50 mkII with all MIDI capabilities hardware built off factory, ROM version 0060
(1993).
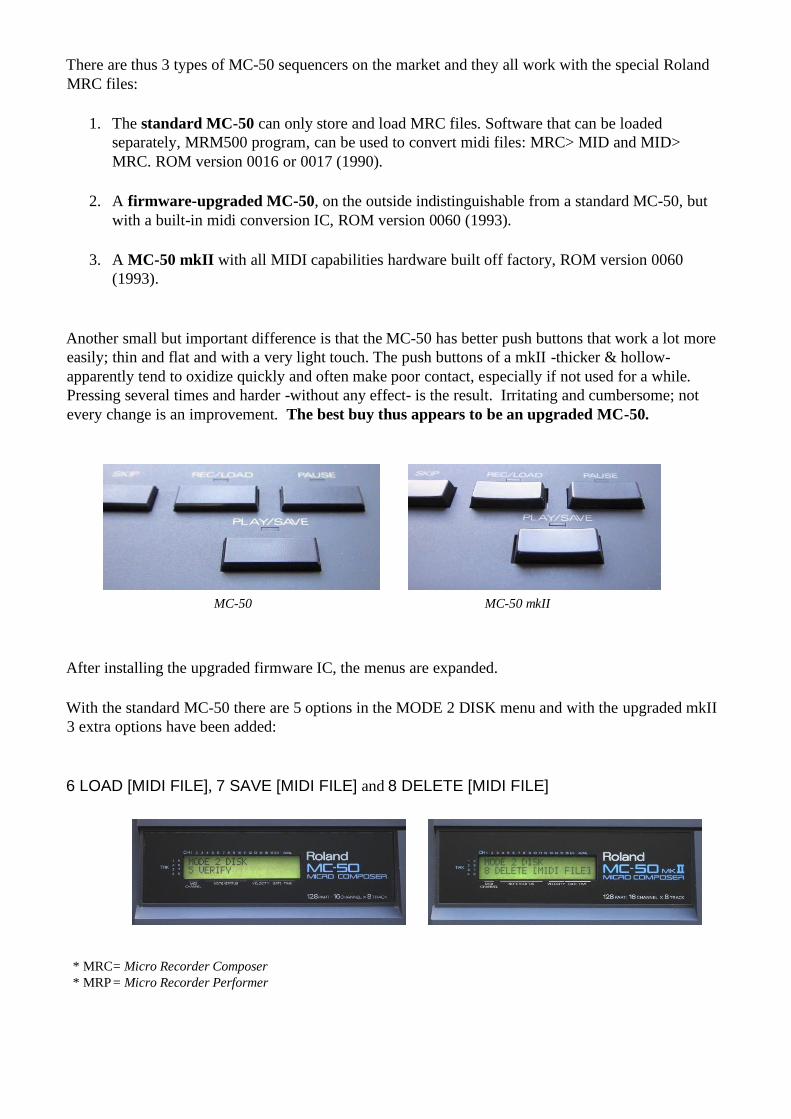
Another small but important difference is that the MC-50 has better push buttons that work a lot more
easily; thin and flat and with a very light touch. The push buttons of a mkII -thicker & hollow-
apparently tend to oxidize quickly and often make poor contact, especially if not used for a while.
Pressing several times and harder -without any effect- is the result. Irritating and cumbersome; not
every change is an improvement. The best buy thus appears to be an upgraded MC-50.
MC-50 MC-50 mkII
After installing the upgraded firmware IC, the menus are expanded.
With the standard MC-50 there are 5 options in the MODE 2 DISK menu and with the upgraded mkII
3 extra options have been added:
6 LOAD [MIDI FILE], 7 SAVE [MIDI FILE] and 8 DELETE [MIDI FILE]
* MRC = Micro Recorder Composer
* MRP = Micro Recorder Performer

MODE 2 DISK
MC-50 MC-50 mkII
1 LOAD [SONG FILE] 1 LOAD [SONG FILE]
2 SAVE [SONG FILE] 2 SAVE [SONG FILE]
3 DELETE [SONG FILE] 3 DELETE [SONG FILE]
4 RENAME [SONG FILE] 4 RENAME [SONG FILE]
5 VERIFY 5 VERIFY
6 LOAD [MIDI FILE]
7 SAVE [MIDI FILE]
8 DELETE [MIDI FILE]
When purchasing a second-hand MC-50 it is possible to check which options are present in the MODE
2 DISK menu and determine whether it is an upgraded model that can process midi files.
press [Cancel] + [0] during power-up to display the ROM version.
MC-50 MC-50 mkII
ROM Version
0016 90/03/19 09:16
0017 90/05/27 12:38
ROM Version
0060 93/06/10 16:55
How to upgrade a Roland MC-50 sequencer to a
MC-50mkII By: Roelf Backus, Zeist - the Netherlands Page added: November 14, 2017
he Roland MC-50 sequencer came in two types: the MC-50 in 1990 and its successor the
MC-50mkII in 1992. With minor differences both are the same, except the fact that the mkII
can save, load and delete standard MIDI files (SMF, MID) directly to a 720 Kb DD diskette.
The MC-50 too, can handle midifiles, but needs the free Roland MRM500 conversion software, a
program that runs on a MC-50 only. With the introduction of the mkII the MRM500 conversion
software was hardware provided in ROM.
T

MC-50 MC-50mkII
The MC-50 can easily be upgraded to a mkII by replacing the original ‘mkI’ firmware ROM by an
upgraded ROM-IC that can be ordered directly from Roland (about $ 20), with the following order
specifications:
• MC-50mkII EPROM
Part number: 15 209 267
ROM Version 0060
You can check the ROM version of a MC-50/mkII by holding down [CANCEL] + [0] while switching
the POWER ON.
If you want to make your own upgrade ROM refer to the section below: Technical Information about
flashing an EPROM.
What do you need to install a mkII upgrade IC:
• Phillips screwdriver
• Soldering iron & solder
• De-solder device (solder-sucker or solder-wick)
• Optional: an IC holder, 32 pins - 15.24 mm
Instructions
Use a towel or cloth as a working surface, keep all the screw sets on different piles or in small boxes
and work backwards when mounting. This will prevent parts left when re-assembling. If you’re not
common to service electronics, take photographs of all steps.

• Unfasten the MC-50 bottom plate:
5x parkers & 6x bolts with ring
• Unfasten the backside: 2x long parkers and 1x short parker between tape sync in/out
• Slide the bottom plate backwards to remove it completely

• The electronics exposed: main board and diskette drive, both partial covering the keyboard
below. The main board is fixed by 8x parker screws, it is not necessary to remove these at this
stage.
main board in situ
• Observe the main board, locate and identify the 32-pins (= two parallel rows of 16) of the
program IC* to be removed, red in the diagram on the right.
main board (wired side)
• De-solder the 32 IC-pins using a soldering iron and a vacuum hand pump or solder-wick.
De-soldering instruction-video (4 min) on YouTube

• Remove the 8 parker screws of the mainboard, turn de unit 180°, carefully lift the main board
upside down and remove the de-soldered program IC by hand.
main board flipped over (component side) (multi-connector cables removed for picture only)
• Detail
main board flipped over (component side) Note: original ‘mkI’ IC mounted with lettering upside down and ID hole towards the IC9 name on the board
• The removed LH534H mkI IC
• Carefully insert the new IC, or better the IC-holder, firmly in place.
Note the IC notch towards the IC9 name print (!) on the component board.
• Solder the 32 leads on the wiring side. Beware not to overheat the IC-pins when soldering
the IC directly in place without a holder.
When using an IC-holder, insert the IC after the soldering …of course.

Note: an IC mark (notch/hole) identifies pin number 1 (red arrow picture below/right)
IC-holder inserted mkII IC
• Put the main circuit board back in its original position, fold back the metallic ground foil and
fasten the 8 parker screws.
• Slide the bottom plate in place and put the 5 parkers and 6 bolts & ring back carefully by
HAND first. When all screws fit well, tighten them firmly with a (electric) screwdriver.
• Fasten the back-side with the remaining 3 parkers.
The finishing touch:
Use the removed IC to impress your family and friends ...only if you succeeded. 😉
• The result of the firmware update:
Check the version by holding down [CANCEL] + [0] while switching the POWER ON.
before & after

Technical Information about flashing an EPROM
In case you cannot obtain an original Roland upgrade ROM, you can decide to flash (burn) your
own mkII firmware in ROM.
27c4001 EPROM with MC-50 mkII firmware as provided by Roland
What you need:
• A standard 27c4001 EPROM
(Erasable Programmable Read-
Only Memory) type
AT27C040, 8 x 512K, 32-DIP (2 x
16 pin) 70 or 90ns.
The original Roland chip is 200ns
but any faster chip <200ns will do.
https://www.digikey.com/produ ct-detail/en/microchip-technology/AT27C040-
70PU/AT27C040-70PU-ND/1008550
• An EPROM flasher/burner such as the
TL866 with application software for
Windows.
The TL866 is the most popular and one of the
cheapest.
Both hardware and software on this site:
http://www.autoelectric.cn/en/tl866_main.
html
• The Roland MC-50 mkII firmware (ROM image): http://dbwbp.com/index.php/9-
misc/37-synth-eprom-dumps Scroll down on this site to find the appropriate Roland
firmware. If you can’t find it, let me know.
Zeist - The Netherlands
[email protected] Page added: November 14, 2017