the layers of my neighborhood – mapping activities
TRANSCRIPT
The Layers of My Neighborhood – Mapping Activities
Activity 1: My Class on the Map
www.rainforest-alliance.org/curricula
ConceptEach person plays a very important role in many differ-ent communities – their neighborhood, school, state, and even the world. By identifying those places closest to you, you can learn more about yourself while con-sidering opportunities to have a positive impact on the world around you.
Essential QuestionWhere do you call home?
Step 1: Connect (the concept to prior knowledge)
ChallengeWhere is your home? On planet Earth? In North Ameri-ca? South Africa? Bogotá? In this activity, students will think about the place they call home, and how it fits into the larger world surrounding it.
Materials• Large physical world map • Access to a mapping program, such as ArcGIS or
Google Earth• Optional: Interactive whiteboard• For younger students adaptation:
- Construction paper - Pencil, markers - Compass - Scissors
Procedure1. Begin the activity by asking students what they
think of when asked “Where do you live?” Do they immediately answer with their house or apartment building? Maybe they initially think of their town or city? Some might even say their state or coun-try. As a class, or in groups, brainstorm and write
Through mapping, students will explore their neighborhood, and how their community is con-nected to people and places across the globe. Students will explore their neighborhood and environment in more detail, identify important spaces, globally-relevant risks, and opportunities to take action while making local connections to the global communities highlighted in Rainfor-est Alliance’s curricula.
Students will investigate their region through maps, collecting and processing data to visualize the environmental realities across the globe.
Overview
-1-
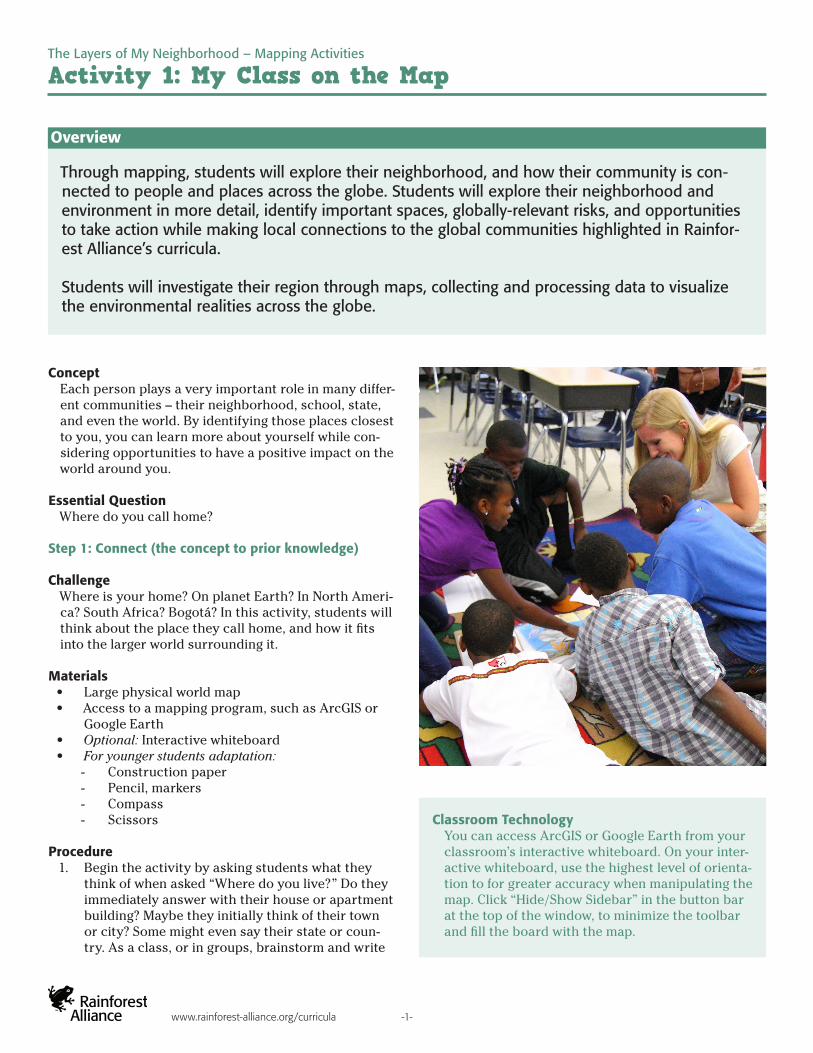
Classroom TechnologyYou can access ArcGIS or Google Earth from your classroom’s interactive whiteboard. On your inter-active whiteboard, use the highest level of orienta-tion to for greater accuracy when manipulating the map. Click “Hide/Show Sidebar” in the button bar at the top of the window, to minimize the toolbar and fill the board with the map.

-2-
down all the possible answers to this question.
2. Ask students to consider which answers they iden-tify with as their home, town/neighborhood, city, state, country, continent and planet. These are all different communities a person belongs to.
3. As a class, look at a physical world map together. If available, use a mapping program of your choice on your interactive whiteboard. Discuss what con-clusions you can draw about different continents and/or regions just by your observations. Look for different land formations, such as mountains, bod-ies of water, coastlines, and plains. What does the formation of the land tell you about the region?
4. Have students locate the Equator, Tropic of Cancer, Tropic of Capricorn, Arctic Circle, Antarctic Circle. What do these lines represent?
5. What does a region’s position on the Earth tell you about the climate in different parts of the world? Have students locate the following regions and research typical climate found in each.
• Arctic: The arctic is the polar region north of the Arctic Circle (or 66.5°N).
• Northern Temperate Zone: The northern tem-perate zone extends from the Tropic of Cancer (23.5°N) to the Arctic Circle (66.5°N).
• Tropical Zone: The tropics is a region of the Earth surrounding the Equator. It falls within the Tropic of Cancer (or 23.5°N) and the Tropic of Capricorn (or 23.5°S).
• Southern Temperate Zone: The southern temperate zone extends from the Tropic of Capricorn (or 23.5°S) to the Antarctic Circle (or 66.5°S).
• Antarctic Zone: The Antarctic zone is the polar region south of the Antarctic Circle (or 66.5°S)
6. Locate your home on the world map. What latitude and longitude does your town fall on? Invite your class to follow the latitude and longitude of your town around the globe. What does your home have in common with other places on the same latitude line as you? What differences are there? Are there similarities and differences between the places that fall on the same longitude line as well? What are they?
For younger children• Using a compass, draw and cut out 6 circles of
increasing size. The smallest will represent home, and the largest will represent planet, with town/city, state, country and continent falling in be-tween.
• Label each circle and ask students draw a picture
of each place on the corresponding paper circle. Connect using a binder ring.
• As a class, discuss the different levels of “where you live”, how these are each different communi-ties you belong to, and how your home and neigh-borhood fit into the larger picture.
• Ask your students if there are any communities that are not represented in their circles (i.e.: school, religious group, sport or hobby). Are they larger or smaller than the other communities depicted?
Step 2: Literature/Discuss (give expert information book; ask questions)
ChallengeLearn from community members about the history of your neighborhood and the changes that have oc-curred. What do you hope the future of your commu-nity looks like?
Materials• Computer or library access• Historical newspapers, photographs, maps (online
or in print)
Procedure1. Discuss the word “community” with your students.
Community can mean many different things to each person. To some it might be their street, or the whole neighborhood. To others it might be their school, or religious community.
2. Have each student define their community. What do they consider their community? Have students define the boundaries of their community. How does this compare with their neighborhood? Is it the larger or smaller? Does it fall within their neighborhood, or outside the boundaries of their neighborhood?
3. After students define their own community, have them conduct research to learn about its history. When was it founded, and by who? Have them take a look at newspapers, photographs, maps, and other sources to learn about their community’s past. What did it look like?
4. Ask students if their parents, grandparents or neighbors have ever spoken to them about chang-es they have noticed in their community over time?
5. Have students create a 10 question interview about their community and the changes that may have occurred over the last 50– 100 years.
www.rainforest-alliance.org/curricula

-3-
6. Invite students to interview a grandparent, neigh-bor or someone that has lived in your community for more than 50 years about the changes they have observed.
7. After conducting their interviews, have students share what they learned with the class. What changes have people noticed in the last several decades? Are there similarities between the stu-dent interviews? What might be the root causes of these changes? How have these changes affected their community?
Step 3a: Practice (Math and Learning Centers)
ChallengeUsing maps, identify your communities and what they look like.
Materials• A large classroom physical world map (paper map,
or on an interactive whiteboard)• A map of your country, or continent, for each stu-
dent (or each group) or access to a computer with ArcGIS/Google Earth
Procedure1. As a class, or individually, log on to ArcGIS (or
Google Earth), and locate your city on the globe. Using the drawing tool, have them outline the boundaries of their city.
2. Next, zoom in and locate your neighborhood. Us-ing the drawing tool, outline the boundaries of their neighborhood. Do the same for the block you live on (or your school block).
3. Now have students find their home and drop a pin to mark its location.a. Do the same for their: School, town hall, and other significant points of interest.
4. Looking at the map created, have students con-sider the following:a. How does the size of their city compare to the size of their neighborhood?b. Using estimation, how much larger is their city than their neighborhood?c. This step can be repeated with any of the community levels. (I.e. how does the size of your neighborhood compare to the size of your block? Or, how does the size of your country compare to the size of your state?)
5. Review the concept of ‘scales’ with your students. Determine the scale used in the map you are work-ing with (i.e. 1 cm = 2 miles). Using the ruler tool,
have students determine the area of their:a. City: ___________b. Neighborhood: ___________c. Block: ___________
For younger students, or if you do not have class access to computers, use a physical map of your city, and have stu-dents use a compass or ruler to draw boundaries of their city, neighborhood, and block. Using a ruler, and the map key, they can measure and determine the size and/or area of these places.
Step 3b: Create (Performance Tasks Related to Standard Indicators)
ChallengeStudents will look at how their community has changed, and think about the changes they would like to see occur in the future
Materials• Seedfolks, by Paul Fleischman or The Curious Gar-
den, by Peter Brown • Computer with access to ArcGIS or Google Earth• 8.5” x 11” outline/map of your town or neighbor-
hood, one per student• A large map of your town of neighborhood, for
reference• Art supplies
Procedure1. Begin by reading Seedfolks and/or The Curious Gar-
den, individually or as a class. Why did the child in the book start the garden? How did the garden grow to be more to the individual(s) and the com-munity?
www.rainforest-alliance.org/curricula

-4-
2. Further discuss the idea of change. Communities change over time. In the book the community changed with the flourishing of a garden. How do people change the environment? How does the environment change us?
3. Students will examine several sample maps of their community available in ArcGIS/Google Earth, using the legends or map keys to understand the landmarks highlighted.
4. Using a few different layers within ArcGIS/Google Earth (i.e. population, forest cover, urbanization), look at maps that represent how your community changed over the past several decades. What changes do you notice? Are these changes posi-tive, or negative? How have they altered your com-munity?
5. Reflecting on these stories, how can one individual (or group of individuals) affect positive change in their community? Can one small action, lead to larger change?
6. If they could make a change in their community – what would that change be? In groups, have students brainstorm a local action they could take that would address one of the issues they have seen in their community. How would this action lead to positive change? Who would it affect and how?
7. How do you hope your community continues to evolve over the next 25 years? Have students write a short story, or create a map, that highlights the changes that could occur in their community in result of their local action project. Could this ac-tion have a ripple effect, and change what their community looks like in 25 years? What would this change look like?
For younger children• Starting with a basic map of their town or neigh-
borhood, students will be oriented to the map by discussing where they currently are, and as a class looking for a few major landmarks.
• They will discuss some of the places that might be important in their life (i.e. the local park, play-ground, church/temple, community center…).
• Together, look at a few historical maps of your community. How has it changed over the past several decades? What has caused some of these changes?
• Reflecting on The Curious Garden, how did one person’s positive action have a lasting impact on his community? Have students think about how they can improve their community? Would there be a difference if you work individually, or together as a team? How can we make good changes spread across the world?
• Have each student create a map of their commu-nity. Using a legend (or map key) they will highlight the places and landmarks that mean the most to them, and the places they would like to see im-provements.
Step 4: Present
ChallengeStudents reach out to public offices, sharing their ideas for a positive future for their community.
Materials• Computer or library access
Procedure1. Research the local officials in your community.
What are their roles? What changes have they helped make a reality in your region?
2. Have students write a letter to an elected public official, voicing their concerns for the future of the community. Have them share their ideas for posi-tive change and hopes for the future.
www.rainforest-alliance.org/curricula

The Layers of My Neighborhood – Mapping Activities
Activity 2: Somewhere on Planet Earth
ConceptEvery person has an impact on their local commu-nity—and the world—with the decisions they make on a daily basis. By identifying your role in the different communities you are a part of, you can ensure you have a positive and lasting effect.
Essential QuestionWhat does it mean to be a good global citizen?
Step 1: Connect (the concept to prior knowledge)
ChallengeStudents will think about what it means to be a citizen, and the responsibilities that go along with their role in each environment.
Materials• Computer or library access
Procedure1. Ask your students what it means to be respon-
sible for something. As a member of your ________ (household, neighborhood, city, etc.) what role do you play? What are your responsibilities? What happens if you neglect your responsibilities? How are your responsibilities at each level of communi-ties different? How are they similar?
2. Discuss citizenship. What does it mean to be a citizen?
3. Have students break into groups and consider what their role is as a global citizen. What are some key words that describe a responsible global citizen? What actions do they take, both locally and globally, as a good global citizen?
4. Research some local organizations, or public fig-ures, that work to make your community a better place. How do their actions affect your local com-munity? Do they encourage other members of the community to be more responsible citizens? How?
5. Next, expand your research out on a global level. What organizations, groups, or public figures are icons of global citizenship? What are their attri-butes?
6. How do your actions as a local citizen translate to your global citizenry? What actions do you take a home that have a positive effect across the globe?
Step 2: Literature/Discuss (give expert information book; ask questions)
ChallengeStudents consider what their day might look like from the point of view of a person living in the tropical rainforest.
Materials• Computer or library access• The Rainforest Alliance original stories (http://
www.rainforest-alliance.org/kids/rainforest-stories): - Chayo’s Andean Home - My Dad, The Ranger - Romel’s Rainforest Home - Alex Goes Exploring in El Imposible - Life in San Miguelito
Procedure1. Students read a selection of Rainforest Alliance
original stories.
Through mapping, students will explore their neighborhood, and how their community is con-nected to people and places across the globe. Students will explore their neighborhood and environment in more detail, identify important spaces, globally-relevant risks, and opportunities to take action while making local connections to the global communities highlighted in Rainfor-est Alliance’s curricula.
Students will investigate their region through maps, collecting and processing data to visualize the environmental realities across the globe.
Overview
-1-www.rainforest-alliance.org/curricula

-2-
2. As a class, discuss the stories. How is their life similar to the students living in the rainforest? How is it different? How does the forest environ-ment affect the lives of the students in the stories? How does the environment surrounding your com-munity affect you and your students’ lives? Would your everyday life look different if you lived in a different type of environment? How?
3. Have each student write their own story in which they take a walk through a day in their life, high-lighting the places or landmarks important to them.
4. After completing their stories, invite a few students to share theirs with the class. If they were to give these stories to students living in the rainforest, what conclusions might they draw about your class? Did the local environment play as important of a role in their personal stories, as it did in the Rainforest Alliance stories?
Step 3a: Practice (Math and Learning Centers)
ChallengeUsing maps, compare and contrast your community with a rainforest community.
Materials• A large classroom physical world map (paper map,
or on an interactive whiteboard)• A map of your country, or continent, for each stu-
dent (or group) or individual access to a computer with ArcGIS/Google Earth
• Virtual Rainforest Visits (http://www.rainforest-alliance.org/kids/rainforest-visits)
• Teacher Summaries (http://www.rainforest- alliance.org/curricula/resources)
Procedure1. Individually, or as a class, observe the planet
on ArcGIS/Google Earth, or a world map. With-out zooming in, locate the region your school is located.
2. Choose one of the countries featured in the Rain-
forest Alliance original stories. Have students esti-mate how far away that region is from their home. How did they come up with this estimate?
3. Using the ruler tool, measure the actual distance (if using a paper map, use the scale provided and a ruler to estimate). Is it farther or nearer than your students expected?
4. Begin with your city. Zoom in on the map, what do you notice as you get closer? What is the land-scape like? Do you see trees? Water? Urbanization? What are the main characteristics that define your region?
5. Have students consider the green spaces in their communities, and how they have changed over time. Are there more or less? Looking at a map, lo-cate the nearest forest. How is this forests similar or different to the green spaces in your commu-nity?
6. Next move on to the country your class chose to study. What do you notice as you zoom in on this region? What is the landscape like? How is it dif-ferent? How is it similar? What do you notice about the forest in this region? Is more or less forested than the region you live in?
7. Using ArcGIS or Global Forest Watch (www. globalforestwatch.org), have students observe the changes in forest cover over time in their home region and the country they are studying. (Using ArcGIS, search for layer “GFW: Tree Cover”)
8. Using the sliding scale of years, how has forest
cover changed over time in your region and the tropical region you are studying? Has it increased
EnrichmentAsk students to translate their story into a guided map tour of their community, from their view-point, using ArcGIS or Google Maps. Have students snap photos of each place they “stop” along the way, and include these photos with the pins of each landmark.
www.rainforest-alliance.org/curricula

-3-
or decreased? Why do you think this has oc-curred? What do you think these regions looked like 300 years ago?
9. Look at the map and identify areas that have shown increases in tree cover. Where are these regions located? What do you think is responsible for forest cover gains, when most of the world is experiencing forest loss?
Step 3b: Create (Performance Tasks Related to Standard Indicators)
ChallengeStudents work in groups to create a viable action plan to have a positive impact.
Materials• Computer or library access• Actions from Activity 1, Step 3b
Procedure1. Have students consider the impact a group of
concerned citizens can have on a global issue. Have them research a time in history when a small group, such as those researched in Activity 1, Step 3b, or single person, was able to have a big impact on the world. (examples: Rachel Carson, Chico Mendes, Wangari Maathai, Gaylord Nelson, etc.) How were they able to have an impact on a large scale? What did they do that set them apart?
2. In the previous activity, we looked at how com-munities – both at home and abroad – change over time. What were some of the issues your students outlined that affected their local community, and the larger world community?
3. Have students break into small groups, and select a local/global issue they are passionate about. Have students brainstorm changes they can make in your everyday life to address this issue at home? Do these changes on a local level have a global impact?
4. Have student groups return back to the actions they considered in Activity 1, Step 3b. Do these ac-tions have a global impact? Can they be modified to have a global reach? (For example, if your action was to create a school recycling program, think about where the recycled materials come from? Where are the going? What happens when some-thing is recycled?)
5. Create an environmental action plan, based on your discussion and previous research. Have stu-dents consider:
• What is the goal of the project?• How long will it take to accomplish?• How will you get it done?• Who else will be involved? Who will be im-
pacted?• How will you raise awareness for your project?• How will you know if your project was a suc-
cess?
Step 4: Present
ChallengeStudents present their environmental action plans to their community.
Materials• Finalized action plans from Activity 2, Step 3b
Procedure1. Have student groups identify the audience for their
action plan (from Step 3b), and develop a presen-tation to deliver their idea and inspire action. Ask each group to come up with a slogan for their ac-tion plan.
2. Each student group will present their environmen-tal action plan to their class (or grade level), and receive feedback from their peers.
3. Have the class vote on their favorite, and most vi-able, environmental action plan.
4. Together—as a class—present their environmental action plan to their community.
www.rainforest-alliance.org/curricula