the art of fabric collage - paintings with fabric · ©2009 all rights reserved the art of fabric...
TRANSCRIPT

©2009 www.paintingswithfabric.com all rights reserved The Art of Fabric Collage Page 3
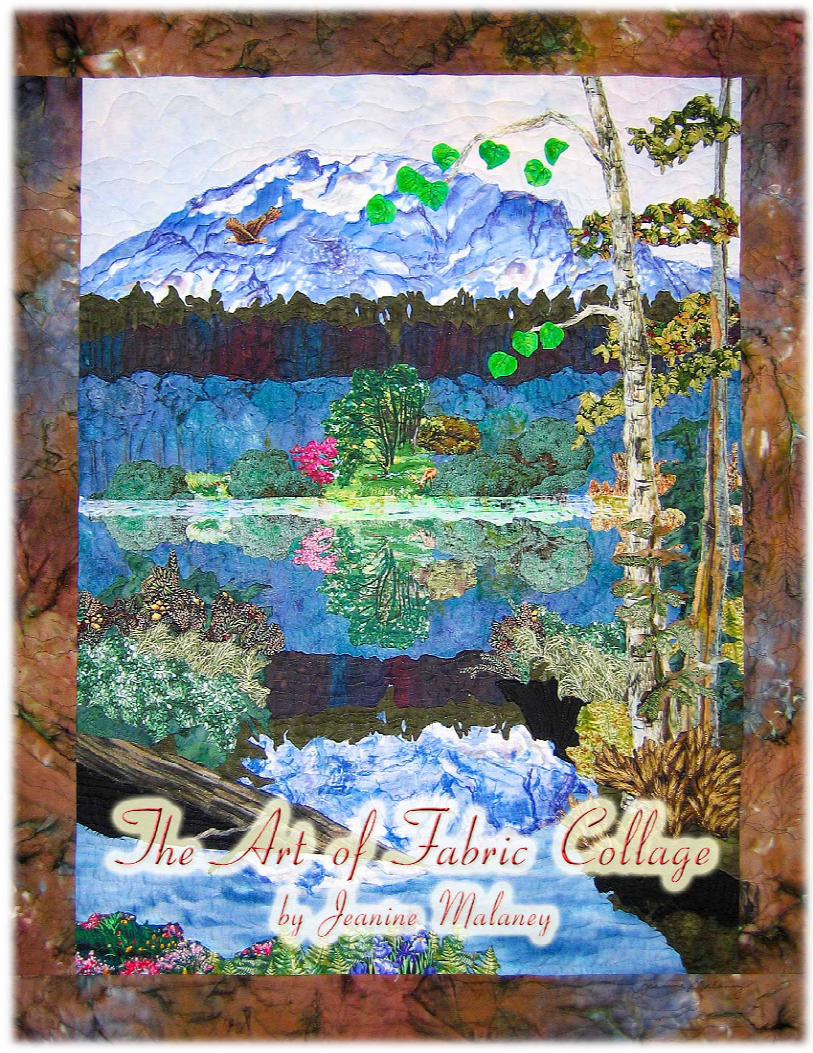
The Art of Fabric Collage
Chapter One - Introduction and Inspiration I Painting With Fabric
Aaah, Denali! 35 x 43
My inspiration comes from a lifelong fascination with the landscape of the American West, its wildlife and legends, cowboy and Indian lore. My style is representational, rediscovering the serenity of the traditional classics, yet with a contemporary flare being big and bold and emphasizing the play of

©2009 www.paintingswithfabric.com all rights reserved The Art of Fabric Collage Page 7
edges and pinning it down onto the edges; I even wrap it onto the backside and tape it down on the backside for a smoother look. You can use flannel, felt, Warm & Natural cotton batting, or even an old flannel sheet. Now you can hang your design wall and the easiest way is to use mirror clamps that screw into the wall. Another less permanent solution, cut the styrofoam to fit a window and then simply set your design wall on the window sill, leaning into the window; you could even tape it to the glass if you need to stabilize it. I have 3 different sized design walls; two are on walls in my spare bedroom where I have my fabric stash and do my designs (4ft x 5ft and 3ft x 4ft). The third one is smaller (20in x 28in) to be portable for when I travel to give lectures and demonstrations. The advantages of a design wall include:
• pinning into the styrofoam is fun and easy and holds everything in place, yet fabric pieces can be unpinned and repositioned easily
• lighting can be more evenly disributed on a vertical surface • your creation can be left out of the way for days, weeks • and most importantly, it allows you to step back and overview your
design, seeing it vertically as it would hang.
Design wall sitting in window sill. Design wall mounted with mirror clamps.

©2009 www.paintingswithfabric.com all rights reserved The Art of Fabric Collage Page 10
allow you to get rid of all the pins, making it easier for you to carry the whole layered canvas to your sewing machine. It will also allow you some flexibility in moving pieces around for a final arrangement before sewing. Following are three examples of Design to Canvas. If you want more help with layering, Book II Advanced Topics will guide you to conquer layering with more explicit step by step illustrations. Example 1 Layering Here is a simple window box we saw at Kalaloch, Washington which is on the Pacific Ocean edge of Olympic National Park.
The Inspiration Photo Cabin at Kalaloch 16 x 20

©2009 www.paintingswithfabric.com all rights reserved The Art of Fabric Collage Page 29
III Enhancing with Quilting You will be quilting to hold the three layers together but also to highlight features and enhance dimension in your collage. This is also a second chance to sufficiently tack down all pieces. Use the same needle, thread, and machine setup as described in Chapter Three. Again you will be doing free-motion quilting. With the feed dogs down and a free-motion foot, you will be able to move the fabric freely -- free-motion quilting. Start near the center and work outwards. Try to use a constant speed, not too slow; don't push your material too fast or you will break your needle. Some people find finger grips helpful in pushing the material around. When you stop, restart in place until up to speed again before moving the material. With practice you will be able to make even stitches. Trim threads often, front and back to look neat and professional. Study the following photos to help you understand my technique of highlighting features and enhancing dimension. Heavy stippeling will cause the area to recede (for background effect). Outlining will puff out the interior of the piece you outline (like clouds or birds). Stitching lines can act like or enhance your fabric paint lines to "draw" objects (like mountain ridges or leaf veins). Most leaf edges are loose for added texture, protected with fray check.

©2009 www.paintingswithfabric.com all rights reserved The Art of Fabric Collage Page 37
Chapter Six - Care and Framing I Hanging Options Your artwork may be framed or, if unframed, hung from a dowel in which case you need to add a sleeve for the dowel. Book II reveals the best method for creating a dowel sleeve if you prefer to hang your piece unframed.
Here are some framing tips... If the painting has wrinkles or creases, use a steam iron set on cotton to iron from the back side or press (not iron) from the front side. Again I am distinguishing between "press" and "iron". To press means to only move the steam iron up and down onto the fabric. To iron means to move the steam iron back and forth across the fabric. Frames of wood should be sealed. If wood framing is used, be sure wood is not raw but has been sealed. Some resins in unsealed wood may be absorbed by the fabric causing deterioration or staining. Mount your fabric painting in the frame by stapling it into the frame every three or four inches along the binding, using a staple gun. Do not stretch too tight or you may lose some of the 3-dimensional texture of the quilting. If framing under glass, allow space between the glass and the fabric. The fabric should not touch the glass or you will lose some of the 3-dimensional texture of the fabric collage or the quilting. Some people chose to use UV protection glass or UV protection plexi-glass. I prefer to enjoy the full texture of the fabric and so I frame my fabric artwork without glass. II Care
To keep clean, your fabric painting, if not under glass, may be feather-dusted regularly. Once or twice a year you should carefully/gently vacuum the material, front and back, with your vacuum cleaner hose attachment. To protect from sunlight UV rays, never hang your fabric painting where direct sunlight shines on it and can fade the material. Do not use Scotchguard type products; they may have a deteriorating affect.