template - watercolor · arts media, such as watercolor and oil. in the 1950's, the...
TRANSCRIPT
© C
op
yright Sh
ow
eet.co
m
Acrylic Paint
Tools, Tips and Techniques
© C
op
yright Sh
ow
eet.co
m
-
Acrylic Paint Basics…
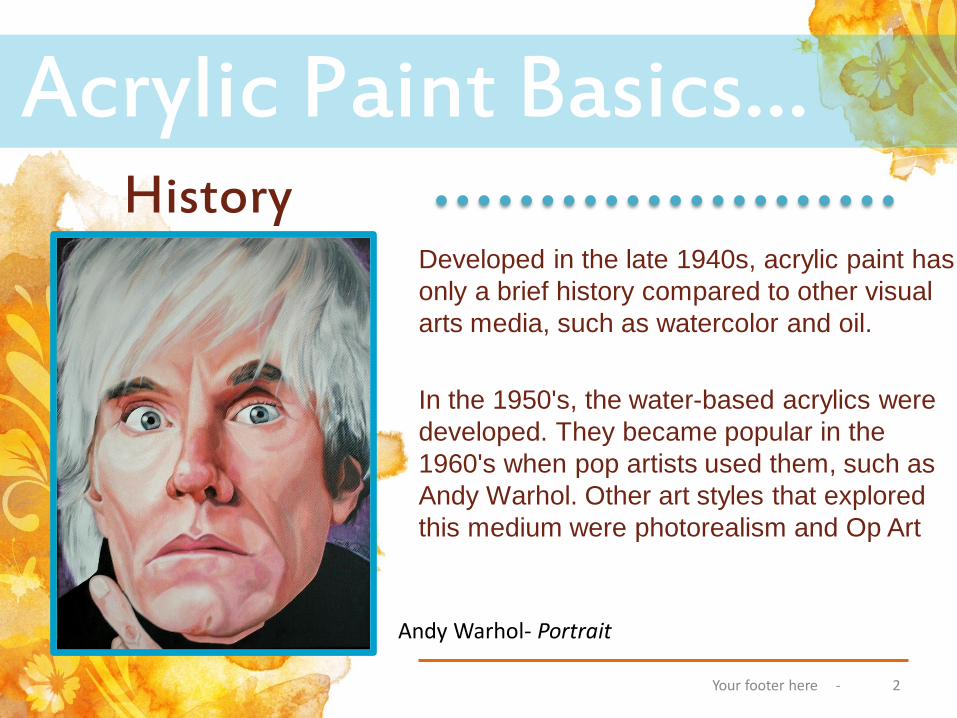
Developed in the late 1940s, acrylic paint has
only a brief history compared to other visual
arts media, such as watercolor and oil.
In the 1950's, the water-based acrylics were
developed. They became popular in the
1960's when pop artists used them, such as
Andy Warhol. Other art styles that explored
this medium were photorealism and Op Art
2 Your footer here
History
Andy Warhol- Portrait
© C
op
yright Sh
ow
eet.co
m
-
Acrylic Paint Basics…
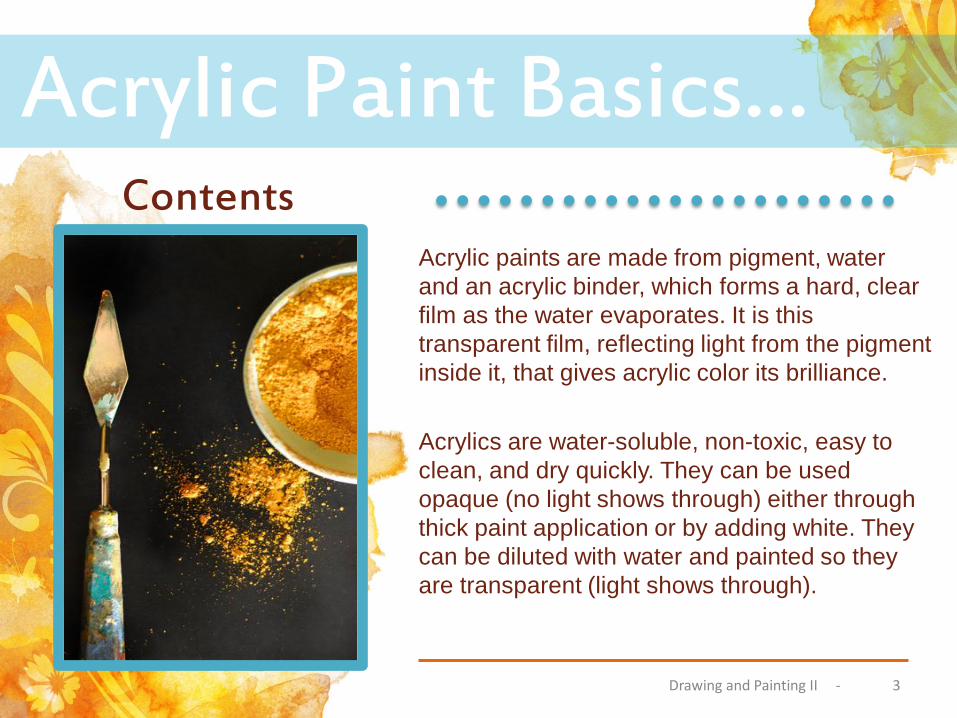
Acrylic paints are made from pigment, water
and an acrylic binder, which forms a hard, clear
film as the water evaporates. It is this
transparent film, reflecting light from the pigment
inside it, that gives acrylic color its brilliance.
Acrylics are water-soluble, non-toxic, easy to
clean, and dry quickly. They can be used
opaque (no light shows through) either through
thick paint application or by adding white. They
can be diluted with water and painted so they
are transparent (light shows through).
3 Drawing and Painting II
Contents
© C
op
yright Sh
ow
eet.co
m
-
Acrylic Paint Basics…
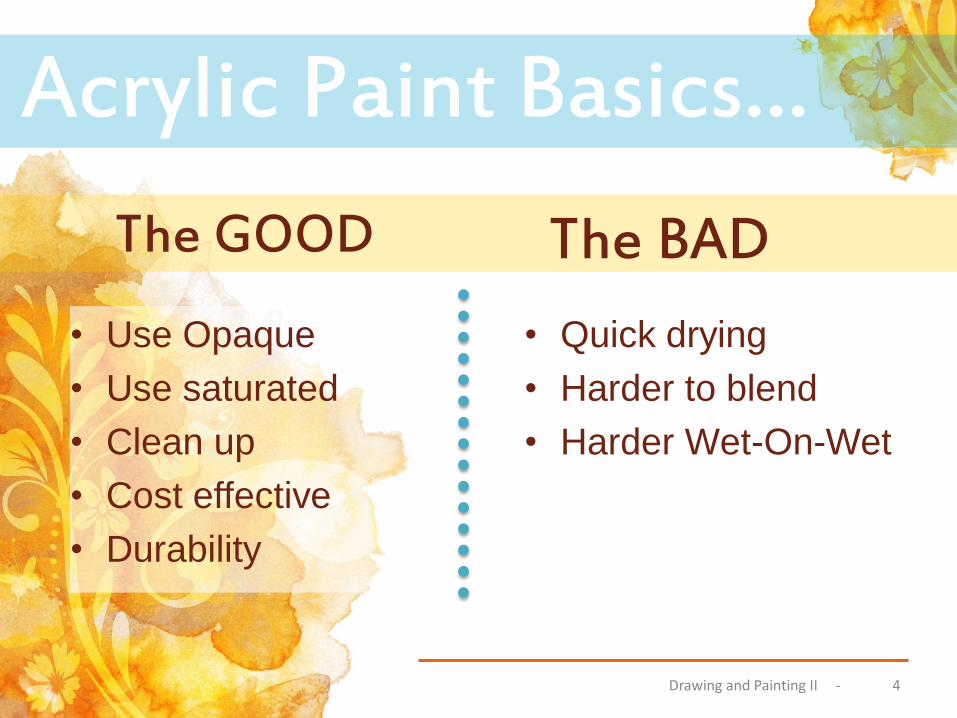
• Quick drying
• Harder to blend
• Harder Wet-On-Wet
4 Drawing and Painting II
The GOOD The BAD
• Use Opaque
• Use saturated
• Clean up
• Cost effective
• Durability
© C
op
yright Sh
ow
eet.co
m
-
Acrylic Paint Tools…
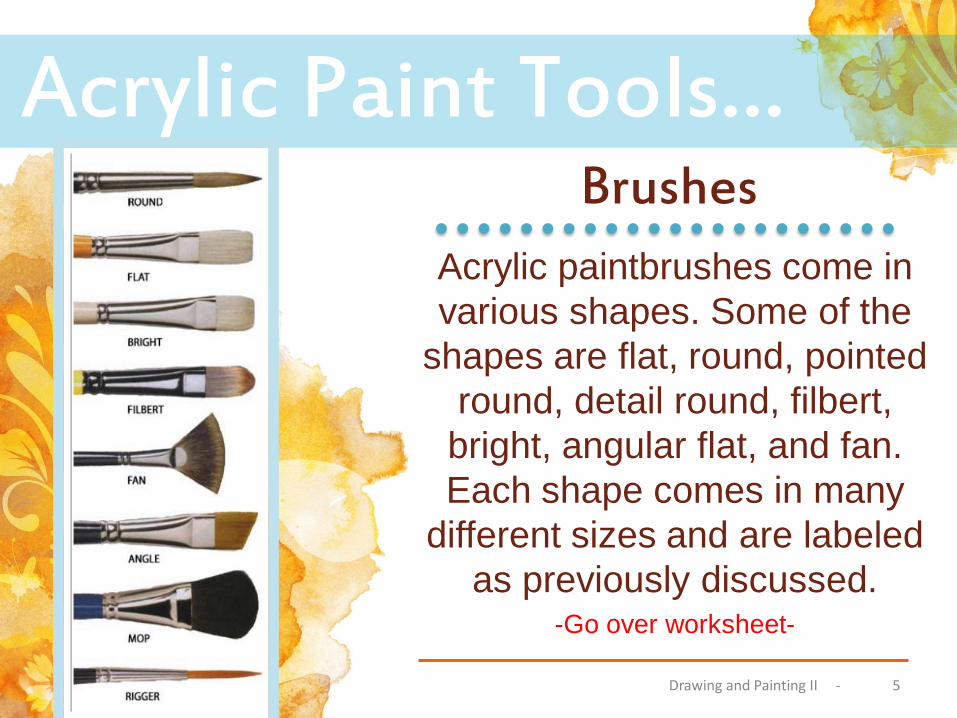
Acrylic paintbrushes come in
various shapes. Some of the
shapes are flat, round, pointed
round, detail round, filbert,
bright, angular flat, and fan.
Each shape comes in many
different sizes and are labeled
as previously discussed. -Go over worksheet-
5 Drawing and Painting II
Brushes
© C
op
yright Sh
ow
eet.co
m
-
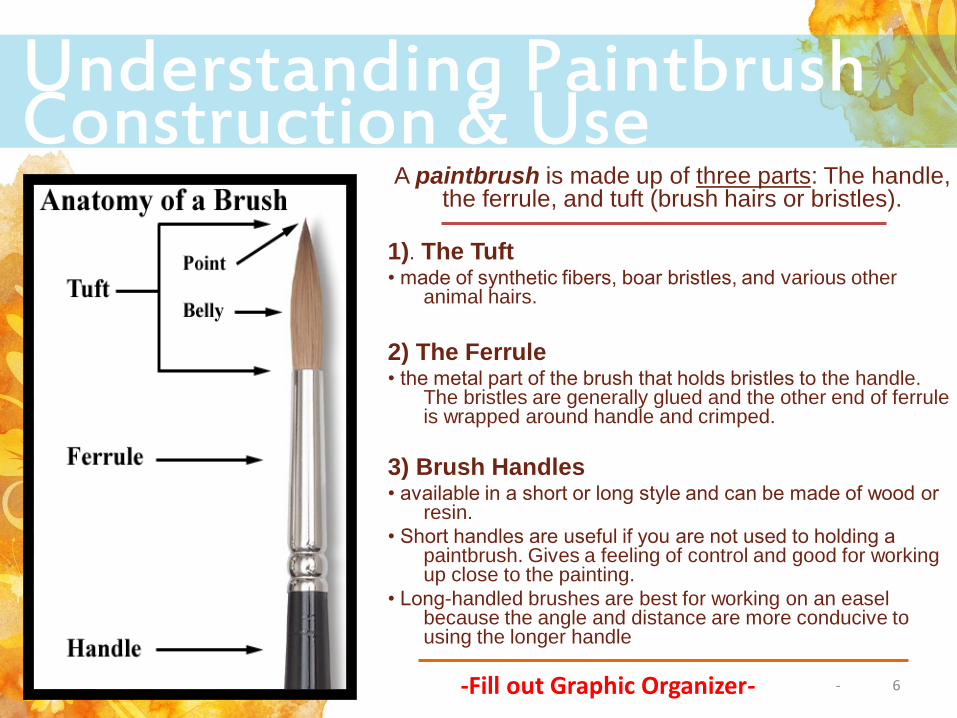
A paintbrush is made up of three parts: The handle, the ferrule, and tuft (brush hairs or bristles).
1). The Tuft • made of synthetic fibers, boar bristles, and various other
animal hairs.
2) The Ferrule • the metal part of the brush that holds bristles to the handle.
The bristles are generally glued and the other end of ferrule is wrapped around handle and crimped.
3) Brush Handles • available in a short or long style and can be made of wood or
resin.
• Short handles are useful if you are not used to holding a paintbrush. Gives a feeling of control and good for working up close to the painting.
• Long-handled brushes are best for working on an easel because the angle and distance are more conducive to using the longer handle
Understanding Paintbrush Construction & Use
-Fill out Graphic Organizer- 6
© C
op
yright Sh
ow
eet.co
m
-
© C
op
yright Sh
ow
eet.co
m
-

© C
op
yright Sh
ow
eet.co
m
-
© C
op
yright Sh
ow
eet.co
m
-
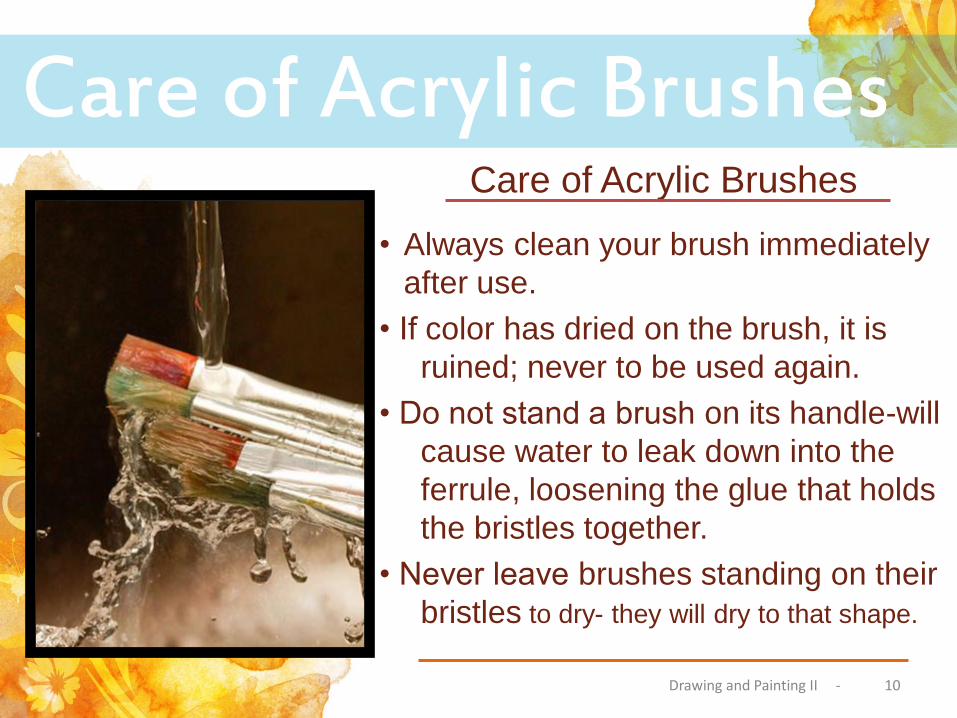
Care of Acrylic Brushes
• Always clean your brush immediately
after use.
• If color has dried on the brush, it is
ruined; never to be used again.
• Do not stand a brush on its handle-will
cause water to leak down into the
ferrule, loosening the glue that holds
the bristles together.
• Never leave brushes standing on their
bristles to dry- they will dry to that shape.
Care of Acrylic Brushes
Drawing and Painting II 10
© C
op
yright Sh
ow
eet.co
m
-
• Brushes should be wiped clean on a lint-free rag and then rinsed under
running water.
• Clean brushes gently with cool water and mild soap, gently swirl the
soapy brush in the palm of your hand.
• Repeat washing and rinsing the brush until the soap and water run clear.
• Take particular care to ensure that the base of the brush head is clean.
• Some pigments may stain the brush slightly, but this will not affect the
performance or the life of the hair.
• Gently reshape the head and remove excess water from the brush
head.
• Dry the handle and ferrule and stand head up to allow the hair to dry
Cleaning of Acrylic Brushes
Drawing and Painting II 11
© C
op
yright Sh
ow
eet.co
m
-
1. Color Blocking
2. Wet-on-Wet
3. Hard Edges
4. Glazing
5. Scumbling
6. Impasto
7. Watercolor Effects
8. Grisaille Painting
Techniques
Drawing and Painting II 12
© C
op
yright Sh
ow
eet.co
m
-
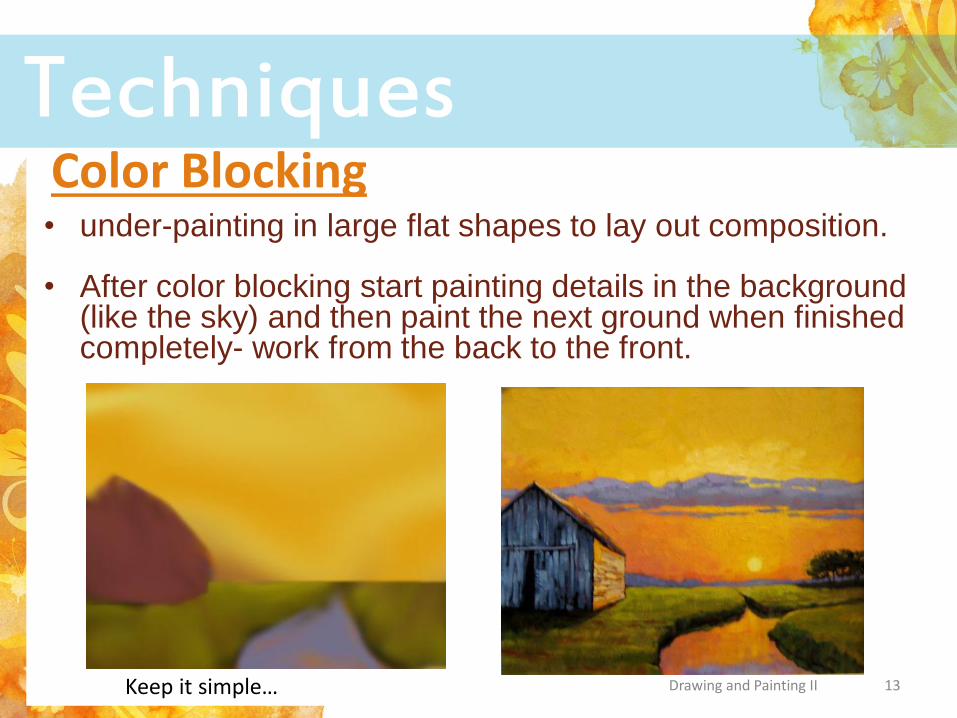
• under-painting in large flat shapes to lay out composition.
• After color blocking start painting details in the background (like the sky) and then paint the next ground when finished completely- work from the back to the front.
Techniques
Drawing and Painting II 13
Color Blocking
Keep it simple…
© C
op
yright Sh
ow
eet.co
m
-
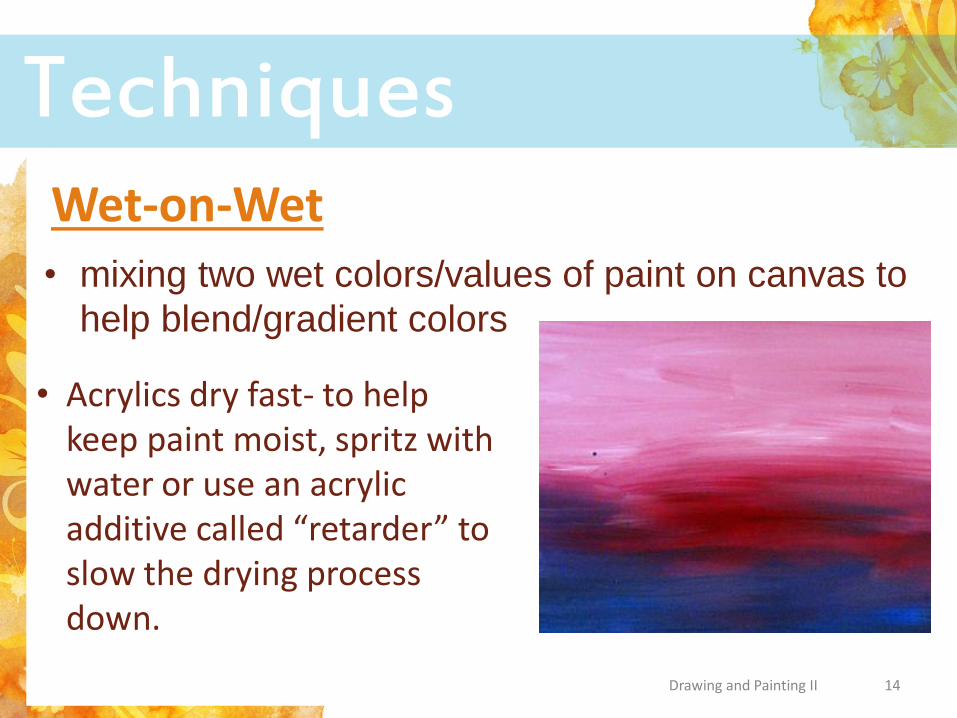
• mixing two wet colors/values of paint on canvas to
help blend/gradient colors
Techniques
Drawing and Painting II 14
Wet-on-Wet
• Acrylics dry fast- to help keep paint moist, spritz with water or use an acrylic additive called “retarder” to slow the drying process down.

© C
op
yright Sh
ow
eet.co
m
-
• Creating a clean, straight edge between objects
(colors/values)
Techniques
Drawing and Painting II 15
Hard Edge
© C
op
yright Sh
ow
eet.co
m
-
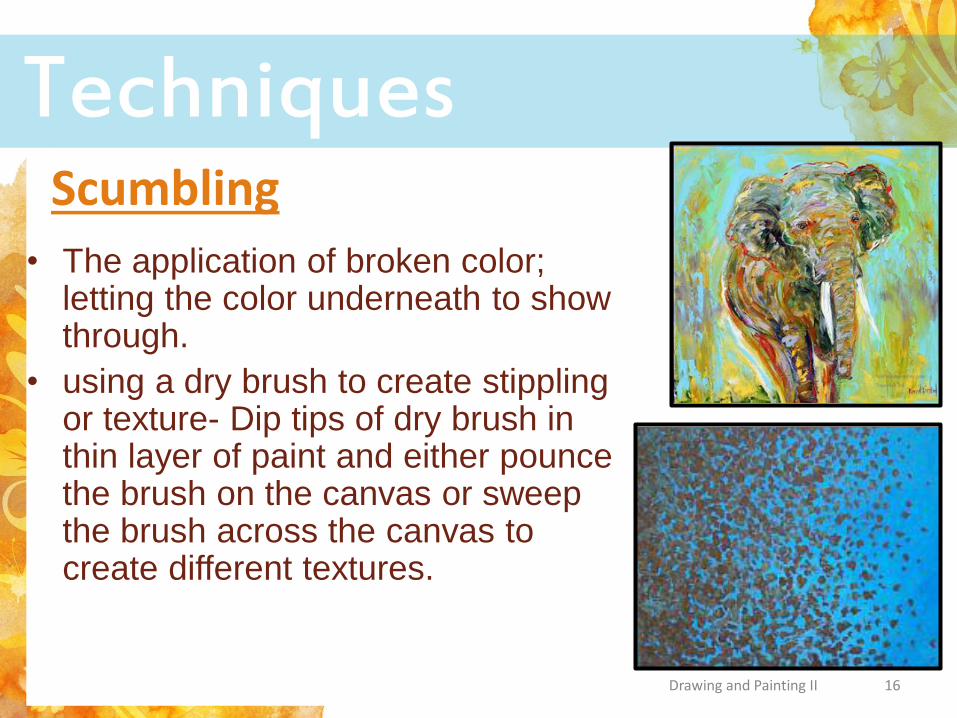
• The application of broken color; letting the color underneath to show through.
• using a dry brush to create stippling or texture- Dip tips of dry brush in thin layer of paint and either pounce the brush on the canvas or sweep the brush across the canvas to create different textures.
Techniques
Drawing and Painting II 16
Scumbling
© C
op
yright Sh
ow
eet.co
m
-
Techniques
Drawing and Painting II 17
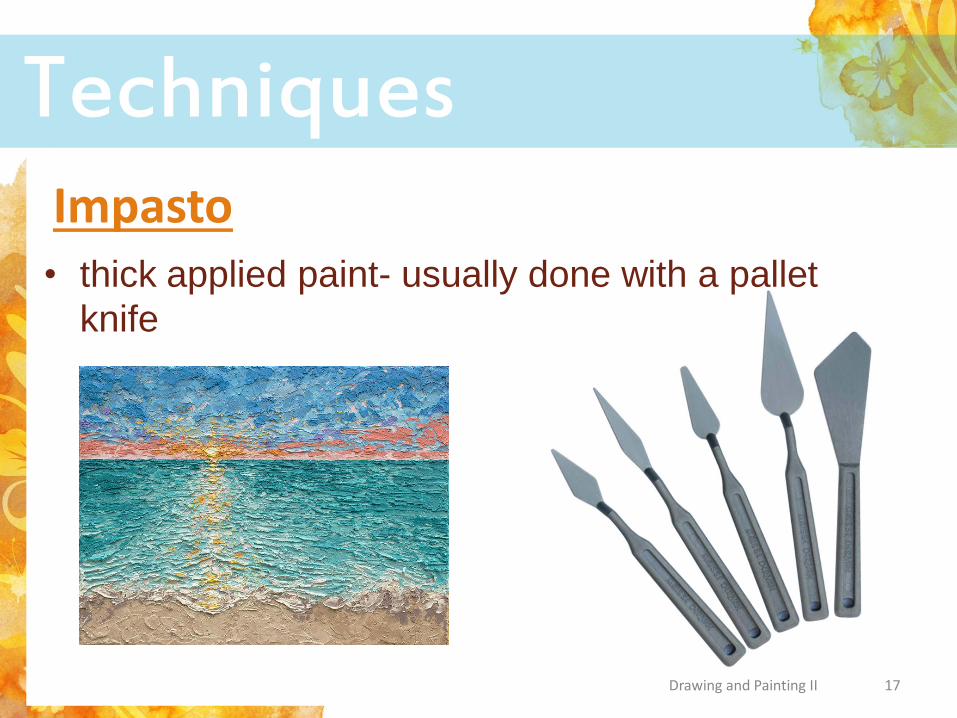
Impasto • thick applied paint- usually done with a pallet
knife
© C
op
yright Sh
ow
eet.co
m
-
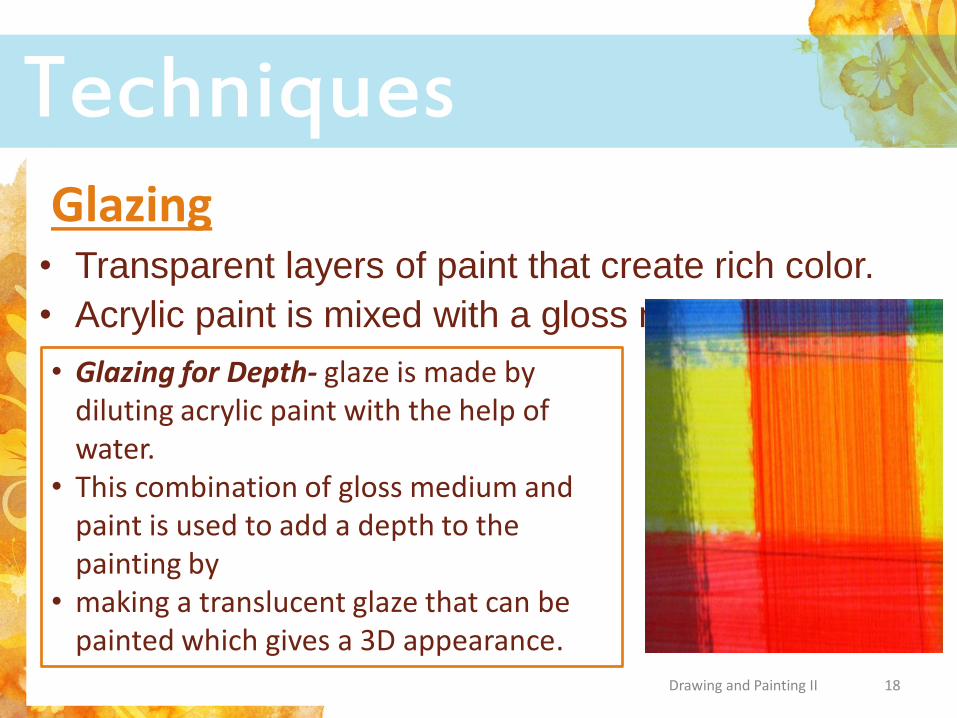
• Transparent layers of paint that create rich color.
• Acrylic paint is mixed with a gloss medium.
Techniques
Drawing and Painting II 18
Glazing
• Glazing for Depth- glaze is made by diluting acrylic paint with the help of water.
• This combination of gloss medium and paint is used to add a depth to the painting by
• making a translucent glaze that can be painted which gives a 3D appearance.
© C
op
yright Sh
ow
eet.co
m
-
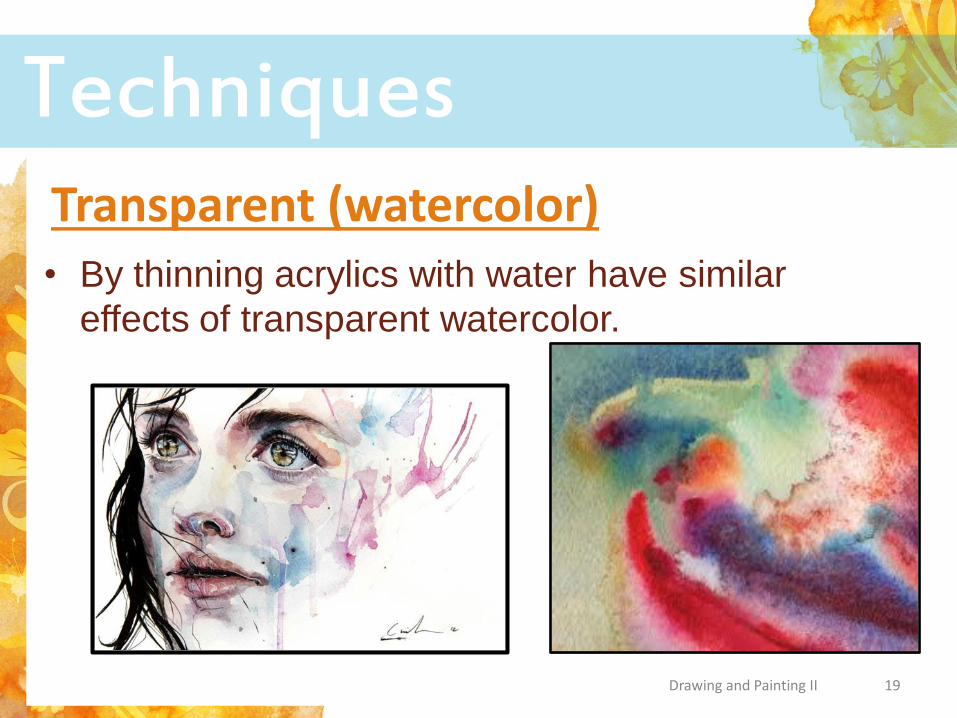
• By thinning acrylics with water have similar
effects of transparent watercolor.
Techniques
Drawing and Painting II 19
Transparent (watercolor)
© C
op
yright Sh
ow
eet.co
m
-
https://www.youtube.com/watch?v=Nj3886C0cVY
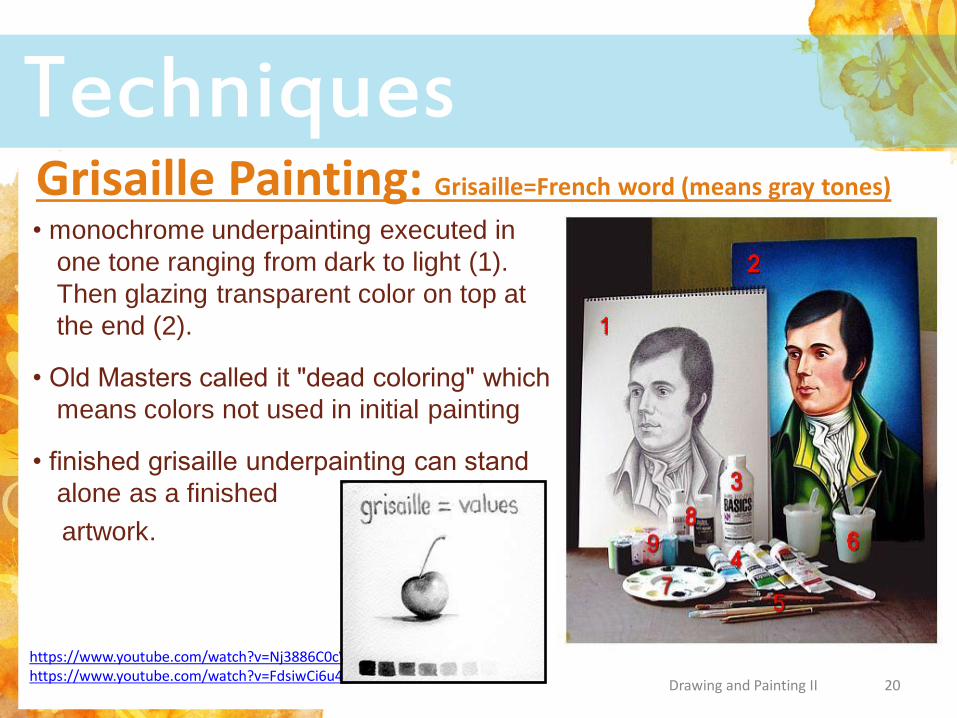
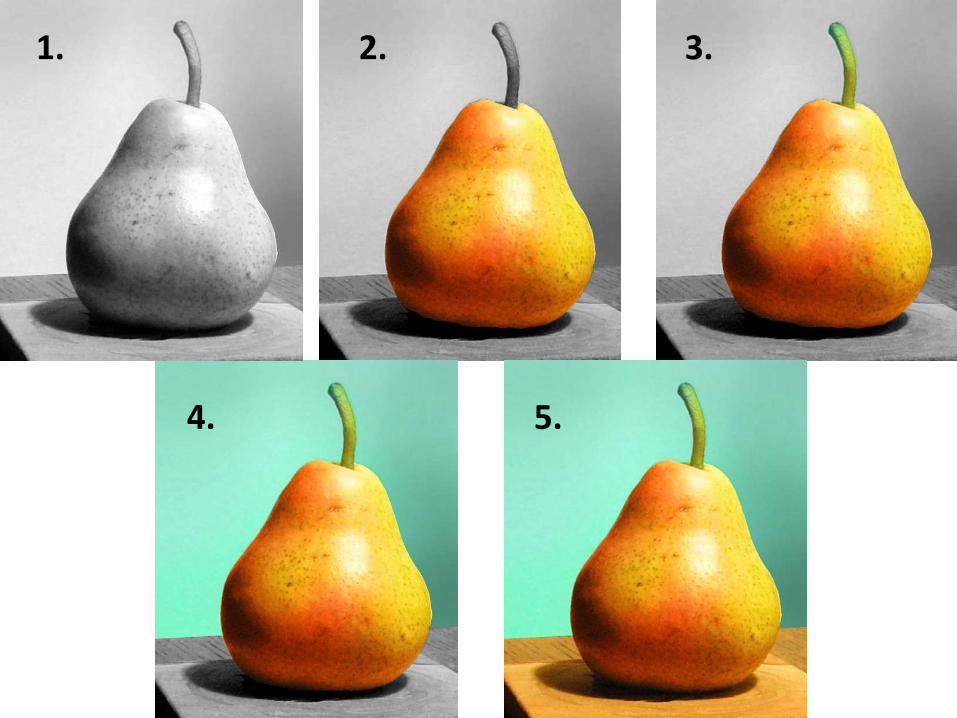
• monochrome underpainting executed in
one tone ranging from dark to light (1).
Then glazing transparent color on top at
the end (2).
• Old Masters called it "dead coloring" which
means colors not used in initial painting
• finished grisaille underpainting can stand
alone as a finished
artwork.
Techniques
Drawing and Painting II 20
Grisaille Painting: Grisaille=French word (means gray tones)
https://www.youtube.com/watch?v=Nj3886C0cVY https://www.youtube.com/watch?v=FdsiwCi6u40
© C
op
yright Sh
ow
eet.co
m
-
:
• START from the BACKGROUND and work your way forward. This will keep you from having to paint in between little details- its faster to work this way!!
• Diffuse edges (blend) with a dry brush by dabbing lightly.
• Acrylics become darker in tone as they dry, so remember to allow for this effect when mixing your colors.
• Acrylics are resistant to water once dry, which means they can be over-painted without disturbing the previous color. Once dry, colors cannot be dissolved with a damp brush.
• If trying to remove-While paint is wet, wipe with damp rag.
Helpful Hints:
Drawing and Painting II 21
© C
op
yright Sh
ow
eet.co
m
-
Instead of using black and brown out of the of the bottle
you have to mix them from Primary colors.
BLACK: about 90% base color and 10% complement
• Warm black: start with red and add green
• Cool black: start with blue and add orange
BROWN: about 50% base color and 50% complement
• Warm Brown: base is red and little less green
• Cool Brown: Base Blue and little less orange
Mixing Neutrals:
Drawing and Painting II 22
© C
op
yright Sh
ow
eet.co
m
-
:
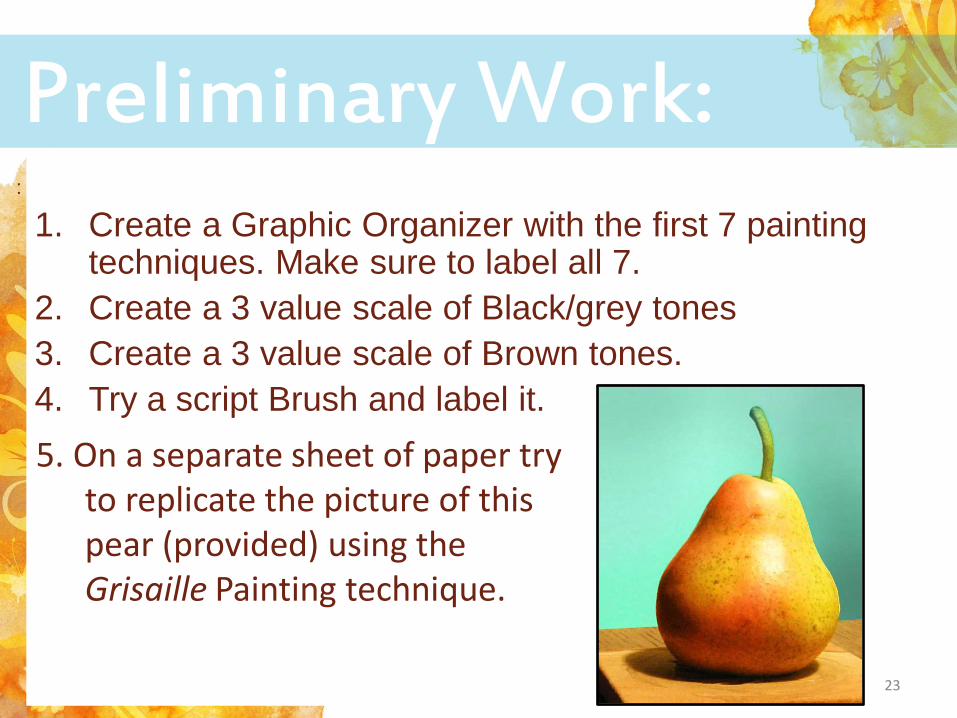
1. Create a Graphic Organizer with the first 7 painting techniques. Make sure to label all 7.
2. Create a 3 value scale of Black/grey tones
3. Create a 3 value scale of Brown tones.
4. Try a script Brush and label it.
Preliminary Work:
Drawing and Painting II 23
5. On a separate sheet of paper try to replicate the picture of this pear (provided) using the Grisaille Painting technique.
© C
op
yright Sh
ow
eet.co
m
-
1. 2. 3.
4. 5.