team 7182, mechanical paradox kieran barvenik · creating a timer •to effectively ... •the...
TRANSCRIPT

Introduction to Autonomous Programming
Team 7182, Mechanical Paradox
Kieran Barvenik

This Class
• This class is designed to be a hands-on workshop, where students can have the chance not only to learn the information provided, but also to apply it
• We hope that the workshop’s interactive medium will help people retain the information taught in the class more so than a normal lecture format would
2
This Class
• The class will be covering FTC specific Java programming and the essential building blocks for writing code for your robot
• We will be creating a program that commands a standard pushbot to move forwards for 2.5 seconds, open, and close its claw
3
Java and Android Studio
• The FTC hardware system operates over an Android platform, which is written in Java
• Android Studio is an IDE (Integrated Development Environment) specifically designed for Android programming
• Interacting directly with the code is an extremely versatile way of writing programs that allows the writer to gain complete control over the program’s operation (in contrast to MIT App Developer, which is fairly limited)
4

Looking at Android Studio
A First look at the IDE
5

• The highlighted portion (in red) is the toolbar, where the user has access to the functions and shortcuts of the IDE
6

• The highlighted portion is the file explorer, where the user has access to the hierarchy of program files
7
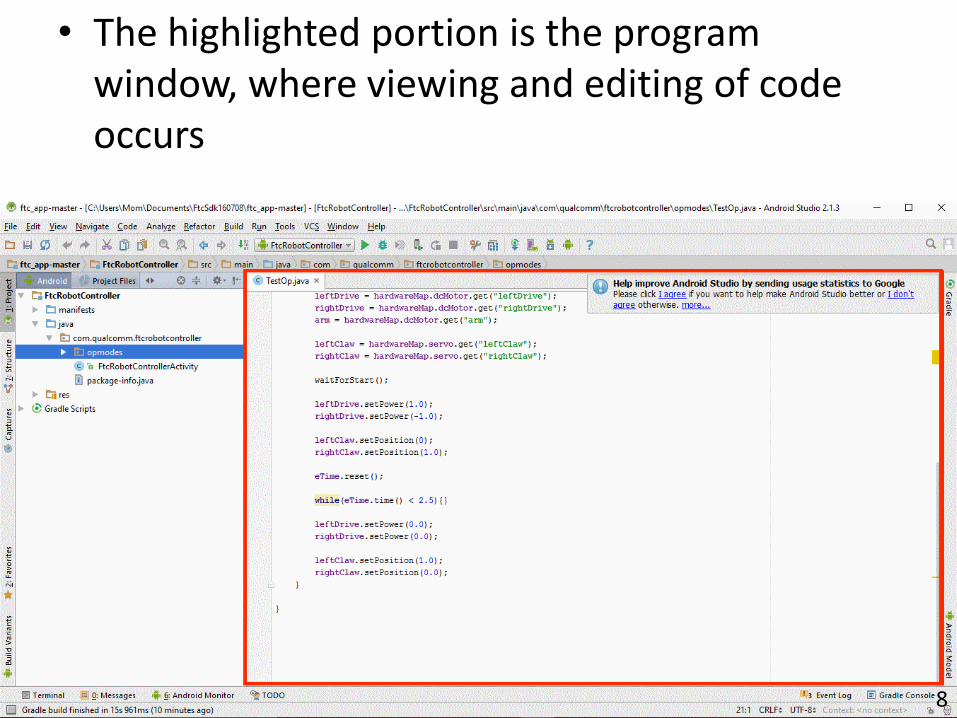
• The highlighted portion is the program window, where viewing and editing of code occurs
8

Android Studio Features
• Android Studio includes a variety of other useful features for programming including, but not limited to:
• Intelligent code editor (advanced code completion, analysis, and refactoring)
• Automatic integration with version control and project management software such as GIT
• Fast and expansive emulator
9
What is an OpMode?
• OpMode refers to a user generated operational mode, or a program run on the robot
• The Term OpMode encompasses both Autonomous and Teleoperated modes
– Autonomous OpModes are robot-controlled programs that are run during the first 30 seconds of a match
– Teleoperated OpModes are driver-controlled programs that are run during the last 2 minutes of a match
10

Structure and Run Order
• The run cycle of the program is its order of operations from the starting to the stopping of the program
• OpModes contain multiple different prewritten methods (groups of code that perform an operation), each which plays during a different time during the run cycle of the program
11

Structure and Run Order
• Methods vary between 2 different types of OpModes: Normal and Linear – Normal OpMode: employs 4 main methods: init,
start, loop, and stop
– Linear OpMode: only uses one method, the runOpMode method, that runs once the program is initialized.
– We will be creating a Linear OpMode, because the concepts we are demonstrating work better with the Linear setup
12
Run Cycle Explanation
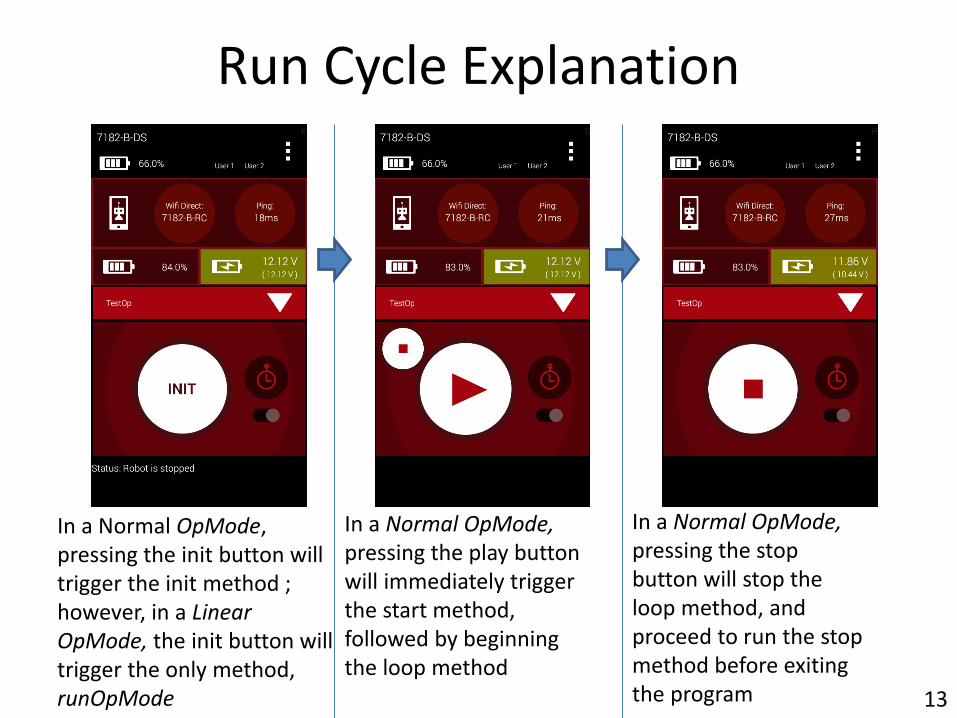
In a Normal OpMode, pressing the init button will trigger the init method ; however, in a Linear OpMode, the init button will trigger the only method, runOpMode
In a Normal OpMode, pressing the play button will immediately trigger the start method, followed by beginning the loop method
In a Normal OpMode, pressing the stop button will stop the loop method, and proceed to run the stop method before exiting the program 13
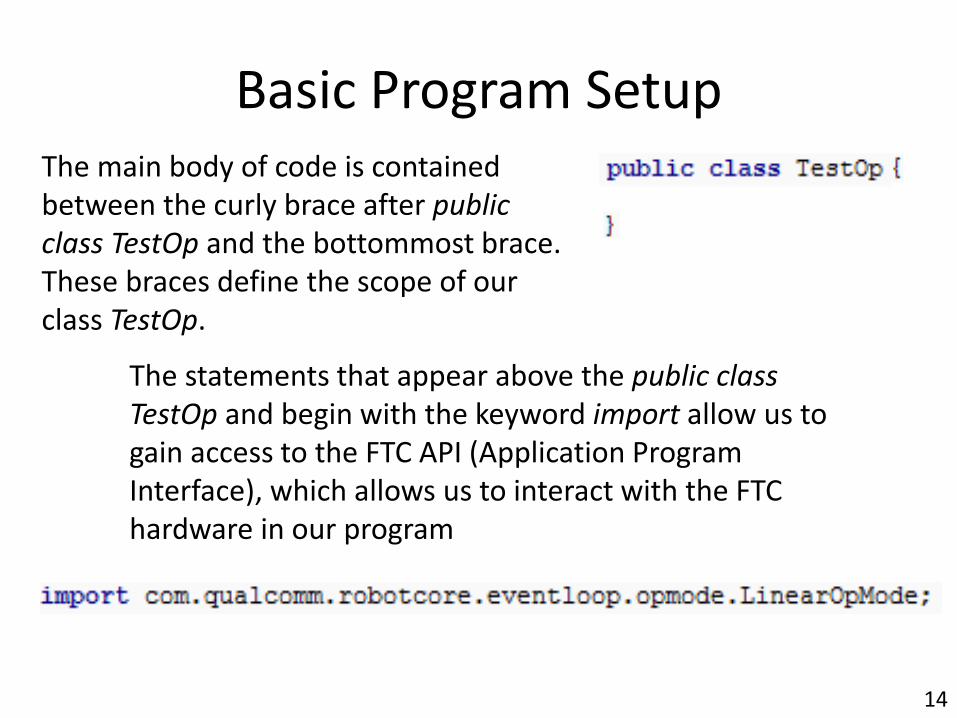
Basic Program Setup The main body of code is contained between the curly brace after public class TestOp and the bottommost brace. These braces define the scope of our class TestOp.
The statements that appear above the public class TestOp and begin with the keyword import allow us to gain access to the FTC API (Application Program Interface), which allows us to interact with the FTC hardware in our program
14

OpMode Creation (extension)
• To begin creating the OpMode, we must first add the keywords extends LinearOpMode between the public class TestOp and the opening curly brace
15
Variable Declaration
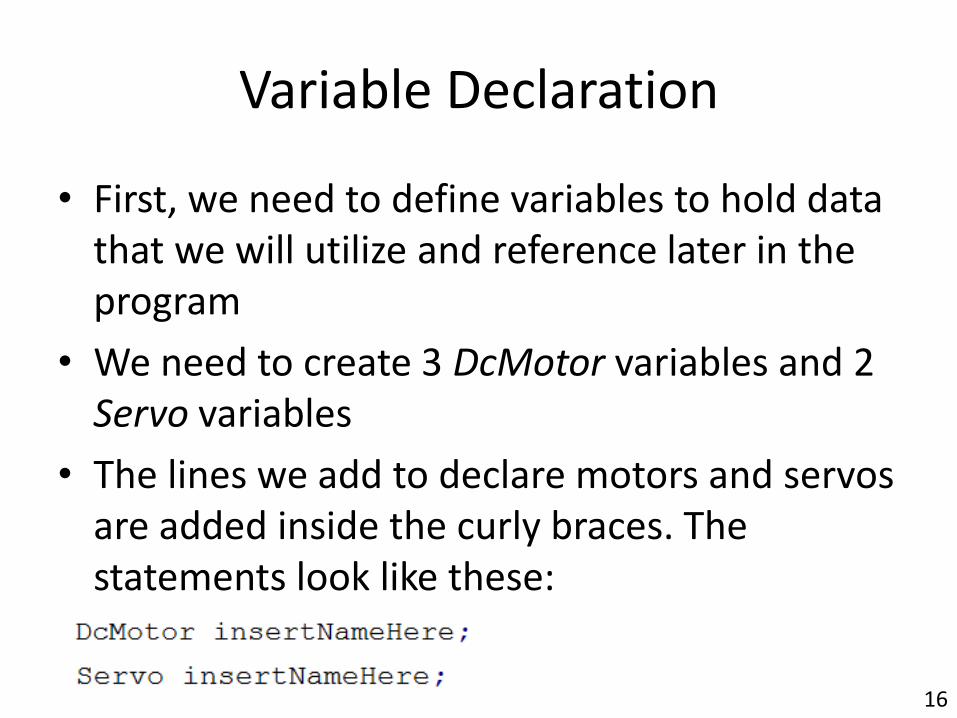
• First, we need to define variables to hold data that we will utilize and reference later in the program
• We need to create 3 DcMotor variables and 2 Servo variables
• The lines we add to declare motors and servos are added inside the curly braces. The statements look like these:
16

Variable Declaration
• There are 3 motor variables to create: leftDrive, rightDrive, and arm
• There are 2 servo variables to create: leftClaw and rightClaw
17
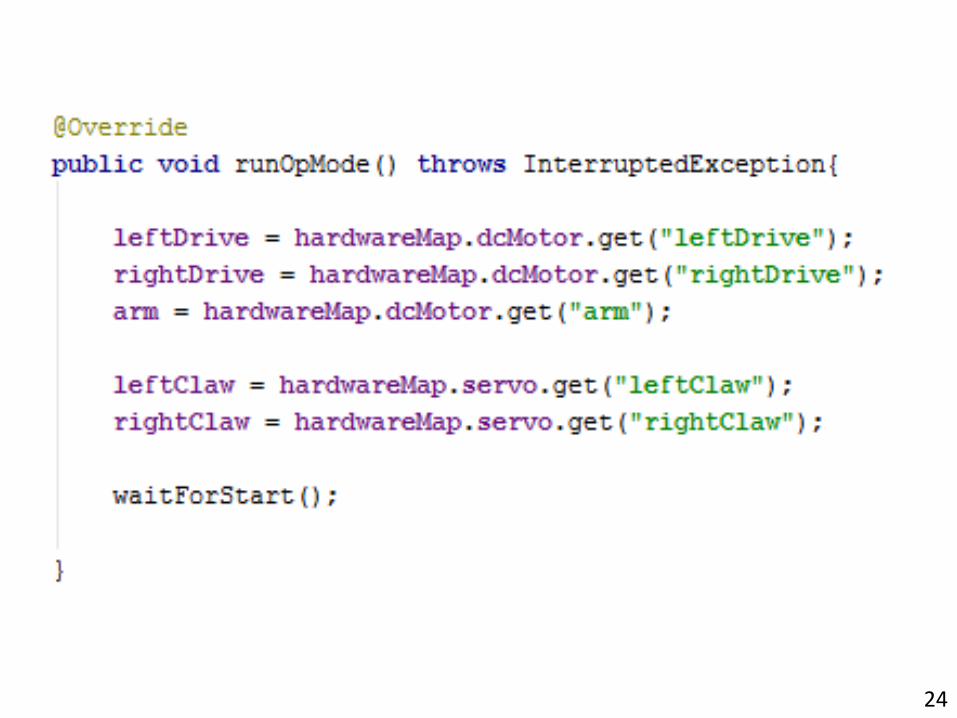
OpMode Creation (runOpMode)
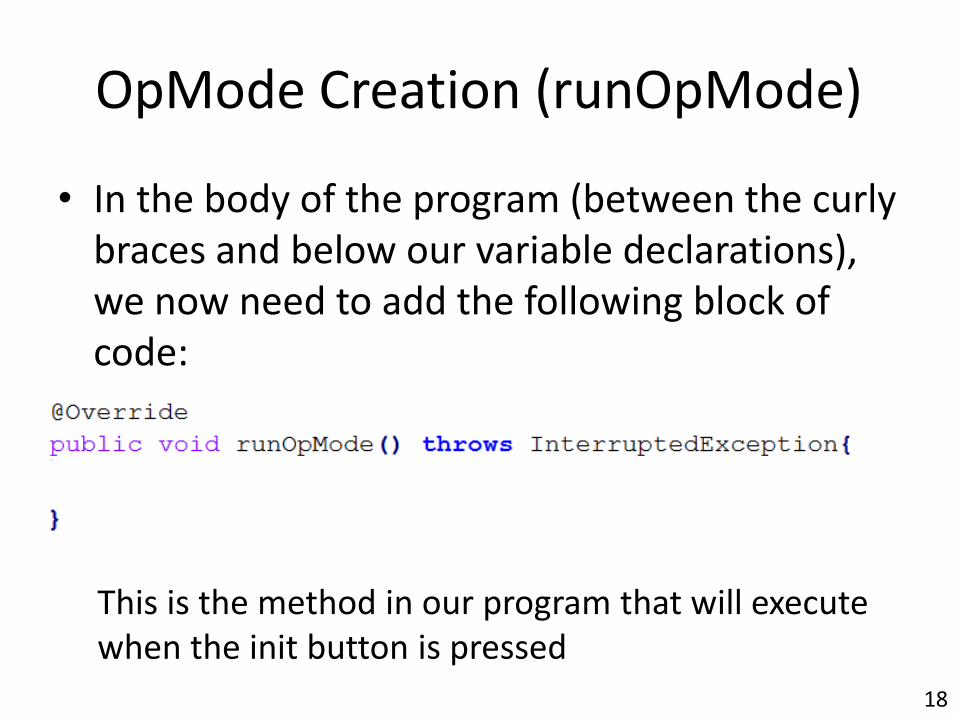
• In the body of the program (between the curly braces and below our variable declarations), we now need to add the following block of code:
This is the method in our program that will execute when the init button is pressed
18

19
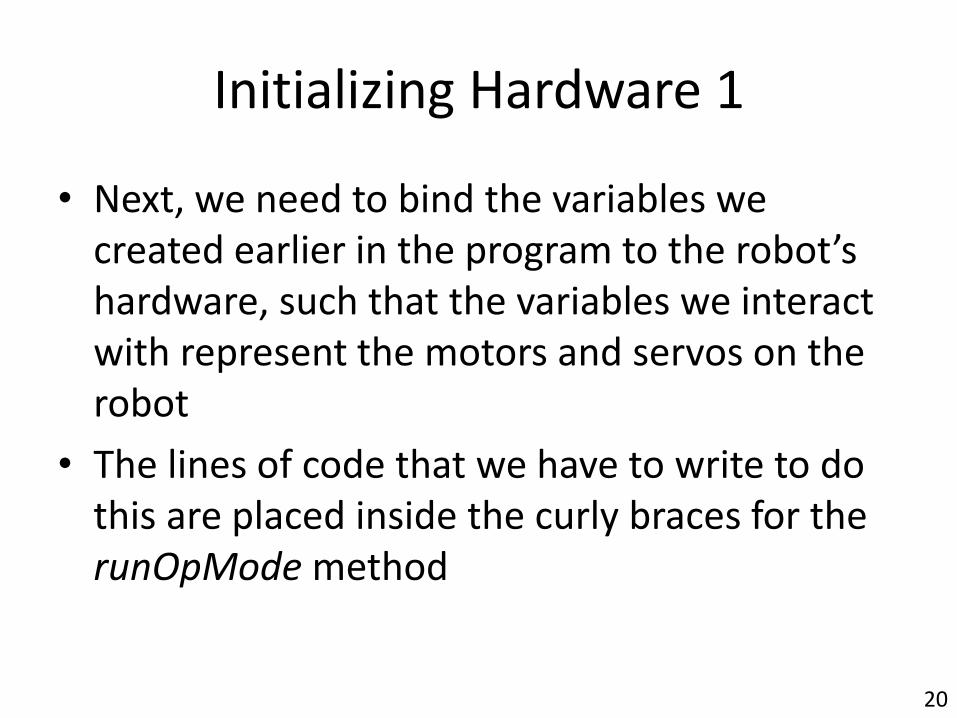
Initializing Hardware 1
• Next, we need to bind the variables we created earlier in the program to the robot’s hardware, such that the variables we interact with represent the motors and servos on the robot
• The lines of code that we have to write to do this are placed inside the curly braces for the runOpMode method
20

Initializing Hardware 2
• The line to initialize a motor looks as follows:
• The line to initialize a servo looks as follows:
• The name inside the quotation marks is a name we give to the hardware device on the robot controller once the program is downloaded to the phone
21

22

Wait for Start
• After these lines of code, we have to add a waitForStart() method call. Because the runOpMode() method begins when the user presses the init button, the waitForStart() command tells the system not to continue until the play button is pressed on the phone
23
24

Motor Movement
• After the waitForStart() method call, is where the movement procedure is written
• To make a motor move, the method [motorName].setPower(0.0) is called. The number put between the parenthesis is a decimal value that can range from -1.0 to 1.0, with -1.0 being full power in reverse and 1.0 being full power forwards.
• To stop a motor’s movement, use 0 for the decimal number
25

Servo Movement
• To move a servo, the line [servoName].setPosition(0.0) is called in the runOpMode() method
• The number inside the parenthesis is a decimal value that ranges from 0 to 1.0
• The decimal represents a position from 0 degrees to 180 degrees, so the decimal equivalent to the position in degrees can be found by dividing the number of degrees by 180
26
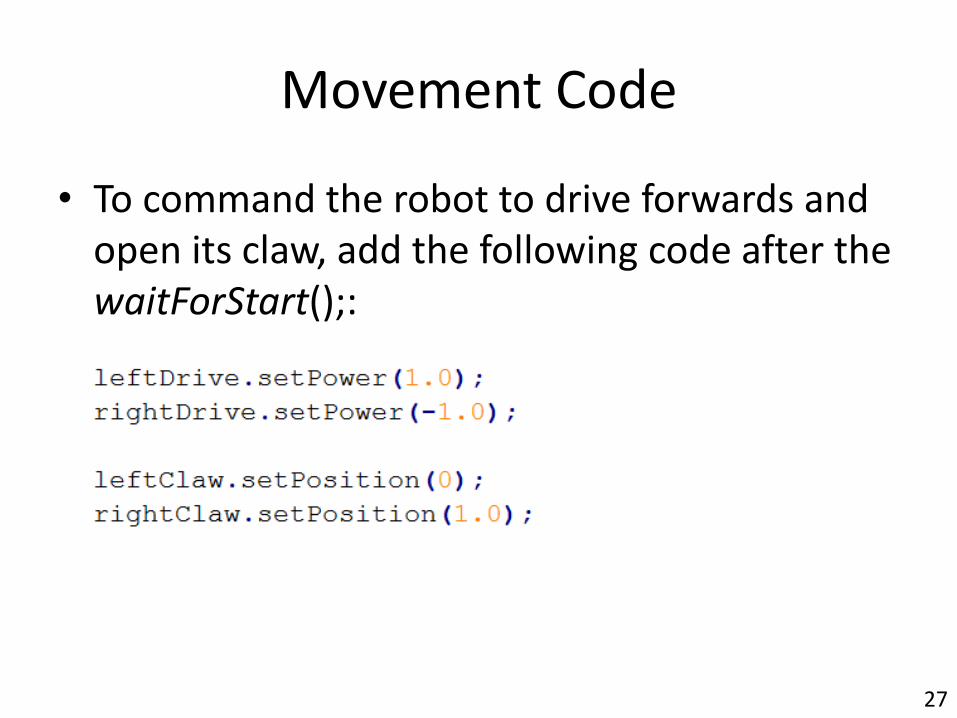
Movement Code
• To command the robot to drive forwards and open its claw, add the following code after the waitForStart();:
27

28

Creating a Timer
• To effectively write autonomous programs, a means of measuring distance must be utilized
• The simplest way to accomplish this is by creating a timer, though encoders or sensors can also be utilized
• The timer included in the FTC API is called ElapsedTime, a user controlled timer that can measure in units as small as milliseconds
29

Creating a Timer
• First, we need to create an instance of ElapsedTime by placing the following line of code after our movement code:
30

Waiting • To tell our program to wait until a specific time
has elapsed, we have to set up a loop that will continually check if our desired amount of time has passed (2.5 seconds, in our example)
• To accomplish this, we add the following code after our movement code in the runOpMode() method (eTime.time() returns seconds, not milliseconds)
31

32
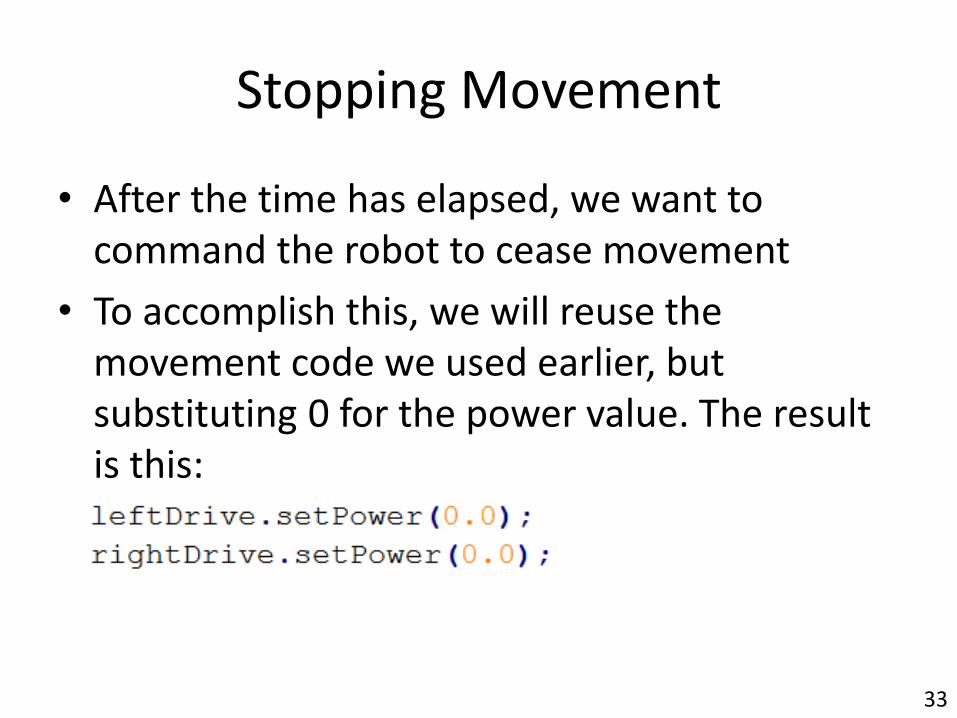
Stopping Movement
• After the time has elapsed, we want to command the robot to cease movement
• To accomplish this, we will reuse the movement code we used earlier, but substituting 0 for the power value. The result is this:
33
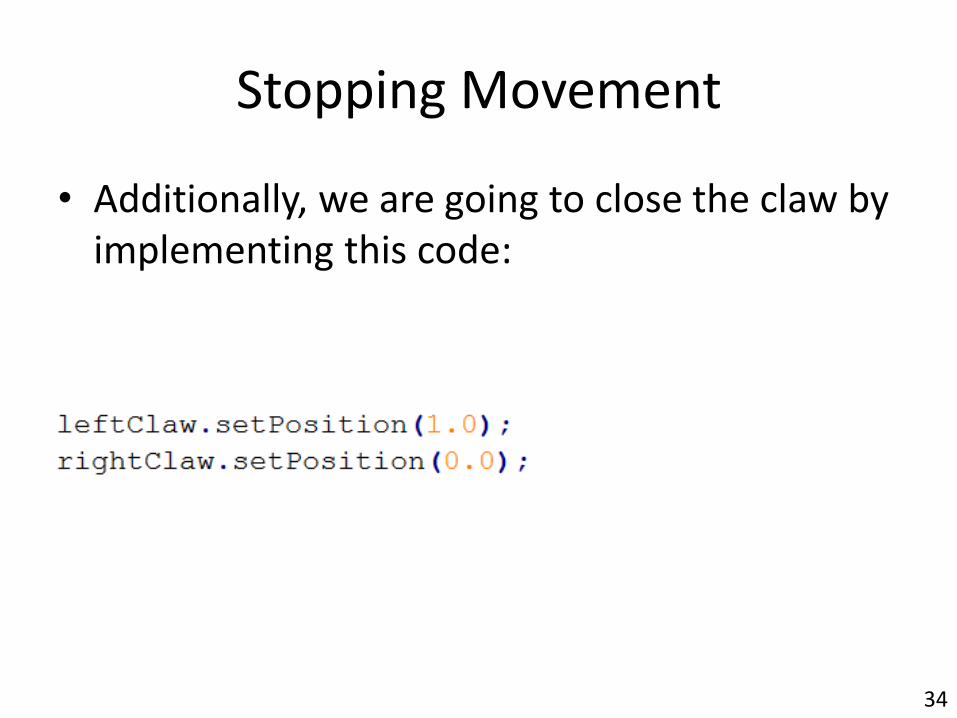
Stopping Movement
• Additionally, we are going to close the claw by implementing this code:
34
35
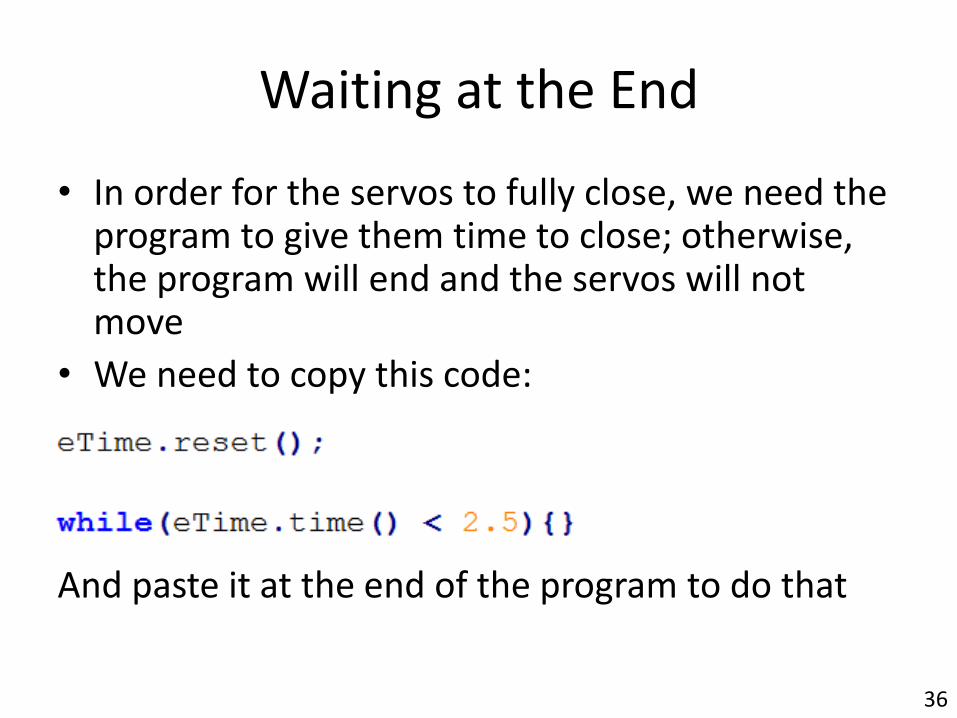
Waiting at the End
• In order for the servos to fully close, we need the program to give them time to close; otherwise, the program will end and the servos will not move
• We need to copy this code:
And paste it at the end of the program to do that
36

37
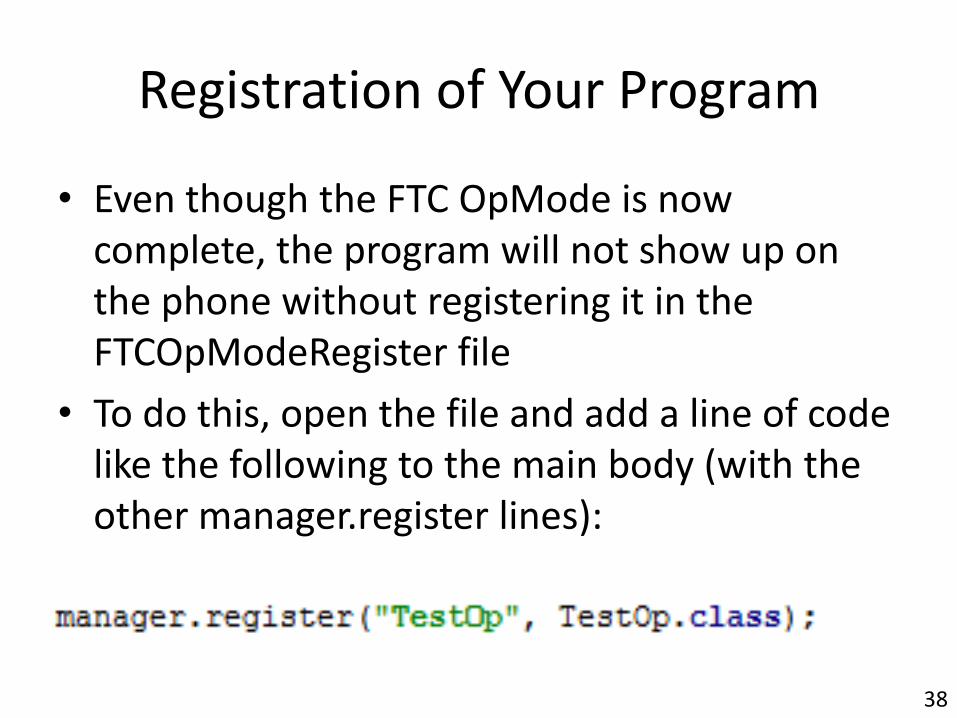
Registration of Your Program
• Even though the FTC OpMode is now complete, the program will not show up on the phone without registering it in the FTCOpModeRegister file
• To do this, open the file and add a line of code like the following to the main body (with the other manager.register lines):
38

Registration
Select the FTCOpModeRegister Program in the FTCOpModeRegister->com.qualcomm.ftcrobotcontroller->opmodes->FTCOpModeRegister directory
39
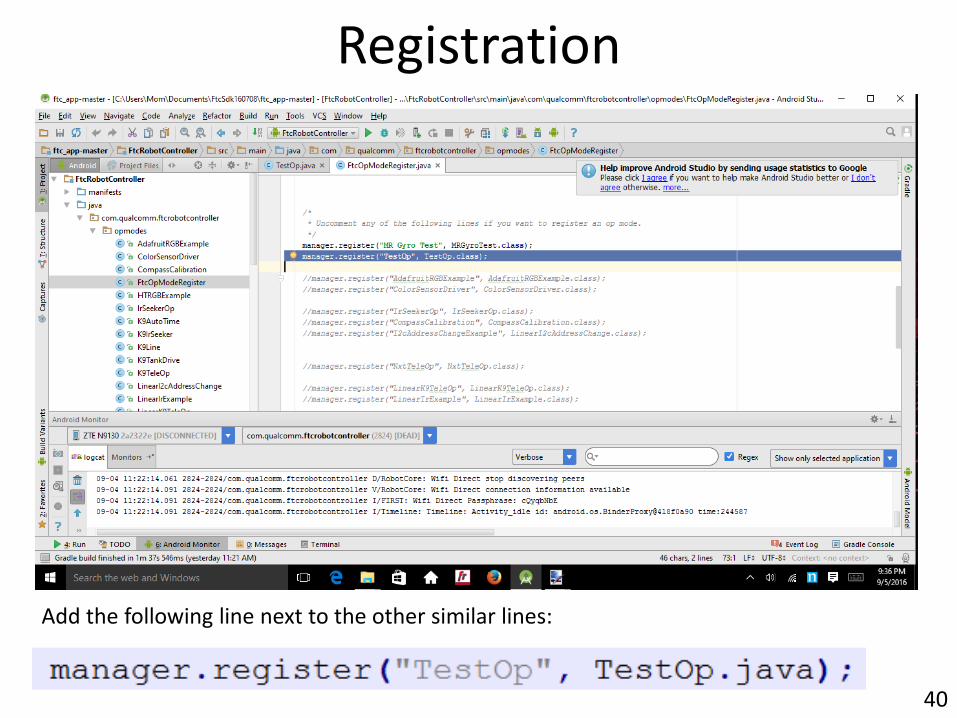
Registration
Add the following line next to the other similar lines:
40

Contact Information and Website Address
• The PowerPoint used in this class will be uploaded to our team’s website for anyone interested in going over the material again
• Our team’s website is:
http://mechanicalparadox.org/
• If anyone from the class has questions about any of the topics covered, our team’s email is:
41