suitability analysis in raster gis combining multiple maps
TRANSCRIPT

Suitability Analysis in Raster GIS
Combining Multiple Maps

The Challenge Thus far
Single or Dual Factor Overlay Analyses i.e. Land Cover on Private Land
Biophysical Analyses with Algebraic Formulas i.e. RUSLE
Landscape Planning Dozens to hundreds of spatial factors Factors have “apples and oranges” characteristics Combinations must reflect social values, not just (bio)physical processes
“Best” for industrial development – from whose perspective? Therefore
“Suitability Analysis” is not objective - must typically be vetted by experts If experts are not GIS experts (i.e. local stakeholders), suitability factors and
their combination must be visually explained “Weighting and rating” is a key opportunity for public deliberation

Suitability Analysis
General purpose To rank potential sites according to suitability for a
proposed type of activity
Requirements A set of “factor” or criteria maps, organized to rate
sites relative to one or more characteristics A technique for appropriately combining factors
Types of Criteria Absolute
Frequently hard-edged Often include property ownership/management zones Often involve legal standards
Relative Typically “fuzzy” edged
E.g. “proximity to X” where closer = better, but no absolute distance known in advance
Often involved in trade-offs where values ranges come from specific data within a place Criterion 1 = “Low rent” and criterion 2 = “close to school”

Suitable For Whom?
Suitability models have a “point of view” Audience can be human
“Affordable housing” Best sites for High-end commercial
Audience can be environmental Best habitat for black bear Most suitable multispecies conservation areas
Can be implicit or explicit But better to be explicit where possible
Common Units
How do you “combine” a map representing “meters to nearest road”
Units = meters with another representing “land cost”?
Units = dollars
Short Answer: find or create common units Easiest: likert scale “preference” units
A range of values: 1 to 5, or 1 to 9 Polar opposites on both sides of range
i.e. “Best”/”Worst”, “Most Suitable”/”Completely Unsuitable”

Cautions with Likert Scales Consistent Application
With multiple factors, must make sure that scale consistently applied example analysis: want to be near streams and far from roads,
using 1..9 with 9 = best Calculate distance to streams, distance to roads Reclassify stream distance to preference units
Closest = 0 distance = 9 Reclassify road distance to preference units
Closest = 0 distance = 1 In other words, may need to “flip” values when reclassifying
Doesn’t really avoid scaling issues, just defers Sensitivity and range in price/distance may be different Often what’s needed from initial analysis is “range of the possible”

Automating Analyses with ModelBuilder

Overview
Why Use ModelBuilder? ModelBuilder Basics Common ModelBuilder Problems Advanced ModelBuilder

Why Use ModelBuilder?
An automation tool… But comes with some startup overhead Most useful in two circumstances
Documents models & their parameterization Allows experimentation with model parameters –
particularly for “weighting and rating” Common Types of Models
ETL – Extract, transform and convert raw data Suitability – Building attractiveness maps

ModelBuilder Basics
Basic idea is that of a “dependency diagram” User specifies inputs, processing and outputs If inputs change, system repeats intermediate operations
as needed Diagram has three kinds of elements
Inputs Geoprocessing Operations Outputs
Output from one operation can be used as input to an other, allowing “chaining”

ModelBuilder Setup
Rather obscure to start…implemented as a custom toolbox tool Open toolbox panel Create empty toolbox
Right mouse on Toolboxes, select New Toolbox Create empty model
Right mouse on new Toolbox, select New Model Then populate model by drag and drop
Of data layers from map table of contents Of geoprocessing operations from the toolbox
Finally, wire data and processing boxes together

Example: Simple MB Model Goal
Create a factor map expressing simple proximity to residential landuse where output is classed from 1..9
Method Create new model Select residential landuse from San Miguel Parcels database Add Euclidean distance geoprocessing operation Connect landuse (input) to distance (process), specifying new grid (output) Run Add Reclass Operator Connect output grid of distance operator to input of reclass, specifying new
output grid Run again

Review of Simple Model Benefits
Multiple logical steps encapsulated in a single step Model Logic Recorded in Diagram Model Parameters Recorded
Problems / Caveats Default is not to show results… Model as Created is 100% specific to particular data
paths/locations on disk Model Saving Bizarre.. Default operation names make no sense to end users Spatial Analyst Toolbar Options do *not* inherit

Showing Results
Simple, but not Obvious Right Mouse on Output -> Add to Display If at first you don’t succeed, try toggling again

Saving / Finding Models
By default, models saved in “My Toolboxes” folder Main menu Tools->Options->My Toolboxes Default is C:\Documents and Settings\(Username)
\Application Data\ESRI\ArcToolbox\My Toolboxes Easiest to find in ArcCatalog/My Toolboxes Can “Add Toolbox” stored on disk
Making Models Generalizable Running Models
Can Double Click on Models in Toolbox Panel By default, not too useful, because no user control of
outputs
Generalizing Models By default, models only use exact data originally specified To make a model into a true “tool” need to specify which
inputs / outputs are variable parameters Right mouse on input or output Select “Parameter” (toggle)
After Parameters are set, double clicking brings up user dialog
Making MB Diagrams Legible
All elements can be “renamed” from right mouse menu Rename layers if necessary to clarify Explain intent of geoprocessing operations
i.e. Isolate Residential Landuse instead of reclass1 If Desired, change diagram properties
Square – Circle – Square Box Background Colors If you need better quality, export diagram…
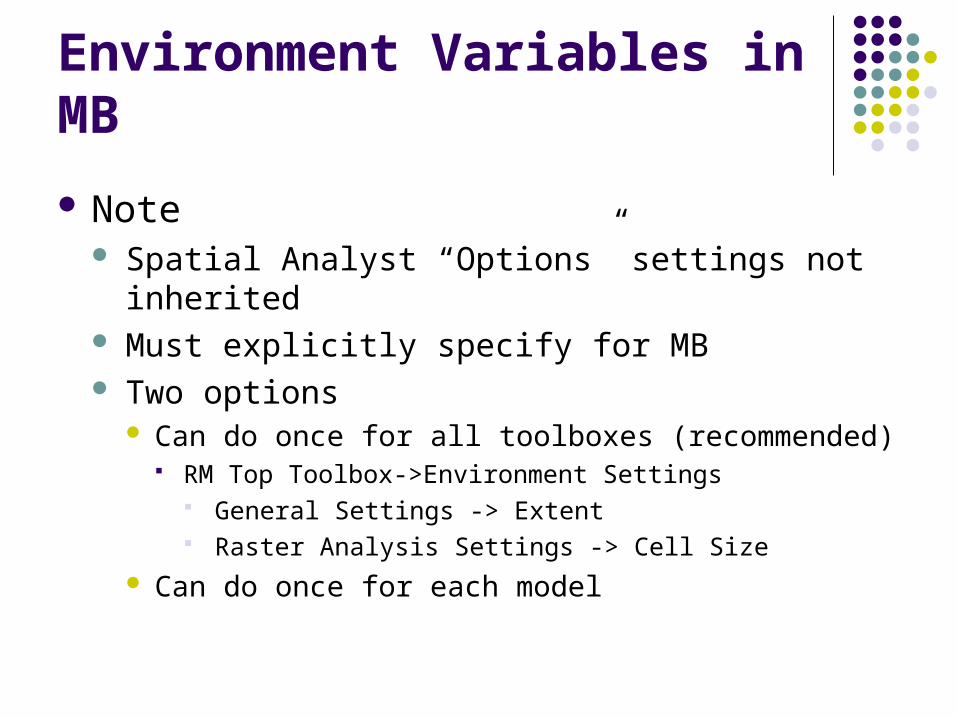
Environment Variables in MB
Note Spatial Analyst “Options” settings not inherited Must explicitly specify for MB Two options
Can do once for all toolboxes (recommended) RM Top Toolbox->Environment Settings
General Settings -> Extent Raster Analysis Settings -> Cell Size
Can do once for each model

Model 2: Weighted Overlay
Goal: To Create an Attractiveness Model with ability to
“Weight” factors
Method: Create separate ModelBuilder models for each
factor Nest models into master MB model Combine with weighted overlay

Model 2 Implementation
Factor 1: Proximity to Residential Factor 2: Proximity to Ski Slopes
Created by copying and pasting factor 1 model and adjusting inputs and outputs
Weighting Factor 1 = 2X Factor 2 Use Spatial Analyst Weighted Overlay tool