stem education on the go! quick and simple stem … each soda bottle 1/3 full with vinegar . 3....
TRANSCRIPT

Skluzacek, Joanna M. Science activities adapted from various sources. 1
STEM Education on the Go!
Quick and simple STEM activities for 4-H Clubs and
afterschool groups
Skluzacek, Joanna M. Science activities adapted from various sources. 2
It’s a Gas Materials: Balloons (12 inch) Small funnel or a small piece of paper rolled up in a funnel shape Baking soda Vinegar Small bottle (12 or 20 Oz. soda bottle) Directions:
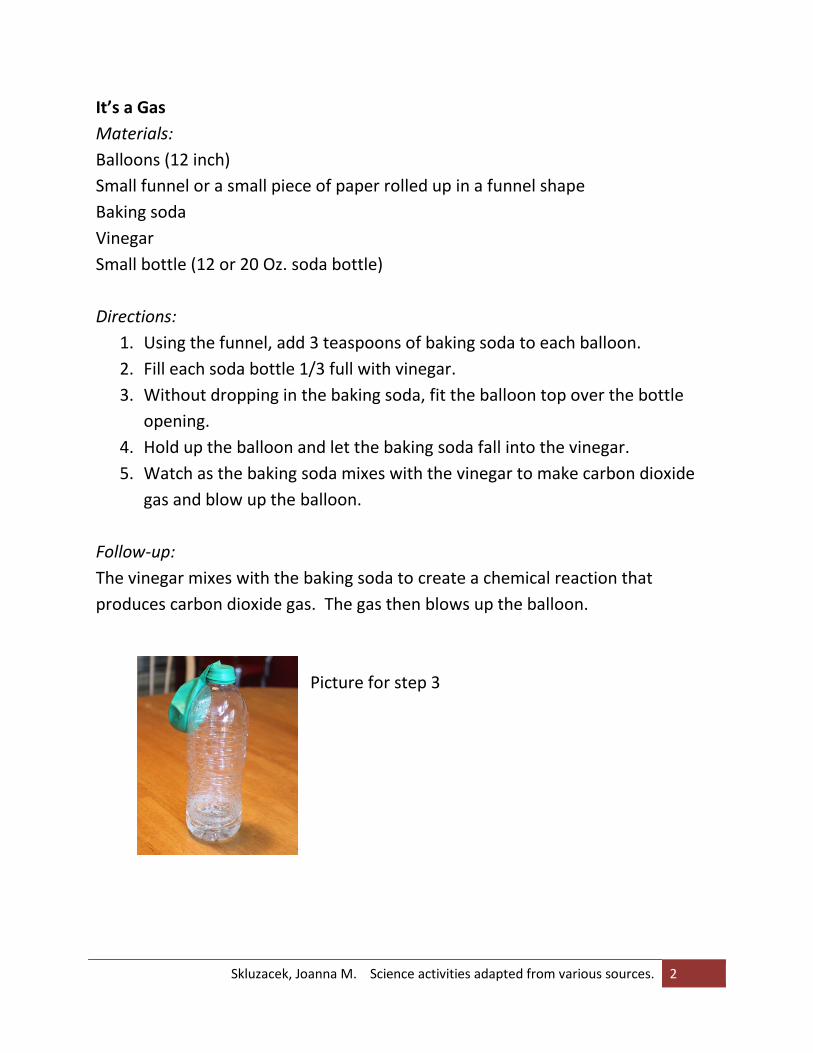
1. Using the funnel, add 3 teaspoons of baking soda to each balloon. 2. Fill each soda bottle 1/3 full with vinegar. 3. Without dropping in the baking soda, fit the balloon top over the bottle
opening. 4. Hold up the balloon and let the baking soda fall into the vinegar. 5. Watch as the baking soda mixes with the vinegar to make carbon dioxide
gas and blow up the balloon. Follow-up: The vinegar mixes with the baking soda to create a chemical reaction that produces carbon dioxide gas. The gas then blows up the balloon.
Picture for step 3

Skluzacek, Joanna M. Science activities adapted from various sources. 3
Electric Gelatin Materials Balloon Unflavored gelatin powder Paper plate Wool cloth or sweater Introduction: Ask students what they know about static electricity Directions:
1. Provide each student with a small plate with some gelatin powder and a small balloon.
2. Have the youth blow up the balloon (you can also do this ahead of time). 3. Have the youth rub the balloon on a woolen cloth, sweater or their hair. 4. The youth will hold the “charged-up” balloon above the plate with the
gelatin (not touching the gelatin). 5. Have the youth raise and lower the balloon and watch the gelatin powder.
Follow-up: Have a class discussion on what the students saw and why they think it happened. Explain that the balloon was charged after rubbing it with the wool; it had static electricity. The balloon then attracted the gelatin. What other examples of static electricity? Brain-pop video!: http://www.brainpop.com/science/energy/staticelectricity/ Source: http://pbskids.org/zoom/activities/sci/electricgelatin.html
Skluzacek, Joanna M. Science activities adapted from various sources. 4
Invisible Ink Materials: Baking Soda Blank white paper Water Paintbrush or cotton swab Measuring cup Purple grape juice concentrate Introduction: Our vision is often described as a molecular switch. The word switch probably makes you think of a light switch. In our eyes, the switch is much smaller than a light switch; however, there is a reaction in our eyes that works as a switch to turn "on" and "off" our vision. To begin this explanation, we will talk about the source of this switch, a molecule called retinal which is in all of our eyes. The retinal molecule responds to light. As the light hits our eyes, retinal "switches on" our vision. When we close our eyes or are in a very dark room with no light at all, we are no longer able to see. However, the objects in the room are still there even though we cannot see them. We will simulate this by using invisible ink. Making the invisible ink:
1. Mix equal parts water and baking soda. 2. Use a cotton swab, toothpick, or paintbrush to write a message onto white
paper, using the baking soda solution as 'ink'. 3. Allow the ink to dry. This will take about 10 minutes. 4. Use a different paint brush or cotton swab to paint over the paper with
purple grape juice. The message will appear in a different color. Follow-up: Baking soda and grape juice react with each other in an acid-base reaction, producing a color change in the paper. The baking soda is a base or is said to have a basic pH and the grape juice is an acid.
Skluzacek, Joanna M. Science activities adapted from various sources. 5
Adapted from Dusek, Heidi. Magic of Hogwarts. Outagamie County, 2010.
Skluzacek, Joanna M. Science activities adapted from various sources. 6
Adapted from Dusek, Heidi. Magic of Hogwarts. Outagamie County, 2010.
Skluzacek, Joanna M. Science activities adapted from various sources. 7
Skluzacek, Joanna M. Science activities adapted from various sources. 8
Taken from Dig Art! Cornell University: http://blogs.cornell.edu/garden/get-activities/signature-projects/dig-art/activities/
Skluzacek, Joanna M. Science activities adapted from various sources. 9
Don’t Blow it! Materials: Balloons 20 oz. soda bottle or water bottle Nail Directions:
1. Slip the balloon inside the neck of the bottle and stretch the mouth of the balloon over the bottle top.
2. Take a deep breath and try to blow up the balloon inside the bottle. Good luck!
3. Ask an adult to punch a small hole with a nail in the side of the bottle, close to the base.
4. Remove the nail. 5. Again, try to blow up the balloon. Quite a difference! Blow hard until the
balloon fills most of the bottle. 6. Place a finger (or thumb) over the nail hole when you stop blowing. Now,
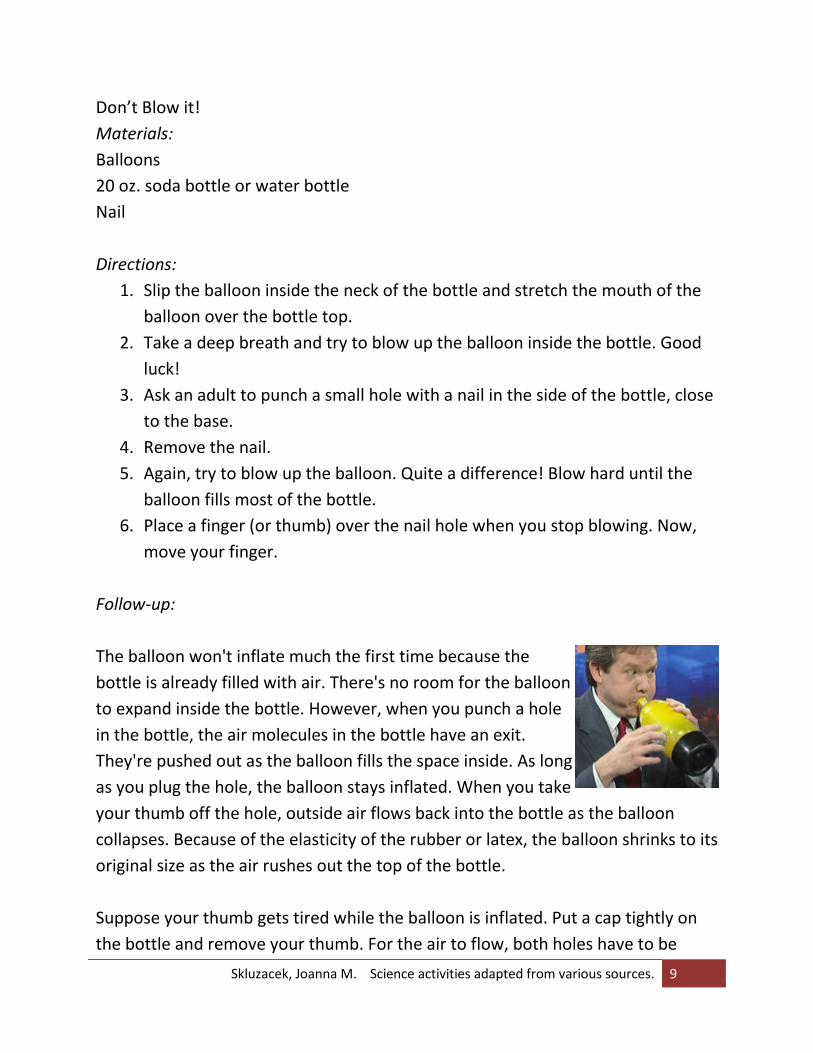
move your finger. Follow-up: The balloon won't inflate much the first time because the bottle is already filled with air. There's no room for the balloon to expand inside the bottle. However, when you punch a hole in the bottle, the air molecules in the bottle have an exit. They're pushed out as the balloon fills the space inside. As long as you plug the hole, the balloon stays inflated. When you take your thumb off the hole, outside air flows back into the bottle as the balloon collapses. Because of the elasticity of the rubber or latex, the balloon shrinks to its original size as the air rushes out the top of the bottle. Suppose your thumb gets tired while the balloon is inflated. Put a cap tightly on the bottle and remove your thumb. For the air to flow, both holes have to be
Skluzacek, Joanna M. Science activities adapted from various sources. 10
open. How would more holes or even one large hole change the speed of inflating and deflating the balloon? What would more or bigger holes do to the stream flowing from the water-balloon-bottle? Try it out!
Skluzacek, Joanna M. Science activities adapted from various sources. 11
The Floating Golf Ball
An activity from Kim Giesting (Connersville, IN) This activity is an intro to a discussion on density. Materials: Clear plastic container Pickling salt or sea salt Golf ball Water Directions: 1. Fill container 1/2 full of tap water. 2. Add salt until no more salt dissolves. Mixing will help the salt dissolve faster. 3. Add golf ball to the salt solution (it should float!). 4. Gently add fresh water on top of the salt water solution. Follow-up: Many students mistakenly believe that they are diluting the solution of salt water to the "perfect" concentration when adding the fresh water. I add a few drops of food coloring and gently stir to show them that the fresh water is less dense and is actually sitting on top of the more dense salt water. The golf ball is actually floating on the salt water and sinking through the fresh water.
Skluzacek, Joanna M. Science activities adapted from various sources. 12
Oobleck Materials: 1.5- 2 cups corn starch 1 cup water Large dish, bowl or tub Food coloring (optional) Directions:
1. Place the water into the bowl or dish 2. Slowly add the corn starch to the water and stir. You can use a spoon at
first, but pretty quickly you'll be moving on to using your hand to stir it up. 3. As you approach the addition of about 1.5 cups of the corn starch, start
adding it in more slowly and mixing it in with your hand. The goal is to get a consistency where the Oobleck reaches a state that is the liquid and yet solid.
4. Sometimes you will need more corn starch. If so, keep adding more than the initial 1.5 cups. If you add too much, just add some water back into it. You will have to play with it to see what feels appropriately weird.
5. Add a few drops of food coloring, if you wish. 6. Play with the Oobleck:
- Grab a handful, squeeze it, and let it ooze out your fingers. - Make a puddle and quickly drag your fingers through it. - Put it into a plastic container and shake it or quickly bump it against a table. - Jab and punch at the Oobleck and then slowly let your finger sink in.
Follow-up: Oobleck is a classic science experiment that's perfect for entertaining both kids and adults. If you haven't seen it in action it's very fascinating stuff and before too long you'll have your hands covered with it, happily making a mess that can be washed away with water.
Skluzacek, Joanna M. Science activities adapted from various sources. 13
Oobleck is a non-newtonian fluid. That is, it acts like a liquid when being poured, but like a solid when a force is acting on it. You can grab it and then it will ooze out of your hands. Make enough Oobleck and you can even walk on it! Oobleck gets its name from the Dr. Seuss book Bartholomew and the Oobleck where a gooey green substance, Oobleck, fell from the sky and wreaked havoc in the kingdom. Here the Oobleck will be made in a bowl and will likely make a mess, but only because you can get carried away playing with it. Fun videos: http://www.youtube.com/watch?v=f2XQ97XHjVw http://www.youtube.com/watch?v=Yp1wUodQgqQ
Skluzacek, Joanna M. Science activities adapted from various sources. 14
Skluzacek, Joanna M. Science activities adapted from various sources. 15
Skluzacek, Joanna M. Science activities adapted from various sources. 16
Skluzacek, Joanna M. Science activities adapted from various sources. 17
Skluzacek, Joanna M. Science activities adapted from various sources. 18
Skluzacek, Joanna M. Science activities adapted from various sources. 19
Skluzacek, Joanna M. Science activities adapted from various sources. 20