sketchup modeling - parsons ssce · sketchup tutorial - ssce in the “components” menu, select...
TRANSCRIPT

SketchUp Tutorial - SSCE22014
SKETCHUP MODELING
GEOLOCATION, NEARBY MODELS, AND SHADOWS

SketchUp Tutorial - SSCE22014
Open SketchUp and delete Derrick (optional).

SketchUp Tutorial - SSCE22014
Import CAD drawing and select inches for the scale.

SketchUp Tutorial - SSCE22014
Select “zooom extents” to make sure you have your entire drawing.
Hit the “add more imagery” button.

SketchUp Tutorial - SSCE22014
Select and “grab” the portion of the google map to geolocate your drawing.

SketchUp Tutorial - SSCE22014
Select the contents of your drawing and align with the google map. Your drawing is now geo-located.

SketchUp Tutorial - SSCE22014
In the “components” menu, select “nearby models.” This will allow you to select models near your site. When you select them, you will be taken to the 3D warehouse where you can import the models directly into your drawing. Unless you know exactly what you need, it is recommended that you import them into a seperate file and then “paste in place” so as not to clutter your drawing with unused models.

SketchUp Tutorial - SSCE22014
Once you have your models in place, turn off the google map layers.

SketchUp Tutorial - SSCE22014
Now you can begin to trace your drawing and create 3D objects. Remeber to group as you go!
SketchUp Tutorial - SSCE22014
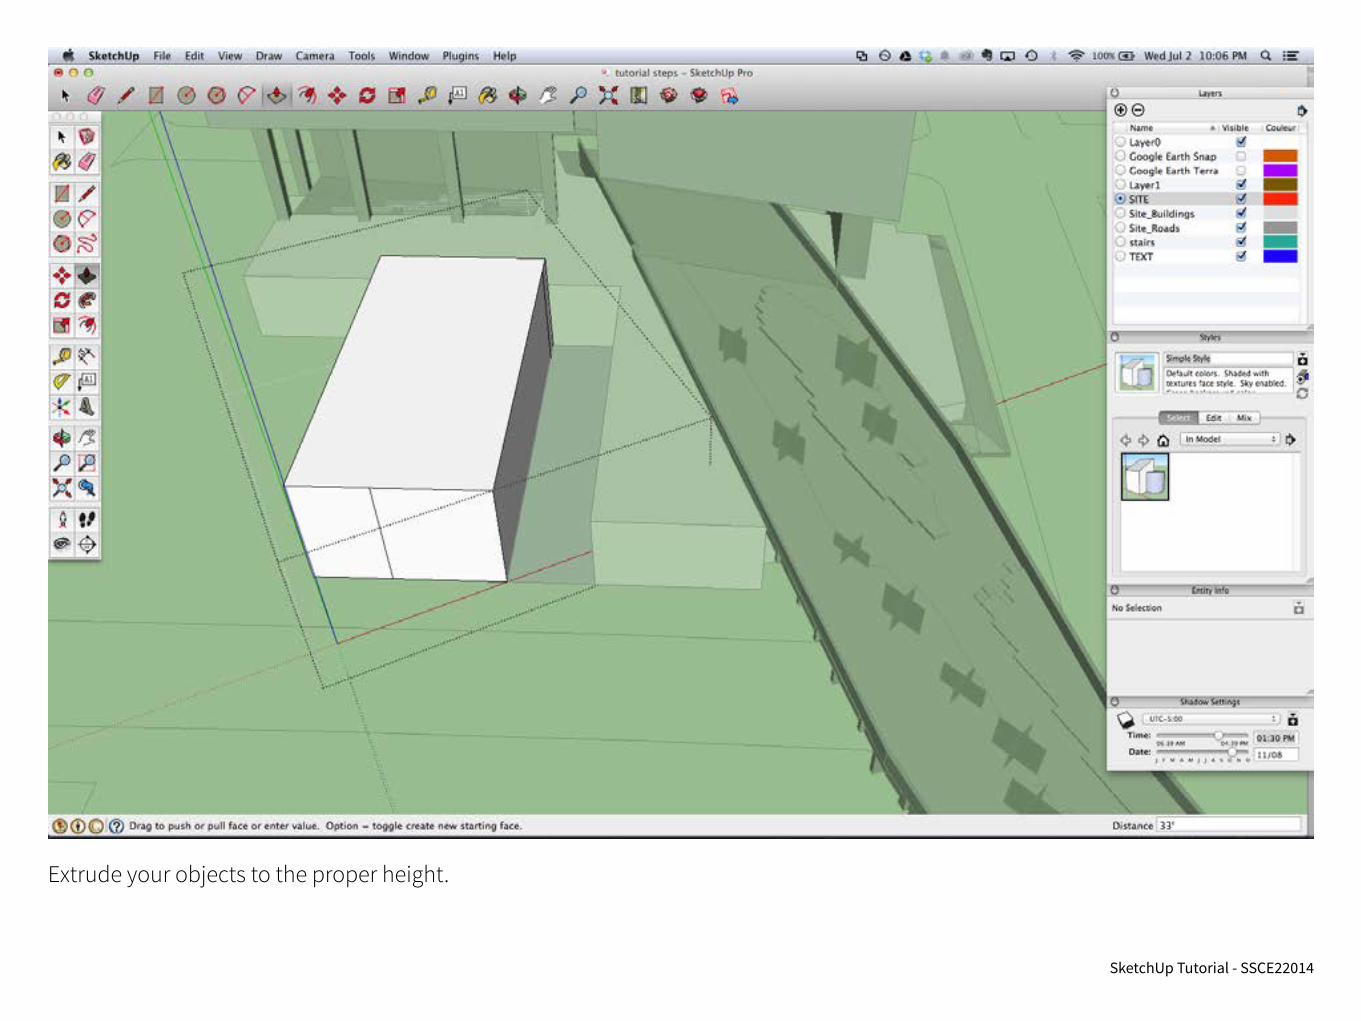
Extrude your objects to the proper height.

SketchUp Tutorial - SSCE22014
Experiment with the shadow settings. To get an accurate understanding of sun exposure and shading, you will need to build the surrouding context and tall obstructions in the area.

SketchUp Tutorial - SSCE22014
You can now save specific views in the “scenes” dialogue box. Be sure to label them. De-select items such as shadow settings if you do not want to view specific daylight times from multiple views.

SketchUp Tutorial - SSCE22014
You can now export views to image files such as jpg and pdf. However, if you wish to adjust the scale for pdf exports, you must be in parallel projection view.