sensing the world around us exploring foundational...
TRANSCRIPT
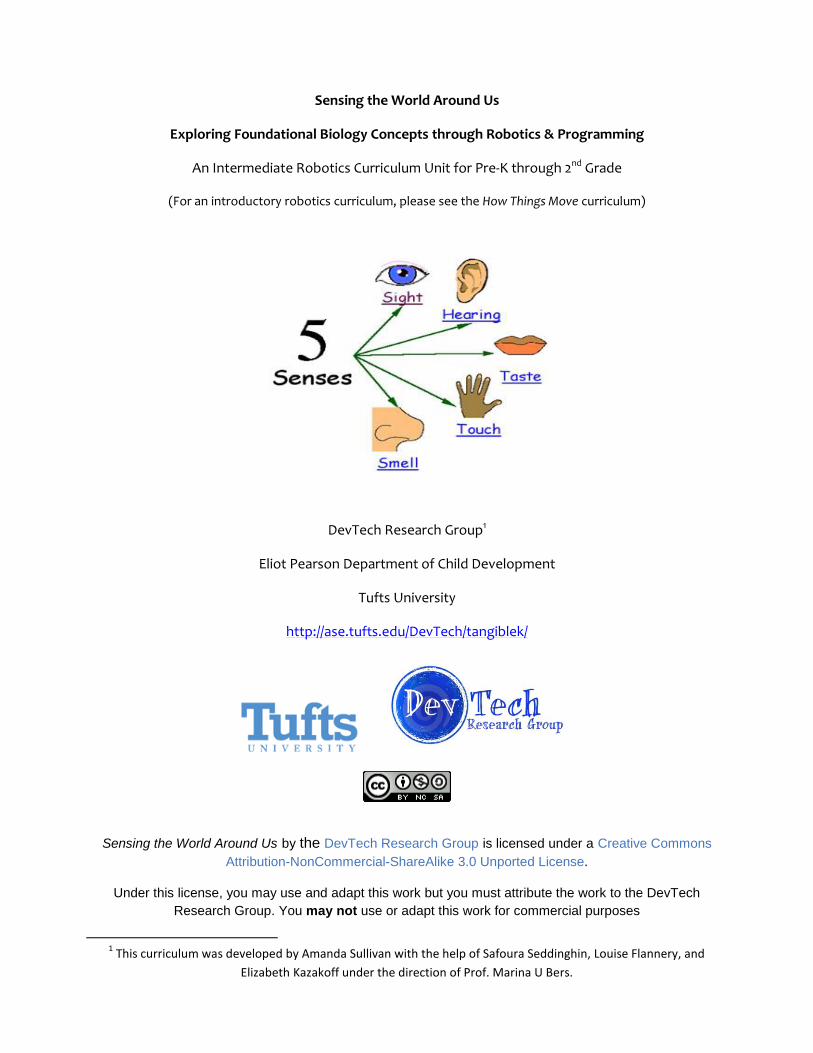
Sensing the World Around Us
Exploring Foundational Biology Concepts through Robotics & Programming
An Intermediate Robotics Curriculum Unit for Pre-K through 2nd Grade
(For an introductory robotics curriculum, please see the How Things Move curriculum)
DevTech Research Group1
Eliot Pearson Department of Child Development
Tufts University
http://ase.tufts.edu/DevTech/tangiblek/
Sensing the World Around Us by the DevTech Research Group is licensed under a Creative Commons
Attribution-NonCommercial-ShareAlike 3.0 Unported License.
Under this license, you may use and adapt this work but you must attribute the work to the DevTech
Research Group. You may not use or adapt this work for commercial purposes
1 This curriculum was developed by Amanda Sullivan with the help of Safoura Seddinghin, Louise Flannery, and
Elizabeth Kazakoff under the direction of Prof. Marina U Bers.

2
Sensing the World Around Us Overview
Introduction to the Curriculum
Sensing the World Around Us is an intermediate curriculum for students who have completed the
How Things Move curriculum (or equivalent). This curriculum builds on the introductory concepts
students have mastered and takes and in-depth look at how sensors work, particularly the three KIWI
sensors: Light sensor, Distance sensor, and Sound sensor. Additionally, this curriculum makes
foundational biology connections related to animal/human senses, and characteristics of different
animals. Over the course of several weeks, students will work alone or in groups to build and program a
robotic animal (with sensors) to demonstrate their understandings and ideas related to the robotics and
programming concepts they have mastered.
After completing the Sensing the World Around Us curriculum, children can move on to the
Dance from Around the World final project curriculum.

3
The Curriculum

4
Lesson 1 Review of the Basics
Overview: A Walk in the Park
Children will refresh their memories of introductory robotics and programming concepts while also
gaining an introduction to the characteristics of living things. Children will build a robotic model of
something they see during a trip to the park.
Prior Knowledge Objectives
Students will understand that… Students will be able to…
Basic knowledge of what an
engineer is and the
Engineering Design Process
Familiarity with KIWI robots
Basic understanding of what
a program is
The Engineering Design
Process is a helpful tool for
guiding the creation of
artifacts
Robots need moving parts,
such as motors, to be able to
perform behaviors specified
by a program.
The robotic ‘brain’ has the
programmed instructions
that make the robot perform
its behaviors.
A program is a sequence of
instructions that is followed
by a robot
The order of the instructions
dictates the order in which
the robot executes the
instructions
Use the engineering design
process to facilitate their
creations
Build sturdy, functional
robots
Upload a TUI and GUI
program to their robots
Materials / resources:
LEGO® bricks and a variety of crafts and recycled materials for building and decorating
KIWI robotics construction materials
Computers with CHERP and tangible programming blocks
Poster showing the steps of the engineering design process
Engineering Design Journals for planning

5
Activity Description
Warm- up : Fieldtrip to the Park
Visit a local park where children will be able to see various living and nonliving things. As a class, keep a list of all the different things you see (i.e. various animals, plants, benches, playground equipment, etc.) When you get back to the classroom, you will categorize these items as “living” and “nonliving”. Children will pick something in particular to record/draw in their Engineering Design Journals.
Biology Connection: Characteristics of Living Things
As a class, discuss ideas about the differences between living and nonliving things. (note: This lesson will become particularly important when children begin to learn about robots in subsequent lessons, as many children incorrectly believe robots are alive)
LIVING THINGS: anything that is alive or has ever been alive (e.g., a dog, a flower, etc.)
NONLIVING THINGS: anything that is not now and has never been alive (e.g., rock, mountain, glass, wristwatch)
REVIEW: Ifs AND REPEATS
Repeats: The Repeat & End Repeat allows you to create a program a fixed number of times, forever, or until the robot senses something
Ifs: The If instruction gives the robot two choices, and the robot uses a sensor to know which set of instructions to follow each time the program is run.
Introduce the concepts and the task: “Today we will be using what we remember of the Engineering
Design Process to build and program a robotic model of something we saw at the park (living or non-
living).”
The criteria for a successful robot are that:
It is sturdy and remains intact when picked up or moved around
It is designed to resemble something seen at the park
A CHERP programmed is loaded onto the robot to make it move in some way
Note: In the How Things Move curriculum, children made mainly vehicle style robots. In this unit,
encourage children to branch into building both vehicle style robots kinetic sculpture style robots.
PTD TEACHING TOOLS:
Expert Badges: Children who finish building their vehicles and master all concepts quickly get to
wear a badge that says “Engineering Expert”. Engineering Experts walk around and offer help
to any classmates experiencing difficulties.

6
Collaboration Web: As children progress through the lesson, they will complete their
collaboration webs. They will draw lines from their picture to the pictures of any classmates who
give them help. If children say they didn’t receive any help, remind them to think of their
partners, class Experts, or if they got any ideas by looking at another classmate’s project.
Technology Circle: After finishing, students share their creations. They may do one or more of
the following:
a. explain the features of their creation
b. show how their creation moves down the hill
c. describe the features of their final design that make it sturdy
d. talk about what they found easy and difficult, and
e. share anything they changed from their original plan.
f. share their collaboration webs
Free-play:
Provide opportunities for children to build freely with LEGO® and other building materials. After your
discussion on friction, allow children to modify their vehicles or build different kinds of structures to roll
down the cardboard hill.

7
Lesson 2 What Is a Distance Sensor?
Overview: Amazing Senses and Sensors
Children modify their constructions from Lesson 1 to create a robotic animal and include a distance sensor
on their robot.
Prior Knowledge Objectives
Students will understand that… Students will be able to…
Basic knowledge of
Engineering Design Process
Familiarity with KIWI robots
Familiarity with the KIWI
distance sensor
Basic knowledge of different
kinds of animals
A robot can react to
collected data by changing
its behavior.
Certain instructions (like
“Repeat”) can be modified
with sensor data.
Build a robotic model of an
animal they are learning
about
To use a distance sensor
with KIWI
Materials / resources:
Large icons for games and reference displays
One working robot, build in the previous lessons, for each child or pair
Computers with CHERP software
KIWI Distance Sensor
Activity Description:
Warm-Up: Review your five senses. Discuss: Do you think animals use the same senses as us? Do they have
any other senses we don’t have? Brainstorm all the animal senses you can think of!
Biology Connection: Comparing and Contrasting Different Groups of Animals
Before children choose which type of animal they would like to build, expose them to many different types of animals through books, field-trips, and activities. As a class, compare and contrast groups of animals (e.g., insects, birds, fish, mammals) and look at how animals in these groups are more similar to one another than to animals in other groups. When children choose an animal to focus on in this lesson, have them recall this knowledge and identify what group their animal belongs to. How have they designed their animal to look like a member of this group (e.g. if it is a type of bird, does it have wings?)
8
Sensing the World Around Us
Our Five Senses: http://www.youtube.com/watch?v=oS745z8nLig
Animals Senses: http://www.youtube.com/watch?v=DjI9Q-a4DpY
Marine Animal Senses: http://www.youtube.com/watch?v=lIiVbYO3cY4
Sensors in the World – (This is a review from the How Things Move curriculum)
Just like animals and people have senses, robots and machinery can have sensors to sense their surroundings. Sensors are all around us, making life easier and more convenient. How many sensors can you think of? Here are some examples of commonplace sensors we might take for granted:
Automatic Faucets: http://www.youtube.com/watch?v=QkCDg9GFOMg
Elevator Doors: http://www.youtube.com/watch?v=tvVCEMriHtE
Lights: http://www.youtube.com/watch?v=X_fkbI4xm6Y
Introduce the concepts and the task: “Today we will be making robotic animals that look and act like real
animals! We will be adding a distance sensor to our robots so that they can sense when things are near
or far away”. Children will think about what their animal would do if it senses something near it and
create a program to demonstrate this.
The criteria for a successful robot & program are that:
It is designed to resemble an animal
Distance Sensor correctly attached
A CHERP programmed is loaded onto the robot that uses the Near/Far parameters
PTD TEACHING TOOLS (refer back to Lesson 1 for descriptions): Expert Badges, Collaboration Web,
Technology Circle.
Free-play:
Provide opportunities for children to program freely with CHERP.

9
Lesson 3 What Is a Light Sensor?
Overview: What Do Animals Do At Night?
Children program their animals to do one thing during the day and something else at night.
Prior Knowledge Objectives
Students will understand that… Students will be able to…
Basic knowledge of
Engineering Design Process
Familiarity with KIWI robots
Familiarity with the KIWI
distance sensor
Basic knowledge of different
kinds of animals
Certain instructions (like
“Repeat”) can be modified
with sensor data.
A robot can react to
information it collects by
changing its behavior.
A KIWI robot that has a light
sensor can do one thing
when it is Dark and
something else when it is
Light
To use a light sensor with
KIWI
Materials / resources:
Large icons for games and reference displays
One working robot, build in the previous lessons, for each child or pair
Computers with CHERP software
KIWI Distance Sensor
Activity description
Warm-Up: Game or song that uses the 5 human senses
Introduce the concepts: KIWI Light Sensors and Sensor Parameters:
1. Review examples of human / animal senses and how these senses let us gather information about
what’s going on around us, so that we can make decisions based on this information.
2. Show the Light Sensor and explain how it works. (It detects light, but is not a camera. It tells the
robot if it’s light or dark out, but doesn’t tell it what to do.) How might this be useful?

10
3. We need programming instructions to tell the robot what to do with the information from its
sensors. Show the Repeat and If blocks, which are now familiar, and the new Until Light/ Until Dark
parameters. Create an example program together, such as: [Begin, Repeat Until Light, Shake, End
Repeat, Spin, End]
4. Run the program using an example animal, and have students discuss what the robot is doing. For
example, a dog shakes to wag its tail during the day, and stops when it is dark to go to sleep.
Biology Connection: Diurnal vs. Nocturnal Animals Children discuss and share ideas about the sleeping cycles of different types of animals. Children learn to differentiate diurnal from nocturnal animals and use this knowledge when programming their robotic animals to do one thing if it is light out and another if it is dark out. DIURNAL ANIMALS are awake during the day and asleep at night NOCTURNAL ANIMALS are asleep during the day and awake at night.
The task:
The students add a light sensor to their robot and program their animal to perform an activity when it is
light, and go to sleep (stop) when it is dark.
1. The final program could look something like: [Begin, Repeat Until Dark, Shake, End Repeat, End]
The criteria for a successful robot & program are that:
Light Sensor correctly attached
A CHERP programmed is loaded onto the robot that uses the Until Dark parameter
The program has the robot stop moving when it is dark
Activity Extension: Light Output
Have children add Light Outputs to their robots! After the robot senses that it is dark and it stops moving, have the robot turn on its light. Use two new blocks: Light On and Light Off.
PTD TEACHING TOOLS (refer back to Lesson 1 for descriptions): Expert Badges, Collaboration Web,
Technology Circle.
Free-play: Provide opportunities for children to program freely with CHERP.

11
Lesson 3 What Is a Sound Sensor?
Prior Knowledge Objectives
Students will understand that… Students will be able to…
Basic knowledge of
Engineering Design Process
Familiarity with KIWI robots
Familiarity with the KIWI
distance sensor
Basic knowledge of different
kinds of animals
Certain instructions (like
“Repeat”) can be modified
with sensor data.
A robot can react to
information it collects by
changing its behavior.
A KIWI robot that has a light
sensor can do one thing
when it is Dark and
something else when it is
Light
To use a light sensor with
KIWI
Materials / resources:
Large icons for games and reference displays
One working robot, build in the previous lessons, for each child or pair
Computers with CHERP software
KIWI Distance Sensor
Activity description
Warm-Up: Freeze Dance- Use your sense of sound to dance when you hear music and freeze when the music
is paused.
Introduce the concepts: KIWI Sound Sensors and Sensor Parameters:
5. Review examples of human / animal senses and how these senses let us gather information about
what’s going on around us, so that we can make decisions based on this information.
6. Show the Sound Sensor and explain how it works. How might this be useful?
7. We need programming instructions to tell the robot what to do with the information from its
sensors. Show the Repeat and If blocks, which are now familiar, and the new Until Light/ Until Dark
parameters. Create an example program together, such as: [Begin, Repeat Until Quiet, Shake, End
Repeat, Spin, End]
8. Run the program using an example animal, and have students discuss what the robot is doing.

12
The task:
Animals use their sense of hearing to avoid predators. Your robot animals will do the same thing! The
students add a sound sensor to their robot and program their animal to perform an activity when it is
quiet and to hide when they hear a Loud noise (a predator). The criteria for a successful robot &
program are that:
Sound Sensor correctly attached
A CHERP programmed is loaded onto the robot that uses the Until Quiet parameter
The program has the robot hide when it is Loud
Activity Extension: Turn out your lights when you hear a predator! Add a light output to your robot and program your robot to turn the light on. After your robot hears a Loud noise (the predator) and hides, make sure your light is off so the predator doesn’t see you!

13
Culminating Project: The Animal Project
Overview
This project should be tailored to fit with a curriculum unit on animals so that it meets the goals of the
teachers and the interests of the students and teachers. Students work alone or in pairs to build and
program a robot to demonstrate all of their understandings and ideas related to the robotics and
programming curriculum as well as an animal of their choice. During the course of the final project,
students put to use all the concepts learned during the previous lessons but transfer them to a new
context. When possible, teachers should encourage the use of crafts and recycled materials.
Note: The work for the final project could be broken up into several sessions. It is up to the teacher
when to complete each part of the project. Not all of the activities need to be completed during
Robotics time. It is left up to the teacher’s discretion whether the students will build a new sturdy
robot from scratch or will use the robots they build in earlier lessons.
Individual work: Children will work individually to plan, design, build, and program a final project from
scratch. Children will be encouraged to use advanced topics such as sensors and repeats when
programming their robots.
1. Each child or pair will choose one animal and research that animal. In their Engineering Design
Journals, they should write down five facts about that animal. This activity should be done with the
help of an adult or older child. For example, one classroom did this activity with their 4th Grade
reading buddies.
2. Using their skills from Lessons 1 and 2, each child or pair will build a sturdy robot, keeping in mind
that this robot will eventually become the animal they chose.
Children will use the facts they gathered and their programming skills in order to plan and create a
program for their animal. They should try to incorporate behaviors and movements specific to that