secure networking for kubernetes
TRANSCRIPT

SecureNetworking for Kubernetes
@mikegstoweMike Stowe
AboutMe
• API & Security Fanatic
• Open Source Contributor
• Speaker, Author, Consultant
• 10+ years Hacking Professional Code
• Community Guy at Tigera
https://www.mikestowe.com
AboutMe
• API & Security Fanatic
• Open Source Contributor
• Speaker, Author, Consultant
• 10+ years Hacking Professional Code
• Community Guy at Tigera
https://www.mikestowe.com
Felix

Let’s get started

Microservices are scalable…Yay!

Microservices are scalable…Yay!
Microservices increase network complexity!?

Containers are deployedfaster than typical VMs 900x
source: https://www.slideshare.net/Flux7Labs/performance-of-docker-vs-vms
60sec45sec 50ms50ms
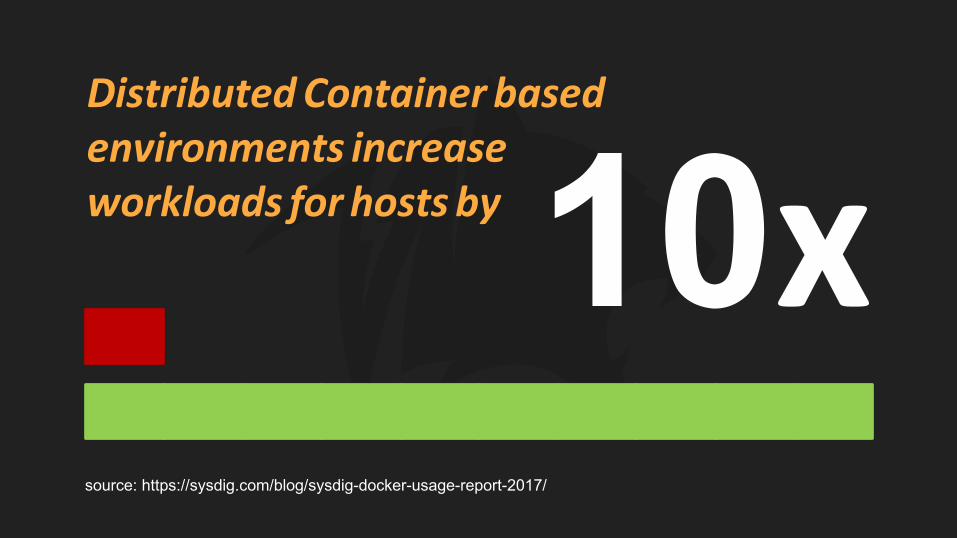
DistributedContainer basedenvironments increaseworkloads for hosts by 10xsource: https://sysdig.com/blog/sysdig-docker-usage-report-2017/

While orchestratedcontainers haveashorter lifespan…bymore than
source: https://www.datadoghq.com/docker-adoption/
25x
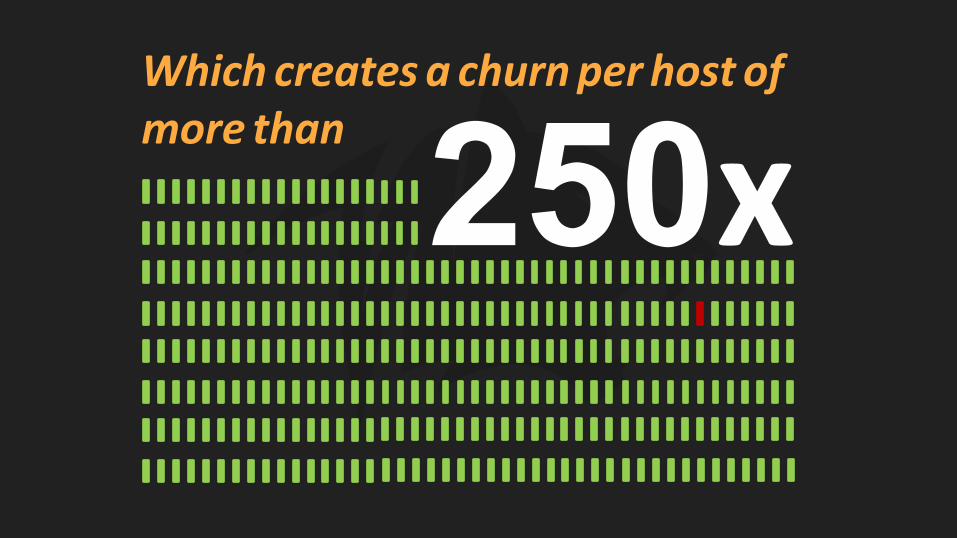
Which creates a churnper host ofmore than 250x
Traditional SDNsdon’twork formicroservices architectures
InOtherWords

Microservices are secure…Yay!
Microservices are secure…Yay!
Microservices increase attack surface!?

SampleApproach toaMicroservices BasedArchitectures

Attack Surfaceof SampleArchitecture
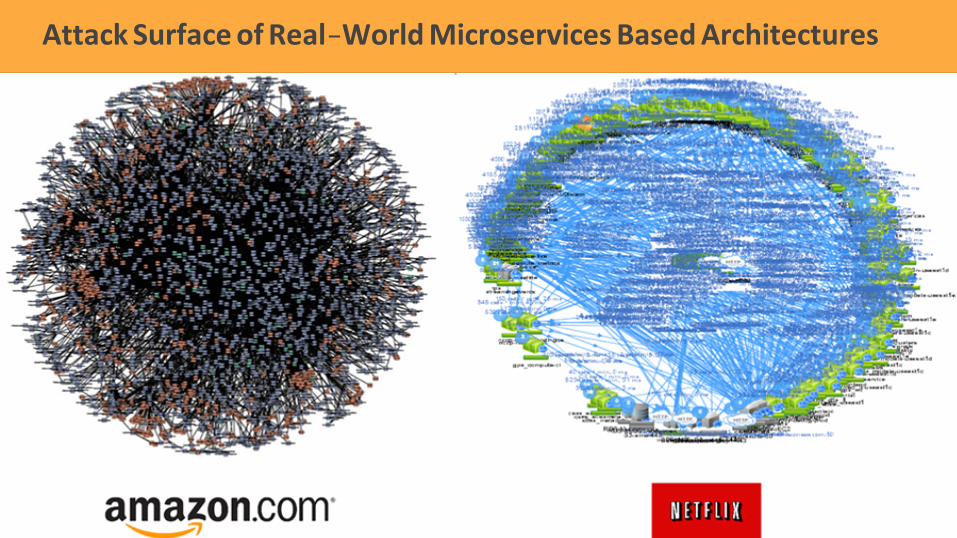
Attack Surfaceof Real-WorldMicroservices BasedArchitectures

Each Service hasMultipleNetworkAttackPoints
Application (Layer 7)
Presentation(Layer 6)
Session (Layer 5)
Transport(Layer 4)
Network (Layer 3)
Data Link (Layer 2)
Physical (Layer 1)
HTTP, FTP, Telnet
Encryption, ASCII, Graphics (GIF, JPEG)
SQL, RPC
SPX, TCP, UDP
IP, IPX, DDP, Apple Talk
PPP, FDDI, IEEE 802.5, HDLC, FR
FDDI, B8ZS, RJ45
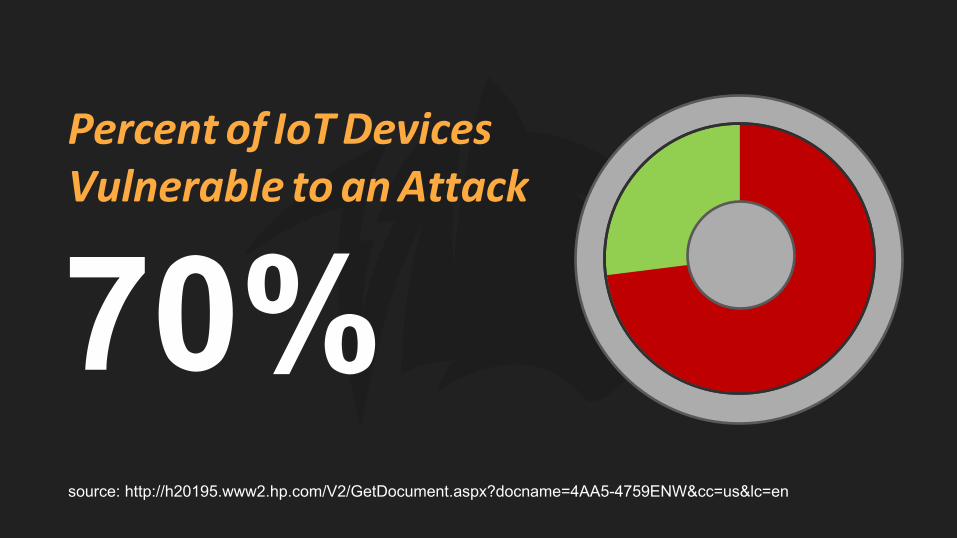
Percent of IoTDevicesVulnerable to anAttack
70%source: http://h20195.www2.hp.com/V2/GetDocument.aspx?docname=4AA5-4759ENW&cc=us&lc=en
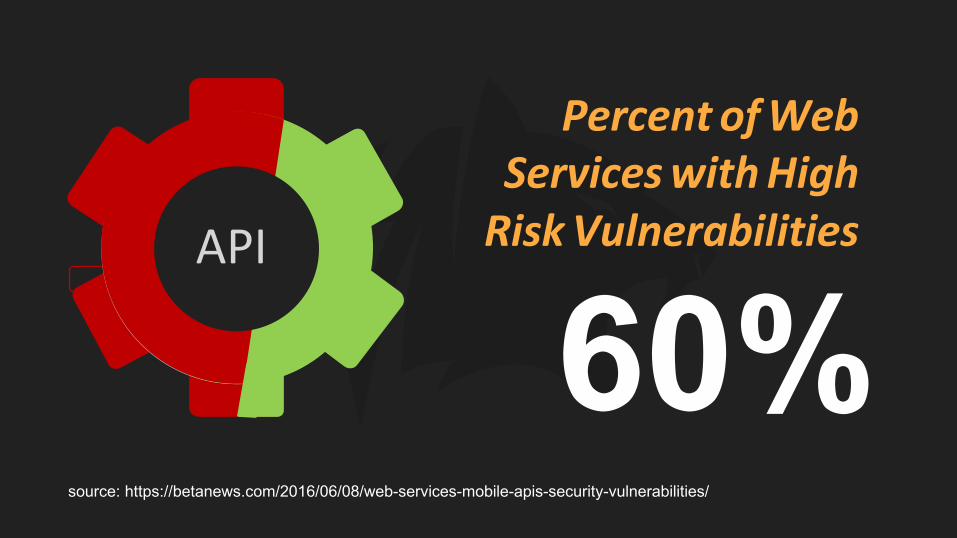
Percent ofWebServiceswithHighRiskVulnerabilities
60%source: https://betanews.com/2016/06/08/web-services-mobile-apis-security-vulnerabilities/
API

OSVulnerabilities (in 2014)
24source: https://techtalk.gfi.com/most-vulnerable-operating-systems-and-applications-in-2014/
Mac OS X
Windows Server
Linux Kernel
2664
741267


$252M


$35M in IT Repairs

Security is important… it’s hard…and it needs to be implementedateach layer.
InOtherWords
There are several open sourceprojects designed tomakenetworkingand security easier.
TheGoodNews


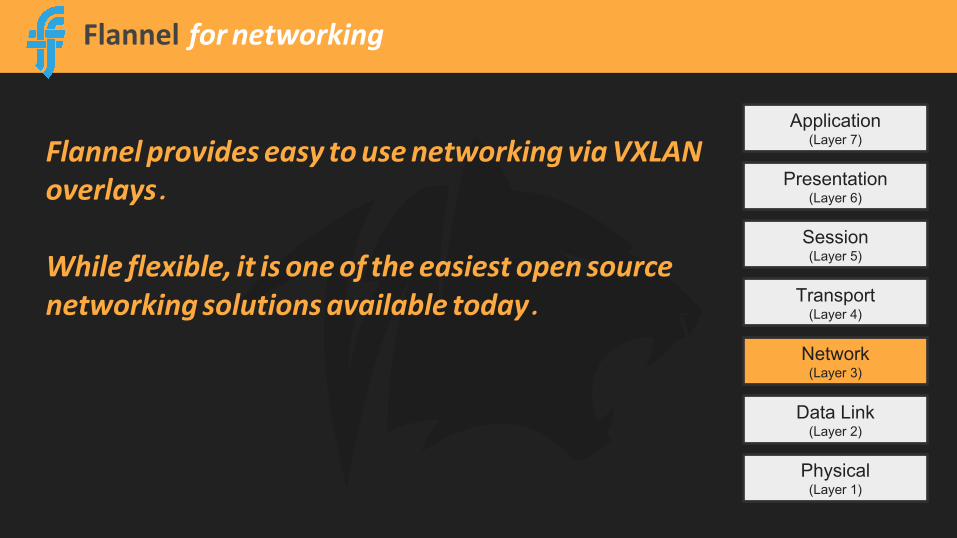
Flannel for networking
Application (Layer 7)
Presentation(Layer 6)
Session (Layer 5)
Transport(Layer 4)
Network (Layer 3)
Data Link (Layer 2)
Physical (Layer 1)
Flannel provides easy tousenetworking viaVXLANoverlays.
While flexible, it is oneof theeasiest open sourcenetworking solutions available today.

Project Calico for L3-4 security
Application (Layer 7)
Presentation(Layer 6)
Session (Layer 5)
Transport(Layer 4)
Network (Layer 3)
Data Link (Layer 2)
Physical (Layer 1)
Enforcedat thehost node, Project Calicoallowsyou to restrict access (incomingandoutgoing) atthenetworkand transport layers.
This layer is critical as it prevents compromisedservices or pods fromhaving free range/ accesswithin thenetwork.

Istio for L5-7networking& security
Application (Layer 7)
Presentation(Layer 6)
Session (Layer 5)
Transport(Layer 4)
Network (Layer 3)
Data Link (Layer 2)
Physical (Layer 1)
Enforced inside thepodasa sidecar, Istio allowsyou to restrict access (incomingandoutgoing) attheapplication, presentation, and session layers.
This layer is the first defenseas it preventsmanyofthemost common types of attacks, and is able todetermalicious users before they reach thenetwork.
Application (Layer 7)
Presentation(Layer 6)
Session (Layer 5)
Transport(Layer 4)
Network (Layer 3)
Data Link (Layer 2)
Physical (Layer 1)
HTTP, FTP, Telnet
Encryption, ASCII, Graphics (GIF, JPEG)
SQL, RPC
SPX, TCP, UDP
IP, IPX, DDP, Apple Talk
PPP, FDDI, IEEE 802.5, HDLC, FR
FDDI, B8ZS, RJ45
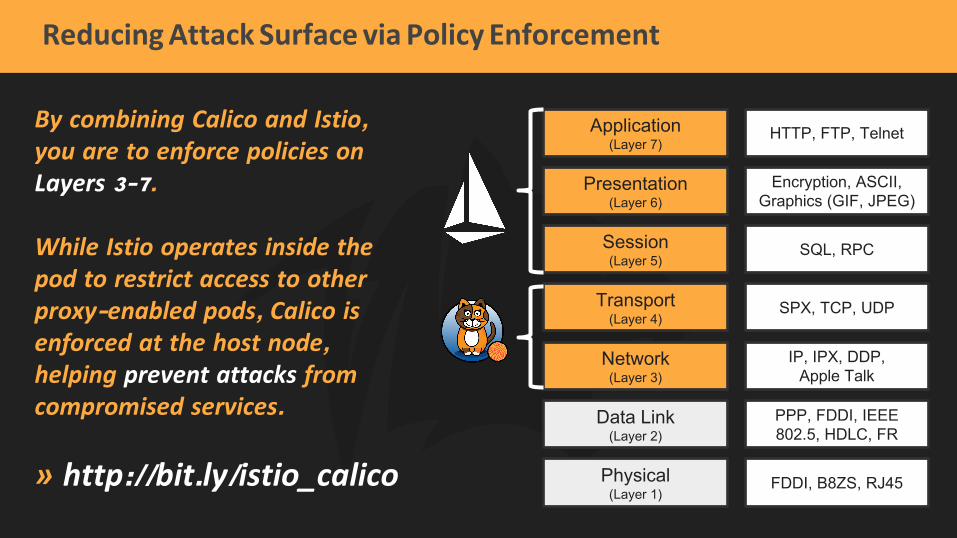
ReducingAttack Surface via Policy Enforcement
By combining Calico and Istio, you are to enforce policies onLayers 3-7.
While Istio operates inside thepod to restrict access to otherproxy-enabled pods, Calico isenforced at the host node, helping prevent attacks fromcompromised services.
» http://bit.ly/istio_calico

Installing
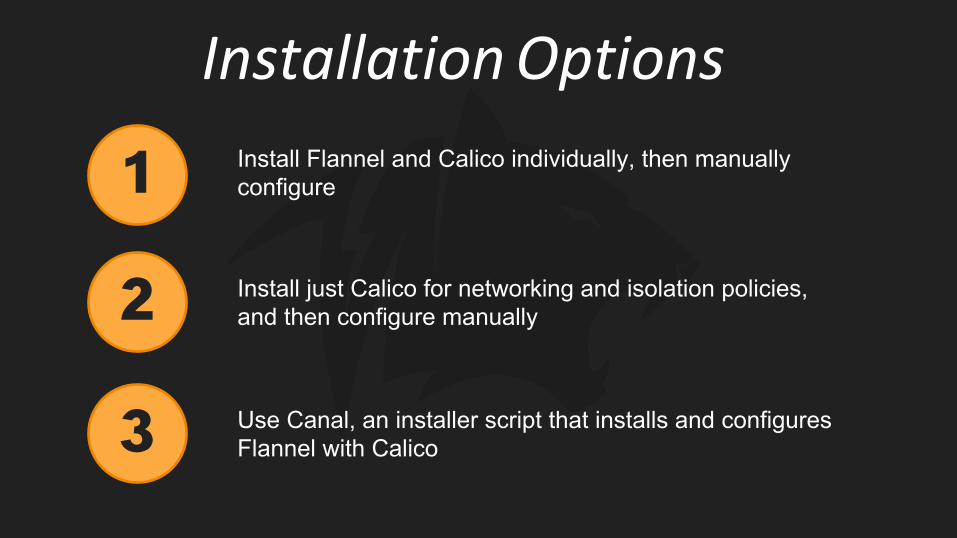
InstallationOptions
1
2
3
Install Flannel and Calico individually, then manually configure
Install just Calico for networking and isolation policies, and then configure manually
Use Canal, an installer script that installs and configures Flannel with Calico

InstallationOptions
1
2 https://docs.projectcalico.org
https://coreos.com/flannel

InstallationOptions3 Use Canal, an installer script that installs and configures
Flannel with Calico
kubectl apply -f https://raw.githubusercontent.com/projectcalico/canal/master/k8s-install/1.6/rbac.yaml
kubectl apply -f https://raw.githubusercontent.com/projectcalico/canal/master/k8s-install/1.6/canal.yaml
kubectl apply -f https://raw.githubusercontent.com/projectcalico/canal/master/k8s-install/canal.yaml
1.6+
1.5

InstallationOptions3 Use Canal, an installer script that installs and configures
Flannel with Calico
https://github.com/projectcalico/canal
Configuring Policies
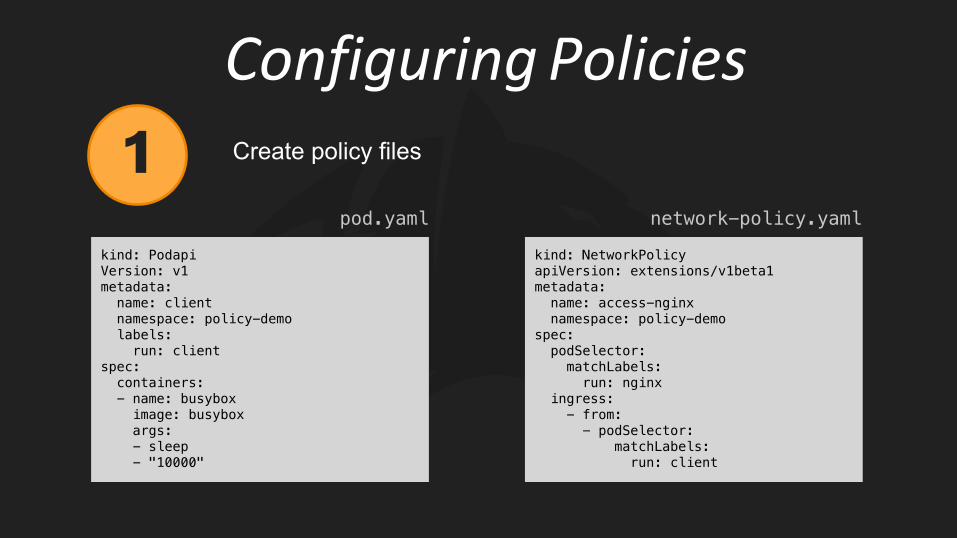
Configuring Policies1 Create policy files
kind: PodapiVersion: v1metadata:name: clientnamespace: policy-demolabels:run: client
spec:containers:- name: busyboximage: busyboxargs:- sleep- "10000"
kind: NetworkPolicyapiVersion: extensions/v1beta1metadata:name: access-nginxnamespace: policy-demo
spec:podSelector:matchLabels:run: nginx
ingress:- from:- podSelector:
matchLabels:run: client
pod.yaml network-policy.yaml
Configuring Policies
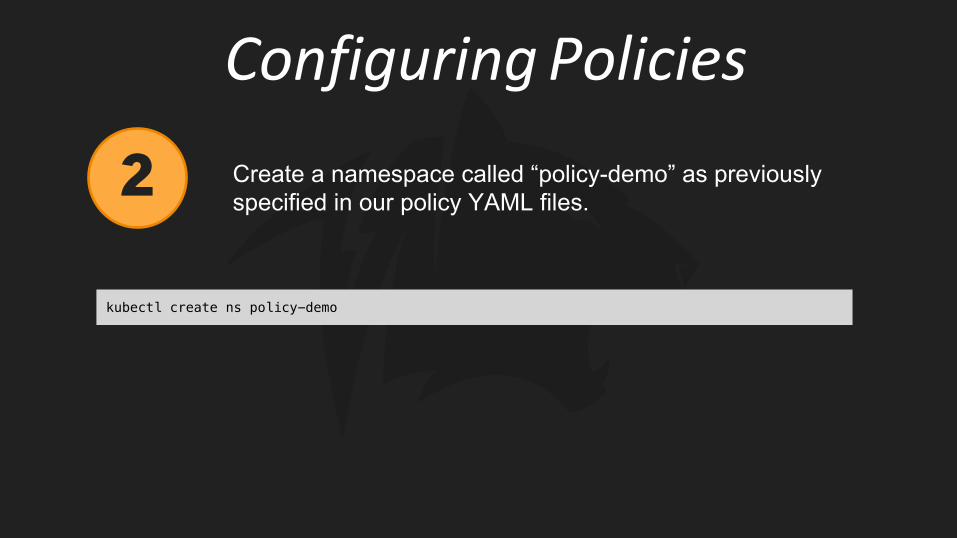
2 Create a namespace called “policy-demo” as previously specified in our policy YAML files.
kubectl create ns policy-demo
Configuring Policies
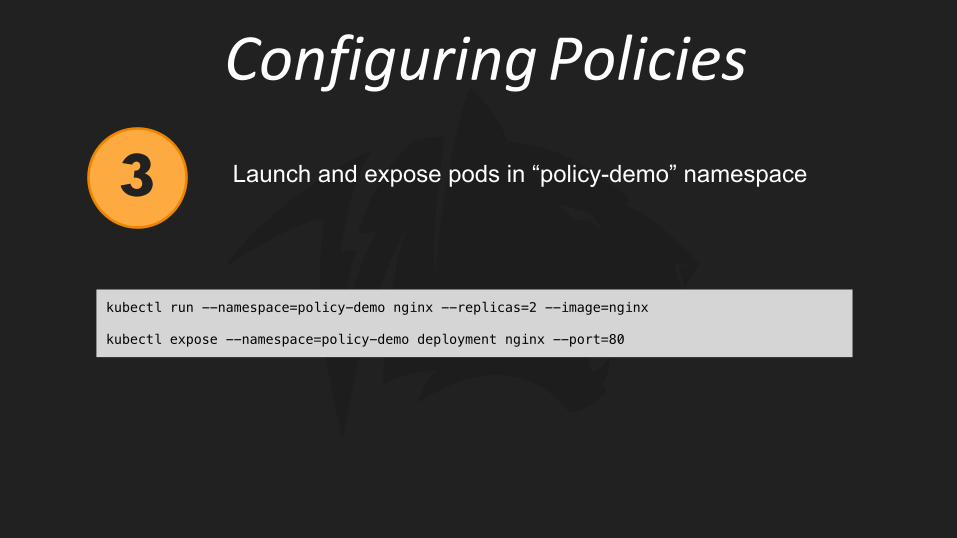
3 Launch and expose pods in “policy-demo” namespace
kubectl run --namespace=policy-demo nginx --replicas=2 --image=nginx
kubectl expose --namespace=policy-demo deployment nginx --port=80

Configuring Policies

Configuring Policies
4 Enable isolation within Kubernetes
kubectl annotate ns policy-demo "net.beta.kubernetes.io/network-policy={\"ingress\":{\"isolation\":\"DefaultDeny\"}}"

Configuring Policies

Configuring Policies
5 Apply network-policy.yaml, allowing access from client pods.
kubectl create -f network-policy.yaml

Configuring Policies
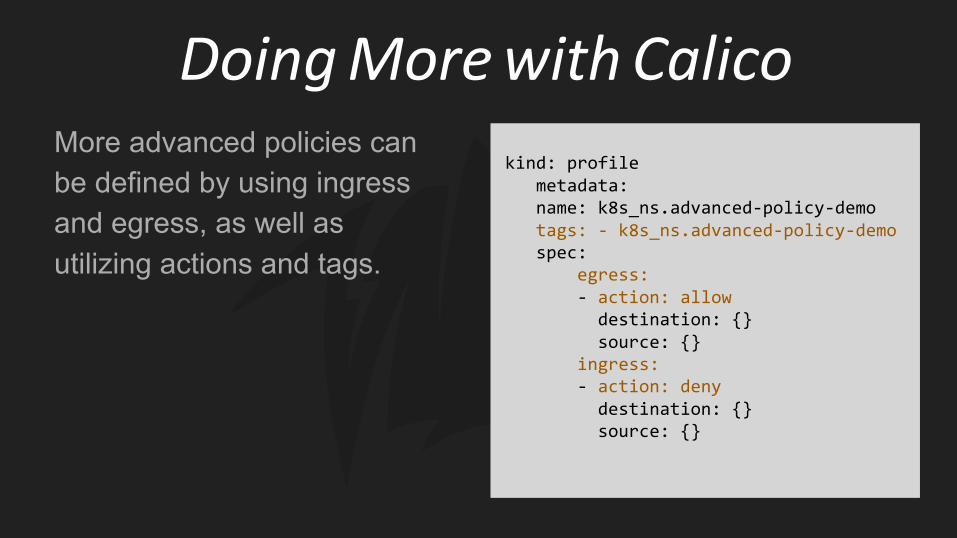
More advanced policies can be defined by using ingress and egress, as well as utilizing actions and tags.
kind: profilemetadata:name: k8s_ns.advanced-policy-demotags: - k8s_ns.advanced-policy-demospec:
egress:- action: allow
destination: {}source: {}
ingress: - action: deny
destination: {}source: {}
DoingMorewith Calico

You can also apply multiple policies (with lower order taking precedence) based on selectors, protocols, ports, source, destination, and ICMP (Internet Control Message Protocol).
kind: policy metadata:
name: advanced-policy-demo.allow-dnsspec:
selector: has(calico/k8s_ns) order: 400 egress:- action: allow
protocol: udpdestination:
selector: calico/k8s_ns == 'kube-system' && k8s-app == 'kube-dns'
ports: [53]
DoingMorewith Calico

Try It Yourselfprojectcalico.org/demo
Installing
Installing
1
2
3
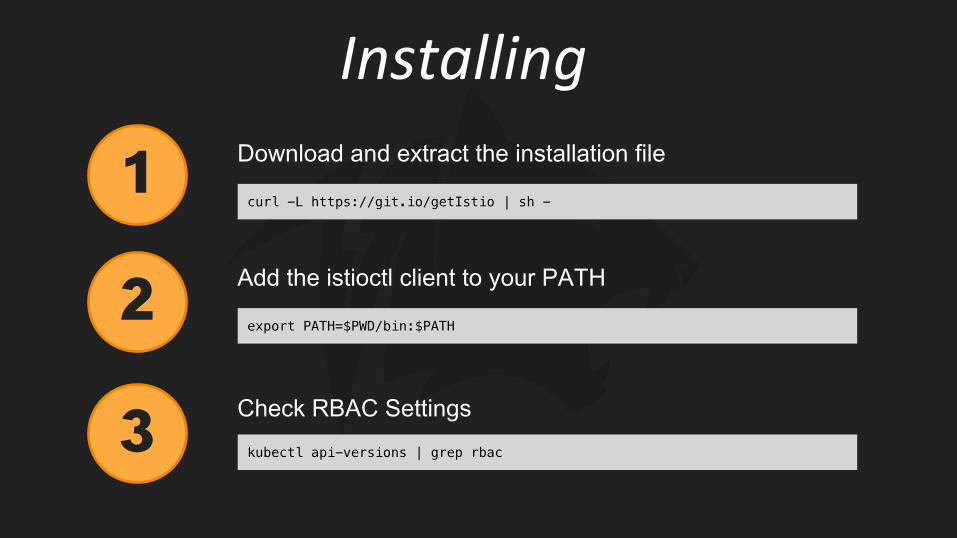
Download and extract the installation file
Check RBAC Settings
curl -L https://git.io/getIstio | sh -
Add the istioctl client to your PATH
export PATH=$PWD/bin:$PATH
kubectl api-versions | grep rbac

RBACSettingsMapIf error – continue to step
If it returns ”alpha” WITHOUT “beta” run the following configuration:
If it returns “beta” or both “beta” and “alpha” run Istio RBAC configuration:
kubectl apply -f install/kubernetes/istio-rbac-alpha.yaml
kubectl apply -f install/kubernetes/istio-rbac-beta.yaml
If you receive a “Forbidden” error, create clusterrolebinding:
kubectl create clusterrolebinding myname-cluster-admin-binding --clusterrole=cluster-admin [email protected]
4

Installing
4 Install Istio without the Auth module:
kubectl apply -f install/kubernetes/istio.yaml
Advanced: Install Istio with the Auth module:
kubectl apply -f install/kubernetes/istio-auth.yaml
Configuring Policies
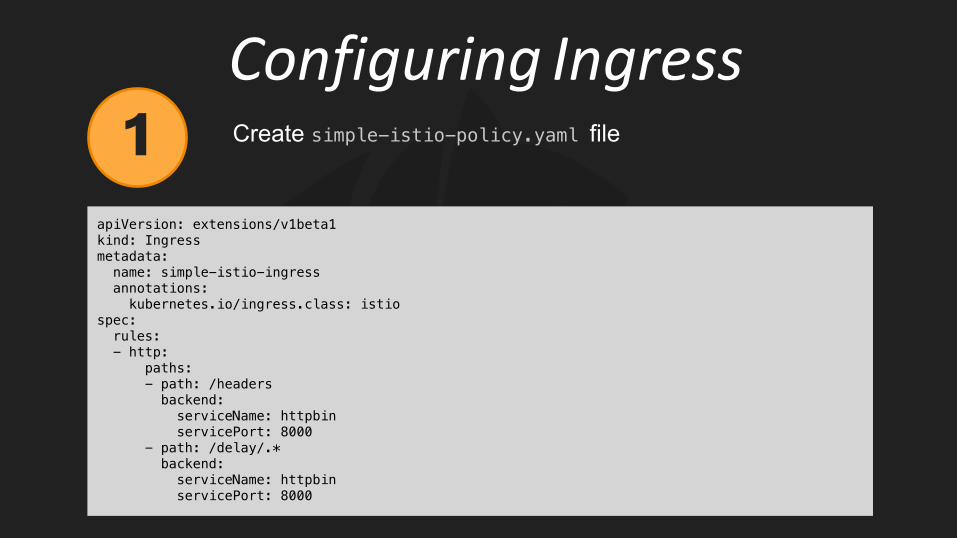
Configuring Ingress1 Create simple-istio-policy.yaml file
apiVersion: extensions/v1beta1kind: Ingressmetadata:name: simple-istio-ingressannotations:kubernetes.io/ingress.class: istio
spec:rules:- http:
paths:- path: /headersbackend:serviceName: httpbinservicePort: 8000
- path: /delay/.*backend:serviceName: httpbinservicePort: 8000

Configuring Ingress
2 Apply simple-istio-policy.yaml
kubectl create -f simple-istio-policy.yaml
Configuring Egress
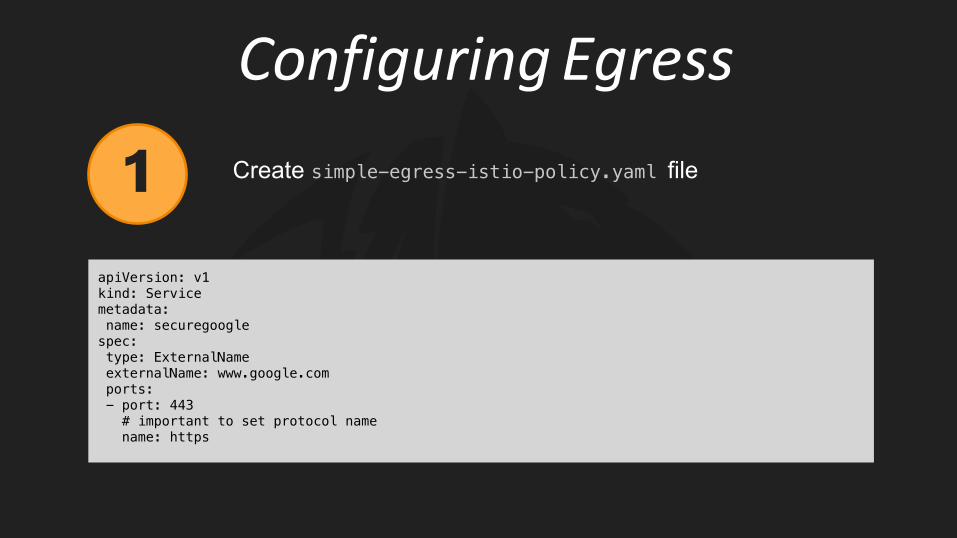
1 Create simple-egress-istio-policy.yaml file
apiVersion: v1kind: Servicemetadata:name: securegooglespec:type: ExternalNameexternalName: www.google.comports:- port: 443# important to set protocol namename: https

Configuring Egress
2 Apply simple-egress-istio-policy.yaml
kubectl create -f simple-egress-istio-policy.yaml
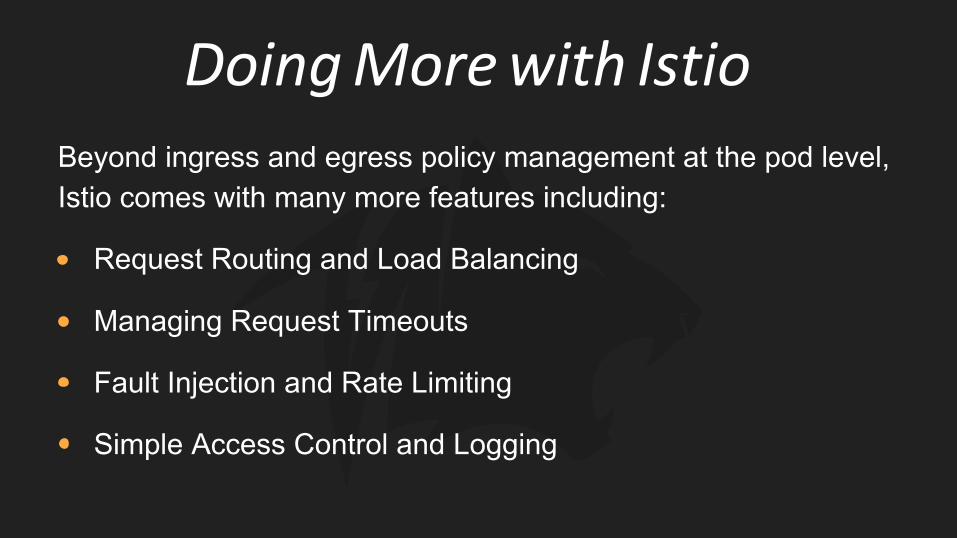
Beyond ingress and egress policy management at the pod level, Istio comes with many more features including:
• Request Routing and Load Balancing
• Managing Request Timeouts
• Fault Injection and Rate Limiting
• Simple Access Control and Logging
DoingMorewith Istio

LearnMoreatistio.io

WrappingUp

Application (Layer 7)
Presentation(Layer 6)
Session (Layer 5)
Transport(Layer 4)
Network (Layer 3)
Data Link (Layer 2)
Physical (Layer 1)
HTTP, FTP, Telnet
Encryption, ASCII, Graphics (GIF, JPEG)
SQL, RPC
SPX, TCP, UDP
IP, IPX, DDP, Apple Talk
PPP, FDDI, IEEE 802.5, HDLC, FR
FDDI, B8ZS, RJ45
TheEndResult
You now have a network that isboth scalable, and more secure. Helping protect yourapplications, user data, andinfrastructure from a myriad ofattacks by significantly reducingthe attack surface.
However, this is still just thebeginning, as security meansaddressing each layer withmultiple barriers.
GetHelp& EarnAwesomePrizes
Join the Tigera MVP Program
http://mvp.tigera.io
Get Support and Free Help on Slack: http://projectcalico.org/community
Security is about layers. Onions have layers. Ogres have layers. Has anyone ever hacked
anOnionor anOgre?

THANKYOU!!!!@mikegstowe @tigeraio