troop200.nettroop200.net/uplddocuments/unit183/old scout scoop...t/ qv‚lŸ‡ æhe6yrbܤ...
TRANSCRIPT
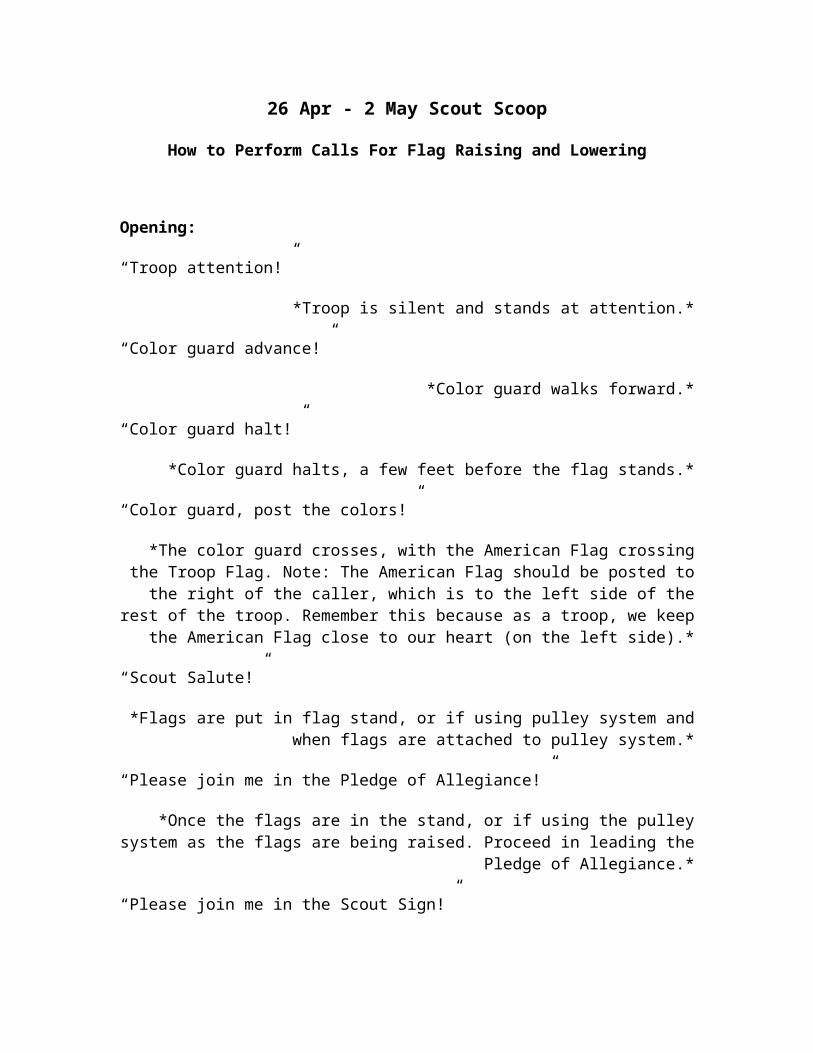
26 Apr - 2 May Scout Scoop
How to Perform Calls For Flag Raising and Lowering
Opening:
“Troop attention!”
*Troop is silent and stands at attention.*
“Color guard advance!”
*Color guard walks forward.*
“Color guard halt!”
*Color guard halts, a few feet before the flag stands.*
“Color guard, post the colors!”
*The color guard crosses, with the American Flag crossing the Troop Flag. Note: The American Flag should be posted to the right of the caller, which is to the left
side of the rest of the troop. Remember this because as a troop, we keep the American Flag close to our heart (on the left side).*
“Scout Salute!”
*Flags are put in flag stand, or if using pulley system and when flags are attached to pulley system.*
“Please join me in the Pledge of Allegiance!”
*Once the flags are in the stand, or if using the pulley system as the flags are being raised. Proceed in leading the Pledge of Allegiance.*
“Please join me in the Scout Sign!”
*After the Pledge of Allegiance has been said AND flags are in stand or at full mast on a pulley system.*
“Scout Law!”
*Once the troop has their signs up, proceed in leading the Scout Law.*

“Two!”
*After the Scout Law has been recited, and signs should go down.*
“Color guard retreat!”
*The color guard should turn and march back down the way they came.*
“Color guard halt!”
*Once the color guard reach the outer edge of the troop formation, they should stop.*
“Color guard dismissed!”
*The color guard may return to troop formation.*
“Troop at ease!”
*Troop may stop standing at attention.*
Closing:
“Troop attention!”
*Troop is silent and stands at attention.*
“Color guard advance!”
*Color guard walks forward.*
“Color guard halt!”
*Color guard halts, a few feet before the flag stands.*
“Color guard, retire the colors!”
*The color guard marches forward and does not cross paths.*
“Scout Salute!”
*Flags are removed from the stands, or if using pulley system when flags are being lowered.*

“Scout Sign!”
*After the flags have been lowered and folded.*
“Please join me in the Scout Oath!”
*Once the troop has their signs up, proceed in leading the Scout Oath.*
“Two!”
*After the Scout Oath has been recited, and signs should go down.*
“Color guard retreat!”
*The color guard should turn and march back down the way they came.*
“Color guard halt!”
*Once the color guard reach the outer edge of the troop formation, they should stop.*
“Color guard dismissed!”
*The color guard may return to troop formation after returning the flags.*
“Troop at ease!”
*Troop may stop standing at attention.*
3-9 May Scout Scoop
A Quick Reminder on Sun Protection
-Watch the UV index: When exposure levels are moderate or above, you really need to start taking special care of your skin!
-Wear protective clothing: Wide-brimmed hats, sunglasses, and tightly woven clothing can help reduce damage from sun exposure.
-Sunscreen Choice: There are three things to keep in mind when choosing sunscreen: SPF, spectrum, and water resistance.
-SPF: Most dermatologists recommend using SPF 15 or higher, but keep in mind that SPF (Sun Protection Factor) 30 blocks 97% of the sun’s rays, but no matter how high an SPF is, no sunscreen can block 100% of harmful rays.
-Spectrum: ALWAYS choose sunscreens with Broad Spectrum on the label, it means it blocks both UVA and UVB rays.
-Water Resistance: No sunscreen is truly “water proof”, but certain sunscreens can claim water resistance. Choose sunscreens that offer water resistance because they will hold up better in the water, but make sure to reapply sunscreen after going in the water.
-Sunscreen Application: Make sure you apply sunscreen about 15 minutes before going outside, every two hours outside, and after every water excursion (after drying off!)
-Shade: Be encouraged to find a nice area under a tree or in another shady spot to sit back and relax when the sun’s rays are strongest (usually between 1000 - 1400). A good rule of thumb is: if your shadow is shorter than you, than seek shade!
These are just a few tips and reminders for skin care in the sun, please check out the links below or go find a dermatology website for more info. But most importantly, remember to have fun outside this spring and summer!
http://www.who.int/uv/sun_protection/en/
https://www.aad.org/media-resources/stats-and-facts/prevention-and-care/sunscreen-faqs

10-16 May Scout Scoop
10 Common Birds Around the Yorktown Area

For anybody planning on going on an outing soon...here's a list of common birds found in our area.
1. Northern Cardinal
2. American Goldfinch
3. Blue jay
4. Red-bellied Woodpecker
5. Tufted Titmouse
6. White-breasted Nuthatch
7. Dark-eyed Junco
8. Red-breasted Nuthatch
9. Yellow-rumped Warbler
10. Cedar Waxwing
For pictures of these birds, click here.
17-23 May Scout Scoop
Required Pieces of the Class A (Field) Uniform

Remember: We use this uniform when we are going to PLC's, travelling to/from campouts, or during any time the troop is in public and not getting really dirty (service projects!).
1. Class A Uniform Beige Shirt
2. Neckerchief or Bolo, preferably the Neckerchief
3. Scout Belt
4. Scout Pants or Shorts, (or subdued pants or shorts)
5. Scout Socks
6. If you have a hat, please have a BSA Scout Hat
If you want more specific information about the Class A Uniform (particularly about patches), please visit the Library tab and find the BSA Uniform Inspection Sheet, under Patrol Documents.
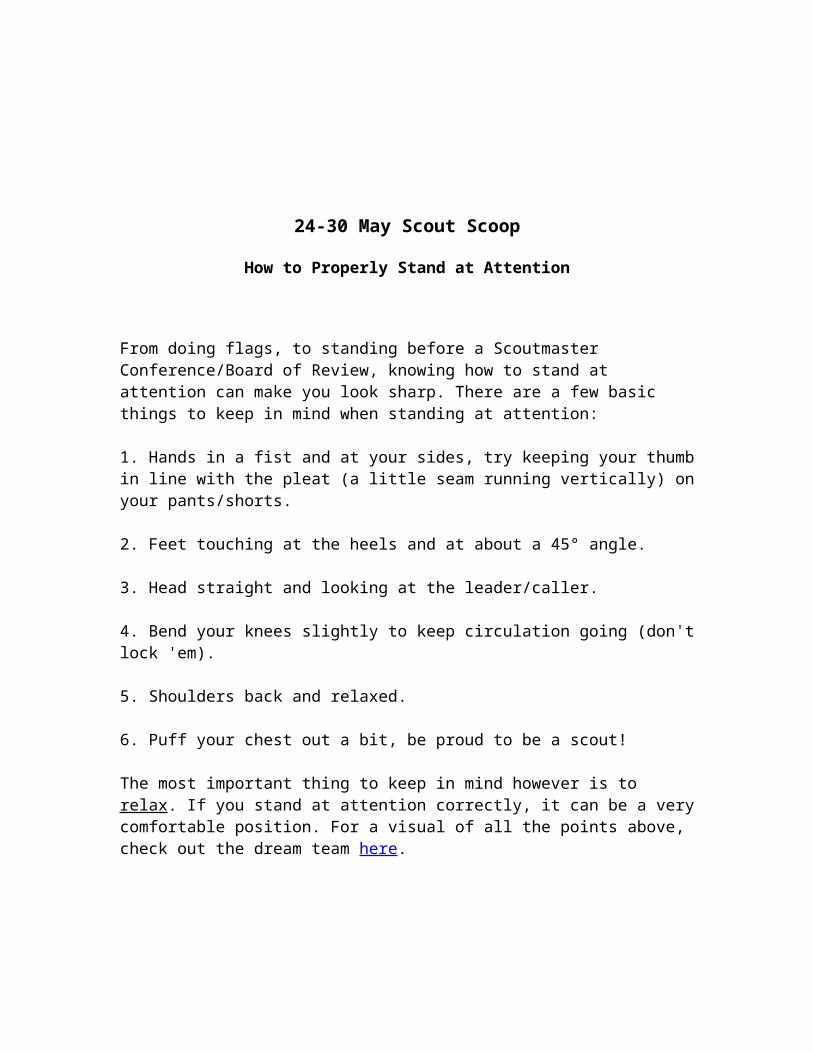
24-30 May Scout Scoop
How to Properly Stand at Attention

From doing flags, to standing before a Scoutmaster Conference/Board of Review, knowing how to stand at attention can make you look sharp. There are a few basic things to keep in mind when standing at attention:
1. Hands in a fist and at your sides, try keeping your thumb in line with the pleat (a little seam running vertically) on your pants/shorts.
2. Feet touching at the heels and at about a 45° angle.
3. Head straight and looking at the leader/caller.
4. Bend your knees slightly to keep circulation going (don't lock 'em).
5. Shoulders back and relaxed.
6. Puff your chest out a bit, be proud to be a scout!
The most important thing to keep in mind however is to relax. If you stand at attention correctly, it can be a very comfortable position. For a visual of all the points above, check out the dream team here.
31 May - 6 June Scout Scoop
The Seven Principles of Leave No Trace
1. Plan Ahead and Prepare
- Know the regulations and special concerns for the area you'll visit.- Prepare for extreme weather, hazards, and emergencies.- Schedule your trip to avoid times of high use.- Visit in small groups when possible. Consider splitting larger groups into smaller groups.- Repackage food to minimize waste.- Use a map and compass to eliminate the use of marking paint, rock cairns or flagging.
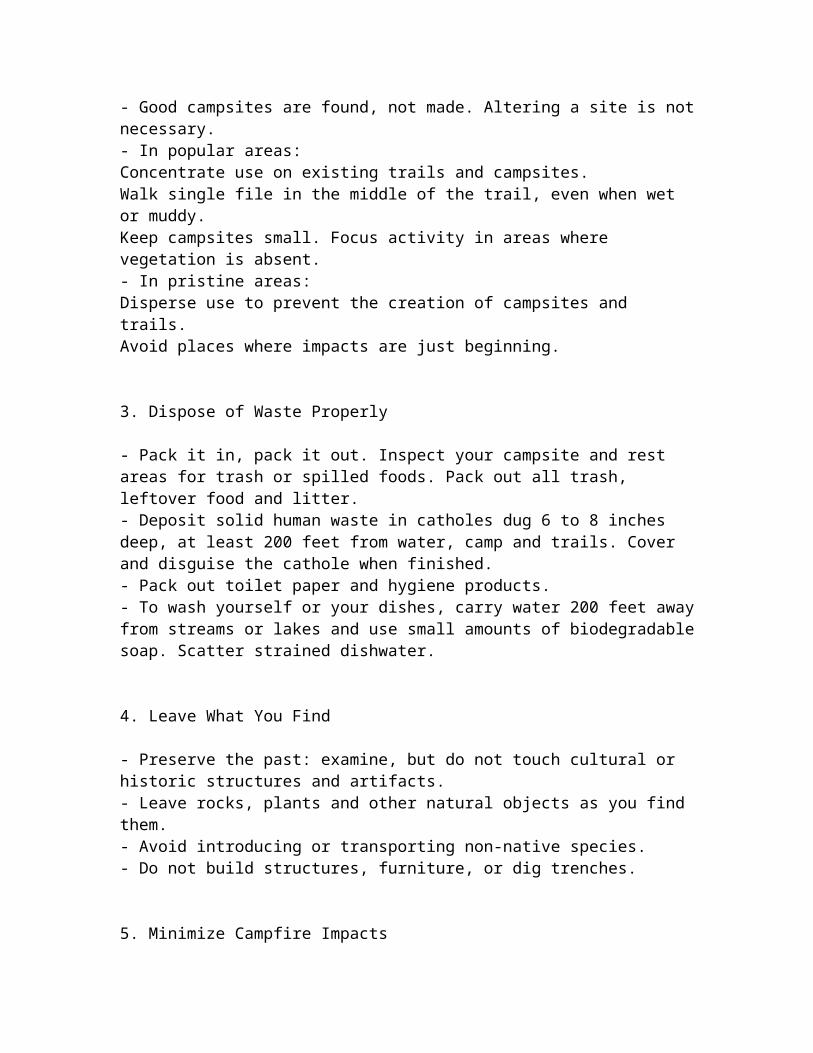
2. Travel and Camp on Durable Surfaces
- Durable surfaces include established trails and campsites, rock, gravel, dry grasses or snow.- Protect riparian areas by camping at least 200 feet from lakes and streams.- Good campsites are found, not made. Altering a site is not necessary.- In popular areas:Concentrate use on existing trails and campsites.Walk single file in the middle of the trail, even when wet or muddy.Keep campsites small. Focus activity in areas where vegetation is absent.- In pristine areas:Disperse use to prevent the creation of campsites and trails.Avoid places where impacts are just beginning.
3. Dispose of Waste Properly
- Pack it in, pack it out. Inspect your campsite and rest areas for trash or spilled foods. Pack out all trash, leftover food and litter.- Deposit solid human waste in catholes dug 6 to 8 inches deep, at least 200 feet from water, camp and trails. Cover and disguise the cathole when finished.- Pack out toilet paper and hygiene products.- To wash yourself or your dishes, carry water 200 feet away from streams or lakes and use small amounts of biodegradable soap. Scatter strained dishwater.
4. Leave What You Find
- Preserve the past: examine, but do not touch cultural or historic structures and artifacts.- Leave rocks, plants and other natural objects as you find them.- Avoid introducing or transporting non-native species.- Do not build structures, furniture, or dig trenches.

5. Minimize Campfire Impacts
- Campfires can cause lasting impacts to the backcountry. Use a lightweight stove for cooking and enjoy a candle lantern for light.- Where fires are permitted, use established fire rings, fire pans, or mound fires.- Keep fires small. Only use sticks from the ground that can be broken by hand.- Burn all wood and coals to ash, put out campfires completely, then scatter cool ashes.
6. Respect Wildlife
- Observe wildlife from a distance. Do not follow or approach them.- Never feed animals. Feeding wildlife damages their health, alters natural behaviors, and exposes them to predators and other dangers.- Protect wildlife and your food by storing rations and trash securely.- Control pets at all times, or leave them at home.- Avoid wildlife during sensitive times: mating, nesting, raising young, or winter.
7. Be Considerate of Other Visitors
- Respect other visitors and protect the quality of their experience.- Be courteous. Yield to other users on the trail.- Step to the downhill side of the trail when encountering pack stock.- Take breaks and camp away from trails and other visitors.- Let nature's sounds prevail. Avoid loud voices and noises.
(c) Leave No Trace Center for Outdoor Ethics: www.LNT.org.
- See more at: https://lnt.org/learn/7-principles
14 - 20 June Scout Scoop
How to Make a Handy Dandy Char Cloth
It’s getting dark soon and the cold has already begun to set in. You’ve already gathered all of your fuel (logs or any big pieces of wood), kindling (medium-sized sticks about the size of a pencil), and tinder (pine needles and twigs, not too many leaves though) for your fire. You locate your box of matches and only find five left, just enough to get this fire going. However, you didn’t notice the wind that was also setting in, and five matches later there is still a cold lump of logs and no fire. This is when you could’ve used a char cloth.
Char cloths are extremely helpful tools that can be used to start fires when it’s windy and lasts longer than a match to help catch wet tinder on fire. There are very few materials needed to make your own char cloth: Altoid tin (or other tin of that sort), 100% cotton material, a hammer, and a nail.
Step 1. Cut your cotton material into small strips and place in tin. (Rolling up the material will not work.)
Step 2. Use the hammer and nail to puncture a small hole in the top of the tin.
Step 3. Close the tin and place it on a small fire. It will smoke (which let’s you know you’re doing it correctly) and may appear to catch on fire momentarily. Turn it upside down once it stops smoking, and take it out once it stops smoking upside down.
Step 4. Check out your char cloth, it should appear black and brittle. Now you’re ready to use your char cloth.
Remember: Only scouts with their Fireman’s Chit are allowed to start fires and carry around fire starters, such as matches or char cloths. Here’s an incentive for those of you without your Fireman’s Chit to go earn it!
For more information and pictures, please click here.
21 - 27 June Scout Scoop
How to Properly Retire an American Flag
Retiring the American Flag is a very special ceremony that is only performed when an American Flag is no longer fit to fly. This could mean that it is

tattered, frayed, has holes, etc. Retiring the flag is a respectful and reverent process that Boy Scouts will often perform, such as the annual Flag Day event at Yorkminster Presbyterian Church last week. All you need is a fire (with a Fire Marshal and a bucket of water), a table, properly prepared flags, and helpers.
To prepare the American Flag for a retirement ceremony:
1. Cut out the blue field. (This is the part with all of the stars.) It should be separate from the stripes.
2. Cut or rip out each individual stripe, so that there are thirteen stripes and the blue field.
To retire the American Flag:
1. Once the fire is going, explain to the participants of the ceremony about the history of the American Flag, and what each part of it represents. If there is known information about the flag, such as where it was flown, when it was flown, etc, such information would be shared after talking about the American Flag in general.
2. Taps should be played before the flag is being retired or during the beginning of the retirement.
3. Retire the flag. This means to reverently place the flag in the fire (this is not time to play basketball). The participants should form a circle around the fire and pick up a single stripe or blue field off the table and continue moving in a circle after placing the portion of the flag in the fire. Each stripe should be placed in separately as they were cut, but the blue field should be placed in the fire by two scouts, one holding either side of the field. The retirement should be done in a respectful silence.
4. Once all of the pieces have been placed in the fire, the ceremony has ended and the participants may be dismissed.
5. The cleanup crew will wait for the fire to die and then search through the ashes for the metal grommets from the flag and dispose of the ashes by burying them.
28 June - 4 July Scout Scoop
DIY Camping Washing Machine AKA
How to Not Smell Bad at Summer Camp
Before any soon-to-be-Summer-Campers finishes their packing, here’s a handy project that might prevent packing a ridiculous amount of spare clothes. All you
will need is a five-gallon bucket with a lid, a clean plunger, and a knife.
To build the washing machine:
1. Cut a hole in the lid of the bucket, making enough room to fit the plunger handle comfortably but not enough to splash a lot of water.
You’re already done!
To use the washing machine:
1. Fill the bucket with water and laundry detergent, and throw in your dirty clothes.
2. Push the plunger up and down repeatedly for several minutes.
3. Rinse clothes and hang them up to dry.
Congratulations! You’ve just become the best smelling scout in camp! (Provided that you’re showering regularly...)
26 July - 1 August Scout Scoop
10 Types of Clouds
There are 10 types of clouds. Names of clouds are followed with pictures and descriptions.
1. Cirrus: Detached clouds in the form of white, delicate filaments, mostly white patches or narrow bands. They may have a fibrous (hair-like) and/or silky sheen
appearance.
Cirrus clouds are always composed of ice crystals, and their transparent character depends upon the degree of separation of the crystals.
As a rule when these clouds cross the sun's disk they hardly diminish its brightness. Before sunrise and after sunset, cirrus is often colored bright yellow or red. These clouds are lit up long before other clouds and fade out much later.
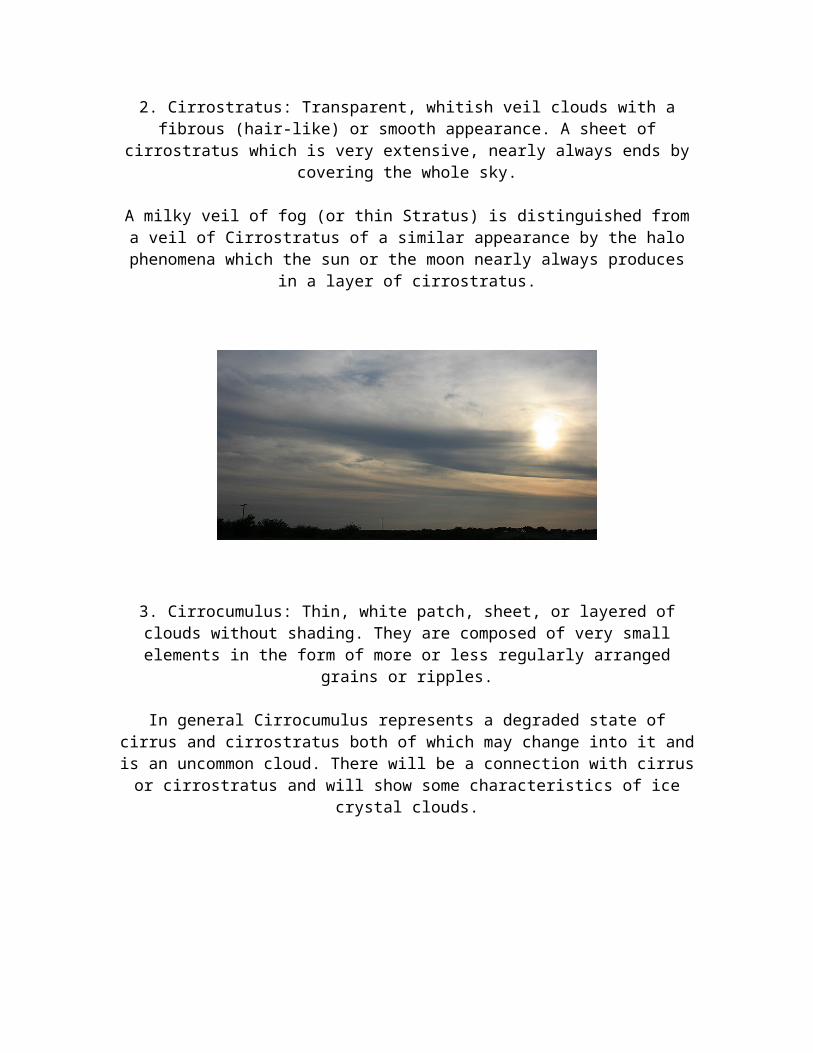
2. Cirrostratus: Transparent, whitish veil clouds with a fibrous (hair-like) or smooth appearance. A sheet of cirrostratus which is very extensive, nearly
always ends by covering the whole sky.
A milky veil of fog (or thin Stratus) is distinguished from a veil of Cirrostratus of a similar appearance by the halo phenomena which the sun or the moon nearly
always produces in a layer of cirrostratus.

3. Cirrocumulus: Thin, white patch, sheet, or layered of clouds without shading. They are composed of very small elements in the form of more or less regularly
arranged grains or ripples.
In general Cirrocumulus represents a degraded state of cirrus and cirrostratus both of which may change into it and is an uncommon cloud. There will be a
connection with cirrus or cirrostratus and will show some characteristics of ice crystal clouds.
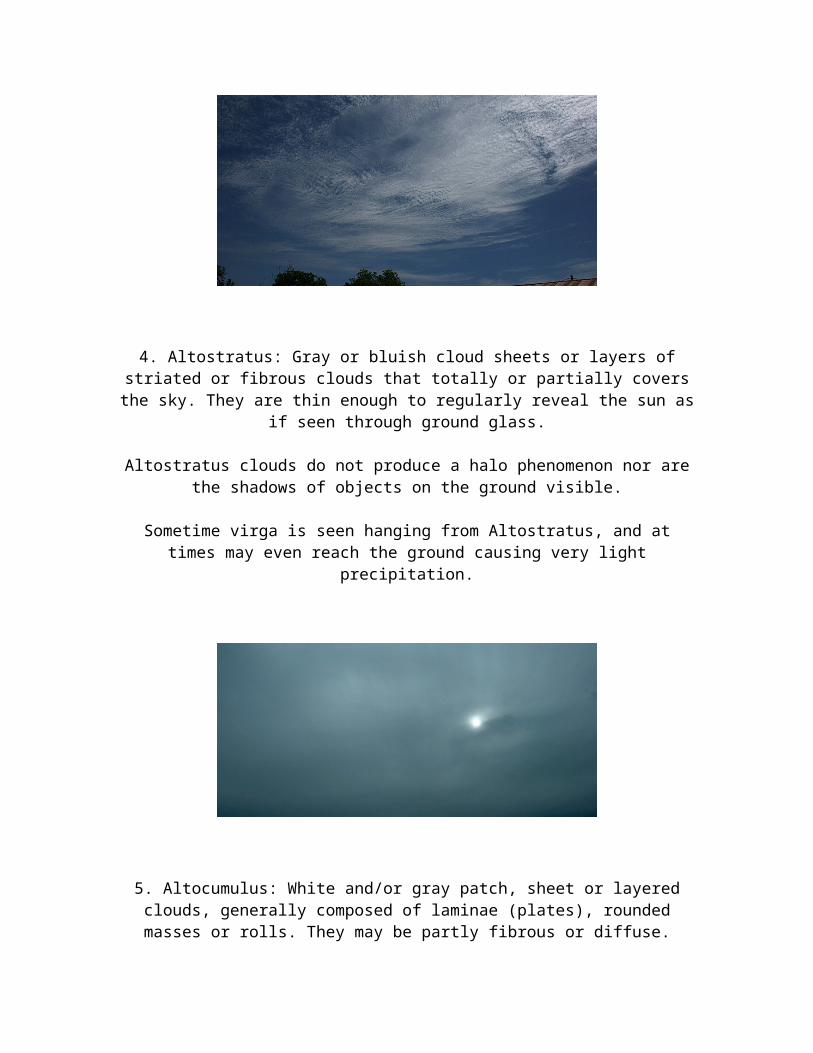
4. Altostratus: Gray or bluish cloud sheets or layers of striated or fibrous clouds that totally or partially covers the sky. They are thin enough to regularly reveal
the sun as if seen through ground glass.
Altostratus clouds do not produce a halo phenomenon nor are the shadows of objects on the ground visible.
Sometime virga is seen hanging from Altostratus, and at times may even reach the ground causing very light precipitation.

5. Altocumulus: White and/or gray patch, sheet or layered clouds, generally composed of laminae (plates), rounded masses or rolls. They may be partly
fibrous or diffuse.
When the edge or a thin semitransparent patch of altocumulus passes in front of the sun or moon a corona appears. This colored ring has red on the outside and
blue inside and occurs within a few degrees of the sun or moon.
The most common mid cloud, more than one layer of Altocumulus often appears at different levels at the same time. Many times Altocumulus will appear with
other cloud types.
6. The continuous rain cloud. Resulting from thickening Altostratus, This is a dark gray cloud layer diffused by falling rain or snow. It is thick enough throughout to
blot out the sun.
The cloud base lowers into the low level of clouds as precipitation continues.

Also, low, ragged clouds frequently occur beneath this cloud which sometimes merges with its base.
7. Cumulus: Detached, generally dense clouds and with sharp outlines that develop vertically in the form of rising mounds, domes or towers with bulging
upper parts often resembling a cauliflower.
The sunlit parts of these clouds are mostly brilliant white while their bases are relatively dark and horizontal.
Over land cumulus develops on days of clear skies, and is due diurnal convection; it appears in the morning, grows, and then more or less dissolves
again toward evening.
8. Stratus: A generally gray cloud layer with a uniform base which may, if thick enough, produce drizzle, ice prisms, or snow grains. When the sun is visible
through this cloud, its outline is clearly discernible.
Often when a layer of Stratus breaks up and dissipates blue sky is seen.
9. Cumulonimbus: The thunderstorm cloud, this is a heavy and dense cloud in the form of a mountain or huge tower. The upper portion is usually smoothed, fibrous or striated and nearly always flattened in the shape of an anvil or vast
plume.
Under the base of this cloud which is often very dark, there are often low ragged clouds that may or may not merge with the base. They produce precipitation,
which sometimes is in the form of virga.
Cumulonimbus clouds also produce hail and tornadoes.
10. Stratocumulus: Gray or whitish patch, sheet, or layered clouds which almost always have dark tessellations (honeycomb appearance), rounded masses or
rolls. Except for virga they are non-fibrous and may or may not be merged.
They also have regularly arranged small elements with an apparent width of more than five degrees (three fingers - at arm's length).