revit api talk 1 - the building...
TRANSCRIPT

Learn to Write Add-ons No Coding ExpRequired!
Adam Sheather
YTL Corporation

Who am I?
• BIM Manager for YTL Corporation Malaysia
• All in one company Property Developer, Design, Engineering, QS, Construction and FM
• Hotels, Resorts, Residential, Commercial, Retail, Power and Rail
• Projects from 10mill to 2.5billionUSD
• Programming for 4-5 years• Programming for 4-5 years
• Self taught a long struggle, had lots of help from community and the Dev Days with Jeremy Tammik were invaluable
• Have written the Company API toolkits for ADG and GHD
• Now do a lot of things with opensource, javascipt, C/C++, PHP, F# (dabbling).
• Have developed custom addons for Dynamo
Overall Lesson Plan
• Lab 1 – Computing Essentials, Visual Studio and First Project
• Lab 2a – Revit API Pre-Starters, Setup and VSTA
• Lab 2b – Select Objects, get data, set data, export/import data
• Lab 3 – UI Setup, Project Templates, Views• Lab 3 – UI Setup, Project Templates, Views
• Lab 4 – Export/Rename, Place Families, Create Floors, Events

Lab 1
• Computing Essentials CPU, RAM and IO
• Bytes, Memory and ASCII
• Language History, C#, and API’s
• Object Oriented Programming and Classes
• Visual Studio Essentials• Visual Studio Essentials
• Core Syntax Rules (Syntax = Programming grammar)
• First Project

Computing Essentials
• CPU and RAM
• Input/Output Devices

Computer Essentials.
CPU & RAM are the key,
everything else is secondary
also known as Input/Output
or IO devices
The Key Pieces of a Computer System
http://www.karbosguide.com/books/pcarchitecture/chapter26.htm

Examples of IO Devices
http://inst.eecs.berkeley.edu/~cs61cl/fa08/labs/lab25.html
Bytes, Memory and ASCII
• Bits, Bytes and so on
• Memory Systems and Addresses
• Hexadecimals
• ASCII

Bits & Bytes
= 5
http://iesfmontseny.es/clil/bits_and_bytes.html

Bytes, Memory and ASCII
• Lowest Part of MemoryAddress is a Byte
• Bytes are made up Bits
• CPU’s ask for Addressesof bytes manipulate them
http://www.alf.sd83.bc.ca/courses/It12/using_it/processor_speed.htm
of bytes manipulate themand send them back to the same or different RAMAddresses.


Hexadecimals
It uses sixteen distinct symbols, most often the symbols 0–9 to represent values zero to nine, and A, B, C, D, E, F (or alternatively a–f) to represent values ten to fifteen. For example, the hexadecimal number 2AF3 example, the hexadecimal number 2AF3 is equal, in decimal, to (2 × 163) + (10 × 162) + (15 × 161) + (3 × 160), or 10995.
RAM Memory addresses are generally stored as hexadecimal locations
http://www.learn44.com/binary-to-decimal-and-hexadecimal-conversion-chart/
Wikipedia

Calculating Hexadecimals to Binary
http://www.freesoft.org/CIE/Topics/19.htm

ASCII
• The American Standard Code for Information Interchange (ASCII /ˈæski/ASS-kee)[1] is a character-encoding scheme originally based on the English alphabet that encodes 128 specified characters - the numbers 0-9, the letters a-z and A-Z, some basic punctuation symbols, some control codesthat originated with Teletype machines, and a blank space - into the 7-bit binary integers.

http://www.catonmat.net/blog/ascii-cheat-sheet/
Language History, API’s and dotnet
• History of Languages
• Why C#
• What is an API
• Dotnet

http://servicesangle.com/blog/2012/02/29/the-evolution-of-programming-
infographic/
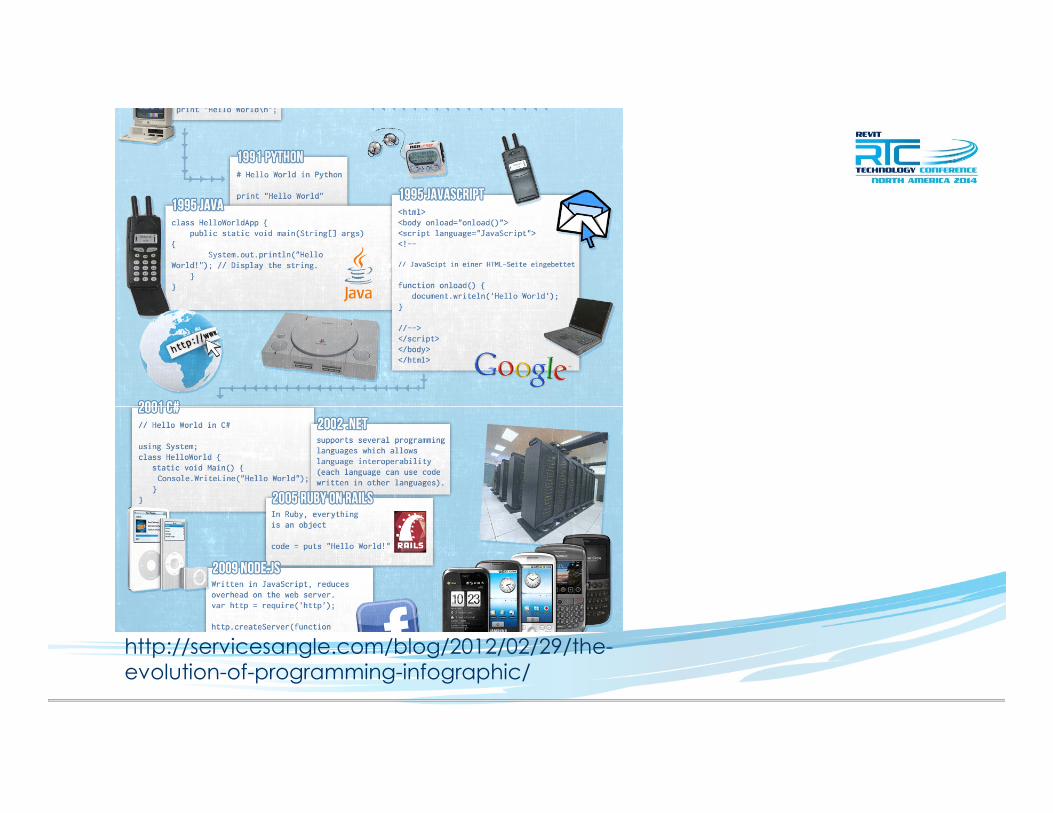
http://servicesangle.com/blog/2012/02/29/the-
evolution-of-programming-infographic/

Why C#
• Part of the C language family more easily transferred skills
• VB syntax very one-off
• A lot more Samples around for Revit
• Personal preference ☺☺☺☺
Ultimately the two can do the same things as they both run on the dotnet framework or the same system they just go about it different ways.

What is an API? (Application Programming Interface)
• specifies how some software components should interact with each other.
• accessing databases or computer hardware, such as hard disk drives or video cards,
• I comes in the form of a library that includes specifications for routines, data structures, object classes, and variables
• An API specification can take many forms, such as the Microsoft Windows • An API specification can take many forms, such as the Microsoft Windows API,
• the libraries of a programming language, e.g., C++ or Java API.
• Web APIs are also a vital component of today's web fabric.

What is dotnet? It’s the Windows API
http://www.wilsonmar.com/msdotnet.htm
Object Oriented Programming
• C# is an OOP language
• Everything in C# is an object
• All Objects contain fields which are like Revit Parameters
• All Objects can contain methods which are like Revit Object Manipulations (say using the “trim” method on a wall vs Manipulations (say using the “trim” method on a wall vs dragging with a mouse.
• An Object is known programmatically as a “Class”
Object-oriented programming (OOP) is a programming paradigm that represents the concept of "objects" that have data fields (attributes that describe the object) and associated procedures known as methods. Objects, which are usually instances of classes, are used to interact with one another to design applications and computer programs.

Object Templates are called Classes
There are some key components that make up a class. A class is very similar to a Revit family in that the class itself is merely a template, it’s not until you create an instance of the class in a project that it uses the template and becomes an object. This is similar to a beam family loaded into a project but not used. similar to a beam family loaded into a project but not used. Every time you create an instance it creates a version of the family. This creation process is called using a “Constructor Method” or Constructor.
Three Major Components make up Classes.
• Constructors
• Fields
• Methods

C# Classes Constructors
Constructors are the instructions to create an instance of an object.
You can have multiple Constructors for a Class.
An Example is with Revit walls.
Wall by Line/Arc
Wall by Face
Wall by Picked Line
Create Similar
In some cases byFace and Create similar the constructor can specify or constrain the object in certain ways.

C# Classes Fields
Fields are the Parameters of a class. They can contain numbers, decimals, text and Yes/No Parameters.
You create many of these, and You create many of these, and programmatically they can also be known as variables.
The coding terminology for these items is belowNumber – Integer (int)
Text – String (string)
Decimals – double (double)
Yes/No – Boolean (bool)

C# Classes Methods
Methods are the
instructions to change
or modify an object.
Again this is something that you will use many times to Again this is something that you will use many times to manipulate variables, other methods and other objects in your code.
Methods are very powerful features.

OOP Principles
OOP methods are very hard to explain and outside the main realm of this conversation. The idea behind them is to make code as reusable as possible so you make less code for whole program and if you make a change you only have to make it once and it update everywhere! (sound familiar).update everywhere! (sound familiar).
Unlike Revit this is entirely possible with OOP practices however just like Revit, very hard to achieve in some cases without a lot of forethought and planning, which is not our goal in this class ☺☺☺☺

OOP Principles
Major Principals are as follows.
• Encapsulation: Processing functions Data – an example could be ensuring only numbers are every inputted into a calculator so errors cannot occur, this involves binding a method to a so errors cannot occur, this involves binding a method to a Field
• Polymorphism: A horrible word developed by programmers. This means creating methods that can work with many datatypes. Say you have a method that sorts a list from highest to lowest, the use of polymorphism would be to make the method generic so it could access numbers, or decimals or Alphanumerical’s and perform the same function.

OOP Principles
Major Principals are as follows.
• Inheritance: The easiest to understand, this is creating base classes of which fields and methods can be passed to child classes. An example would be an instance of a wall who’s classes. An example would be an instance of a wall who’s base class would be a wall type, A wall types base class would be the Wall element. The characteristics from each are passed down and added so if functionality changes at a higher level it passes to all sub-classes.
Using all 3 together is key to having less code and easily modifiable API’s for upgrades and bug fixing.

Visual Studio Express – Integrated Development Environment (IDE)
Microsoft has Visual Studio Express (VS) which is a free tool we can download and use to create our API’s.
We will also be exploring and using the VTSA in Revit as a great tool to debug portions of code as debugging from VS can take a long time to fire up and waste time especially when you are creating a single method or for R&D.
This tool contains a user interface, project management, properties, colour coding, built in compiler (extremely practical compared to other IDE’s), debugging features, error highlights and many other things.
Visual Studio will be more then capable of development most Revit Addons. Key features missing are Team Tools, easy data-connectivity to other then MSSQL-Server, ability to create an installer for your API and compile F#(Which is what Dynamo is built from). Otherwise it can and will fulfil all your major needs and I’ve never needed Pro.

Visual Studio Project Types
Like there are different project types you can create. Similar to Revit you can open a family “project” or a massing “project” as well as a normal project, VS has a number of Projects and each one is important.
• Windows Forms –build interface applications, supports older OS versions
• WPF – New way to Build interfaces, responsive and contextual feedback• WPF – New way to Build interfaces, responsive and contextual feedback
• Console – Applications that run, exe files etc…
• Class Library – Creates .dll or library files programs use, Revit API always requires the use of .dll to work
• Revit 2014 Addin –Jeremy Tammiks Template

First Project – WPF
For our first project we are going to create a WPF project.
Select the WPF project and call it a new name, if you prefer you can save the project to your USB.
When you open the project you should see something like the following.When you open the project you should see something like the following.

Visual Studio Interface

Visual Studio Interface – Cheat Sheet
1. Toolbox – This is all the features we can add to our interface
2. This is our Main interaction UI either as a rendered interface as shown or as native C# code
3. XAML This is the code used to make the above rendered UI. This is only available in WPF Projects, and is a special version of XML.
4. This is our Solution Explorer or “Project Browser” like Revit this holds all our files, allows you to add new files, data connections, references and all things to do allows you to add new files, data connections, references and all things to do with our coding Project.
5. This is our Properties window, similar to “Property Palettes” in Revit if you click on certain objects contextual modifiers and options will be shown.
6. Error List A very important tool that will automatically highlight when there are errors or problems with your code before you attempt to compile them.
7. Output lists all the output our code makes on runtime, can be very useful for debugging or checking correct outputs.
8. Debugging tools allow us to run the code in debug mode and play it one line at a time and check data to ensure our tool is working correctly.

More typical environment you will be working in.

Compiling & Debugging
Once we have our project running like now, we can compile it. This means the code is fed into the dotnet framework and turned into binary code in the form of a application .exe.
VS comes with the compiler built in which saves us a ton of trouble and messing around compared to other IDE’s and OS’s like Linux.
For the moment if you hit the start button VS will start to compile the program and For the moment if you hit the start button VS will start to compile the program and if there are no errors you should a blank interface appear on your screen. You will notice that VS is still running in the background this is because we are running in debug mode and later we will see how it helps fix our applications.
When you close the application the debug mode will cancel and go back into editing mode.

Where’s my file??
So you compiled a project but where is your .exe??
Well we can find it by right clicking on the solution and going to the “Open Folder Location” option.
This will open a windows folder where you can see all your project files.
If you then go into the \bin\Debug are of the file you will see a number of files, however only the <projectname>.exe is needed and you can copy and share that with anyone and it will run on a windows PC.

SYNTAX RULES – Cheat Sheet
• The Language is Case sensitive
• Lines Terminate with Semi Colons
• Code is put into code blocks { }
• Comments start with //
• Declaring VariablesDataType variableName = value;DataType variableName = value;
• Variables must start with a letter
• Variables cannot contain Spaces
• Variables can contain Numbers
• Cannot contain symbols (except underscore)

References and Namespaces
References are an important part of writing code.
References contain API commands or classes, methods and fields to create many windows objects. On our list from the left handside we can see there are multiple references each one containing some code that might control creating our interface or the C# language.
A Namespace is like an address for our code. Normally it is separated by a “.”
For example my class Wall might be hidden in the address Autodesk.Revit.DB.Wall
To save us writing out the address over and over again we can use the keyword “Using” to make an address shortcut in the start of our code.

Namespace, Classes, Constructor and Method
• Namespaces: are the start of your code, as you can see it’s all code blocked { }
• Class Name (Derrived): This Class gets it’s settings from the Base Class, plus you can make your own.
• Class Name (Base): This Class was created by Microsoft and comes with plenty of Constructors, Methods and Fields so we don’t have to make our own.
• The name of the Constructor always matches the name of the Class
• Void Method we• Void Method wewill discuss soonjust be content toknow it creates theUI in windows.

Public vs Private??
All this means is whether other classes can access your class, or only the class itself can access the methods contained within it.
As many objects in Revit or code are very similar therefore some classes need to be private as they may have the same names but affect different objects.
Calling a generic move comment might be bad, compared to calling the object Calling a generic move comment might be bad, compared to calling the object Wall.Move();
This makes much more sense.
By default C# makes all fields, methods and classes private so if you need to you can specify public or private. It is good practice to specify private to others coders know you mean to keep that object private.
Methods
Methods are actions or manipulations in coding terminology.
They can edit, change, delete add information to fields.
There are three main Types;
void methodname() – Doesn’t return a Value
static void methodname() – Class does not need to be initialised to be used.
void DataType methodname() – Requires the DataType value be returned

DataTypes
DataTypes are the fields or properties used in your code.
C# Built in ones include Integers(int), Text(string), Decimals(doubles) and True/False(bool).
string name = “Adam”; - Assigns the test “Adam” to the variable name.
int number = 1; - Assigns the number 1 to the variable name.
Double decimal; - Creates space in the memory for the variable decimal but Double decimal; - Creates space in the memory for the variable decimal but assigns no value.
Bool yes = null; - Assigns a special value called null to the variable, this is simple an empty value.
From these users can create Custom values, an example would be an ElementIdin Revit. One would assume this would be an int, but infact it’s a special DataType.
DataTypes can have their own methods and special features to be used correctly.

Sample Files & Lab Files
If you become lost, or the code doesn’t work don’t be discouraged.
Many of our Key steps will be saved as Ex1.0, Ex1.1, Ex1.2 and so on.
Each heading will display the Exercise and Step we are up to.
You can find all these in a Folder in the C# Projects.
REMEMBER USE DEBUGGING AND STEP THROUGH THE CODE SLOWLY!!!

SHUT UP and lets code!! – Ex 1.0
Lets start by going back to the UI Screen.
We are going to create a simple addition/subtraction calculator inside our interface.
The Interface will take 2 entered values and output a fixed value when the user presses the “Calculate” Button.
To start setup the following items, you can find all these in the Toolbox Dialog.
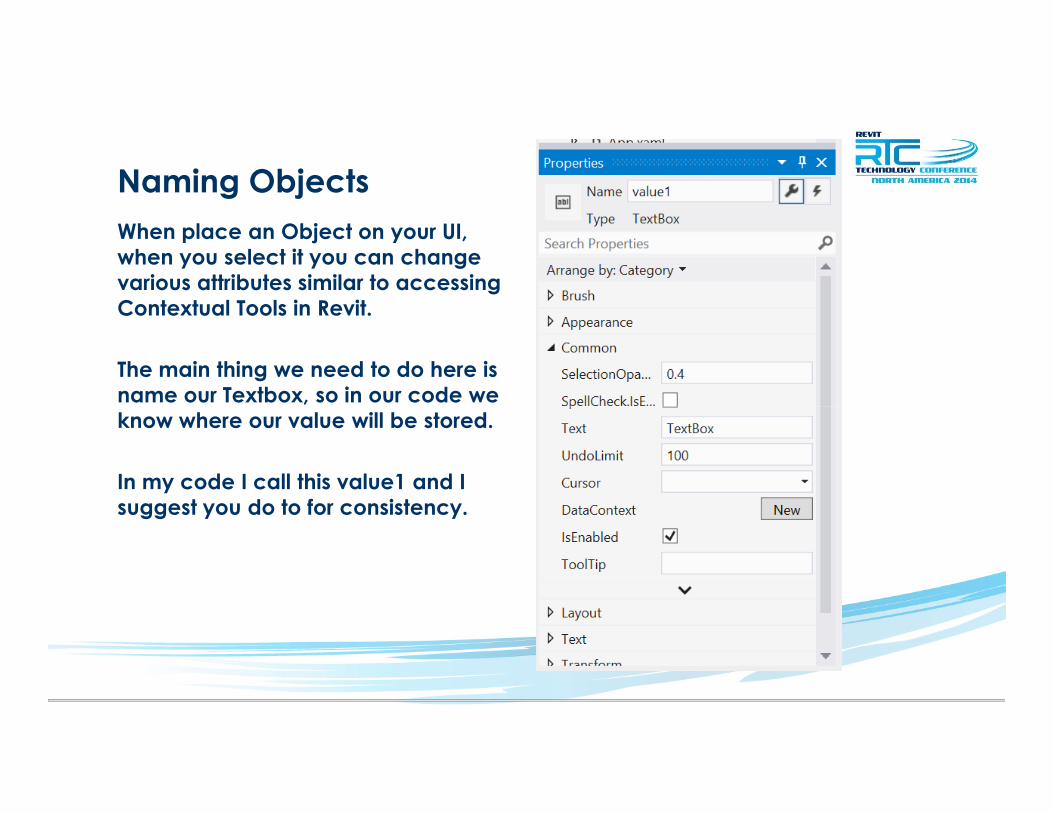
Naming Objects
When place an Object on your UI, when you select it you can change various attributes similar to accessing Contextual Tools in Revit.
The main thing we need to do here is name our Textbox, so in our code we know where our value will be stored.
In my code I call this value1 and I suggest you do to for consistency.

Naming Events
A Button is a special option as it doesn’t store values, but it has a key feature we need!!
Many UI items have properties such as colours, sizes etc.. But if you click on the lightning bolt they also have what is called Events!!!!
Events are basically triggers for methods. In this case we need to name the button AND we need to name the event so we can code the instructions to your PC when a user clicks on a Button.

Debugging!!
A Button is a special option as it doesn’t store values, but it has a key feature we need!!
Start/Continue:
Move through Code:
Breakpoints:

Debugging!!
As you work through your code, you can track values, fields, classes and members your code is creating for debugging purposes.

IntelliSense
Intellisense is one of the best features for VS Studio, it is very similar to predictor text on your phone, but rather the and guess words it shows the possible methods, statements and other things you can access with the Revit API.
To start you just need to type then use the arrow keys, everytime you are happy with a choice press TAB to move to the next word.
TIP: If you are unsure what options a method might have, press F12, this will take to a screen where you can see all the methods, Fields and options you can access for that class.
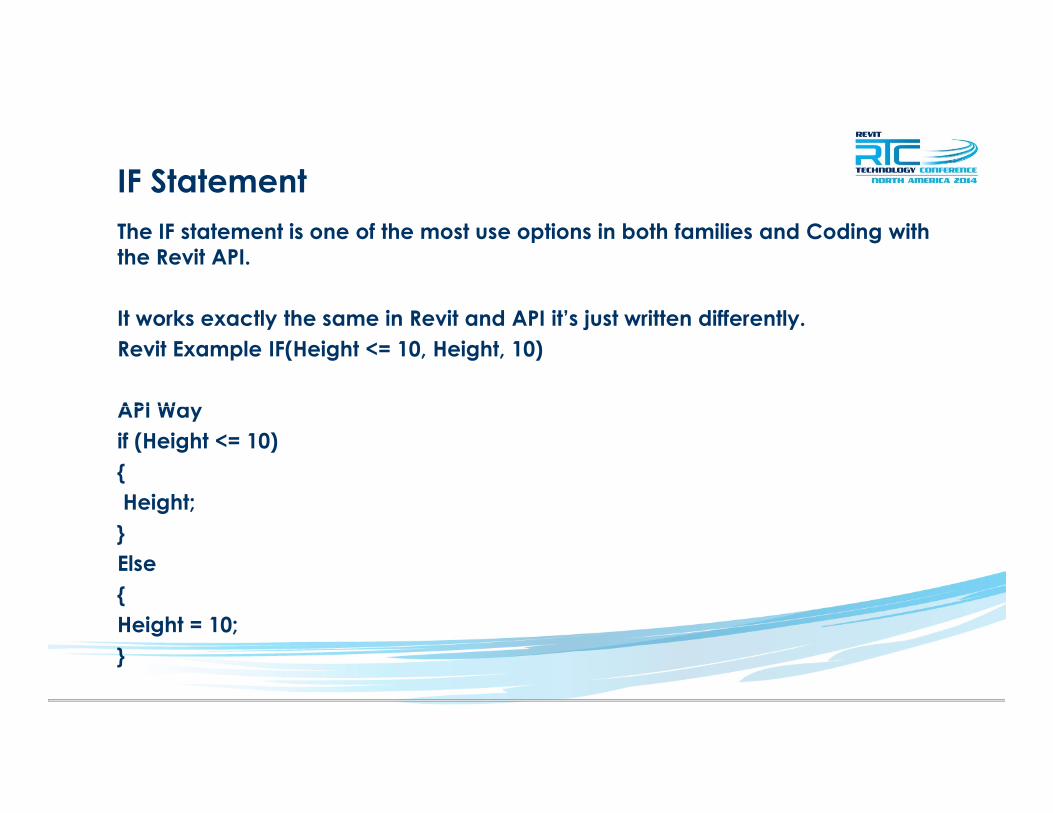
IF Statement
The IF statement is one of the most use options in both families and Coding with the Revit API.
It works exactly the same in Revit and API it’s just written differently.
Revit Example IF(Height <= 10, Height, 10)
API WayAPI Way
if (Height <= 10)
{
Height;
}
Else
{
Height = 10;
}

Method with Arguments
Methods are the most useful tool in an API methods are the actions items in a class which change or update or use information rather then simply storing it.
In Exercise 1 we used the Following Method.
int checker(string text)
DataType the Method returns, remember Void methods do not return values
Name of the my variable can be anything refer to naming conventions in your handout
Name(Arguments) Anything in these brackets are arguments that allow users to load Name(Arguments) Anything in these brackets are arguments that allow users to load parameters into the method, this allows methods to be used over and over in different situations
DataType of the argument for the first parameter in this case it requires a string
Name of the parameter this name is only used INSIDE the code blocks (In Scope)
{
//Code block that use the data in string text and returns an int
Return int; (ALL METHODS THAT ARE NOT VOID MUST RETURN THEIR DATATYPE VALUE
}

String Manipulation Tools
We are now going to go through the string manipulation tools and review a couple of examples, these can be used in any situations that require strings
Here is our interface it will do a few things
• Change input to upper case
• Change input to Lower case
• Remove the Spaces in our Text• Remove the Spaces in our Text
• The second option will allow us to enter multiple strings an concatenate them into a single string with a custom seperator
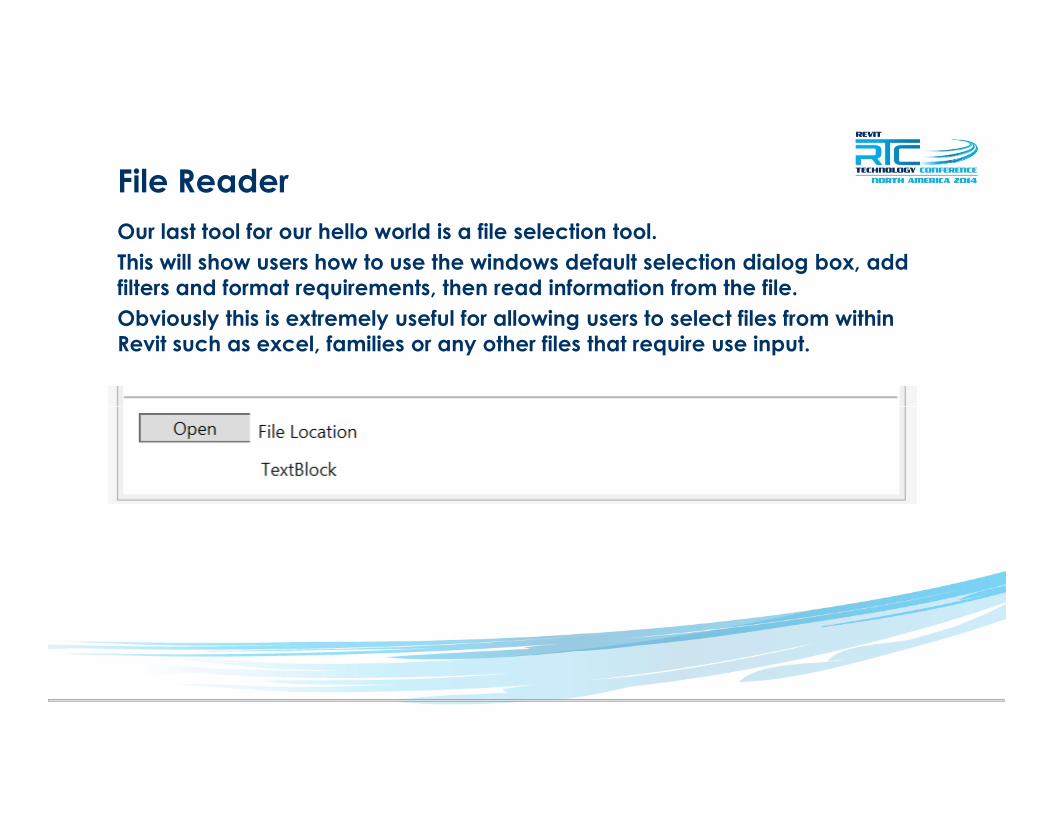
File Reader
Our last tool for our hello world is a file selection tool.
This will show users how to use the windows default selection dialog box, add filters and format requirements, then read information from the file.
Obviously this is extremely useful for allowing users to select files from within Revit such as excel, families or any other files that require use input.

Questions?
Adam Sheather YTL Corporation